컴포넌트의 재사용 튜토리얼을 위해 어떤 클론이 좋을까 고민하다 Color Hunt를 가져왔습니다🤓
각 컴포넌트 별로 천천히 살펴보면서 살펴봅시다. CSS 관련 튜토리얼은 아니므로 다루지 않겠습니다👹
API
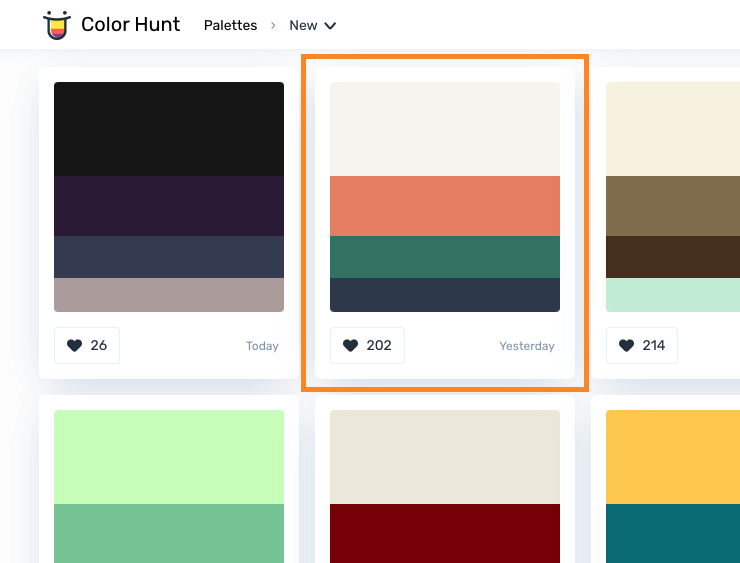
우선 위의 카드들을 랜더링 하기 위해서 데이터가 필요합니다.
Next에는 API를 만들수 있는 pages/api라는 디렉토리를 제공합니다.
pages/api에 colors.ts라는 파일에 api를 만들어 봅시다!👇
// pages/api/colors.ts
import type { NextApiRequest, NextApiResponse } from "next";

export interface Color {
  id: string;
  code: string;
  date: string;
  likes: string;
}

export export interface Colors {
  readonly [index: number]: string;
  colors: Color[];
}

export default (req: NextApiRequest, res: NextApiResponse<Colors>) => {
  res.status(200).json({
    colors: [
      {
        id: "225739",
        code: "e7e7de00889100587a0f3057",
        date: "12/29/20",
        likes: "2699",
      },
      {
        id: "225709",
        code: "ef4f4fee9595ffcda374c7b8",
        date: "12/28/20",
        likes: "2339",
      },
      {
        id: "226192",
        code: "e7d9ea11698e19456b16c79a",
        date: "12/27/20",
        likes: "1788",
      }
    ],
  });
};
TypeScript 3.8부터 type 전용 import 구문을 제공합니다. 이는 빌드 시 완전히 제거되며 런타임에 남아있지 않습니다.
Next API 타입들을 먼저 import 해주고 interface로 타입을 정의해 줍니다.
각 Color는 id, code, date, likes를 string을 필수로 가집니다.
Colors는 index를 숫자로 받으며 배열에서 이 index는 string으로 치환됩니다. 이 res의 colors는
Color를 가지고 있는 배열입니다.
마지막으로 status 200과 함께 json을 보내면 됩니다. 간단하게 Next GET api가 만들어졌습니다.🤲
_document.tsx
pages/_document.tsx (js)는 React의 index.html과 비슷한 역할을 합니다. 이 파일이 존재하지 않을 경우 Next는 기본 document로 대체합니다. _docuement 문서
// _document.tsx
import Document, { Html, Head, Main, NextScript } from "next/document";

class _document extends Document {
  render() {
    return (
      <Html>
        <Head>
          <link rel="preconnect" href="https://fonts.gstatic.com" />
          <link
            href="https://fonts.googleapis.com/css2?family=Rubik:wght@300;400&display=swap"
            rel="stylesheet"
          />
          <link
            rel="stylesheet"
            href="//cdn.jsdelivr.net/npm/xeicon@2.3.3/xeicon.min.css"
          />
        </Head>
        <body>
          <Main />
          <NextScript />
        </body>
      </Html>
    );
  }
}

export default _document;
위와 같이 작성할 수 있습니다. 필요한 link 태그들을 삽입했습니다.
기본 레이아웃
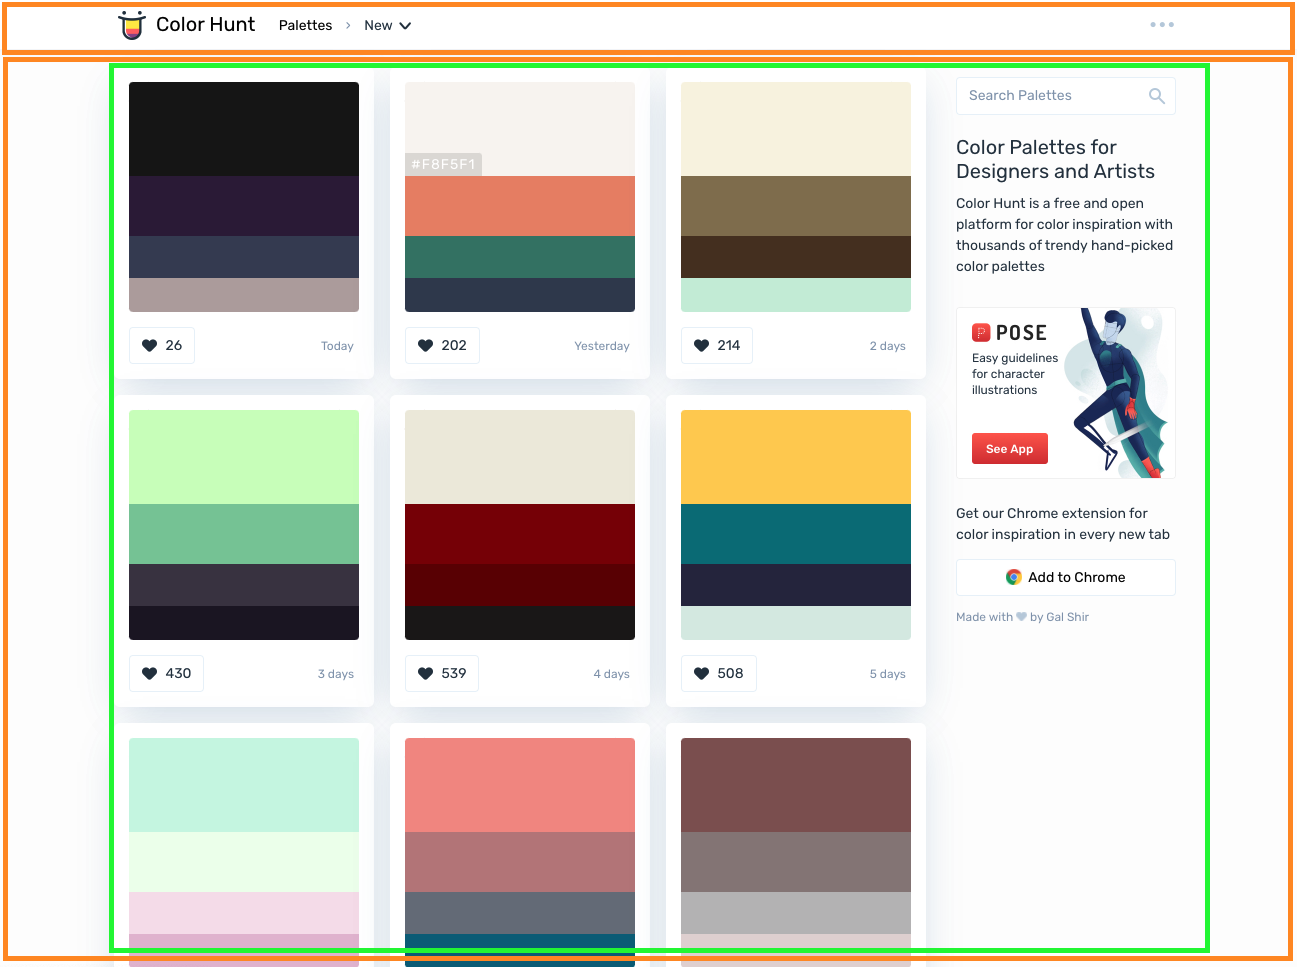
위의 이미지의 초록색 부분을 children으로 받는 주황색 부분의 기본 레이아웃으로 구성하겠습니다.
광고는 필요 없으니 빼겠습니다!
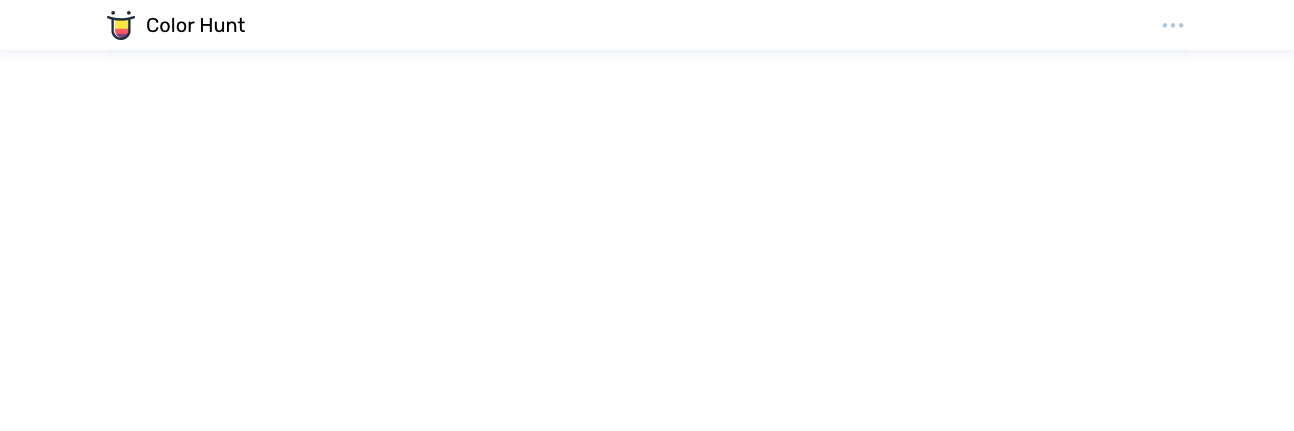
MainLayout.tsx
주황색 부분을 이룰 MainLayout.tsx을 작성해 줍니다. 레이아웃에는 헤더와 카드들이 들어갈 컨테이너가 존재합니다.
// component/MainLayout/MainLayout.tsx
import type { ReactNode } from "react";
import styles from "./MainLayout.module.scss";

interface MainLayoutProps {
  children?: ReactNode;
}

const MainLayout = ({ children }: MainLayoutProps) => {
  return (
    <div className={styles.wrap}>
      <div className={styles.header}>
        <div className={styles.menu_wrap}>
          <div className={styles.logo}>
            <img src="images/logo.png" alt="logo" />
            Color Hunt
          </div>
          <i className="xi-ellipsis-h" />
        </div>
      </div>
      <div className={styles.container}>{children}</div>
    </div>
  );
};

export default MainLayout;
MainLayout의 타입이 MainLayoutProps를 interface로 작성해 줍니다. children은 ReactNode 타입을 가집니다. 필수가 아니기 때문에 Optional Properties를 사용했습니다.
img src에 해당하는 파일은 /public/images/logo.svg에 있습니다.
public 폴더는 static한 파일들을 제공합니다.
index.tsx
"/" 경로로 접속했을때 카드들의 정보를 불러오고 MainLayout 컴포넌트를 보여줍니다.
// pages/index.tsx
import MainLayout from "../components/Layout/MainLayout";
import axios from "axios";
import type { GetServerSideProps } from "next";
import type { Color } from "./api/colors";

interface IndexProps {
  colors: Color[];
}

const index = ({ colors }: IndexProps) => {
  console.log(colors);
  return <MainLayout></MainLayout>;
};

export const getServerSideProps: GetServerSideProps = async () => {
  try {
    const res = await axios.get("http://localhost:3000/api/colors");

    return {
      props: {
        colors: res.data.colors,
      },
    };
  } catch (error) {
    console.error(error);

    return {
      props: {
        colors: [],
      },
    };
  }
};

export default index;
먼저 쉬운 통신을 위해 axios를 install 하고, import 합니다.
npm install --save axios/api/color.ts에 만들었던 interface 와 Next에서 제공하는 getServerSideProps의 타입인 GetServerSideProps를 import 합니다.
index 컴포넌트의 props interface인 IndexProps도 작성해 줍니다.
axios로 GET요청을 통해 데이터를 받아옵니다. getServerSideProps 는 반드시 props를 리턴해야 합니다.
공식 문서엔 Next 9.3버전 이상을 사용하고 계시다면, getInitialProps 대신 getStaticProps 혹은 getServerSideProps을 추천하고 있습니다. getInitialProps 문서

마지막으로 크롬 혹은 터미널의 콘솔에 위와 같은 화면을 볼 수 있습니다.
Next 코드의 최초 실행은 서버에서 이루어집니다.
벌써 API와 레이아웃까지 완성됐습니다. 이제 카드만 만들면 되겠군요! 저만 재밌는 건 아니죠?😉
다음은 Color Hunt Clone - Color Card 컴포넌트 만들기입니다.
코드는 여기(GitHub)서 확인하실 수 있습니다.