프로젝트 선정
평소 벨로그에 있는 글들을 눈팅으로만 보다가 글을 남기고 싶어 고민하던 중 최근에 공부하고 있는 리액트를 이용한 작은 토이프로젝트를 진행하고 만드는 과정을 올리면 좋겠다고 생각하여 이 글을 작성하게 되었습니다. 리액트를 공부하기 위해서 평소 벨로퍼트님의 포스트 글들과 노마드 아케데미의 니콜라스님 강의를 많이 보았는데 니콜라스님 강의 초보자를 위한 바닐라 JavaScript 에서 크롬의 앱인 모멘텀 만드는 과정을 바닐라 자바스크립트가 아닌 리액트를 이용하여 만들어 보고 싶어 프로젝트 주제로 정하였습니다. 처음 블로그에 글을 작성하는 것이라서 부족한 점이 많지만 좋게 봐주시면서 읽어주시면 감사하겠습니다.😊
프로젝트 세팅하기
npx create-react-app momentum
cd momentum
create-react-app 을 이용하여 프로젝트를 생성하였습니다.
yarn add styled-components styled-reset prop-typesCSS 좀 더 쉽게 적용하기 위해서 styled-components 와 styled-reset 을 설치하였고 데이터 타입을 체크하기 위하여 prop-types 을 설치하였습니다.
styled-components 사용법에 대해서는 아래 두 자료를 이용하여 많은 도움이 되었습니다.
다양한 방식의 리액트 컴포넌트 스타일링 방식 CSS, Sass, CSS Module, styled-components
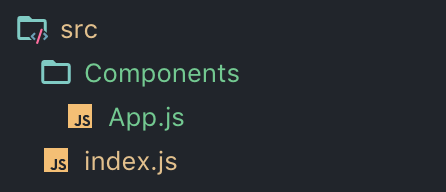
src 폴더에 하위 파일 중에서 사용하지 않는 App.css App.test.js index.css logo.svg serviceWorker.js 는 삭제를 하였고 Components 폴더를 생성 후 App.js를 이동시켰습니다.
src/index.js
import React from 'react';
import ReactDOM from 'react-dom';
import App from './Components/App'; // 경로수정

ReactDOM.render(<App />, document.getElementById('root'));
index.css serviceWorker.js 파일을 삭제하였기 때문에 index.js 불필요한 코드는 삭제하고 App.js 의 경로를 수정하였습니다.
src/Components/GlobalStyle.js
import { createGlobalStyle } from 'styled-components';
import reset from 'styled-reset'; // css reset

const GlobalStyle = createGlobalStyle`
    ${reset};
    a{
        text-decoration: none;
        color:inherit;
    }
    *{
        box-sizing:border-box;
    }
    body{
        font-family: 'Nanum Gothic', sans-serif;
        font-size: 1rem;
		color:#fff;
        width:100%;
        height:100vh;
        display:flex;
        justify-content:center;
        align-items:center;
        background: url(https://source.unsplash.com/7vKP5BAm8wg/1600x900);
        background-size:cover;
    }
`;

export default GlobalStyle;
GlobalStyle 적용하기 위해서 Components 폴더 아래 GlobalStyle.js 파일을 생성하였습니다.
CSS reset은 처음 설치한 styled-reset을 이용하여 CSS를 reset 하였습니다.
public/index.html
<link href="https://fonts.googleapis.com/css?family=Nanum+Gothic" rel="stylesheet">폰트는 나눔 고딕을 사용하기 위해서 구글 폰트에서 나눔 고딕을 가져와 index.html 파일에 추가한 다음
body 태그에 font-family: Nanum Gothic, sans-serif; 를 추가하였습니다.
컴포넌트들이 화면 중앙에 위치하기 위해서 display:flex 속성을 이용하여 스타일링했습니다.
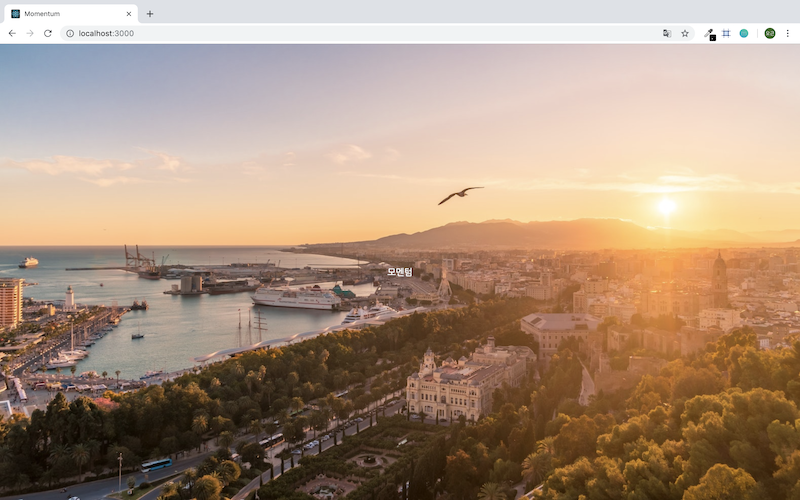
앱의 기본 배경화면은 unsplash에서 가져왔습니다. url주소를 https://source.unsplash.com/random 를 이용하면 모멘텀 앱처럼 랜덤으로 사진을 가져올 수도 있지만 저는 평소 🇪🇸스페인을 가보고 싶어 스페인 사진을 배경화면으로 가져왔습니다. 만약 배경화면을 다양한 방법으로 가져오고 싶으면 unsplash 에서 사용법을 보시면 다양한 방법으로 배경화면을 가져올 수 있습니다.
src/Components/App.js
import React, { Component } from 'react';
import GlobalStyle from './GlobalStyle';

class App extends Component {
	render() {
		return (
			<>
				<GlobalStyle />
				모멘텀
			</>
		);
	}
}

export default App;
App.js 에 생성한 GlobalStyle를 import 하여 추가하고 위와 같이 작성해 주었습니다.
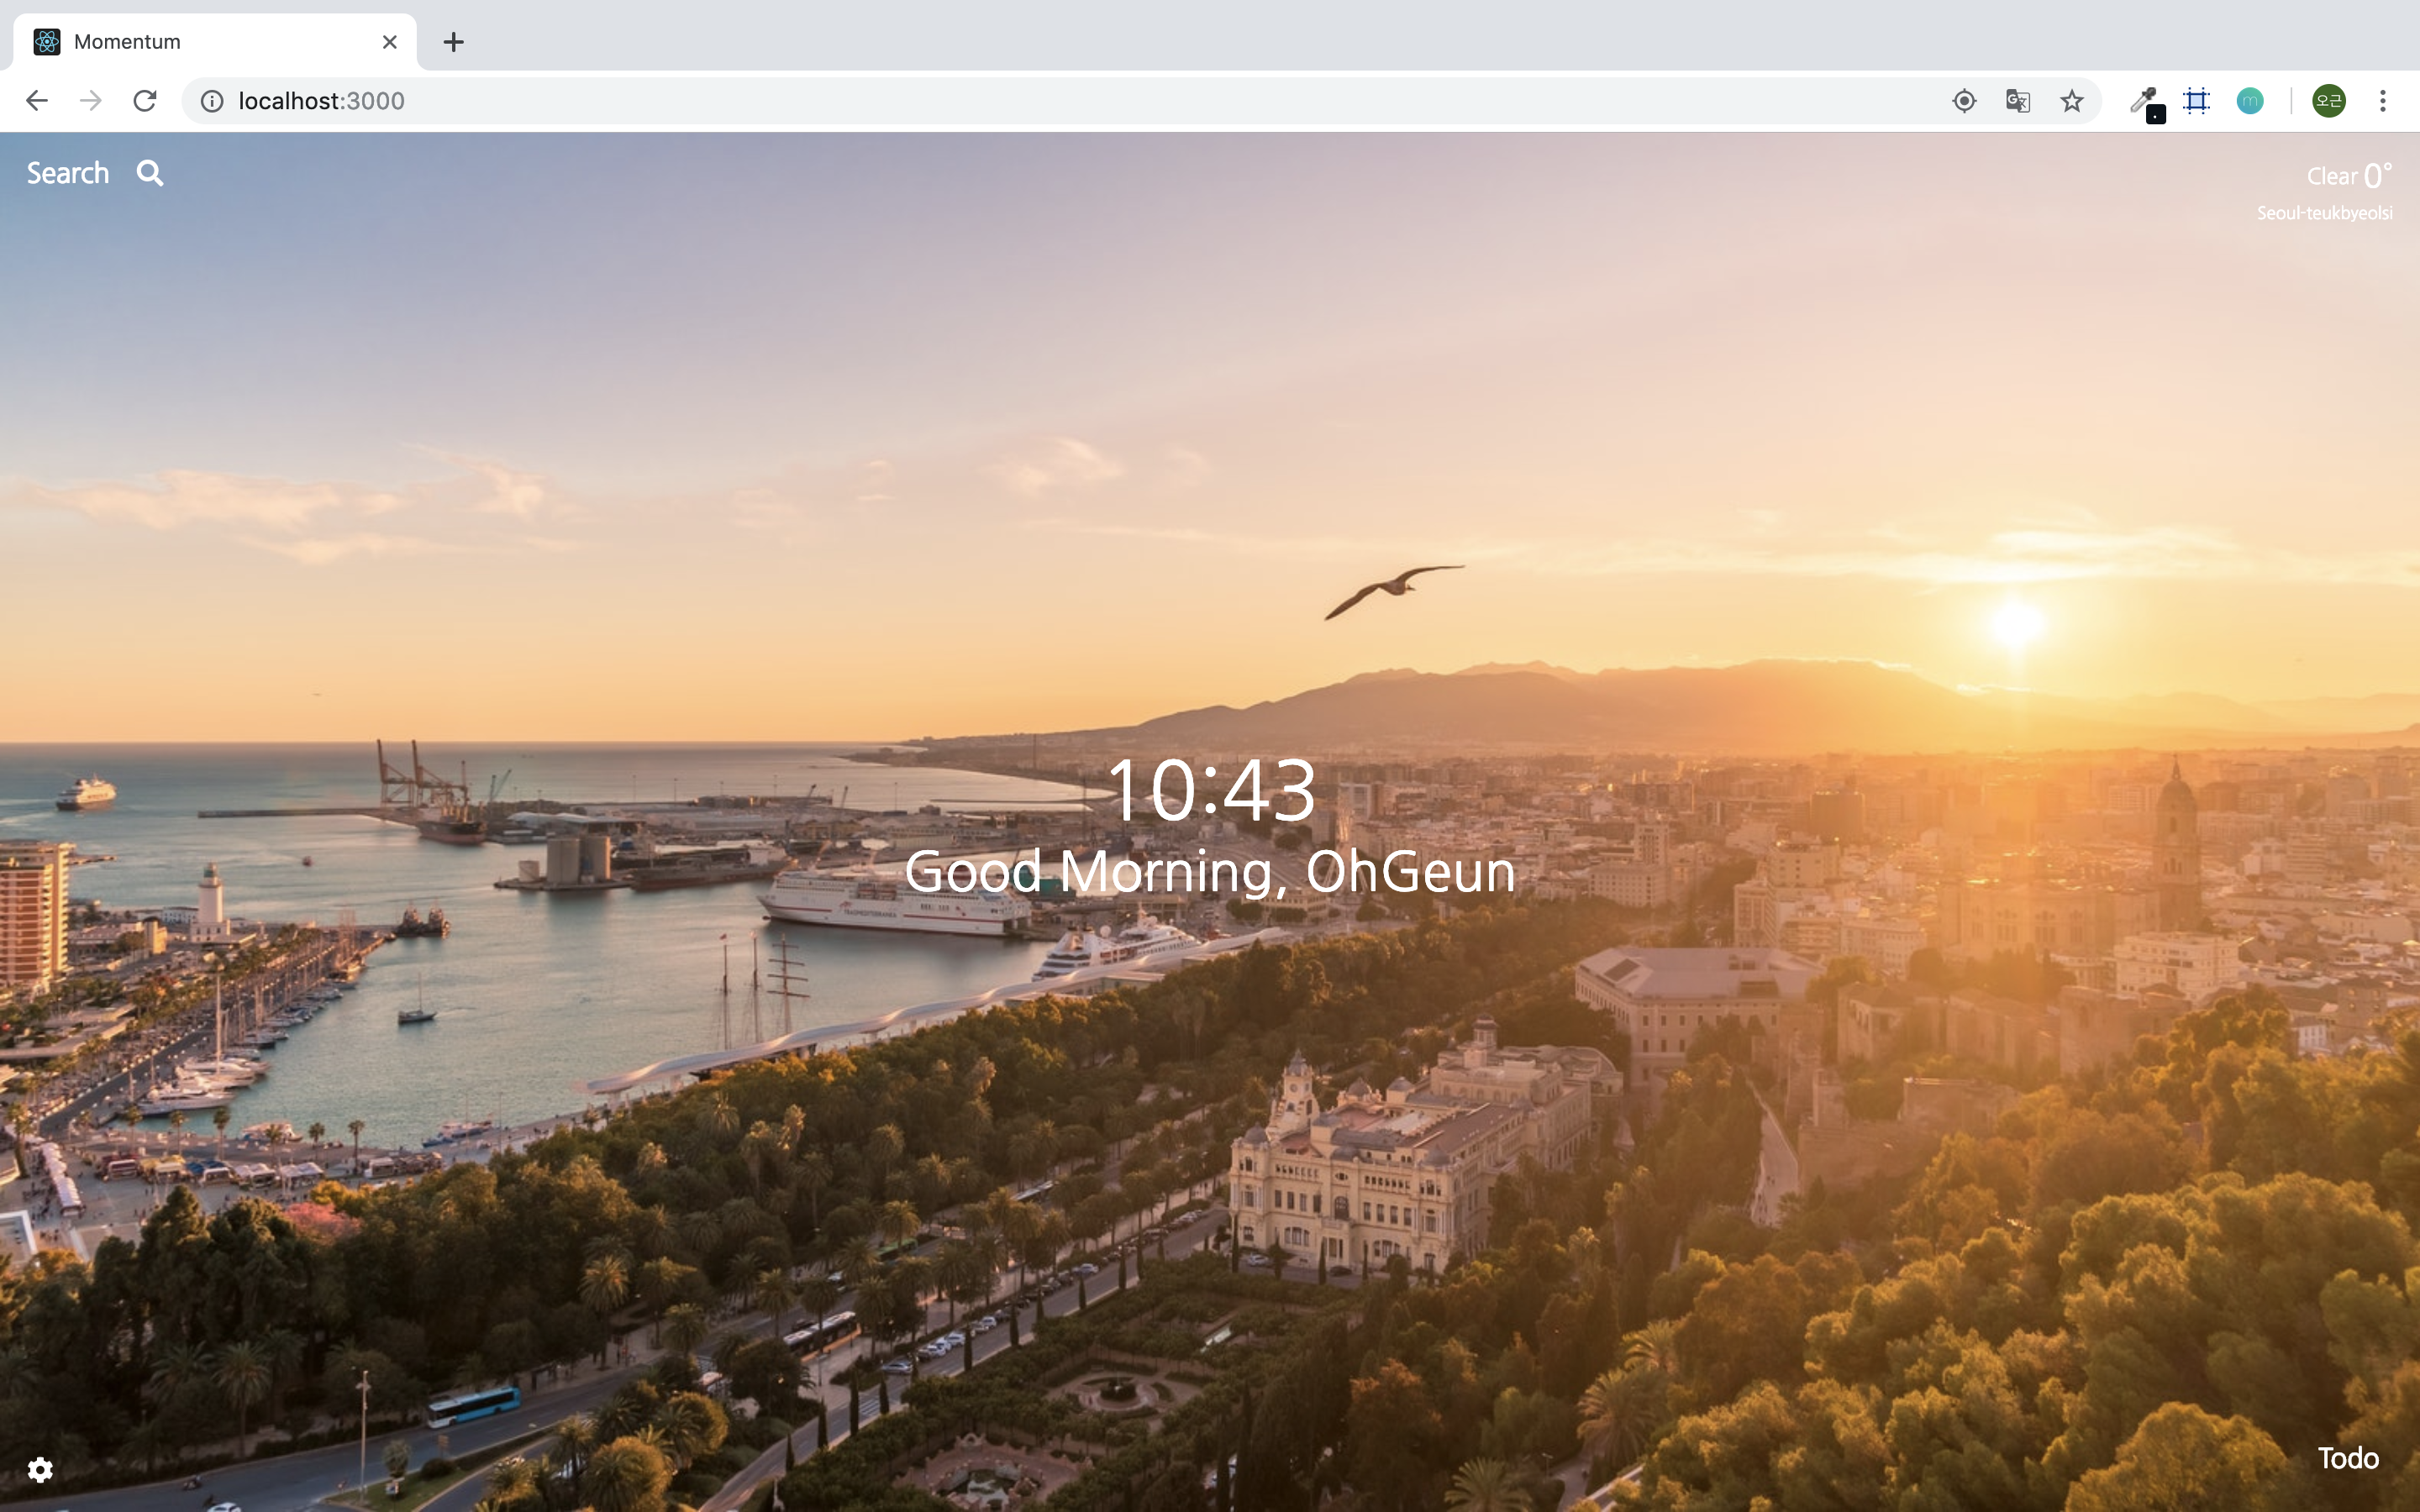
결과화면
사용자 이름 저장하기
사용자의 이름을 입력받기 위해서 Name 컴포넌트를 만들었습니다.
모든 컴포넌트 생성은 리액트의 디자인패턴 중 하나인 Presentational and Container Components 방법을 사용하였습니다.
Components/Name/index.js
import NameContainer from './NameContainer';

export default NameContainer;
기본적인 index 파일에는 Container를 export 할 수 있게 만들어 주었습니다.
Components/Name/NameContainer.js
import React, { Component } from 'react';
import NamePresenter from './NamePresenter';

class NameContainer extends Component {
	state = {
		value: '',
	};
	handleChange = e => {
		this.setState({
			value: e.target.value, // 현재 input에 입력된 값 가져오기
		});
	};
	handleSubmit = e => {
		e.preventDefault(); // onSubmit의 기본적인 이벤트 방지(새로고침)
		const { value } = this.state;
		this.props.saveName(value);
	};
	render() {
		const { value } = this.state;
      	// Presenter에 prop 값 전달
		return <NamePresenter value={value} handleChange={this.handleChange} handleSubmit={this.handleSubmit} />;
	}
}

export default NameContainer;
handleChange 함수를 통하여 사용자가 입력한 input 값을 value에 저장할 수 있도록 하였습니다.
handleSubmit 함수를 통하여 현재 입력된 name의 값을 저장하는 함수인 saveName 함수에 파라미터로 전달하였습니다.
name값은 다른 컴포넌트에 공유하기 위하여 saveName 함수는 App.js에 작성하였습니다.
Components/Name/NamePresenter.js
import React from 'react';
import styled, { keyframes } from 'styled-components';
import PropTypes from 'prop-types';

// 애니메이션 효과 추가
const fadeAni = keyframes`
	from {
		opacity:0
	}
	to {
		opacity:1
	}
`;

// styled-components를 이용한 CSS 적용
const Form = styled.form`
	animation: ${fadeAni} 2s linear;
	display: flex;
	flex-direction: column;
	font-size: 2rem;
`;

const Text = styled.span`
	font-weight: bold;
	margin-bottom: 0.5rem;
`;

const Input = styled.input`
	all: unset;
	border-bottom: 2px solid #fff;
	text-align: center;
`;

const Name = ({ value, handleChange, handleSubmit }) => (
	<Form onSubmit={handleSubmit}>
		<Text>Hello, what's your name?</Text>
		<Input value={value} onChange={handleChange} />
	</Form>
);

// prop-types를 이용한 데이터타입 체크
Name.propTypes = {
	value: PropTypes.string.isRequired,
	handleChange: PropTypes.func.isRequired,
	handleSubmit: PropTypes.func.isRequired,
};

export default Name;
Container에서 전달받은 value와 handleChange 함수는 input에 value와 onChange 이벤트에 넣어 주었고,
handleSubmit 함수는 onSumbit 이벤트에 넣어 주었습니다.
Components/App.js
import React, { Component } from 'react';
import GlobalStyle from './GlobalStyle';
import Name from './Name'; // Name 컴포넌트

class App extends Component {
	state = {
		name: null,
	};
	// 입력받은 데이터를 state의 name과 localStorage에 저장
	saveName = data => {
		this.setState({
			name: data,
		});
		localStorage.setItem('MOMENTUM_NAME', data);
	};
	// localStorage에서 데이터 가져오기
	getName = () => {
		const name = localStorage.getItem('MOMENTUM_NAME');
		if (name !== null) {
			this.setState({
				name,
			});
		}
	};
	componentDidMount() {
		this.getName(); // getName 함수 실행
	}
	render() {
		const { name } = this.state;
		return (
			<>
				<GlobalStyle />
          		{/* name 값 null 체크 */}
				{name === null ? <Name saveName={this.saveName} /> : name}
			</>
		);
	}
}

export default App;
생성한 Name 컴포넌트를 import하여 추가하였습니다.
saveName 함수를 통하여 Name 컴포넌트에서 전달받은 데이터를 state에 name 값과 localStorage에 함께 저장하였습니다.
getName 함수를 통하여 현재 저장된 localStorage에 name 값이 null 아닌 경우에 name 값에 저장하도록 하였습니다.
getName 함수실행은 componentDidMount를 통하여 첫 App.js 렌더링이 이루어진 이후 바로 실행되게 하였습니다.
Name 컴포넌트는 name의 값이 null인 경우에만 render 할 수 있도록 삼항연산자를 이용하였습니다.
결과화면