📒 1. jQuery
jQuery: 일종의 자바 스크립트 라이브러리이다. jQuery를 사용하면 자바스크립트 프로그래밍의 양을 상당히 줄일 수 있다. 배우기 쉽고 무료이다.
📝 jQuery의 역사
jQuery는 존 레식(John Resig)이 2006년에 BarCamp NYC에서 발표하였다. MIT 라이센스 하에 배포되는 자유 오픈 소프트웨어이다.
📝 jQuery를 웹 페이지에서 사용하기
- jQuery.com에서 jQuery 파일을 다운로드 하는 방법
-> http://www.jquery.com에서 다운로드 받을 수 있다. - 실행 시마다 구글이나 마이크로소프트에서 jQuery 파일을 포함하는 방법
-> jQuery는 공개 서버로부터 네트워크를 통하여 웹 페이지를 실행할 때마다 다운로드 받을 수도 있다.
<head>
	<script src="http://code.jquery.com/jquery-1.10.1.min.js"></script>
</head>
📒 2. 첫 번째 jQuery 프로그램
jq1.html
<!DOCTYPE html>
<html lang="ko">
<head>
  <meta charset="UTF-8">
  <title>Document</title>
  <script src="http://code.jquery.com/jquery-1.10.1.min.js">
  </script>
  <script>
    $(document).ready(function(){
      $("h2").click(function(){
        $(this).hide();
      });
    });
    // 문서가 준비되면 <h2> 요소를 찾아서 화면에서 숨긴다.
  </script>
</head>
<body>
  <h2>클릭하면 사라집니다.</h2>
</body>
</html>

📒 3. jQuery 문장의 구조
("p").show() - 모든 <p> 요소들을 찾아서 화면에 표시한다.
("#id9").hide() - id = id9인 요소를 화면에서 감춘다.
$(selector).action();
$: jQuery라는 의미이다.
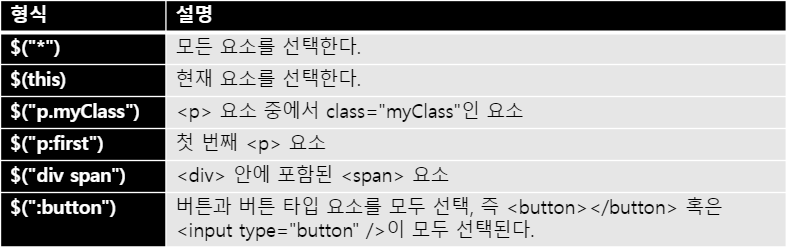
selector: 선택자
$(selector): 선택자에 의하여 선택된 요소
action(): 선택된 요소의 함수 호출
✏️ 일반적인 jQuery의 구조
다음 구조를 사용하는 이유는 문서가 완전히 로드되기 전에 jQuery 코드가 실행하는 것을 방지하기 위해서이다.
$(document).ready(function(){
	//DOM이 로딩되어서 준비가 되면 작업을 시작한다.
    //구체적으로 jQuery 메소드들을 호출한다.
});document: DOM을 의미한다.
ready: 준비가 되면
function: 함수 정의
📒 4. jQuery를 이용한 이벤트 처리
이벤트는 사용자의 동작에 의하여 발생한다. 예를 들면 폼 필드로 텍스트를 입력한다거나 마우스 포인터를 이동시키면 이벤트가 발생한다.
✏️ jQuery 이벤트 메서드 구문
$("button1").click(function(){
	$("#box").show();
} $("button1"): id가 button1인 요소
click: 클릭 이벤트가 발생하면
$("#box").show();: id가 "box"인 요소를 찾아서 화면에 표시한다.
mouse_event.html
<!DOCTYPE html>
<html lang="ko">
<head>
  <meta charset="UTF-8">
  <title>Document</title>
  <style>
    div.out{
      width: 200px;
      height: 60px;
      background-color: yellow;
    }
  </style>
  <script src="js/jquery-3.6.0.min.js"></script>
</head>
<body>
  <div class="out">
    <p>마우스를 여기로 움직이세요.</p>
    <p>0</p>
  </div>
  <script>
    var i = 0;
    $("div.out").mouseover(function(){
      $("p:first",this).text("mouse over");
      $("p:last", this).text(++i);
    });
  </script>
</body>
</html>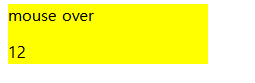
✏️ focus와 blur 이벤트
focus_event.html
<!DOCTYPE html>
<html lang="ko">
<head>
  <meta charset="UTF-8">
  <title>Document</title>
  <script src="js/jquery-3.6.0.min.js"></script>
  <script>
    $(document).ready(function(){
      $("input").focus(function(){
        $(this).css("background-color", "yellow");
      });
      $("input").blur(function(){
        $(this).css("background-color", "white");
      });
    });
  </script>
</head>
<body>
  아이디:<input type="text" name="name"><br>
</body>
</html>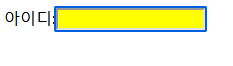
✏️ 이벤트 처리기 함수 안에서 사용 가능한 함수
event_info.html
<!DOCTYPE html>
<html lang="ko">
<head>
  <meta charset="UTF-8">
  <title>Document</title>
  <style>
    body { background-color: #eef;}
    div { padding: 20px;}
  </style>
  <script src="js/jquery-3.6.0.min.js"></script>
</head>
<body>
  <div id="log"></div>
  <script>
    $(document).mousemove(function(e){
      $("#log").text("e.pageX: " + e.pageX + ", e.pageY: " + e.pageY);
    });
  </script>
</body>
</html>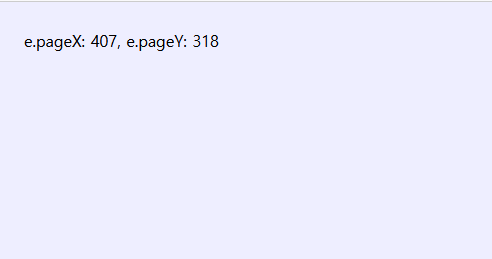
📒 jQuery를 이용한 애니메이션 효과
✏️ show()와 hide()
show()는 선택된 요소를 화면에 표시하고, hide()는 선택된 요소를 화면에서 감춘다.
$(selector).show(duration, complete);
selector: 선택자
show: 요소를 표시한다.
duration: duration은 "slow", "fast", 또는 밀리초 단위로 지정할 수 있다.
complete: complete는 콜백함수로서 show() 메소드가 완료된 후에 호출되는 메소드를 지정한다.
jq_show.html
<!DOCTYPE html>
<html lang="ko">
<head>
  <meta charset="UTF-8">
  <title>Document</title>
  <script src="js/jquery-3.6.0.min.js"></script>
</head>
<body>
  <button>Show it</button>
  <img id="dog" src="dog.jpg" alt="" width="120" height="100"
  style="display: none;" />
  <script>
    // $(document).ready(function() {
      $("button").click(function(){
        $("#dog").show("slow");
      });
    // });
  </script>
</body>
</html>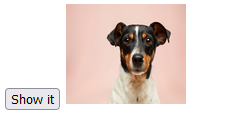
✏️ animate()
가장 일반적인 애니메이션을 작성할 때 사용하는 함수이다.
어디로나 이동이 가능하고 어떤 효과도 가능하다.
jq_animate.html
<!DOCTYPE html>
<html lang="ko">
<head>
  <meta charset="UTF-8">
  <title>Document</title>
  <script src="js/jquery-3.6.0.min.js"></script>
  <script>
    $(document).ready(function(){
      $("button").click(function(){
        $("#dog").animate({left: '100px', top: '100px'});
      });
    });
  </script>
</head>
<body>
  <img id="dog" src="dog.jpg" alt="" width="120" height="100" style="position: relative;" /><br/>
  <button>animate()</button>
</body>
</html>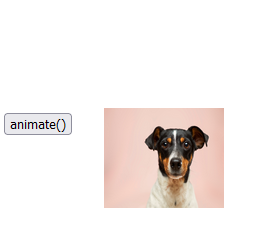
✏️ fadein() / fadeout()
요소를 표시할 때, 영화처럼 천천히 등장하게 하거나 빠르게 등장하게 할 수 있다.
jq_fadein.html
<!DOCTYPE html>
<html lang="ko">
<head>
  <meta charset="UTF-8">
  <title>Document</title>
  <script src="js/jquery-3.6.0.min.js"></script>
  <script>
    $(document).ready(function(){
      $("#fadeIn").click(function(){
        $("#dog").fadeIn("slow");
      });
      $("#fadeOut").click(function(){
        $("#dog").fadeOut("slow");
      });
    })
  </script>
</head>
<body>
  <button id="fadeIn">fadeIn()</button>
  <button id="fadeOut">fadeOut()</button>
  <img id="dog" src="dog.jpg" alt="" width="120" height="100" style="display: none; position: relative;" />
</body>
</html>
✏️ 메서드 체이닝
동일한 요소에 대한 여러 개의 메서드를 하나로 연결해서 실행할 수 있다. 이것을 메서드 체이닝(method chaining)이라고 한다.
jq_chaing.html
<!DOCTYPE html>
<html lang="ko">
<head>
  <meta charset="UTF-8">
  <title>Document</title>
  <script src="js/jquery-3.6.0.min.js"></script>
  <script>
    $(document).ready(function(){
      $('button').click(function(){
        $("#dog").show().fadeOut("slow").slideDown("slow");
      });
    });
  </script>
</head>
<body>
  <button>메소드 체이닝 시작</button>
  <img id="dog" src="dog.jpg" alt="" width="120" height="100" style="display: none;" />
</body>
</html>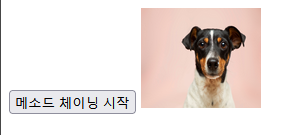
📒 6. jQuery를 이용한 DOM 변경
jQuery에서는 DOM 트리에 접근해서 노드의 내용을 가져온다거나 내용을 변경할 수 있고, 동적으로 노드를 추가하거나 삭제할 수도 있다.
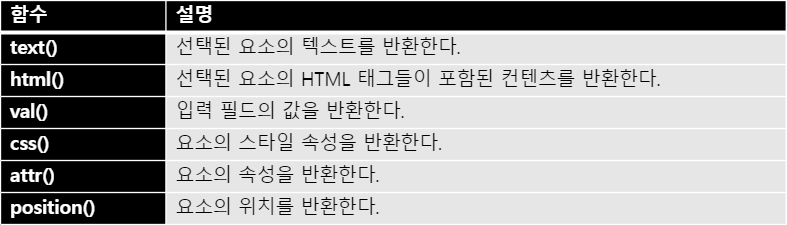
✏️ 요소의 콘텐츠 가져오기
$("#target").text();
jd_dom1.html
<!DOCTYPE html>
<html lang="en">
<head>
  <script src="js/jquery-3.6.0.min.js"></script>
  <script>
    $(document).ready(function(){
      $("#text").click(function(){
        alert($("#target").text());
      });
      $("#html").click(function(){
        alert($("#target").html());
      });
    });
  </script>
  <title>Document</title>
</head>
<body>
  <p id="target">이것은 <strong>하나의</strong> 단락입니다.</p>
  <button id="text">text()</button>
  <button id="html">html()</button>
</body>
</html>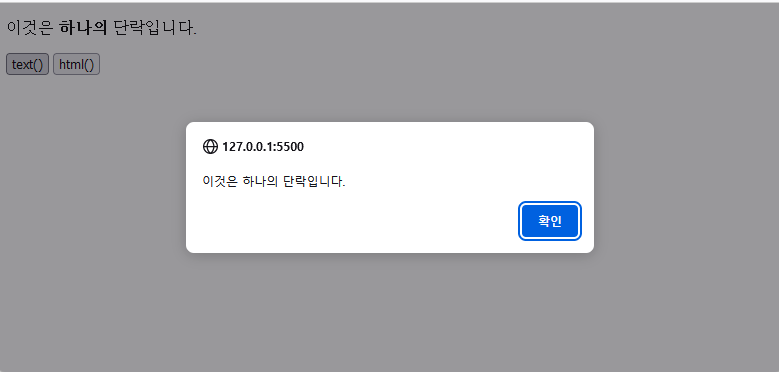

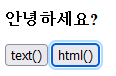
✏️ 요소의 콘텐츠 변경하기
$("#target").text("안녕");
jd_dom2.html
<!DOCTYPE html>
<html lang="en">
<head>
  <script src="js/jquery-3.6.0.min.js"></script>
  <script>
    $(document).ready(function() {
      $("#text").click(function() {
        $("#target").text("안녕하세요?");
      });
      $("#html").click(function(){
        $("#target").html("<b>안녕하세요?</b>");
      });
    });
  </script>
  <title>Document</title>
</head>
<body>
  <p id="target">이것은 <strong>하나의</strong> 단락입니다.</p>
  <button id="text">text()</button>
  <button id="html">html()</button>
</body>
</html>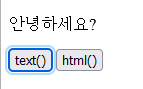
✏️ 요소의 속성 가져오기
$(selector).attr(attributeName);
jd_attr.html
<!DOCTYPE html>
<html lang="ko">
<head>
  <script src="js/jquery-3.6.0.min.js"></script>
  <title>Document</title>
  <script>
    $(document).ready(function(){
      $("button").click(function(){
        alert($("#dog").attr("src"));
      });
    });
  </script>
</head>
<body>
  <img id="dog" src="dog.jpg" alt="" width="120" height="100" /><br />
  <button>attr()</button>
</body>
</html>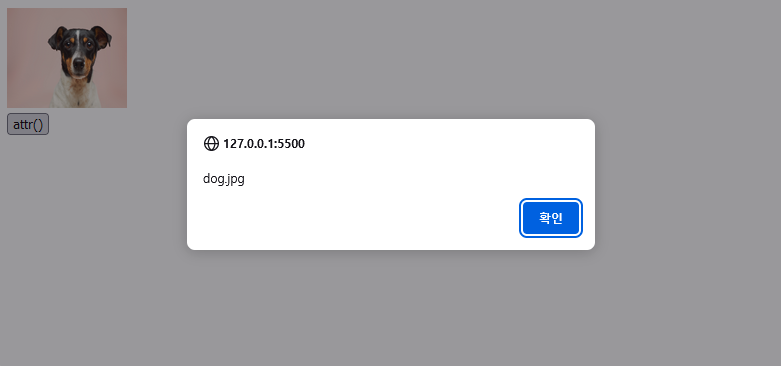
✏️ DOM에 요소 추가하기
$("#target").append("<p>Test</p>");
jQuery에서 새로운 콘텐츠를 추가할 때 사용되는 4개의 메서드가 있다.
- append()
- prepend()
- after()
- before()
jd_append.html
<!DOCTYPE html>
<html lang="ko">
<head>
  <script src="js/jquery-3.6.0.min.js"></script>
  <title>Document</title>
  <script>
    $(document).ready(function(){
      $("#button1").click(function(){
        $("p").append("<b style='color:red'>Hello! </b>.");
      });
      $("#button2").click(function(){
        $("p").prepend("<b style='color:red'>Hello! </b>.");
      });
    });
  </script>
</head>
<body>
  <p>I would like to say: </p>
  <button id="button1">append()</button>
  <button id="button2">prepend()</button>
</body>
</html>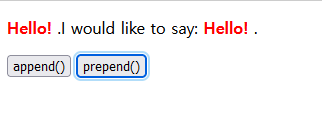
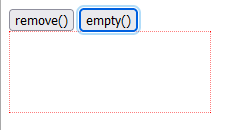
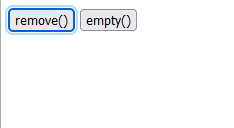
✏️ 콘텐츠 삭제하기
요소를 삭제하려면 다음과 같은 2개의 메서드를 사용한다.
- remove(): 선택된 요소와 그 자식 요소를 삭제한다.
- empty(): 선택된 요소의 자식 요소를 삭제한다.
jd_remove.html
<!DOCTYPE html>
<html lang="ko">
<head>
  <script src="js/jquery-3.6.0.min.js"></script>
  <style>
    p { background-color: yellow; }
    .container { height: 80px; width: 200px; border: 1px dotted red;}
  </style>
  <script>
    $(document).ready(function(){
      $("#button1").click(function(){
        $(".container").remove();
      });
      $("#button2").click(function(){
        $(".container").empty();
      });
    });
  </script>
  <title>Document</title>
</head>
<body>
  <button id="button1">remove()</button>
  <button id="button2">empty()</button>
  <div class="container">
    <p class="hello">Hello</p>
    <p class="goodbye">Goodbye</p>
  </div>
  <br>
</body>
</html>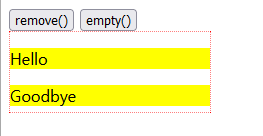
jQuery를 이용한 CSS 조작
jQuery에서 스타일 조작에 관계된 기본적인 메서드
- css(): 선택된 요소의 스타일 속성을 설정하거나 반환
- addClass(): 선택된 요소에 하나 이상의 클래스를 추가
- removeClass(): 선택된 요소에 하나 이상의 클래스를 삭제
css()
선택된 요소의 css 속성 가져오기
$("#target").css("color");
선택된 요소에 어떤 css 속성을 지정
$("#target").css("color", "blue");
jd_css.html
<!DOCTYPE html>
<html lang="en">
<head>
<script src="js/jquery-3.6.0.min.js"></script>
<style>
div {width: 60px; height: 60px;}
</style>
<title>Document</title>
</head>
<body>
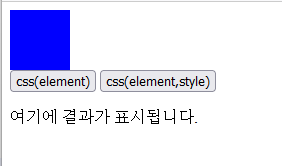
<div id="div1" style="background-color: blue;"></div>
<script>
$(document).ready(function(){
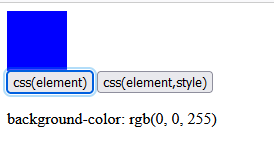
$("#button1").click(function(){
var color = $("#div1").css("background-color");
$("#result").text("background-color: " + color);
});
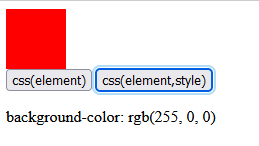
$("#button2").click(function(){
$("#div1").css("background-color", "red");
});
});
</script>
<button id="button1">css(element)</button>
<button id="button2">css(element,style)</button>
<p id="result">여기에 결과가 표시됩니다.</p>
</body>
</html>