
⚽️ Goal
Google Cloud Storage 이용해서 사진 등록하기
사진 Crop Resizing 을 위해Jimp와Multer을 사용한다.
GCS (Google Cloud Storage)
공식문서 : https://cloud.google.com/learn/advantages-of-cloud-computing
버킷 생성 :
npm install @google-cloud/storage
< Google Storage 설정 코드 >
const {Storage} = require('@google-cloud/storage');
const {googleStorageConfig} = require('./config.js');

const storage = new Storage(googleStorageConfig);
const uploadBucket = storage.bucket(process.env.bucketname);
Multer
파일 업로드를 위해 사용되는 Node.js의 미들웨어
npm install --save multer
- 공식문서 : https://www.npmjs.com/package/multer
- 한국어문서 : https://github.com/expressjs/multer/blob/master/doc/README-ko.md
Jimp
npm install --save jimp
💻 CODE
Structure
-
.env : GCS keyfilename.json 에 필요한 중요한 정보
-
config.js : 형식에 맞춰 스토리지 생성 .env에서 가져온다.
-
router.js :
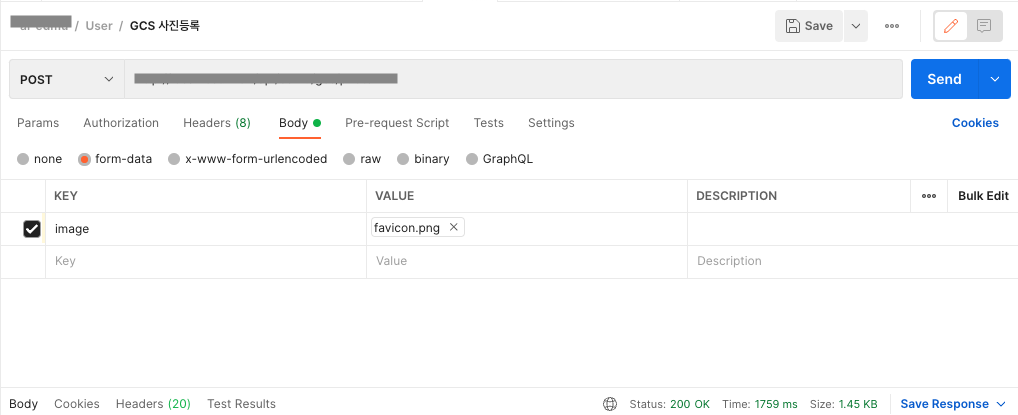
POSTmethod 로 이미지 파일값 저장, gcp image url response -
middleware.js : multer 미들웨어를 사용하여 파일 업로드를 처리하고 jimp 라이브러리를 사용하여 이미지를 자르고 크기를 조정
Flow
Post 로 파일 업로드 ☞ 구글 스토리지 키 값을 통해 GCS 생성 ☞ 미들웨어 : 파일로부터 파일명, 버퍼값 저장 ☞ 버퍼값으로 이미지 resize, crop ☞ 변경된 사진을 스토리지에 저장 ☞ url 생성 후 리턴
Middleware
const uploadPhotoMiddleware = async (req, res, next) => {
  try {
    const bucketName = BUCKET_NAME;
    const timestamp = new Date().getTime();

    // Save the unique file name
    const { originalname } = req.file;
    const Name = `file_${timestamp}.${originalname.split(".").pop()}`;

    const Buffer = await resizePhoto(req.file.buffer);

    // Save the resized image to the bucket
    const fileName = `${Name}`;
    const file = storage.bucket(bucketName).file(fileName);
    await file.save(Buffer);

    // Make the uploaded file public and get its URL
    const [url] = await file.getSignedUrl({
      action: "read",
      expires: "12-30-2023", // Replace with your desired expiry date
    });

    // Set the URL as a property of the request object
    req.imageUrl = url;

    next();
  } catch (err) {
    next(err);
  }
};
Option
-
파일 이름 저장하기
-
GCS에 저장되는 순서로 파일 이름 저장하기
async function generateUniqueFilename(bucketName, originalFilename) { const bucket = storage.bucket(bucketName); // Get a list of all the files in the bucket const [files] = await bucket.getFiles(); // Extract the numbers from the filenames of the existing files const numbers = files .map((file) => file.name.match(/(\d+)/)) .filter((match) => match !== null) .map((match) => parseInt(match[0], 10)); // Find the maximum number and add 1 to it const nextNumber = Math.max(...numbers, 0) + 1; // Use the result as the filename for the new file const filename = `${nextNumber}-${originalFilename}`; return filename; } -
Timestamp 활용해 파일이름 저장하기
const timestamp = new Date().getTime(); const { originalname } = req.file; const filename = `file_${timestamp}.${originalname.split('.').pop()}`; -
uuid 를 생성해 파일 이름 저장하기
const { v4: uuidv4 } = require("uuid");

function generateUniqueFilename(fileName) {
  const extension = fileName.split(".").pop();
  const uniqueId = uuidv4().split("-")[0];
  return `${uniqueId}.${extension}`;
}
-
-
사진 URL을 token처럼 유효시간 있는 링크 생성하기
const { Storage } = require('@google-cloud/storage');

const storage = new Storage();
const bucketName = 'your-bucket-name';
const fileName = 'your-file-name';

const options = {
  version: 'v4',
  action: 'read',
  expires: Date.now() + 15 * 60 * 1000, // 15 minutes
};

const [url] = await storage.bucket(bucketName).file(fileName).getSignedUrl(options);

console.log(`The signed URL for ${fileName} is ${url}.`);
-
업로드 하는 사진 크기 제한 하기
const Multer = require("multer");

const multer = Multer({
  storage: Multer.memoryStorage(),
  limits: {
    fileSize: 2 * 1024 * 1024, // no larger than 5mb, you can change as needed.
  },
});
참고한 사이트
[블로그]
- https://yoogomja.github.io/2020/11/12/nodejs-gcp-storage-upload/
- https://velog.io/@cptkuk91/Node.js-Multer를-이용한-파일-업로드
- https://medium.com/@olamilekan001/image-upload-with-google-cloud-storage-and-node-js-a1cf9baa1876
[공식문서]
- https://www.npmjs.com/package/multer
- https://github.com/expressjs/multer/blob/master/doc/README-ko.md
- https://cloud.google.com/learn/advantages-of-cloud-computing
회고
솔직히 객관적으로 봤을때 어려운작업이 전혀아니였다. 처음 써보는 툴이긴했지만 모른다고 집중력이 저하되서 딴짓을 많이한것도 사실 + 이해하지않으려하고 코드만 무지성 복붙 다해놓고 왜 안되지 ? 짜증만 낸것도 사실이다.
그래도 오늘 느낀건 모든 일을 하려고 할때 Step을 생성해서 한단계씩 해결해나가는 것이다. 당연한 이야기처럼 들리겠지만 나는 빨리 확! 하고 일을 끝내려고 하고, 한번에 모든 코드를 써놓으려는 습관이 있다.
먼저 사용하고자하는 툴이 내컴퓨터에서 돌아가는지 테스트 해보고, router-sevice-controller 테스트버전으로 돌아가는지 확인해본다음에 하나씩 하나씩 내가 하고자하는걸 추가해 목표에 달성하자
그리고 제발 공식문서는 읽어보고 일을 시작하자
개발자로서 차근차근 꼼꼼히 보는 습관을 길들이자!