현재 환경
- Ubuntu 20.04.01 (22.0X 버전도 가능합니다)
- CUDA : 11.8
실행 코드
# git clone
$git clone https://github.com/facebookresearch/detectron2.git

# Create conda env
$conda create -n detectron2 python==3.9 -y
$conda activate detectron2

# Install torch
# 일단 detectron 설치를 위해 아래처럼 깐 다음 쿠다 버전 후에 맞추기
# detected cuda version 11.5
$conda install pytorch torchvision torchaudio cudatoolkit=11.0 -c pytorch

# gcc 설치 - version이 6.0 이상, 12.0 이하
# 순서 중요
$sudo apt install gcc-9
$sudo apt install g++-9

$conda install -c anaconda gcc_linux-64
$conda upgrade -c conda-forge --all
$conda install -c conda-forge gxx  # => 하면, 13.2 version이 설치됨. 이는 ref 참고

# ref: https://gist.github.com/Nannigalaxy/1e473cac77f9f7c8dc4dc3784cc0c2ef
# gcc, 9 version 으로 진행
# Install detectron2
$python -m pip install -e detectron2
$cd detectron2
$python setup.py install

# 시시 때때로 gcc --version 확인해보기

# pytorch 재설치 - local (not virtual env)에서도 torch cuda 돌아가야함
$pip uninstall torch
$pip3 install torch torchvision torchaudio --index-url https://download.pytorch.org/whl/cu118


# Install opencv
pip install opencv-python

# Install ipykernel
pip install ipykernel
python -m ipykernel install --user --name 가상환경이름 --display-name 커널이름
python -m ipykernel install --user --name detectron2 --display-name detectron2


# Install Pillow
pip install pillow==9.5.0
(후에 쿠다 버전에 맞는 토치로 재설치해도 잘 돌아갔어요)
gcc 때문에 애먹은 detectron2...
오픈소스를 학습시킬 때마다 도커 공부해야지...! 사용해야지...! 라는 다짐은 커져가지만,
정작 아직 도커를 잘 모른답니다...
나름의 결과

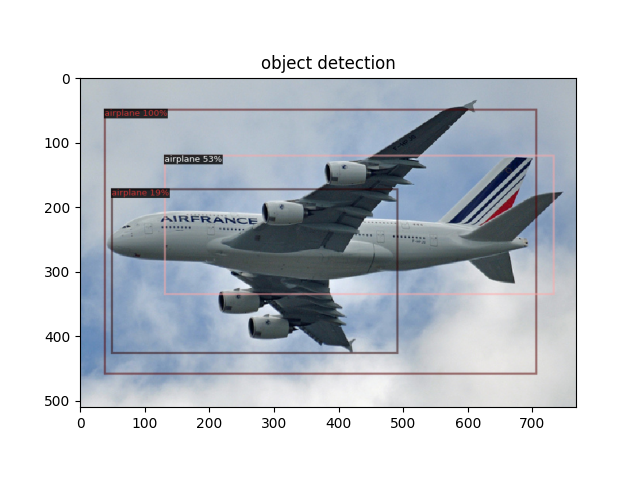
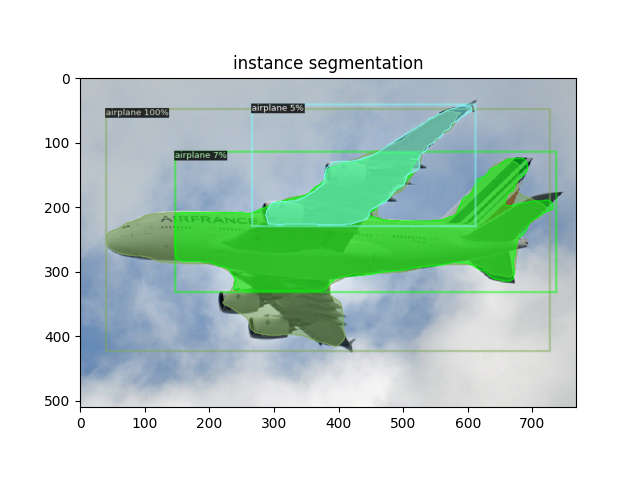

(panoptic segmentation은 뭔가 좀 이상한데, 분명 panoptic 가중치 파일을 가지고 왔는데 semantic이 된듯?)
detectron2 환경설정도 약간 고생했는데, 지금하고 있는 거에 비해서는 양반인 것 같습니다...
하하 지금 하고 있는것도 나중에 정리해야지