프론트엔드에서 복습해본 키워드
https://github.com/znehraks/bulletinBoard-frontend
디렉토리 구조
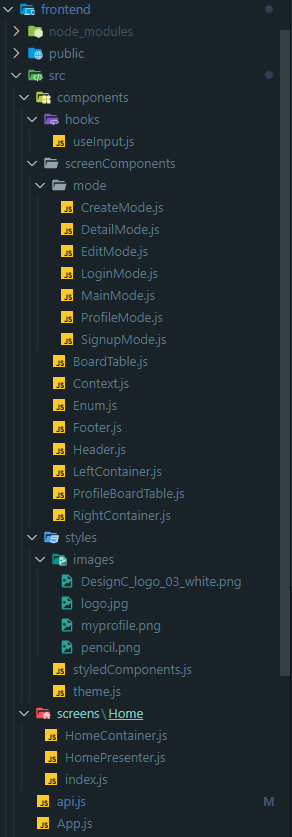
1. 먼저 src 폴더 내에 화면을 담당하는 screens폴더와 컴포넌트들로 구성된 components 폴더로 분리했다.
2. screens 폴더 내에 Home은 이 어플리케이션에는 구현되지 않았지만, react-router-dom을 이용하여 라우팅을 할때 '/Home' url로 들어오는 요청에 대해 화면을 뿌려주는 코드이다.
3. Home 내부는Container-Presenter 패턴으로 분리되어있다.
4. components 내부는 자주 사용되는 커스텀 hook을 갖고있는 hooks 폴더, 화면의 메인컨테이너의 내부 부분을 구성하는 screenComponents와 전체화면의 부분을 구성하는 여타 컴포넌트와 context hook에서 사용되는 Context들을 모아둔 Context.js이 있다. Enum.js는 java언어의 enum 형식의 언어처럼 디버깅 시 용이하도록 state로 자주 쓰이는 string 형식의 변수를 임의로 생성해두었다.
5. styles폴더에는 이미지를 갖고있는 images 폴더와 함께, 모든 styled-components를 저장한 styled-components.js가 있다. theme.js에는 중복되는 스타일 속성을 props로 관리하는 스타일 객체를 모아두었다.
컴포넌트의 대략적 구조
Header.js
LeftContainer.js
RightContainer.js
RightContainer.js > BoardTable.js
Footer.js
리액트 함수형 컴포넌트(functional component)
리액트 함수형 컴포넌트는 클래스형 컴포넌트에서 사용하는 state와 라이프 사이클 기능을 react hooks를 이용하여 구현한다.
화면의 헤더를 그리는 Header.js를 예로 들자면, class형 컴포넌트에서 사용되는 constructor 함수와 state 그리고 compnentDidMount, componentWillUnmount와 같은 생명주기 함수대신 hooks가 사용된다.
후에 알게되었지만, 메모리 측면에서 함수형 컴포넌트가 더 유리하며, 최근에는 react 공식 문서에서도 함수형 컴포넌트와 hooks 사용을 권장한다.
Header.js
//src/components/screenComponents/Header.js
// React와 useContext hook을 로드한다.
import React, { useContext } from "react";
// 이미지 파일 로드
import Logo_img from "../styles/images/DesignC_logo_03_white.png";
import Profile_img from "../styles/images/logo.jpg";
//mode에 쓰일 string 변수인 LOGIN, MAIN 로드
import { LOGIN, MAIN } from "./Enum";
//props의 타입검증을 위한 라이브러리
import PropTypes from "prop-types";
//로그인 상태를 저장하는 isLoggedInContext와 테마 상태(다크모드 여부)를 저장하는 themeContext 로드
import { isLoggedInContext, themeContext } from "./Context";
//화면에 보여질 styled-components 로드
import {
  MenuButton,
  LogoImg,
  LogoutBox,
  Menu,
  Nav,
  ProfileImg,
} from "../styles/styledComponents";

//외부 파일에서 사용 가능하도록 export함
//전개연산자로 props:{setMode}를 바로 받음
export const Header = ({ setMode }) => {
  //전개연산자로 각 context내부에 있는 state를 받음
  const { isLoggedIn, setIsLoggedIn } = useContext(isLoggedInContext);
  const { isDarkMode, setIsDarkMode } = useContext(themeContext);
  return (
    <Nav>
    //style을 위한 props들(justify, flex)
    //'click'이벤트 발생 시 상위 컴포넌트에서 받은, mode state의 상태를 변환시켜주는 setMode함수를 실행하여 현재 상태를 MAIN 상태로 변화시킴.
      <Menu justify={"center"} flex={4} onClick={() => setMode(MAIN)}>
        <LogoImg src={Logo_img} alt={"로고"} />
      </Menu>
      <Menu flex={1}>
        //현재 로그인되지 않은 상태라면 로그인버튼을 노출
        //현재 로그인되었다면 현재 유저의 프로필사진과 로그아웃버튼을 노출
        {!isLoggedIn ? (
          <MenuButton onClick={() => setMode(LOGIN)}>로그인하기</MenuButton>
        ) : (
          <LogoutBox>
            <ProfileImg src={Profile_img} alt={"프로필이미지"} />
            <MenuButton
              onClick={() => {
                //로그아웃시 localstorage에서 token을 제거하고, 로그인 상태를 false로 바꿈, 마지막으로 location.href를 통해 새로고침을 통해, 혹시 모를 에러 방지
                localStorage.removeItem("token");
                setIsLoggedIn(false);
                alert("로그아웃 되었습니다.");
                window.location.href = "/";
              }}
            >
              로그아웃하기
            </MenuButton>
          </LogoutBox>
        )}
      </Menu>

      <Menu flex={1}>
        //토글방식으로 삼항연산자를 이용하여 다크모드 켜기/끄기 관리
        <MenuButton onClick={() => setIsDarkMode(!isDarkMode)}>
          {isDarkMode ? "다크모드 끄기" : "다크모드 켜기"}
        </MenuButton>
      </Menu>
    </Nav>
  );
};

//상위 컴포넌트가 Header.js에 보내는 props의 타입을 검사한다.
Header.propTypes = {
  setMode: PropTypes.func.isRequired,
};
React Hooks
React hooks는
아래 HomeContainer.js에서
const [var, setVar] = useState("initialValue"); 형태인 useState react hooks를 다수 사용하였다. 간단하게 var는 state로서 사용되며, setVar("변경될 var값")를 통해서 var를 변경하고 컴포넌트를 리랜더링하는 방식으로 화면을 다시 그린다. var는 직접 변경하게되면, DOM이 리랜더링되지 않으므로 반드시 setVar 함수를 통해 값을 변경해야 한다.
HomeContainer.js
//src/Home/HomeContainer.js
//React와 React Hooks 로드
import React, { useContext, useEffect, useState } from "react";
//input의 value,onChange 속성에 쓰일 Hook
import useInput from "../../components/hooks/useInput";

...중략...

const HomeContainer = () => {
  //useState를 이용하여 게시판 목록에서 현재 선택된 게시판 row의 데이터를 객체 형태로 담는 hook
  const [current, setCurrent] = useState({
    code: -1,
    title: "",
    content: "",
    img_url: "",
    author: "",
    created_at: "",
    is_mine: false,
  });
  //로그인 상태를 담는 context hook에서 전개연산자를 통해 받아온 state들
  const { isLoggedIn, setIsLoggedIn, me, setMe } =
    useContext(isLoggedInContext);
  //게시판 목록의 전체 데이터를 api를 통해 가져와서 Array of Object형식으로 담는 hook
  const [data, setData] = useState([]);
  //뒤로가기 버튼을 보다 매끄럽게 동작하게 하기위해 이전상태 정보를 담는 hook
  const [prevMode, setPrevMode] = useState(MAIN);
  //메인 컨테이너의 mode를 변경하기 위해 쓰이는 hook
  const [mode, setMode] = useState(MAIN);
  //내 프로필 페이지에 뿌려지는 데이터를 api를 통해 가져와서 담는 hook
  const [userData, setUserData] = useState([]);
  //useEffect의 dependency로 쓰이며, 리랜더링 트리거를 담당하는 hook
  const [renderToken, setRenderToken] = useState(true);
  //게시판 목록의 현재 페이지를 담는 hook
  const [page, setPage] = useState(1);

  const titleInput = useInput("");
  const contentInput = useInput("");
  const nameInput = useInput("");
  const idInput = useInput("");
  const passwordInput = useInput("");

...중략...

  //데이터베이스에 있는 모든 게시판 row를 한번에 불러오는 함수
  //async 키워드를 통해 비동기함수로 실행
  const getAllFunc = async () => {
    //비동기로 실행
    await Api.getAll()
      .then((res) => {
      //data에 res.data로 state를 변환함
        setData(res.data);
      })
      .catch((err) => {
        console.log(err);
      });
  };

...중략...

  //Class형 컴포넌트에서 componentDidMount의 기능을 하는 hook
  //배열에 전달되는 인자들의 state가 바뀌면 리랜더링 됨
  useEffect(() => {
    getAllFunc();
    if (!me.code) {
      setIsLoggedIn(false);
    }
  }, [renderToken, me.code, setIsLoggedIn]);

...후략...
Container-Presenter Pattern
Container-Presenter 패턴은 컴포넌트를 마크업을 통해 UI를 보여주는 Presenter와 Presenter에 필요한 Props들의 처리 로직을 수행하는 Container로 분리하여 설계하는 디자인패턴 중 하나이다.
개발할 때에는 먼저 하나의 파일에 모두 작성한 뒤, 리펙토링을 거치면서 둘로 분리하였다.
이 어플리케이션에는 Home 스크린컴포넌트만 Container와 Presenter로 분리되어있지만 중복된 요소를 사전에 염두에 두며 코딩하면 더욱 효율적인 코드 작성이 가능할 것 같다.
HomeContainer.js
// src/Home/HomeContainer.js
import React, { useContext, useEffect, useState } from "react";
import useInput from "../../components/hooks/useInput";
import { Api } from "../../api";
import { LOGIN, MAIN } from "../../components/screenComponents/Enum";
import { HomePresenter } from "./HomePresenter";
import { isLoggedInContext } from "../../components/screenComponents/Context";

const HomeContainer = () => {
  const [current, setCurrent] = useState({
    code: -1,
    title: "",
    content: "",
    img_url: "",
    author: "",
    created_at: "",
    is_mine: false,
  });
  const { isLoggedIn, setIsLoggedIn, me, setMe } =
    useContext(isLoggedInContext);
  const [data, setData] = useState([]);
  const [prevMode, setPrevMode] = useState(MAIN);
  const [mode, setMode] = useState(MAIN);

...중략...

  useEffect(() => {
    getAllFunc();
    if (!me.code) {
      setIsLoggedIn(false);
    }
  }, [renderToken, me.code, setIsLoggedIn]);

  //위의 로직에서 처리를 거친 props를 Presenter에 내려준다.
  return (
    <HomePresenter
      isLoggedIn={isLoggedIn}
      current={current}
      setCurrent={setCurrent}
      setIsLoggedIn={setIsLoggedIn}
      setData={setData}
      setMe={setMe}
      prevMode={prevMode}
      setPrevMode={setPrevMode}
      setMode={setMode}
      setUserData={setUserData}
      setRenderToken={setRenderToken}
      setPage={setPage}
      idInput={idInput}
      titleInput={titleInput}
      contentInput={contentInput}
      passwordInput={passwordInput}
      data={data}
      me={me}
      mode={mode}
      userData={userData}
      page={page}
      nameInput={nameInput}
      createFunc={createFunc}
      editFunc={editFunc}
      deleteFunc={deleteFunc}
      getUserFunc={getUserFunc}
      loginFunc={loginFunc}
      signupFunc={signupFunc}
    />
  );
};

export default HomeContainer;
HomePresenter.js
//src/Home/HomePresenter.js
import React from "react";
//Home을 이루는 컴포넌트들을 임포트한다.
import { Footer } from "../../components/screenComponents/Footer";
import { Header } from "../../components/screenComponents/Header";
import { LeftContainer } from "../../components/screenComponents/LeftContainer";
import { RightContainer } from "../../components/screenComponents/RightContainer";
//React Dom에서 동적인 title 변경 및 나아가 검색엔진최적화에도 이용되는 라이브러리
import Helmet from "react-helmet";
//styled-components 임포트
import {
  MainContainer,
  MainRightContainer,
  Wrapper,
} from "../../components/styles/styledComponents";

export const HomePresenter = ({
//HomeContainer 로직에서 처리된 props를 전개연산자를 통해 로드
  isLoggedIn,
  current,
  setCurrent,
  prevMode,
  setPrevMode,
  setMode,
  setPage,
  idInput,
  passwordInput,
  data,
  me,
  mode,
  userData,
  page,
  nameInput,
  createFunc,
  editFunc,
  deleteFunc,
  getUserFunc,
  loginFunc,
  signupFunc,
  titleInput,
  contentInput,
}) => {
  //UI
  return (
    <Wrapper>
      <Helmet>
        <title>Home</title>
      </Helmet>
      <Header setMode={setMode} />
      <MainContainer>
        <LeftContainer
          mode={mode}
          isLoggedIn={isLoggedIn}
          setPrevMode={setPrevMode}
          setMode={setMode}
          getUserFunc={getUserFunc}
        />
        <MainRightContainer>
          <RightContainer
            data={data}
            me={me}
            page={page}
            setPage={setPage}
            mode={mode}
            setCurrent={setCurrent}
            setMode={setMode}
            current={current}
            isLoggedIn={isLoggedIn}
            deleteFunc={deleteFunc}
            prevMode={prevMode}
            editFunc={editFunc}
            createFunc={createFunc}
            userData={userData}
            setPrevMode={setPrevMode}
            nameInput={nameInput}
            idInput={idInput}
            passwordInput={passwordInput}
            signupFunc={signupFunc}
            loginFunc={loginFunc}
            titleInput={titleInput}
            contentInput={contentInput}
          />
        </MainRightContainer>
      </MainContainer>
      <Footer />
    </Wrapper>
  );
};
/Home/index.js
//src/Home/index.js
//다른 파일에서 임포트가 용이하도록 index를 만든다
import HomeContainer from "./HomeContainer";
export default HomeContainer;
axios
axios는 nodejs를 위한 프로미스 기반의 HTTP Client이다.
axios는 post method의 요청을 보낼 때, data 프로퍼티를 통해 보낸다.
axios의 응답은 json형태로 넘어온다.
api.js
//src/api.js
//axios 라이브러리 로드
import axios from "axios";
//axios에서 요청을 보낼 백엔드서버의 url을 baseURL에 작성한다.
const api = axios.create({
  //게시판 백엔드를 배포한 서버의 url이다.
  baseURL: "https://bulletinboard-backend.herokuapp.com/",
  // baseURL: "http://localhost:4000/",
});

//Api 객체
export const Api = {
  //백엔드 서버에 '/post/'라는 url로 get method를 통해 요청을 보낸다.
  //"https://bulletinboard-backend.herokuapp.com/post"에 get method로 요청을 보냄
  getAll: () => api.get(`/post`),

  //"https://bulletinboard-backend.herokuapp.com/post/create"에 post method로 요청을 보냄
  //req.body의 하위 객체에 user_code, board_author, board_title, board_content를 담아서 보낸다.
  //req.headers.authorization에 `Bearer "토큰"`을 담아서 보내면 백엔드 서버에서jwt 인증에 사용한다.
  createPost: (user_code, board_author, board_title, board_content) =>
    api.post(
      `/post/create`,
      {
        user_code,
        board_author,
        board_title,
        board_content,
      },
      { headers: { Authorization: `Bearer ${localStorage.getItem("token")}` } }
    ),

  ...후략...

};
styled-components
styled-components는 styled 함수를 임포트 한 뒤, styled."htmlDOM요소이름"과 같이 작성한다.
1.방법-A
const ComponentName = styled.div`
display:flex;
`;
와 같은 방법으로 사용한다.
2.방법-B
const ComponentName = styled(AlreadyExistComponent)`
display:flex;
`;
와 같이 이미 존재하는 컴포넌트를 그대로 불러와서 사용할 수도 있다.
//src/components/styles/styledComponents.js
//styled 함수를 임포트
import styled from "styled-components";

//background: 처럼 props로 속성을 정할 수 있다.
//props 중 theme은 ThemeProvider를 통해 최상위컴포넌트에서 추가해준 prop이다.
export const Nav = styled.div`
  width: 100%;
  height: 10%;
  display: flex;
  flex-direction: row;
  justify-content: space-evenly;
  align-items: center;
  background: ${(props) => props.theme.headerColor};
  font-size: 1.1vw;
  font-weight: 600;
  padding: 0 7vw 0 15vw;
  :first-child {
    flex: 3;
  }
  :not(:first-child) {
    flex: 1;
  }
`;
export const Menu = styled.div`
  flex: ${(props) => props.flex};
  display: flex;
  flex-direction: row;
  justify-content: flex-start;
  align-items: center;
  font-weight: 600;
  color: ${(props) => props.theme.headerFontColor};
`;

//css와 같이 이벤트 선택자와 자식선택자를 사용할 수 있다.
export const BoardRow = styled.div`
  width: 95%;
  height: 10%;
  display: flex;
  flex-direction: row;
  justify-content: space-evenly;
  align-items: center;
  color: ${(props) => props.theme.fontColor};
  background-color: ${(props) => props.theme.ContainerColor};
  cursor: ${(props) => (props.isTitle ? "inherit" : "pointer")};
  border-top: 1px solid ${(props) => props.theme.borderColor};

  :last-child {
    border-bottom: 1px solid ${(props) => props.theme.borderColor};
  }
  :hover {
    background-color: ${(props) =>
      props.isTitle ? "inherit" : props.theme.headerColor};
    border: ${(props) =>
      props.isTitle
        ? `1px solid inherit`
        : `1px solid ${props.theme.lightHeaderColor}`};
    div {
      color: ${(props) =>
        props.isTitle ? "inherit" : props.theme.hoverFontColor};
    }
  }
`;
export const BoardCell = styled.div`
  width: 100%;
  height: 3vw;
  text-align: center;
  display: flex;
  align-items: center;
  justify-content: center;
  font-size: 1.2vw;
  font-weight: 600;
  color: ${(props) => props.theme.fontColor};
  border-right: 1px solid ${(props) => props.theme.borderColor};

  :first-child {
    border-left: 1px solid ${(props) => props.theme.borderColor};
    flex: 1;
  }
  :nth-child(2) {
    flex: 3;
  }
  :nth-child(3) {
    flex: 2;
  }
  :last-child {
    flex: 2;
  }
`;
//후략
UI개선
context hook을 이용하여 다크모드를 구현하였다.
theme.js
// src/components/styles/theme.js
//다크모드가 아닐 때 컬러팔레트
export const whiteModetheme = {
  bgColor: "#e3e7ea",
  whiteBgColor: "#fff",
  headerColor: "#00386b",
  lightHeaderColor: "#0058ab",
  ContainerColor: "#aaccdd",
  headerFontColor: "#fff",
  fontColor: "#000",
  hoverHeaderFontColor: "rgba(255,255,255,0.6)",
  hoverFontColor: "#fff",
  borderColor: "rgba(0,0,0,0.5)",
};

//다크모드일때 컬러팔레트
export const darkModeTheme = {
  bgColor: "#414141",
  whiteBgColor: "#2D333B",
  headerColor: "#2D333B",
  lightHeaderColor: "#202124",
  ContainerColor: "#202124",
  headerFontColor: "#ADBAB3",
  fontColor: "#ADBAB3",
  hoverHeaderFontColor: "#9DA7B3",
  hoverFontColor: "#539BF5",
  borderColor: "#ADBAB3",
};
app.js
//src/app.js
import React, { useState } from "react";
//하위 컴포넌트의 styled-components에서 props로 theme prop을 보내주는 컴포넌트
import { ThemeProvider } from "styled-components";
//로그인담당 context와 theme담당 context
import {
isLoggedInContext,
themeContext,
} from "./components/screenComponents/Context";
//다크모드, 비다크모드일때 theme
import { darkModeTheme, whiteModetheme } from "./components/styles/theme";
import Home from "./screens/Home";
const App = () => {
const [isLoggedIn, setIsLoggedIn] = useState(
Boolean(localStorage.getItem("token"))
);
const [me, setMe] = useState({ code: "", user_id: "" });
//Default 값으로 다크모드가 아닌 상태로 hooks 생성
const [isDarkMode, setIsDarkMode] = useState(false);
return (
<isLoggedInContext.Provider
value={{ isLoggedIn, setIsLoggedIn, me, setMe }}
>
<themeContext.Provider value={{ isDarkMode, setIsDarkMode }}>
//다크모드 선택 여부에따라 각각 다른 테마를 적용함
<ThemeProvider theme={isDarkMode ? darkModeTheme : whiteModetheme}>
<Home />
</ThemeProvider>
</themeContext.Provider>
</isLoggedInContext.Provider>
);
};
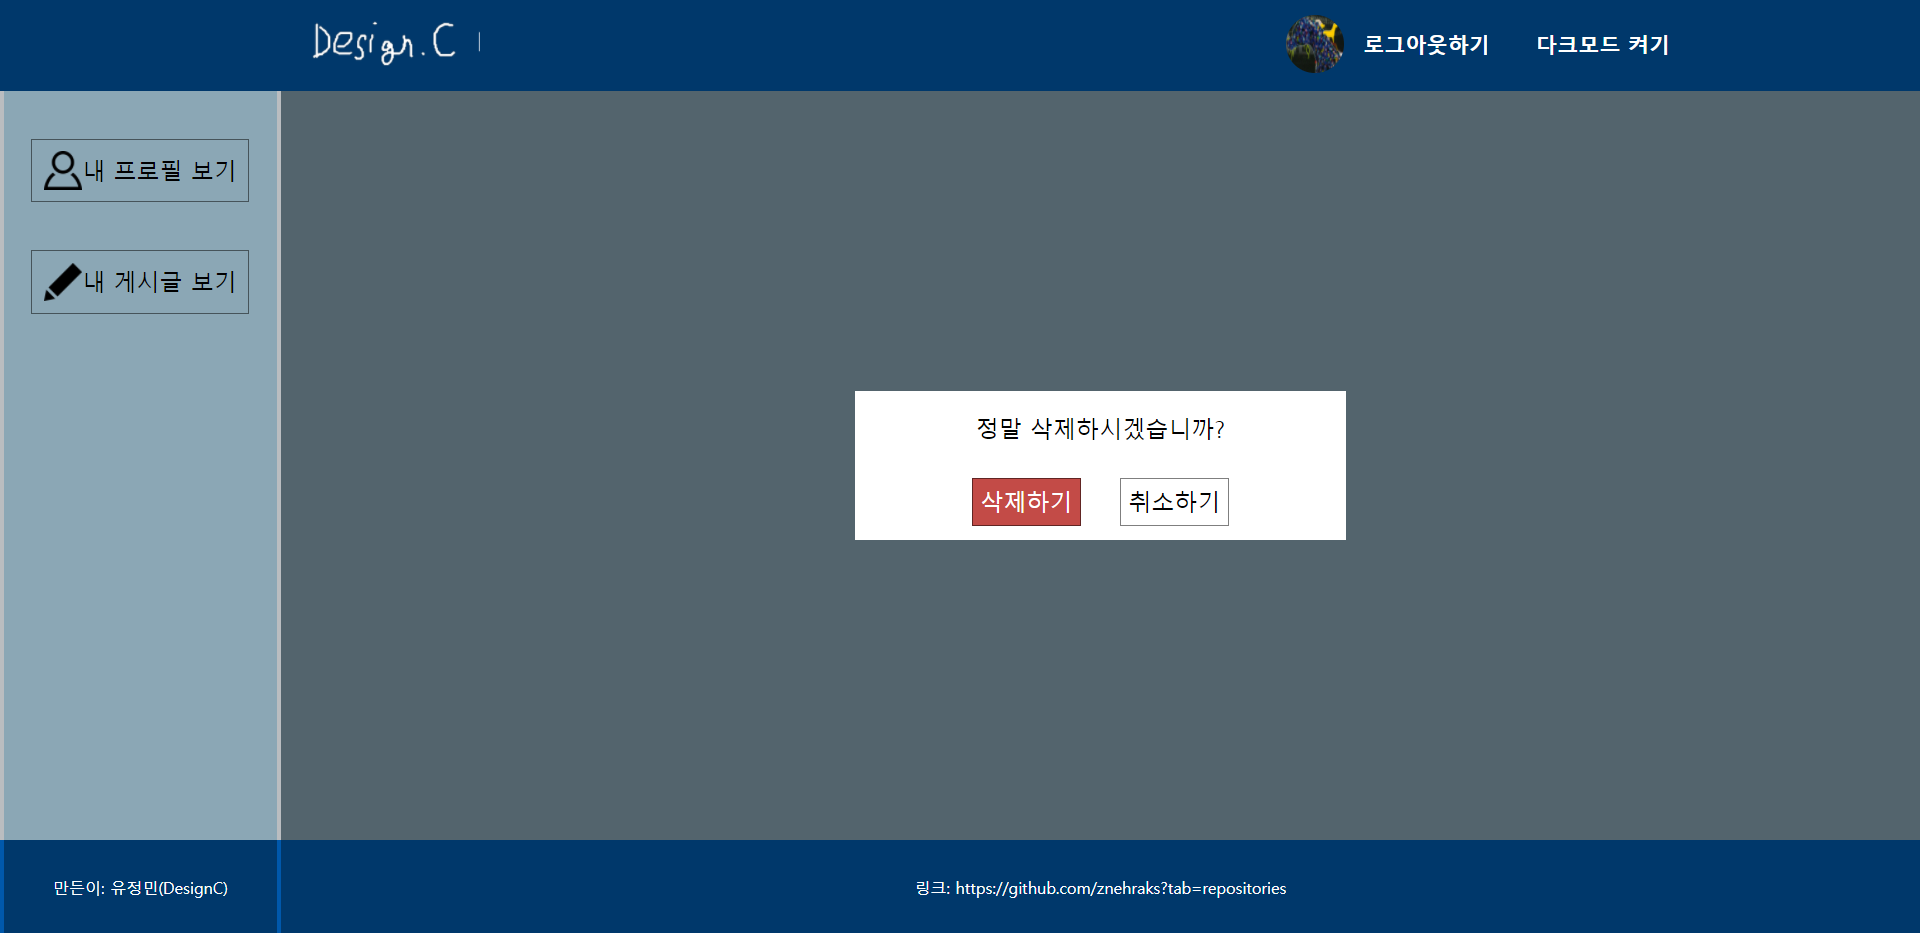
export default App;게시물 삭제 시 confirm 기능을 하는 modal 구현
styledComponents.js
//src/components/styles/styledComponents.js
...중략....
//모달에서 뒷 어두운 배경
export const PopupOverlay = styled.div`
  width: 100%;
  height: 100%;
  background: rgba(0, 0, 0, 0.6);
  opacity: 0.3;
  display: ${(props) => (props.display ? "block" : "none")};
  position: absolute;
  top: 0;
  left: 0;
  z-index: 999;
`;

//모달의 전체 컨테이너
export const PopupWrapper = styled.div`
  width: 100%;
  height: 100%;
  background: rgba(0, 0, 0, 0.4);
  display: ${(props) => (props.display ? "block" : "none")};
  display: flex;
  justify-content: center;
  align-items: center;
  z-index: 1000;
`;

//모달에서 흰색 박스
export const PopupMessageBox = styled.div`
  width: 30%;
  height: 20%;
  background-color: ${(props) => props.theme.whiteBgColor};
  display: flex;
  flex-direction: column;
  justify-content: space-evenly;
  align-items: center;
  padding-top: 0.4vw;
  font-size: 1.2vw;
  color: ${(props) => props.theme.fontColor};
`;
DetailMode.js
// src/components/screenComponents/mode/DetailMode.js
import React, { useState } from "react";
import {
MainRightContainerTitle,
BoardWrapper,
CurrentTitleContainer,
CurrentContentContainer,
ButtonBox,
ButtonContainer,
GoToBackButton,
PopupOverlay,
PopupWrapper,
PopupMessageBox,
} from "../../styles/styledComponents";
import { EDIT } from "../Enum";
import PropTypes from "prop-types";
export const DetailMode = ({
setCurrent,
setMode,
prevMode,
current,
isLoggedIn,
titleInput,
contentInput,
deleteFunc,
}) => {
//모달을 보이게 할지 안할지 상태
const [display, setDisplay] = useState(false);
return (
<>
{display ? (
<>
<PopupOverlay display={display} />
<PopupWrapper display={display}>
<PopupMessageBox>
정말 삭제하시겠습니까?
<ButtonBox>
<ButtonContainer
bgColor={"#c34b47"}
//버튼이 눌리면 최종 게시물의 삭제가 진행되고 모달의 display를 block 에서 none으로 변경
onClick={() => {
deleteFunc(current.code);
setDisplay(false);
}}
>
삭제하기
</ButtonContainer>
<ButtonContainer onClick={() => setDisplay(false)}>
취소하기
</ButtonContainer>
</ButtonBox>
</PopupMessageBox>
</PopupWrapper>
</>
) : (
<>
<GoToBackButton
onClick={() => {
setCurrent({ code: -1 });
setMode(prevMode);
}}
>
뒤로가기
</GoToBackButton>
<MainRightContainerTitle>
{current.author}의 게시글
</MainRightContainerTitle>
<BoardWrapper>
<CurrentTitleContainer>{current.title}</CurrentTitleContainer>
<CurrentContentContainer>{current.content}</CurrentContentContainer>
{isLoggedIn && current.is_mine && (
<ButtonBox>
<ButtonContainer
onClick={() => {
setMode(EDIT);
titleInput.setValue(current.title);
contentInput.setValue(current.content);
}}
>
수정하기
</ButtonContainer>
//버튼이 눌리면 모달의 display를 none에서 block으로 변경
<ButtonContainer
onClick={() => {
setDisplay(true);
}}
>
삭제하기
</ButtonContainer>
</ButtonBox>
)}
</BoardWrapper>
</>
)}
</>
);
};
DetailMode.propTypes = {
setCurrent: PropTypes.func.isRequired,
setMode: PropTypes.func.isRequired,
prevMode: PropTypes.string.isRequired,
current: PropTypes.object.isRequired,
isLoggedIn: PropTypes.bool.isRequired,
titleInput: PropTypes.object.isRequired,
contentInput: PropTypes.object.isRequired,
deleteFunc: PropTypes.func.isRequired,
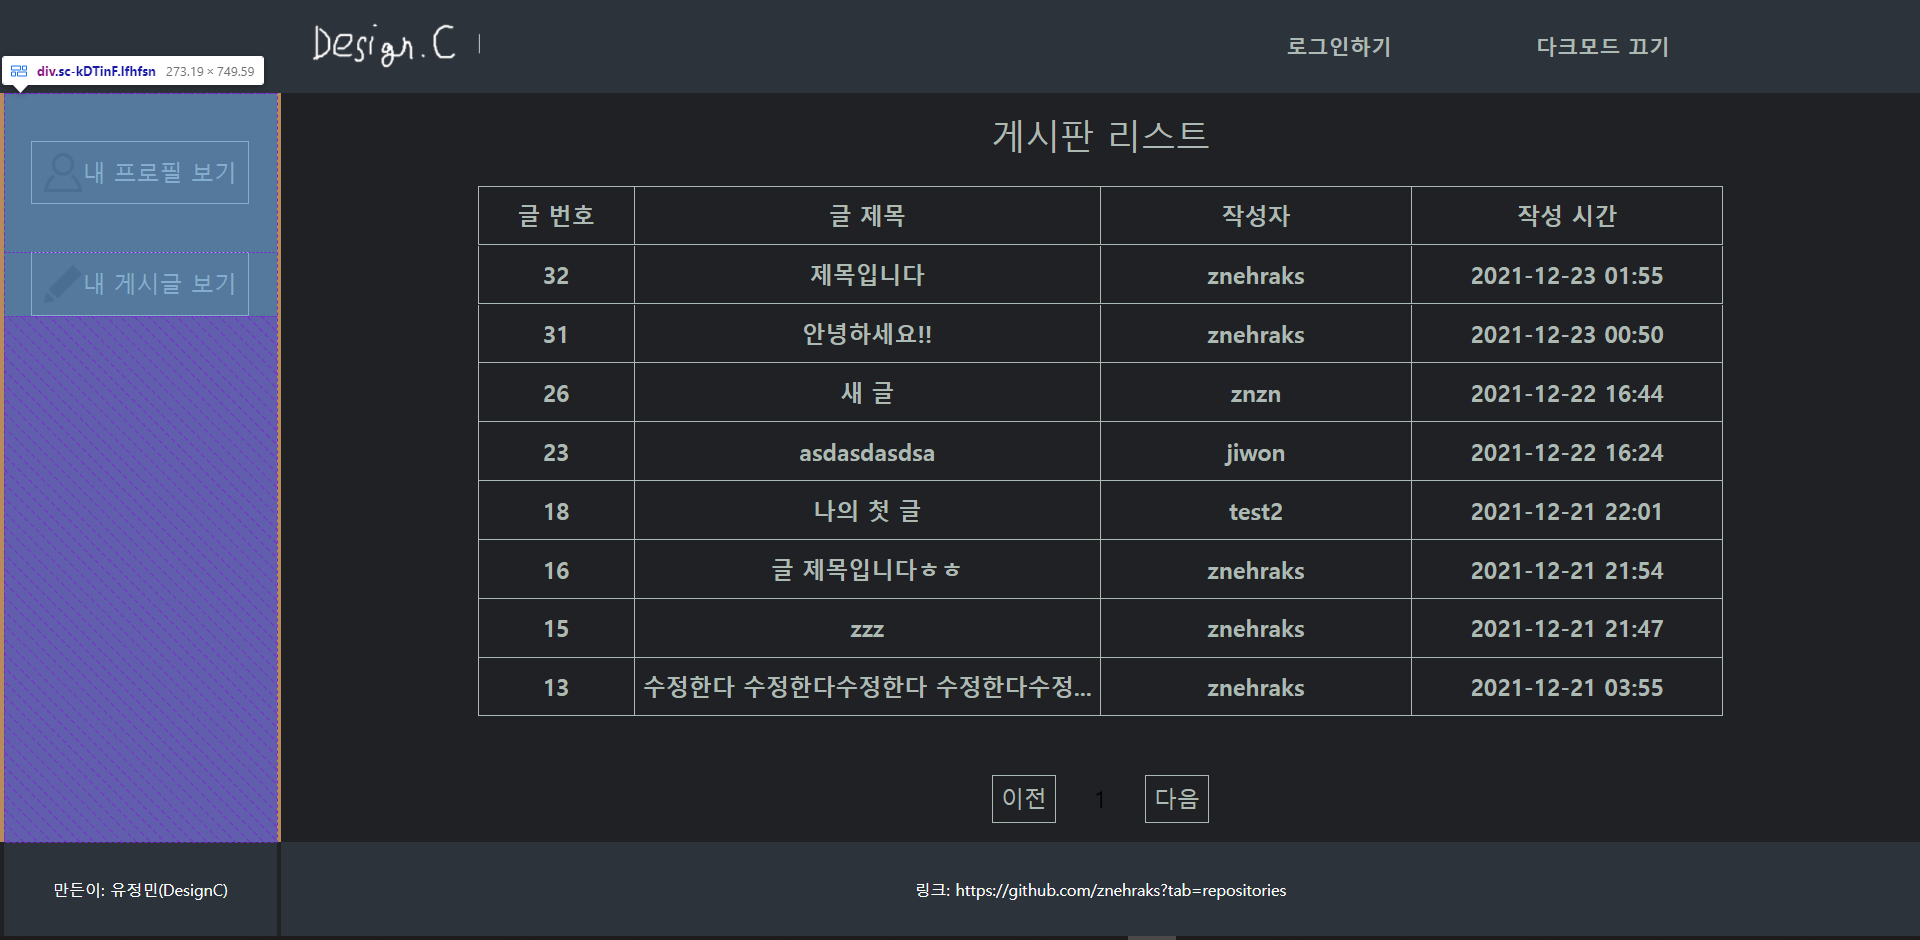
};반응형 웹
반응형 웹은 다양한 디바이스의 크기의 맞게 스타일링하여 원만한 렌더링을 가능케하는 웹페이지를 뜻한다.
styled-components에 미디어쿼리를 이용하여 코딩하였다.
styledComponents.js
//src/components/styles/styledComponents.js
export const GoToBackButton = styled.div`
  position: absolute;
  width: 5vw;
  height: 5vw;
  top: 5vw;
  border-radius: 50%;
  font-size: 1vw;
  font-weight: 700;
  display: flex;
  align-items: center;
  justify-content: center;
  right: 7vw;
  color: ${(props) => props.theme.fontColor};
  border: 1px solid ${(props) => props.theme.borderColor};
  :hover {
    background-color: ${(props) => props.theme.lightHeaderColor};
    color: ${(props) => props.theme.hoverFontColor};
  }
  cursor: pointer;
//화면너비가 550px(일반적인 휴대폰의 최대화면 너비) 이하인 디바이스에 설정되는 css 스타일을 작성한다.
//태블릿등을 위한 웹과 모바일의 중간 단계 페이지를 추가해 줄 수도 있다.
  @media (max-width: 550px) {
    top: 15vw;
    right: 2vw;
    width: 10vw;
    height: 10vw;
    font-size: 2.2vw;
  }
`;
검색 기능
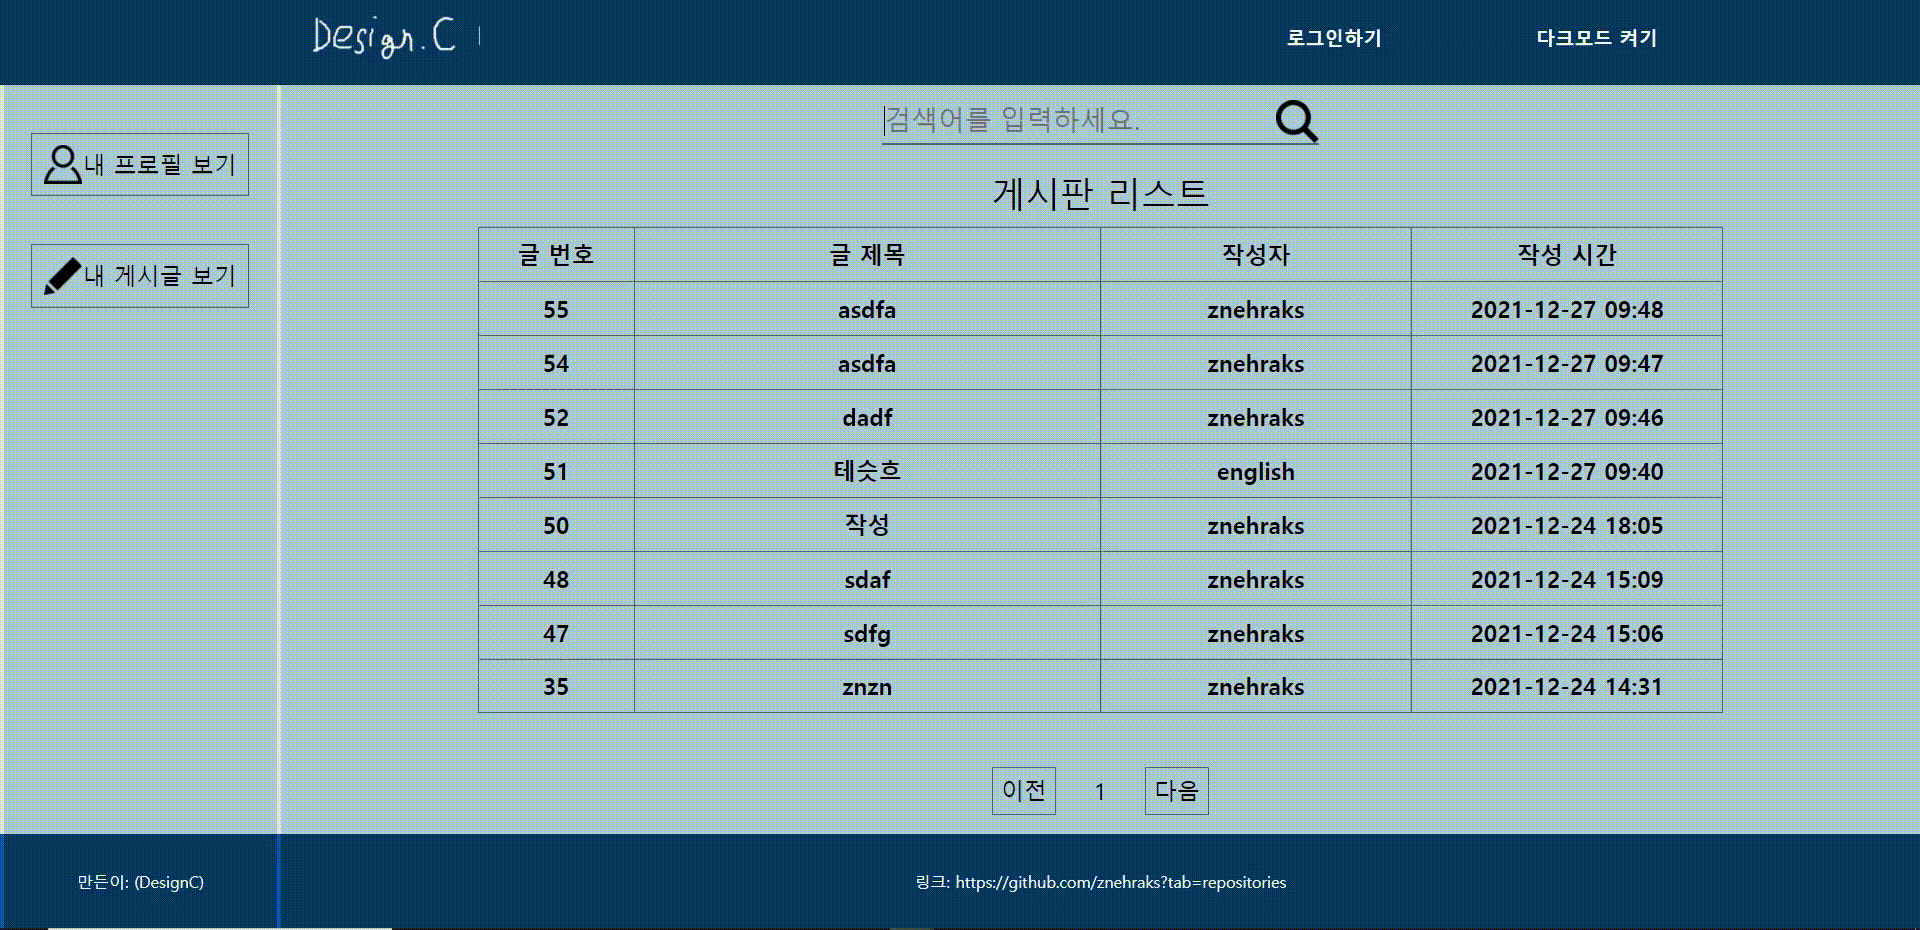
hook을 이용하여 입력된 검색어를 필터링하는 검색 기능을 구현했다.
공백일때는 검색기능이 비활성화되었다고 판단하여 모든 게시물을 보여주는 방법으로 구현했다.
MainMode.js
...생략...
//input hook을 이용하여 초기 검색값을 ""(공백)으로 설정
const search = useInput("");
//검색어로 필터링된 데이터를 상태관리하기 위한 hook
const [searchedData, setSearchedData] = useState([]);
//검색어(serach.value)값에따라 필터링된 새로운 데이터를 설정하는 함수
const searchFunc = () => {
const searchedDataTemp = [];
if (data.length !== 0) {
for (let i = 0; i < data.length; i++) {
if (
search.value === "" ||
data[i].board_author.includes(search.value) ||
data[i].board_title.includes(search.value)
) {
console.log(data[i]);
searchedDataTemp.push(data[i]);
}
}
setSearchedData(searchedDataTemp);
}
};
useEffect(() => {
searchFunc();
}, [search.value]);
return (
<>
<SearchInputContainer>
<SearchInput
type="text"
placeholder="검색어를 입력하세요."
{...search}
/>
<SearchIcon src={Magnifier_img} alt="검색" />
</SearchInputContainer>
{isLoggedIn && me && (
<AddPostButton
onClick={() => {
setMode(CREATE);
titleInput.setValue("");
contentInput.setValue("");
}}
>
+
</AddPostButton>
)}
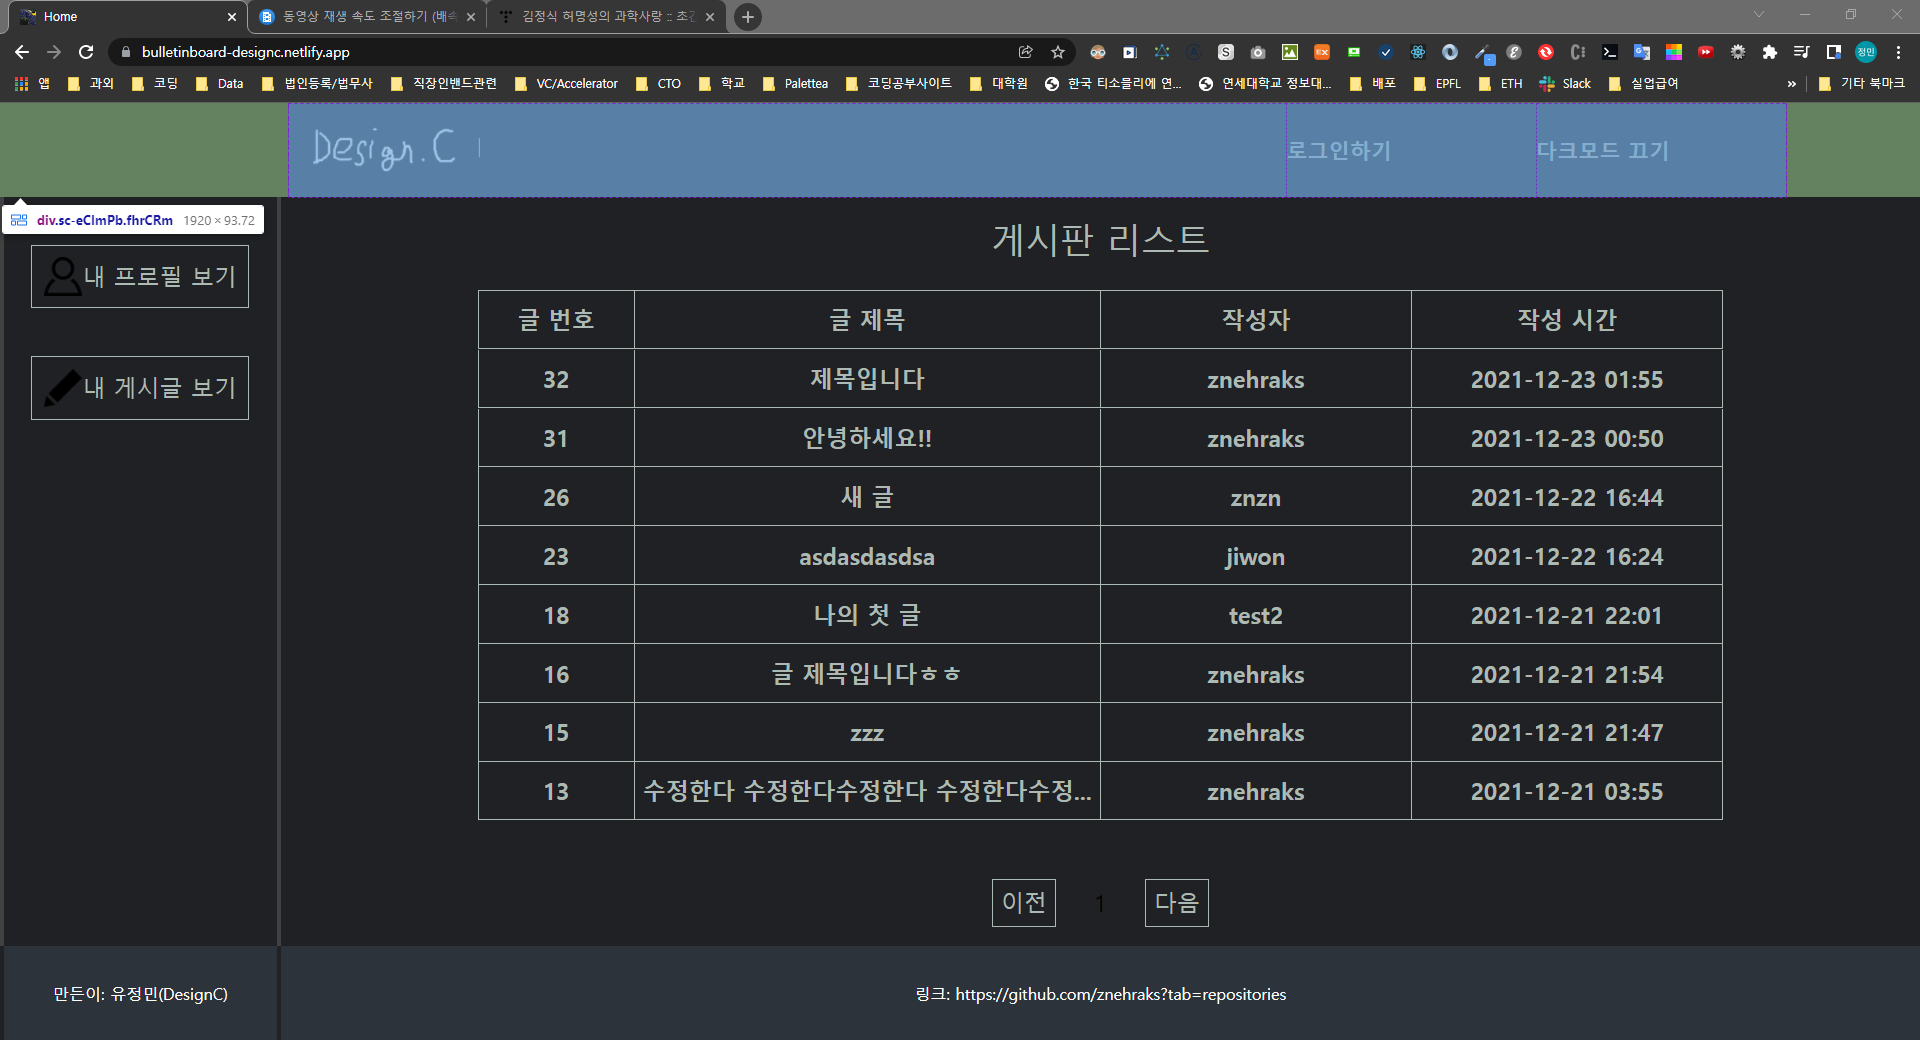
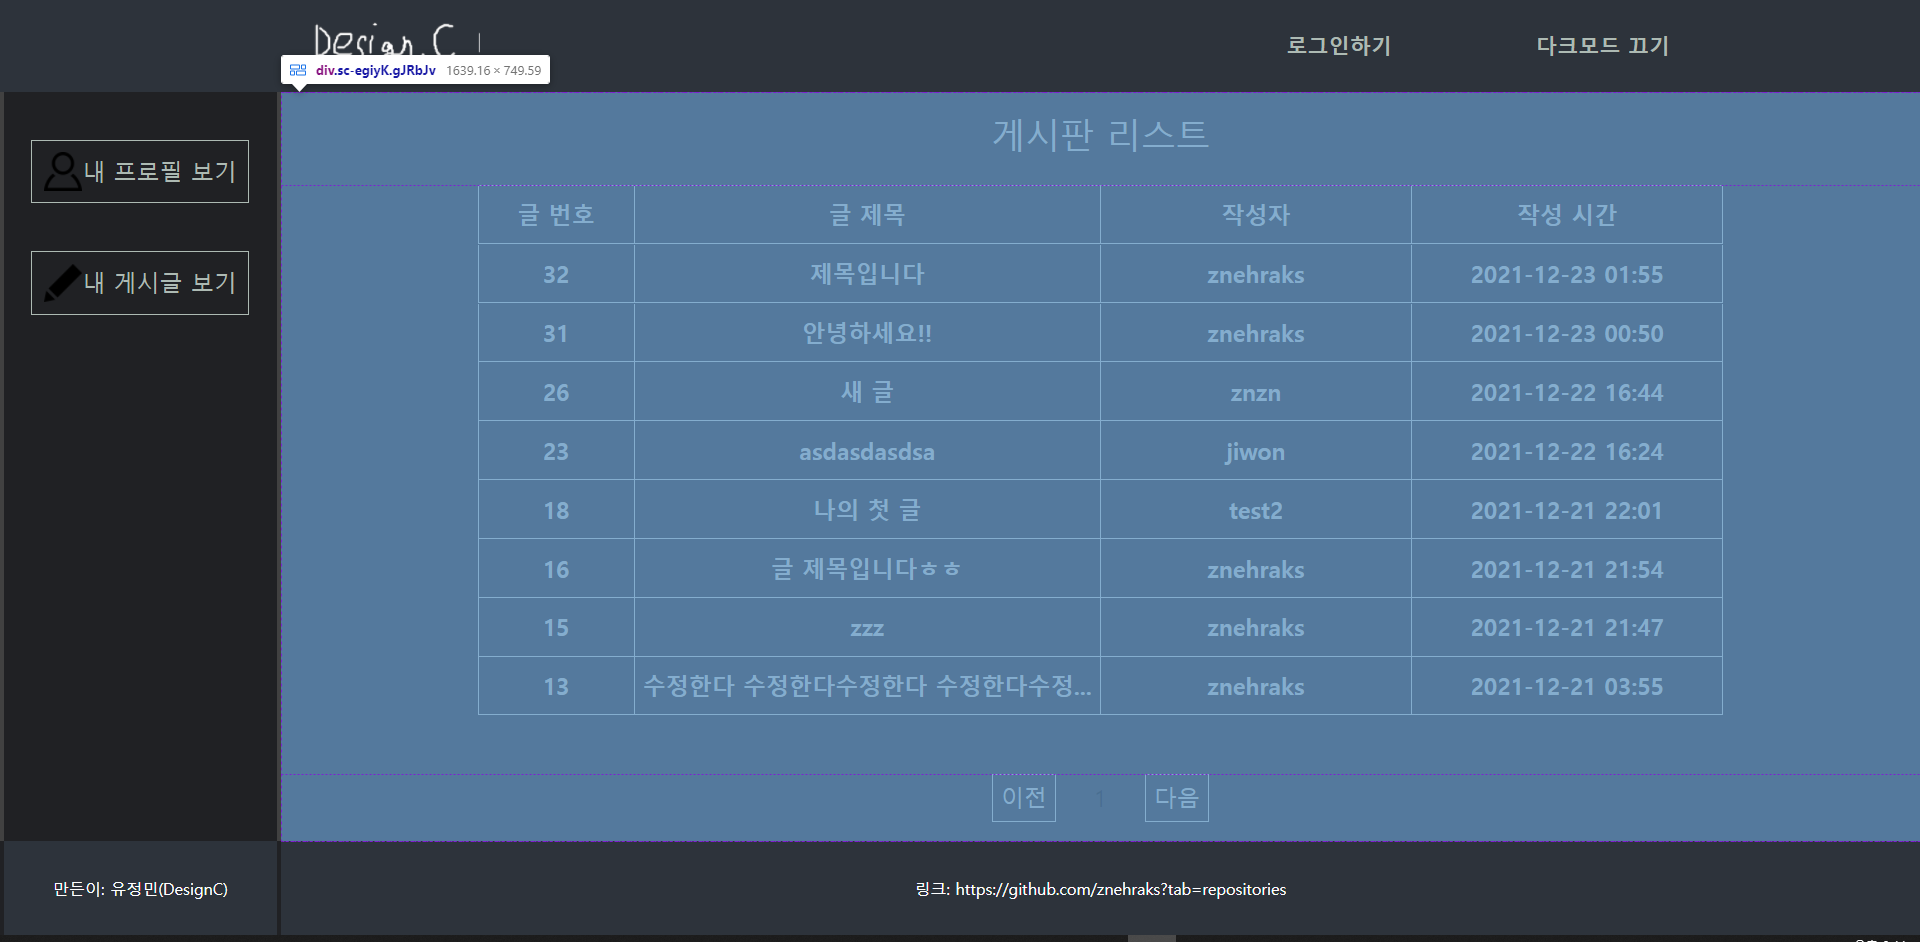
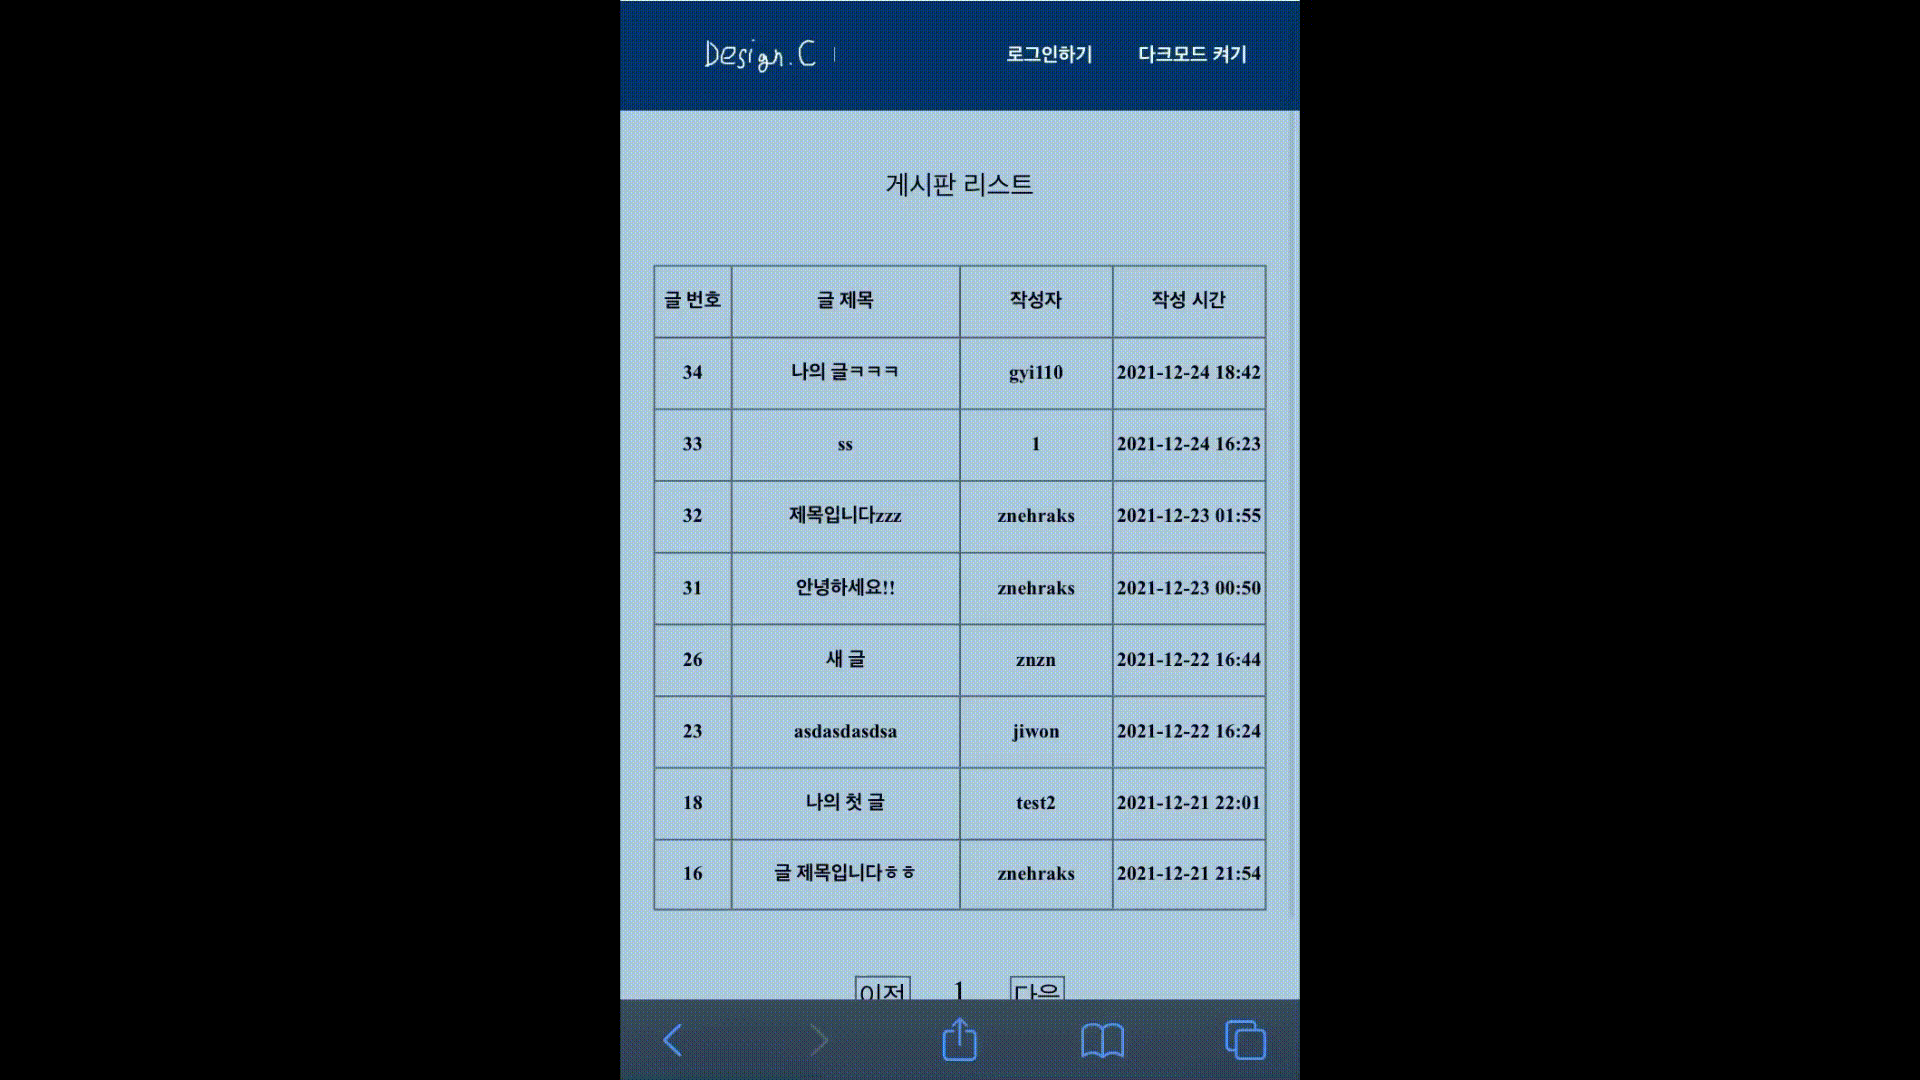
<MainRightContainerTitle>게시판 리스트</MainRightContainerTitle>
<BoardWrapper>
<BoardRow isTitle={true}>
<BoardCell>글 번호</BoardCell>
<BoardCell>글 제목</BoardCell>
<BoardCell>작성자</BoardCell>
<BoardCell>작성 시간</BoardCell>
</BoardRow>
<BoardTable
//기존과 달리 검색된 데이터를 보드테이블에 props로 전달한다.
data={searchedData}
me={me}
page={page}
setCurrent={setCurrent}
setMode={setMode}
DETAIL={DETAIL}
/>
</BoardWrapper>
...후략...코더가 아닌 프로그래머를 지향하는 개발자