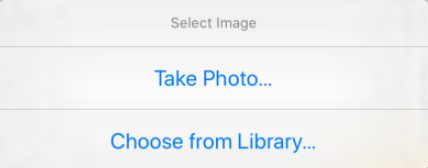
사진을 업로드할때 카메라로 촬영, 앨범에서 선택 두가지 방법이 있다.
이전에는 showImagePicker를 이용해서 한번에 구현할수 있었지만 더이상 지원하지 않고 launchCamera, launchImageLibrary 만 지원한다.
그렇기에 Alert를 이용해서 showImagePicker흉내를 내보도록 할것이다.
1. 라이브러리 설치와 추가.
"npm install react-native-image-picker"
import {launchCamera, launchImageLibrary} from 'react-native-image-picker';2. 앨범 접근 권한 및 카메라 사용 권한 필요.
android/app/main/AndroidManifest.xml에 추가해준다.
<uses-permission android:name="android.permission.ACCESS_FINE_LOCATION" />
<uses-permission android:name="android.permission.WRITE_EXTERNAL_STORAGE"/>
사용자에게 권한 요청 후 권한이 있는 경우 동작 가능하도록 한다.
import {PermissionsAndroid} from 'react-native';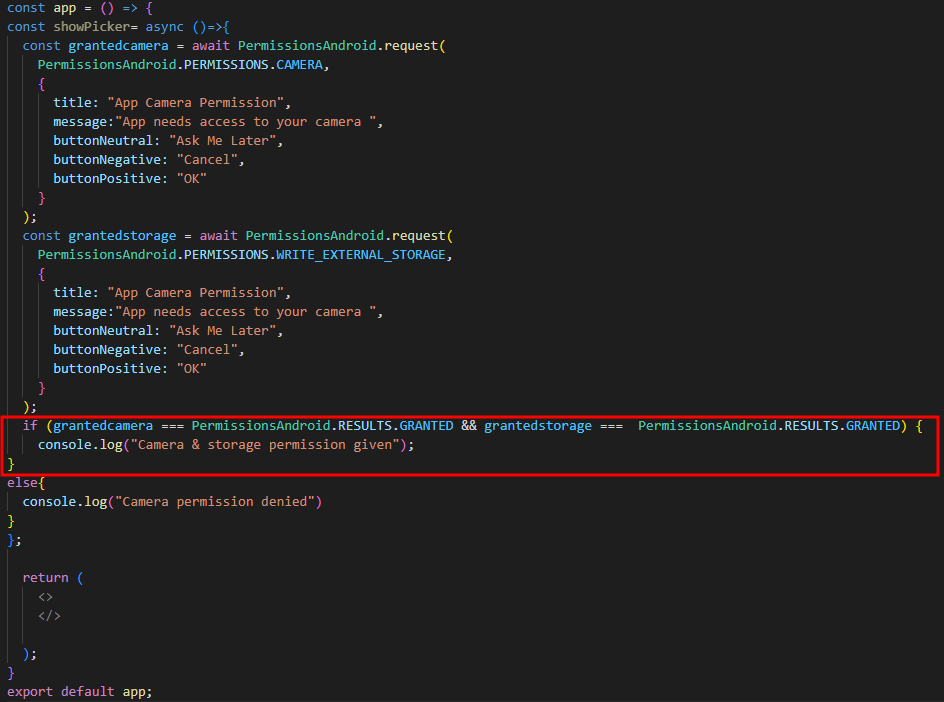
3. 메인화면.
<Image source={{uri:photo}}/>
<Button title="이미지 선택" onPress={showPicker} ></Button> 
4. Alert.alert를 이용해 한 번에 선택.
import {Alert} from 'react-native';Alert.alert(
"뭘로 올릴래?",
"선택해",
[
{
text: "카메라로 찍기",
onPress: async() =>{
const result = await launchCamera({
mediaType : 'photo',
cameraType : 'back',
});
if (result.didCancel){
return null;
}
const localUri = result.assets[0].uri;
const uriPath = localUri.split("//").pop();
const imageName = localUri.split("/").pop();
setPhoto("file://"+uriPath);
}
},
{
text: "앨범에서 선택",
onPress: async() =>{
const result = await launchImageLibrary();
if (result.didCancel){
return null;
}
const localUri = result.assets[0].uri;
const uriPath = localUri.split("//").pop();
const imageName = localUri.split("/").pop();
setPhoto("file://"+uriPath);
}
},
],
{cancelable: false}
);
5. 끝!

h2