1. 파일 입출력
const fs = require("fs"); // fs (File System) 모듈을 사용2. 파일 읽기
1. 동기 방식 (Synchronous)
- 코드가 순서대로 실행된다.
- 파일을 다 읽을 때까지 다음 줄로 넘어가지 않는다.
const fs = require("fs");
// 별도로 예외처리를 해줘야 함
const data = fs.readFileSync("example.txt", "utf8");
console.log("파일 내용: ", data);
→ Sync가 동기라는 뜻!
→ UTF-8: 텍스트를 컴퓨터가 이해할 수 있는 이진수(바이너리)로 변환하는 문자 인코딩 방식 중 하나
2. 비동기 방식 (Asynchronous)
- 파일을 읽는 동안 다음 코드를 먼저 실행한다.
- 다 읽으면 콜백 함수로 결과를 넘긴다.
const fs = require("fs");
fs.readFile("example.txt", "utf8", (err, data) => {
  if (err) {
    console.log("파일 읽기 실패: ", err);
    return;
  }
  console.log("파일 내용: ", data);
});
console.log("프로그램을 종료합니다.");
3. 파일 쓰기
1. 동기 방식
const fs = require("fs");
fs.writeFileSync("output.txt", "이 내용이 파일에 저장됩니다.");
console.log("파일 저장 완료!(동기)");
2. 비동기 방식
const fs = require("fs");
fs.writeFile("output2.txt", "비동기 방식으로 저장합니다.", (err) => {
  if (err) {
    console.error("저장 실패: ", err);
    return;
  }
  console.log("파일 저장 완료!(비동기)");
});
4. 파일에 내용 추가
const fs = require("fs");
fs.appendFile("output2.txt", "\n새로운 줄이 추가됩니다.", (err) => {
  if (err) throw err;
  console.log("내용 추가 완료!");
});
5. 파일 삭제하기
const fs = require("fs");
fs.unlink("output2.txt", (err) => {
  if (err) throw err;
  console.log("파일 삭제 완료");
});
6. http 모듈
웹 서버를 만들 수 있게 해주는 핵심 내장 모듈
클라이언트(브라우저 등)의 요청(request)을 받고, 응답(response)을 반환하는 기능을 제공한다.
이 모듈을 통해 별도의 웹 서버 소프트웨어(Apache, Nginx 등) 없이도 Node.js 자체로 웹 서버를 만들 수 있으며, http.createServer() 메서드를 사용해 요청 처리 함수를 정의하고, 서버를 특정 포트에서 실행할 수 있다.

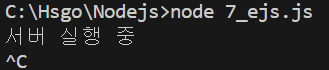
ctrl+C 누르면 서버 실행 종료됨.
const http = require("http");
const server = http.createServer((req, res) => {
const url = req.url;
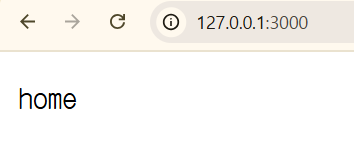
// 127.0.0.1:3000/
if (url === "/") {
res.writeHead(200, { "Content-Type": "text/plain" });
res.end("home");
} else if (url === "/about") {
res.writeHead(200, { "Content-Type": "text/plain" });
res.end("mypage");
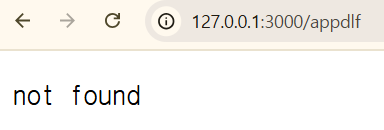
} else {
res.writeHead(404, { "Content-Type": "text/plain" });
res.end("not found");
}
});
//127.0.0.1, localhost, 192.168.9.254
server.listen(3000, () => {
console.log("서버 실행 중");
});200의 의미: OK. 요청이 성공적으로 처리됨.
404의 의미: Not Found. 요청한 페이지를 찾을 수 없음.
500의 의미: Internal Server Error. 서버 내부에서 예기치 않은 오류가 발생.

7. html 파일 응답
const http = require("http");
const fs = require("fs");

const server = http.createServer((req, res) => {
  if (req.url === "/") {
    fs.readFile("test.html", (err, data) => {
      if (err) {
        res.writeHead(500);
        return res.end("파일 읽기 오류");
      }
      res.writeHead(200, { "Content-Type": "text/html" });
      res.end(data);
    });
  } else {
    res.writeHead(404);
    res.end("Not Found");
  }
});

server.listen(3000, () => {
  console.log("서버 실행 중");
});
<!DOCTYPE html>
<html lang="en">
<head>
<meta charset="UTF-8" />
<meta name="viewport" content="width=device-width, initial-scale=1.0" />
<title>홈페이지</title>
</head>
<body>
<h2>환영합니다!</h2>
<p>고현서의 홈페이지에 오신 걸 환영합니다!</p>
</body>
</html>
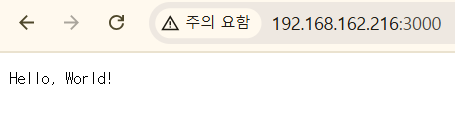
IPv4 주소로 ... 확인 가능.
IPv4 주소:3000 하면 됨.
8. JSON 데이터 응답
const http = require("http");

const server = http.createServer((req, res) => {
  if (req.url == "/api/user") {
    const user = {
      name: "김사과",
      age: 20,
      job: "개발자",
    };
    res.writeHead(200, { "Content-Type": "application/json" });
    res.end(JSON.stringify(user));
  } else {
    res.writeHead(404);
    res.end("Not Found");
  }
});

server.listen(3000, () => {
  console.log("서버 실행 중");
});
9. nodemon
Node.js 개발 시 자주 사용하는 유틸리티.
소스 코드가 변경될 때마다 자동으로 서버를 재시작해주는 도구.
Node.js로 서버 실행 시, 코드 수정 후 서버를 수동으로 종료하고 다시 실행해야 한다.
하지만, nodemon을 사용하면 파일이 수정될 때마다 자동으로 서버를 재시작해준다.
실행은 node app.js 대신 nodemon app.js처럼 사용하면 된다.
전역 설치 (모든 프로젝트에서 사용 가능)
npm install -g nodemon로컬 설치 (해당 프로젝트에서만 사용): 이 방식은 package.json에 개발 도구로 등록되므로 협업 시 유용하다.
npm install --save-dev nodemon로컬 설치 방식으로 nodemon을 설치하였다...!
package.json에 스크립트 등록
{
"name": "nodejs",
"version": "1.0.0",
"main": "index.js",
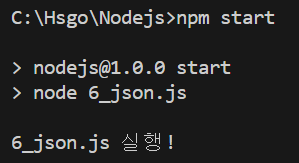
"scripts": {
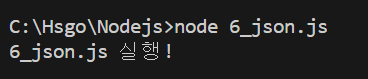
"start": "node 6_json.js",
"dev": "nodemon 6_json.js"
},
"keywords": [],
"author": "",
"license": "ISC",
"description": "",
"dependencies": {
"ejs": "^3.1.10",
"express": "^5.1.0"
},
"devDependencies": {
"nodemon": "^3.1.9"
}
}실행
npm run dev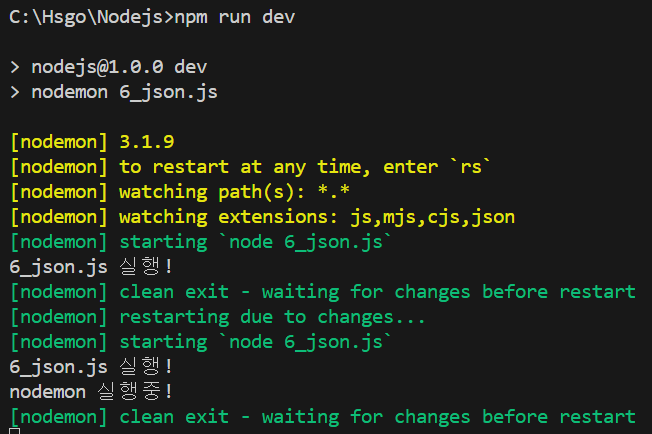
10. EJS(Embedded JavaScript)
HTML 안에 <%= %>, <% %> 문법을 이용해 JavaScript 코드를 삽입할 수 있도록 도와주는 템플릿 엔진.
서버에서 데이터를 넘겨주면, 그 데이터를 HTML에 자동으로 넣어서 브라우저에 보낼 수 있게 해준다.
11. 설치
npm install ejs❇️ 7_ejs.js
const http = require("http");
const fs = require("fs");
const ejs = require("ejs");
const path = require("path");

const server = http.createServer((req, res) => {
  if (req.url == "/") {
    // C:\Hsgo\Nodejs\views\index.ejs
    const filePath = path.join(__dirname, "views", "index.ejs");
    ejs.renderFile(filePath, { name: "김사과" }, (err, data) => {
      if (err) {
        res.writeHead(500, { "Content-Type": "text/plain" });
        res.end("서버 오류");
        return;
      }
      res.writeHead(200, { "Content-Type": "text/html" });
      res.end(data);
    });
  } else if (req.url === "/users") {
    const filePath = path.join(__dirname, "views", "users.ejs");
    const users = ["김사과", "반하나", "이메론"];
    ejs.renderFile(filePath, { users }, (err, data) => {
      if (err) {
        res.writeHead(500, { "Content-Type": "text/plain" });
        res.end("서버 오류");
        return;
      }
      res.writeHead(200, { "Content-Type": "text/html" });
      res.end(data);
    });
  } else if (req.url === "/posts") {
    const filePath = path.join(__dirname, "views", "posts.ejs");
    const posts = [
      { title: "첫 글", content: "안녕하세요!" },
      { title: "둘째 글", content: "node.js 재미있어요??" },
    ];
    ejs.renderFile(filePath, { posts }, (err, data) => {
      if (err) {
        res.writeHead(500, { "Content-Type": "text/plain" });
        res.end("서버 오류");
        return;
      }
      res.writeHead(200, { "Content-Type": "text/html" });
      res.end(data);
    });
  } else {
    res.writeHead(404, { "Content-Type": "text/plain" });
    res.end("페이지를 찾을 수 없습니다.");
  }
});

server.listen(3000, () => {
  console.log("서버 실행 중");
});
✨ index.html
<!DOCTYPE html>
<html lang="en">
<head>
<meta charset="UTF-8" />
<meta name="viewport" content="width=device-width, initial-scale=1.0" />
<title>EJS 예제</title>
</head>
<body>
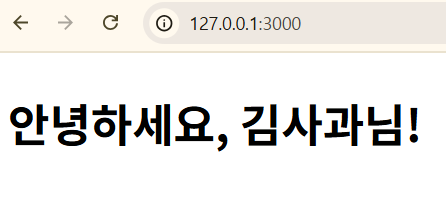
<!--{ name: "김사과" }-->
<h2>안녕하세요, <%=name%>님!</h2>
</body>
</html>실행
12. 사용자 리스트 출력
<!DOCTYPE html>
<html lang="en">
  <head>
    <meta charset="UTF-8" />
    <meta name="viewport" content="width=device-width, initial-scale=1.0" />
    <title>사용자 목록</title>
  </head>
  <body>
    <h2>사용자 목록</h2>
    <ul>
      <!--{users}}-->
      <% users.forEach(function(user) { %>
      <li><%=user%></li>
      <% }); %>
    </ul>
  </body>
</html>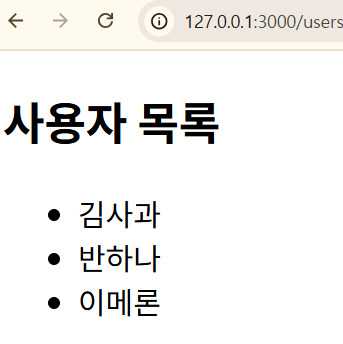
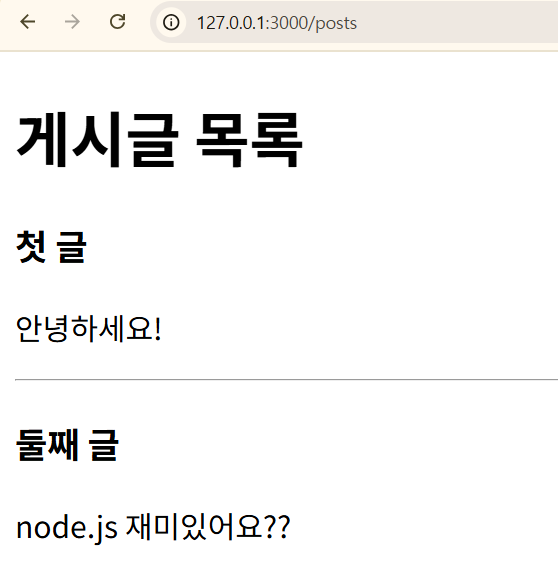
13. 게시글 출력
<!DOCTYPE html>
<html lang="en">
  <head>
    <meta charset="UTF-8" />
    <meta name="viewport" content="width=device-width, initial-scale=1.0" />
    <title>게시판</title>
  </head>
  <body>
    <h1>게시글 목록</h1>
    <% posts.forEach(post=>{ %>
    <div>
      <h3><%=post.title%></h3>
      <p><%=post.content%></p>
      <hr />
    </div>
    <% }) %>
  </body>
</html>