테스트를 통한 Swagger API 문서 만들기!
시작하며
Swagger UI 는 예쁘면서도 실행가능한 api 를 제공해주는 게 참 매력적이라고 느꼈는데, 실제 코드를 해치는게 마음에 들지 않아 사용하지 않았었다.
하지만 최근 RestDocs와 같이 사용할 수 있는 방법을 알게되어 정리하려고 한다!
build.gradle
plugins {
	id 'java'
    ..
	id("com.epages.restdocs-api-spec") version "0.19.4" // 이부분 추가
}

//의존성 추가
dependencies {
	//DOCS
	testImplementation 'org.springframework.restdocs:spring-restdocs-mockmvc'
	implementation 'org.springdoc:springdoc-openapi-starter-webmvc-ui:2.7.0'
	testImplementation 'com.epages:restdocs-api-spec-mockmvc:0.19.4'
}

//task 정의
openapi3 {
	server = 'http://localhost:19000'
	title = 'title'
	description = 'description'
	version = '1.0.0'
	format = 'json'
}

tasks.register('setDocs') {
	dependsOn 'openapi3'
	doLast {
		copy {
			from "build/api-spec"
			include "*.json"
			include "*.yaml"
			into "build/resources/main/static/springdoc"
			rename { String fileName ->
				if (fileName.endsWith('.json')) {
					return fileName.replace('.json', '-hub-service.json')
				} else if (fileName.endsWith('.yaml')) {
					return fileName.replace('.yaml', '-hub-service.yml')
				}
				return fileName
			}
		}
	}
}

// bootRun 실행 시 문서 생성 태스크를 실행합니다.
bootRun {
	dependsOn 'setDocs'
}

// bootJar 실행 시 문서 생성 태스크를 실행합니다.
bootJar {
	dependsOn 'setDocs'
}
application.yml
springdoc:
  swagger-ui:
    enabled: true
    path: /docs
    url: /springdoc/openapi3-..-service.json
    operations-sorter: method
    tags-sorter: alpha
  api-docs:
    enabled: true
    path: /api-docs-..-service
test코드 작성
	@Test
	void 재고_id로_재고를_조회할_수_있다() throws Exception {
		// given
		UUID productId = createRandomUUID("external-product1");
		UUID hubId = createRandomUUID("external-hub1");

		// 테스트용 재고 생성
		createTestStock(productId, hubId, 100);

		StockIdRequest stockIdRequest = new StockIdRequest(productId, hubId);

		// when & then
		mockMvc.perform(get("/api/v1/stock")
				.contentType(MediaType.APPLICATION_JSON)
				.content(objectMapper.writeValueAsString(stockIdRequest)))
			.andExpect(status().isOk())
			.andExpect(jsonPath("$.stockId.productId").value(productId.toString()))
			.andExpect(jsonPath("$.stockId.hubId").value(hubId.toString()))
			.andExpect(jsonPath("$.quantity").exists())
			.andDo(document("stock-external/find", (
				ResourceSnippetParameters
					.builder()
					.description("재고 ID로 재고를 조회합니다")
					.tag("Stock-External"))
				.requestFields(
					fieldWithPath("productId").description("조회할 상품 ID"),
					fieldWithPath("hubId").description("조회할 허브 ID")
				)
				.responseFields(
					fieldWithPath("stockId").description("재고 ID 정보"),
					fieldWithPath("stockId.productId").description("상품 ID"),
					fieldWithPath("stockId.hubId").description("허브 ID"),
					fieldWithPath("quantity").description("재고 수량"),
					fieldWithPath("updatedAt").description("최종 수정 시간")
				)));
	}
참고로 나는 해당 부분에서 import 때문에 힘들었다.
가장 삽질하기 쉬운 import문도 공유!
import static com.epages.restdocs.apispec.MockMvcRestDocumentationWrapper.document;
import static org.springframework.restdocs.mockmvc.RestDocumentationRequestBuilders.delete;
import static org.springframework.restdocs.mockmvc.RestDocumentationRequestBuilders.get;
import static org.springframework.restdocs.mockmvc.RestDocumentationRequestBuilders.patch;
import static org.springframework.restdocs.mockmvc.RestDocumentationRequestBuilders.post;
import static org.springframework.restdocs.payload.PayloadDocumentation.fieldWithPath;
import static org.springframework.restdocs.request.RequestDocumentation.parameterWithName;
import static org.springframework.test.web.servlet.result.MockMvcResultMatchers.jsonPath;
import static org.springframework.test.web.servlet.result.MockMvcResultMatchers.status;
클래스 레벨의 어노테이션
@SpringBootTest
@AutoConfigureRestDocs(
	uriPort = 19001
)
@AutoConfigureMockMvc
@Transactional
@ActiveProfiles("test")
class StockExternalControllerTest {
}
이후 bootjar를 통해 실행시켜주면 된다.
.gradlew bootRun또는 
결과
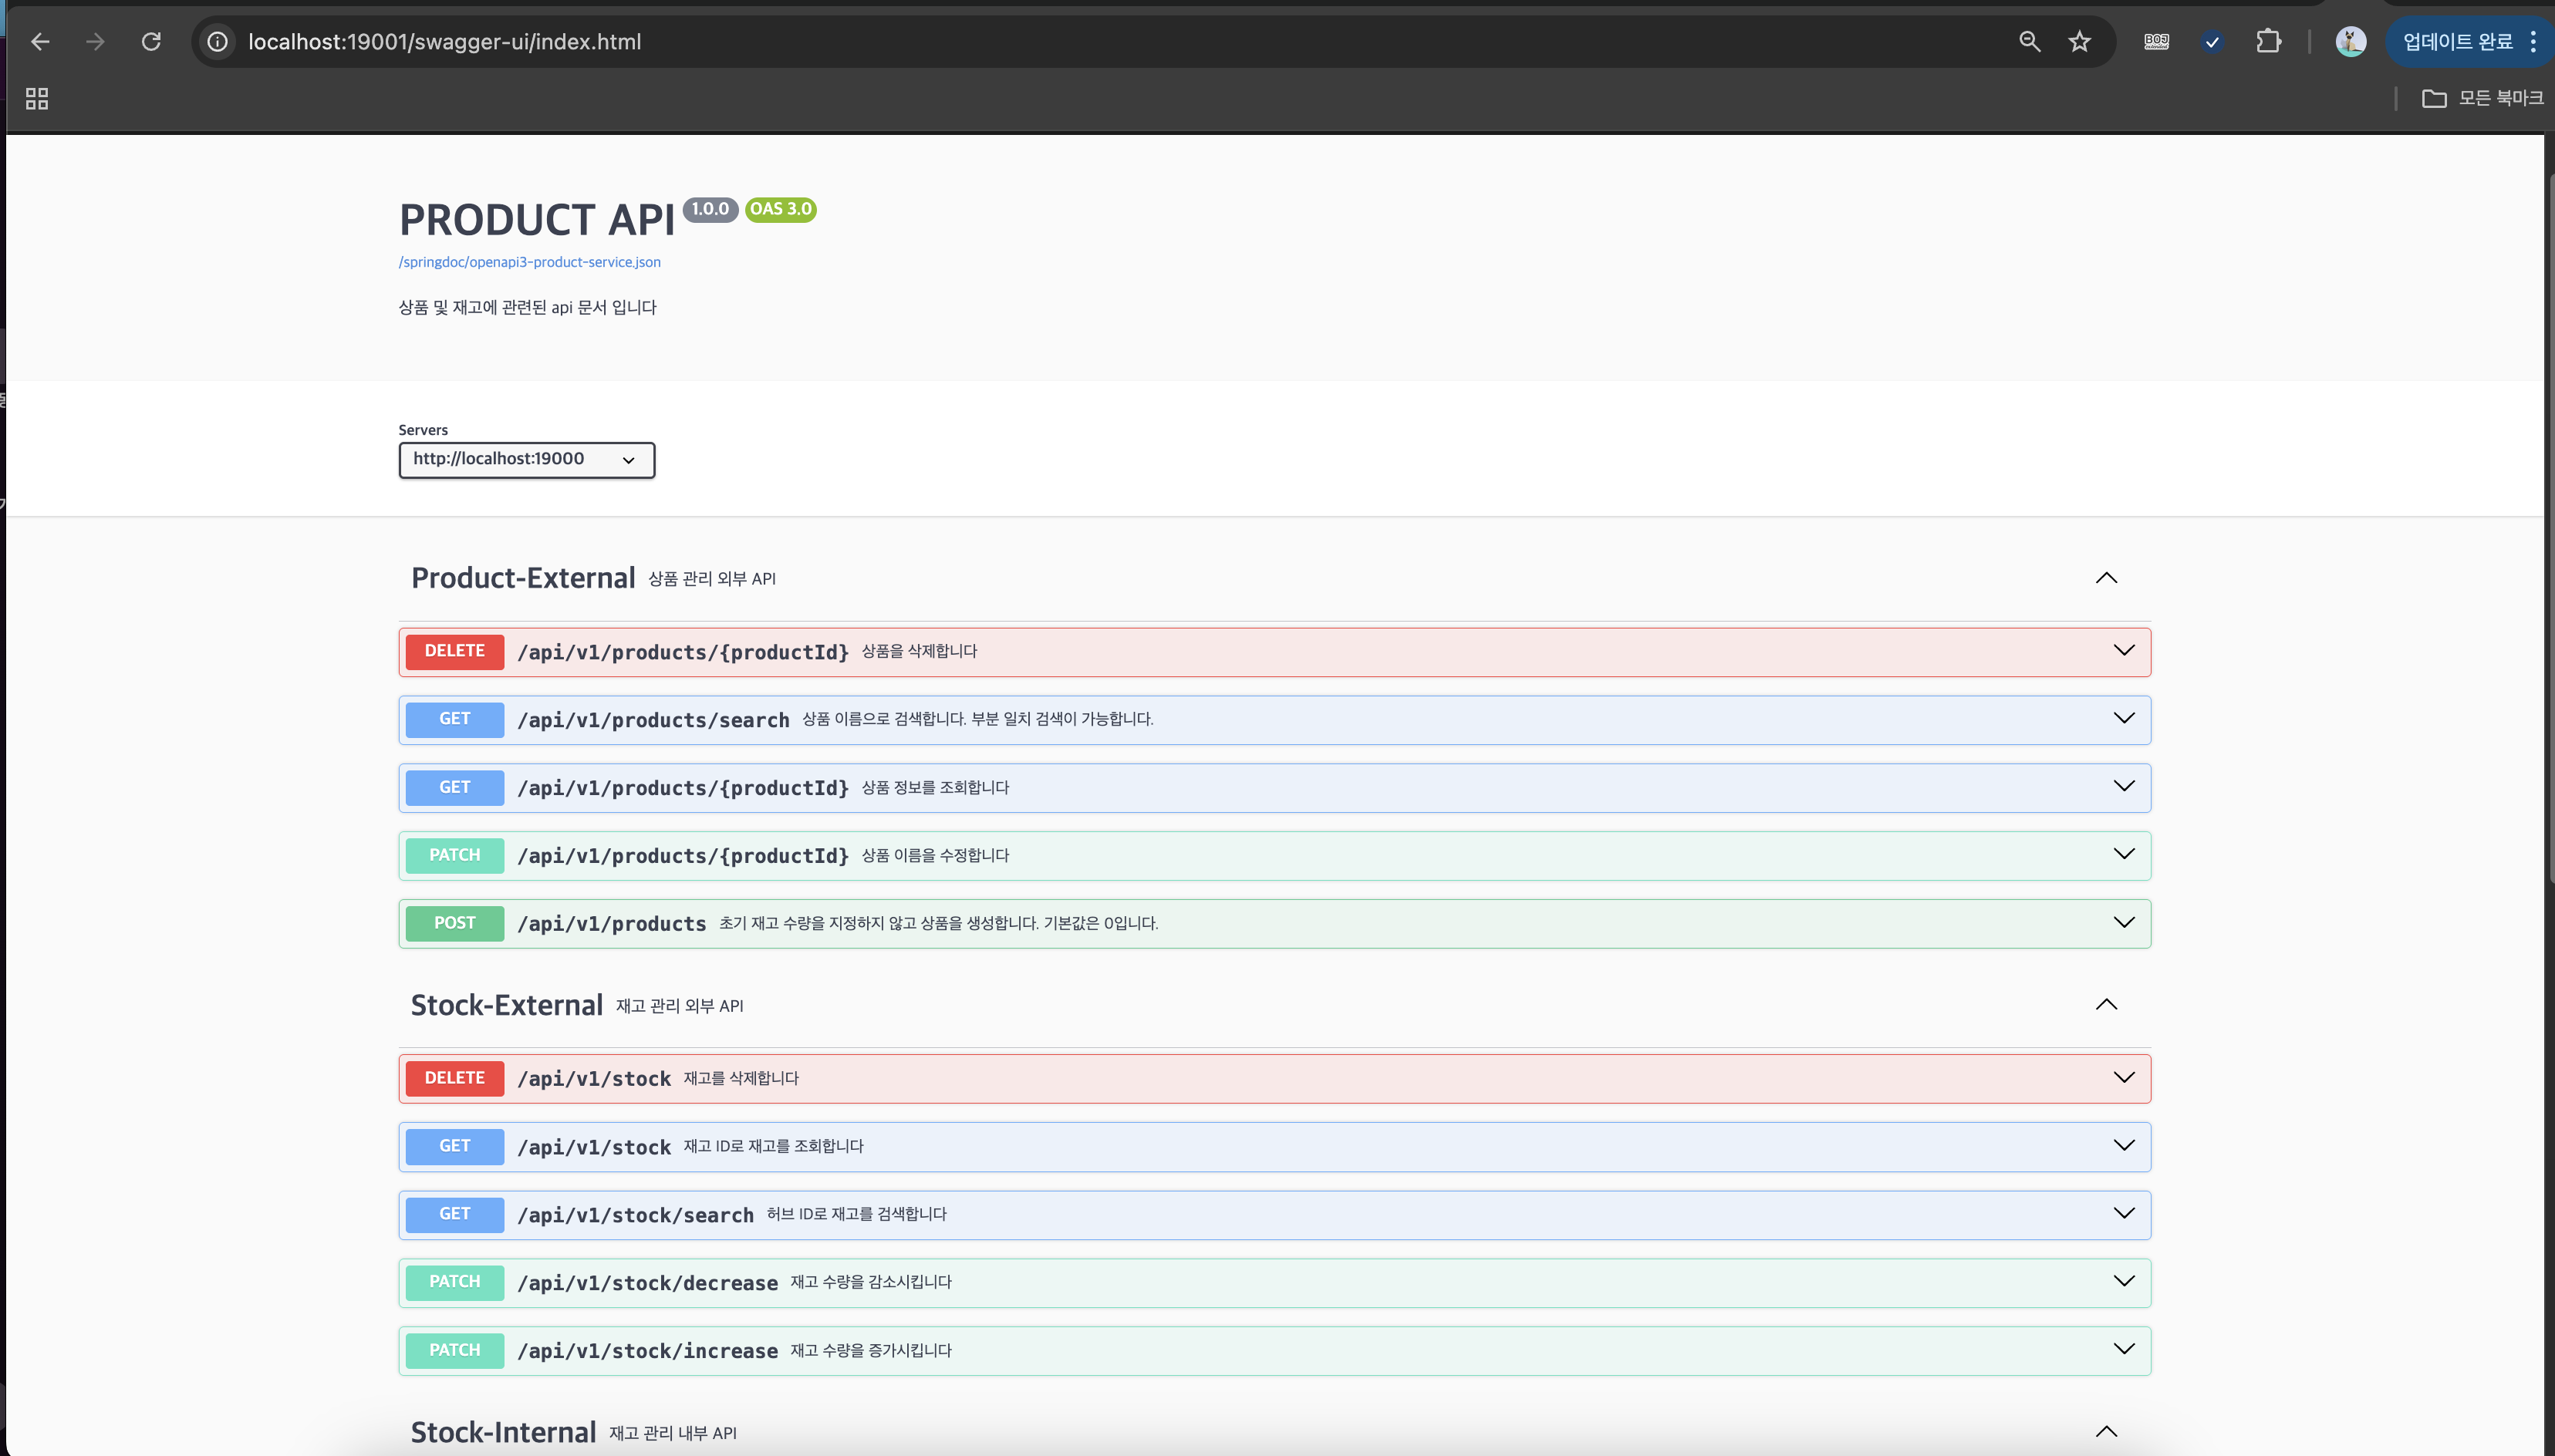
마무리
사실 너무 고통스러웠다.. 테스트코드와 Mocking 지옥...ㅠㅠ
그래도 하면서 조금씩 성장했지않을까~~~
같은 삽질을 하는 사람에게 도움이 되었기를 바란다!

기록