환경
- Elastic Beanstalk
- Github Actions
- Spring boot 2.7.9 + JAVA 11
1. application.yml을 Profile에 따라 분리
application.yml
spring:
  mvc:
    path match:
      matching-strategy: ant_path_matcher
  profiles:
    active:
      - local
    group:
      local:
        - db-local
        - common
      dev:
        - db-dev
        - common
    include:
      - db
- common- application.yml에서 각 Profiles에 따른 설정값을 설정하고, Profiles Active에 따라서 application 설정이 달라진다.
application-db.yml
# default 설정
spring:
  mvc:
    path match:
      matching-strategy: ant_path_matcher
  session:
    jdbc:
      initialize-schema: always
    store-type: jdbc
  jpa:
    properties:
      hibernate:
        format_sql: 'true'
    show-sql: 'true'
    database: mysql
    database-platform: org.hibernate.dialect.MySQL5InnoDBDialect

--- # local 설정
spring:
  config:
    activate:
      on-profile: "db-local"
  jpa:
    hibernate:
      ddl-auto: none
  datasource:
    driver-class-name: org.h2.Driver
    username: sa
    url: jdbc:h2:tcp://localhost/~/oppla;MODE=MySQL;
    password:

--- # dev 설정
spring:
  config:
    activate:
      on-profile: "db-dev"
  jpa:
    hibernate:
      ddl-auto: none
  datasource:
    driver-class-name: com.mysql.cj.jdbc.Driver
    username: ${AWS_RDS_USERNAME}
    url: ${AWS_RDS_URL}
password: ${AWS_RDS_PASSWORD}- application.yml에 따라 설정된 Profiles Active에 따라 설정값으로 작동된다.
- application.yml에 local로 설정되어 있기 때문에 기본값은 local로 작동된다.
2. 배포 시 Profiles Active 변경
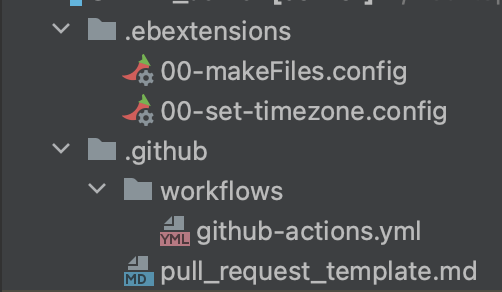
- Elastic Beanstalk으로 배포하였을 시 .ebextensions라는 폴더 안에 00-makeFiles.config라는 파일을 반드시 만들었을 것이다.
00-makeFiles.config
files:
    "/sbin/appstart":
        mode: "000755"
        owner: webapp
        group: webapp
        content: |
            #!/usr/bin/env bash
            JAR_PATH=/var/app/current/application.jar

            # run app
            killall java
java -Dfile.encoding=UTF-8 -jar $JAR_PATH- 위와 같이 설정되어 있는 부분에서 #run app을 주목해 보자
-Dspring.profiles.active=dev- #run app 부분에 위 코드를 추가하여 배포하면 Profiles Active를 변경할 수 있다.
최종 코드
files:
    "/sbin/appstart":
        mode: "000755"
        owner: webapp
        group: webapp
        content: |
            #!/usr/bin/env bash
            JAR_PATH=/var/app/current/application.jar

            # run app
            killall java
            java -Dfile.encoding=UTF-8 -Dspring.profiles.active=dev -jar $JAR_PATH
++ 추가 사항
1. local에서 IntellJ로 Profiles Active 변경하기
- application.yml에 기본값으로 local을 설정했지만, local에서도 dev 혹은 다른 Profiles Active로 작동시키는 방법이 있다.
1-1. application.yml 변경
- 이 방법은 간단하다. local로 되어 있던 기본값을 dev로 변경하는 것이다.
spring:
  mvc:
    path match:
      matching-strategy: ant_path_matcher
  profiles:
    active:
      - dev
    group:
      local:
        - db-local
        - common
      dev:
        - db-dev
        - common
    include:
      - db
      - common
1-2. Edit Configurations... 사용
- Edit Configurations에서 수정하는 방법이다.
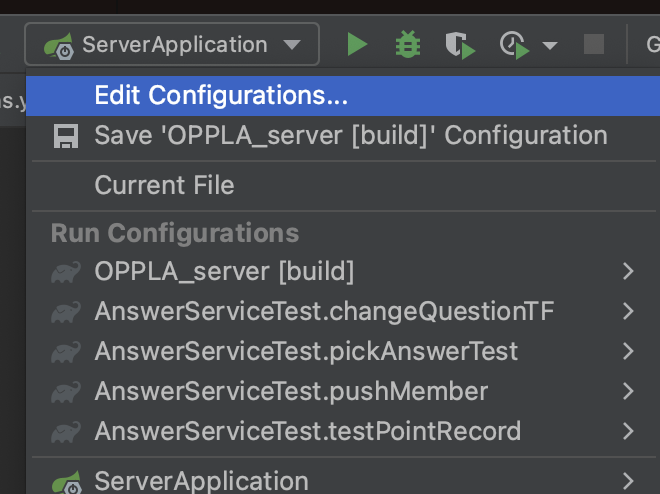
- 우측 상단에서 Edit Configurations... 선택
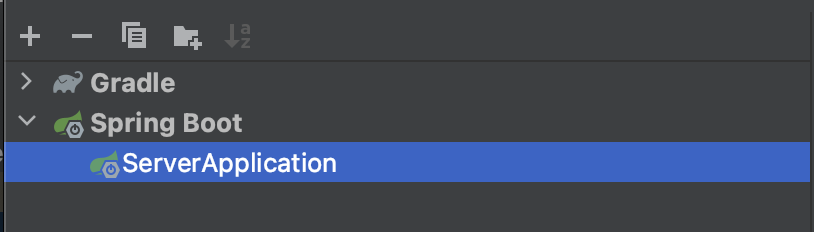
- 팝업창에서 좌측에 Spring Boot -> ServerApplication을 선택

- 우측 중간에 Active profiles를 원하는 Profiles로 변경해 주면 된다.
2. 실제 DB 정보 숨기기.
- application-db.yml가 Github에 올라가기 때문에 실제 DB 정보를 그대로 적으면, 노출되어 보안상 위험이 발생할 수 있다.
- 때문에 해당 부분은 Elastic Beanstalk의 환경 변수에 추가하여야 한다.
AWS Elastic Beanstalk 접속 -> 환경 -> 해당 환경 클릭

- 좌측 바에서 구성을 선택한다.

- 최하단으로 내리면 업데이트, 모니터링 및 로깅에서 설정된 환경 변수를 확인할 수 있으며, 우측에 편집을 눌러 환경 변수를 편집할 수도 있다.
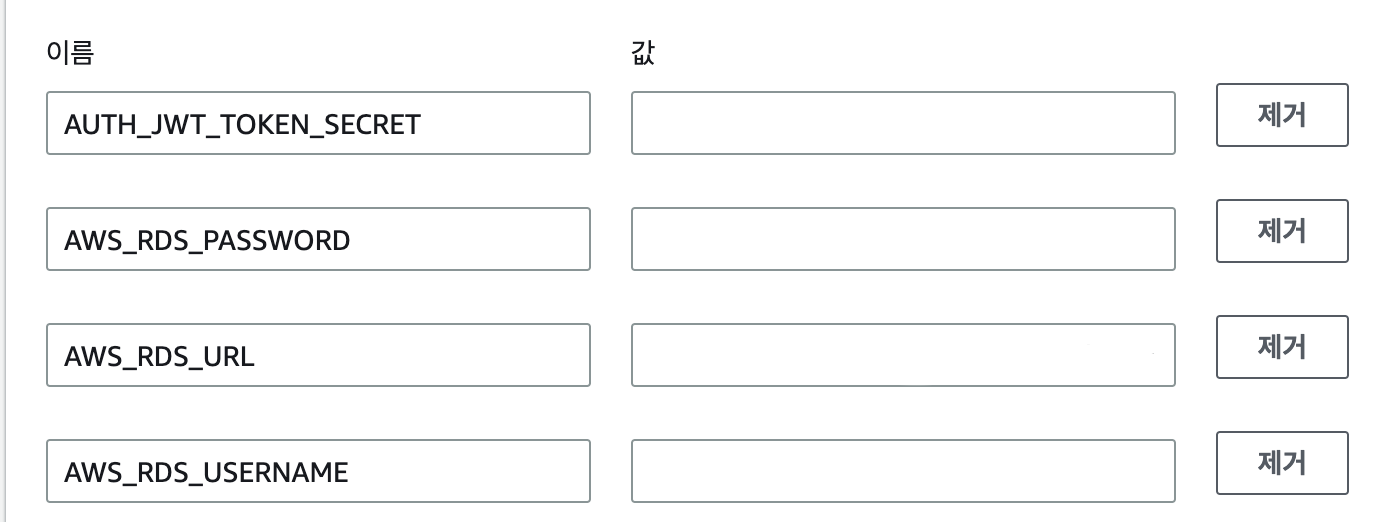
- 이렇게 이름과 값으로 환경 변수를 설정한다.
application-db.yml
--- # dev 설정
spring:
  config:
    activate:
      on-profile: "db-dev"
  jpa:
    hibernate:
      ddl-auto: none
  datasource:
    driver-class-name: com.mysql.cj.jdbc.Driver
    username: ${AWS_RDS_USERNAME}
    url: ${AWS_RDS_URL}
password: ${AWS_RDS_PASSWORD}- 이후 위 application-db.yml의 deb 설정에서 처럼 ${}을 이용하여 환경 변수로 실제 DB 정보를 주입받아 사용하면 된다.

학부생일뿐