2주 짜리 프로젝트로
영화 사이트를 제작하게 되었다. (넷플릭스, 왓챠) 비슷한
프로젝트 조장겸 깃허브 마스터 까지 맡게 되어서 머리가 빵빵터져버릴지도?
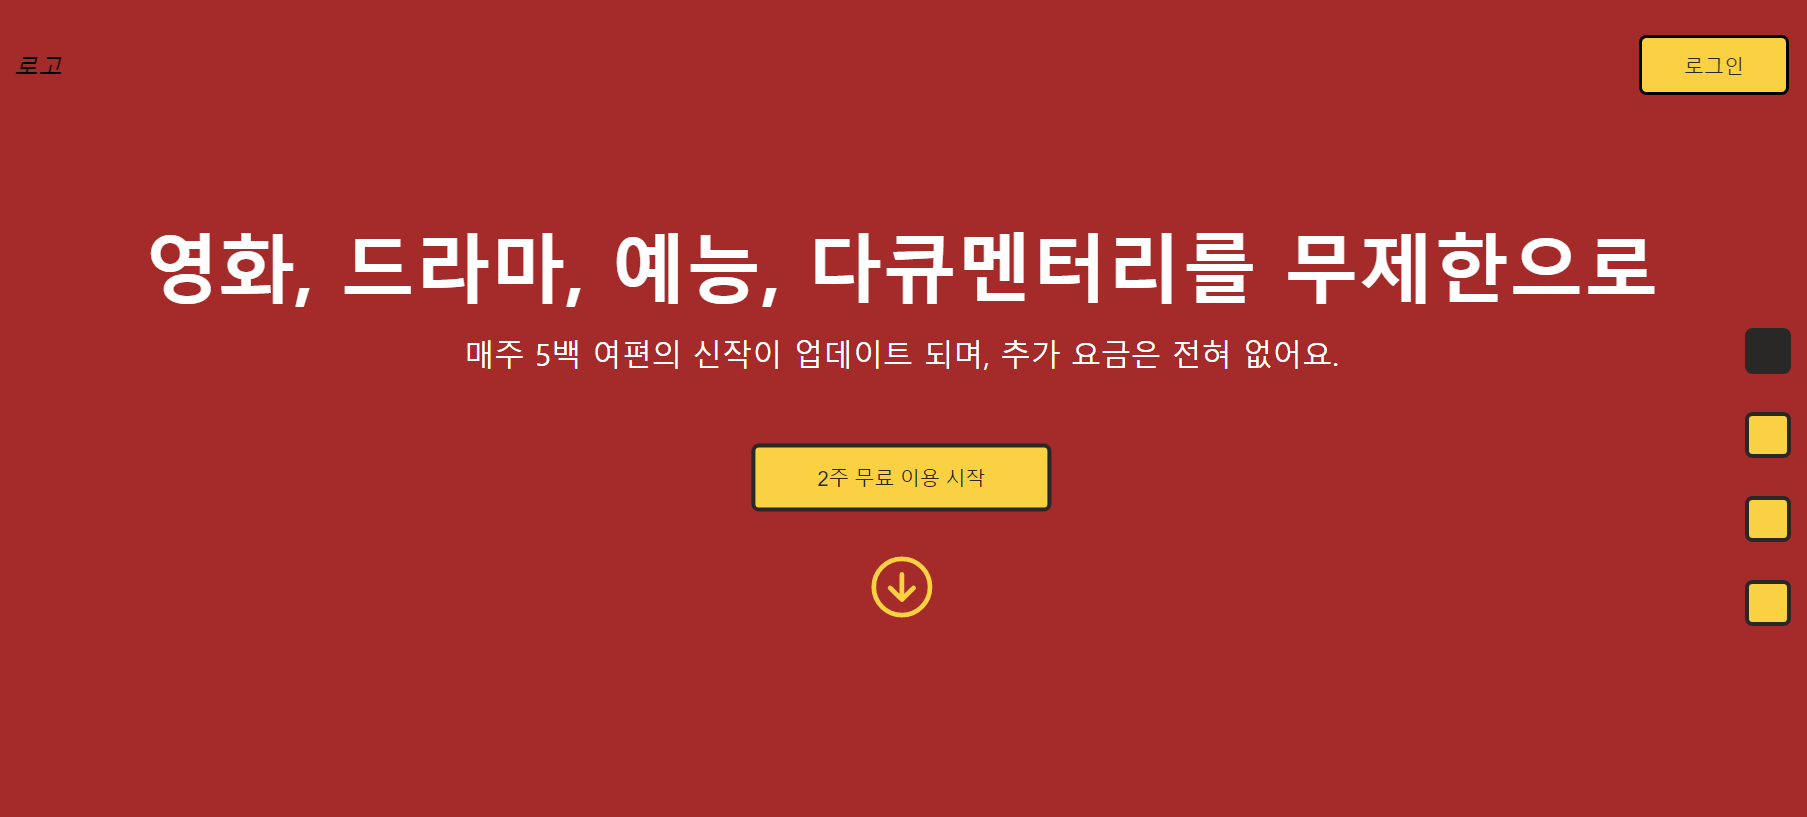
현재 본인이 맡은건 메인사이트 애니메이션 구현까지
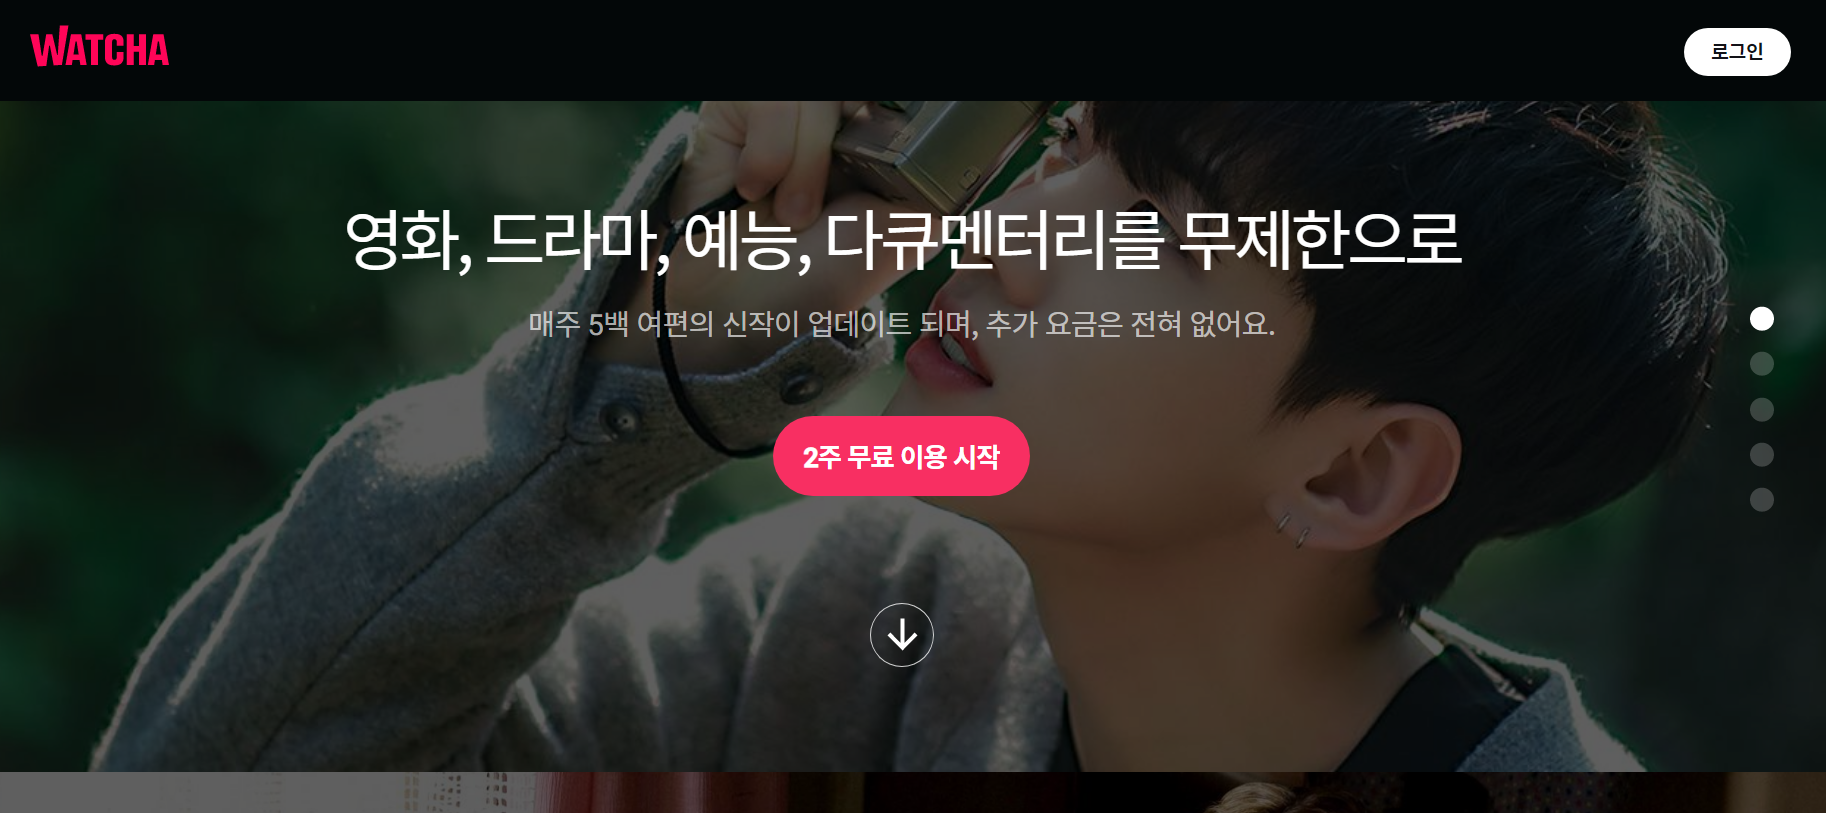
이런식으로 구현을 해야한다.
적용한 이벤트
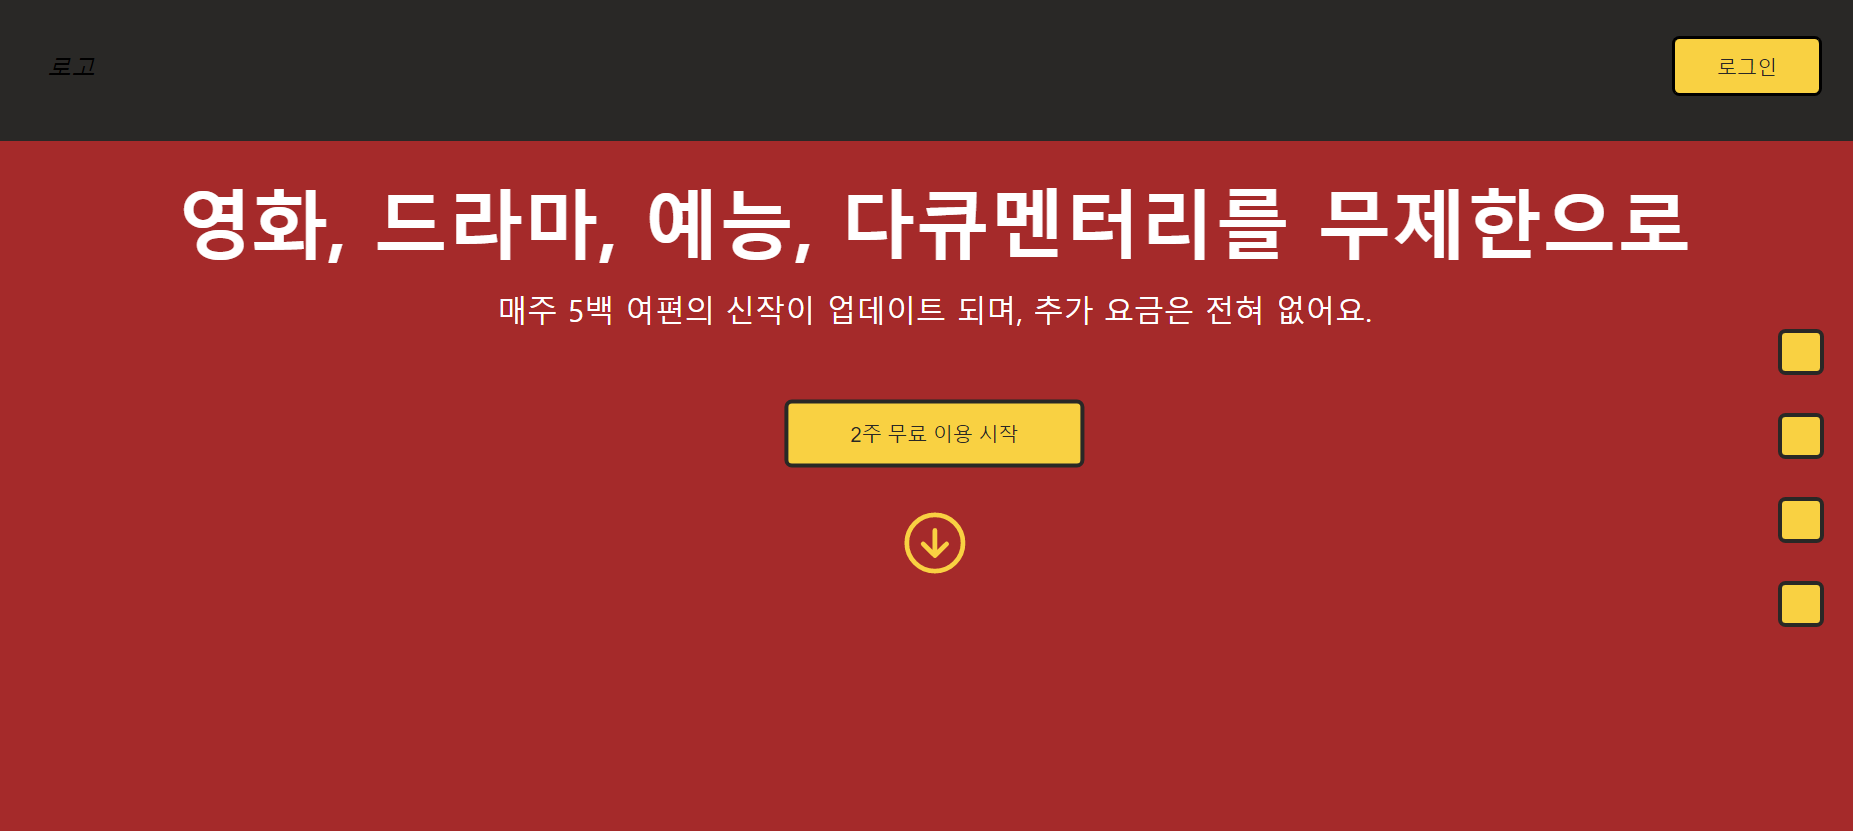
스크롤시 헤더바 백그라운드 칼라 변경
// 헤더 불러옴
var menu = document.querySelector('.header_Y');
var scrollTop = window.scrollY || document.documentElement.scrollTop;

// 스크롤 애니메이션
var flag = false;
window.addEventListener('scroll', function () {
    scrollTop = window.scrollY;
    console.log('gd');
    if (scrollTop > 6) {
        menu.style.background = 'var(--bg-color)';
    } else {
        menu.style.background = 'transparent';
    }
});
현재 위치한 스크롤바의 Y좌표가 6을 넘어가면 백그라운드 칼라가 실행
다시 6안으로 들어가면 백그라운드 사라짐.
무료이용버튼 밑 화살표 아이콘 누르면 섹션이동
및 오른쪽 네모박스 색상 변경
// 화살표 버튼 애니메이션
var section = document.querySelectorAll('.section_Y');
var scrollBtn = document.querySelectorAll('.uil-arrow-circle-down_Y');
console.log(scrollBtn[0]);
console.log(section[0]);

// 각 섹션 위치 변수저장
const firstTop = section[0].offsetTop;
const secondTop = section[1].offsetTop;
const thirdTop = section[2].offsetTop;
const fourTop = section[3].offsetTop;


scrollBtn[0].onclick = function () {
    window.scroll({ top: secondTop, behavior: 'smooth' });
    color(1,0,2,3);
}
scrollBtn[1].onclick = function () {
    window.scroll({ top: thirdTop, behavior: 'smooth' });
    color(2,0,1,3);
}
scrollBtn[2].onclick = function () {
    window.scroll({ top: fourTop, behavior: 'smooth' });
    color(3,0,1,2);
}
scrollBtn[3].onclick = function () {
    window.scroll({ top: firstTop, behavior: 'smooth' });
    color(0,1,2,3);
}
나눠진 각 섹션들을 불러와
offsetTop API를 연결해 컨텐츠의 시작지점 즉, 절대위치의 값을 리턴시킨다
const secondTop = section[1].offsetTop;

scrollBtn[0].onclick = function () {
    window.scroll({ top: secondTop, behavior: 'smooth' });
    color(1,0,2,3);
}
0번(첫번째) 섹션에 있는 화살표아이콘을 클릭하면
secondTop(두번째) 섹션으로 이동하는 함수를 생성
그리고 color 함수는
// right bar BOX 이펙트 함수
color(1,0,2,3);

function color(effect,ele,ele2,ele3){
    right[effect].style.background='var(--bg-color)';
    right[effect].style.transition='.5s';
    right[ele].style.background='var(--bg2-color)';
    right[ele2].style.background='var(--bg2-color)';
    right[ele3].style.background='var(--bg2-color)';
}
코드가 너무 길어져서 함수를 만들어 보았다.!
color( ) 안에서 효과를 주고 싶은 박스[요소] 만 맨앞에 주면
매개변수를 받아 그 박스[요소] 만 색상이 바뀐다.

// 라이트바 애니메이션
var right = document.querySelector('#rightBar_Y').children;
console.log(right[0]);

right[0].addEventListener('click',function(){
    window.scroll({ top: firstTop, behavior: 'smooth' });
    color(0,1,2,3);
})
이런식으로 첫번째[0] 버튼을 누르면 첫번째[0] 색상이 바뀌도록
color() 함수 맨 앞에 0을 넣어 백그라운드를 바뀌게 했다.
2번째 박스 색상이 변경 되려면 color(1,~,~,~)요래 넣어주면 된다.
실시간 프로젝트 진행중!
깃헙에 놀러오세요!
https://github.com/kwangmoyang

국비교육중 22.04.26~