
1. 인스턴스 생성
테스트를 위한 인스턴스를 생성해 볼 것이다.
(오류가 많이 발생하니, 하나씩 트러블 슈팅 하며 해결해보겠다.)
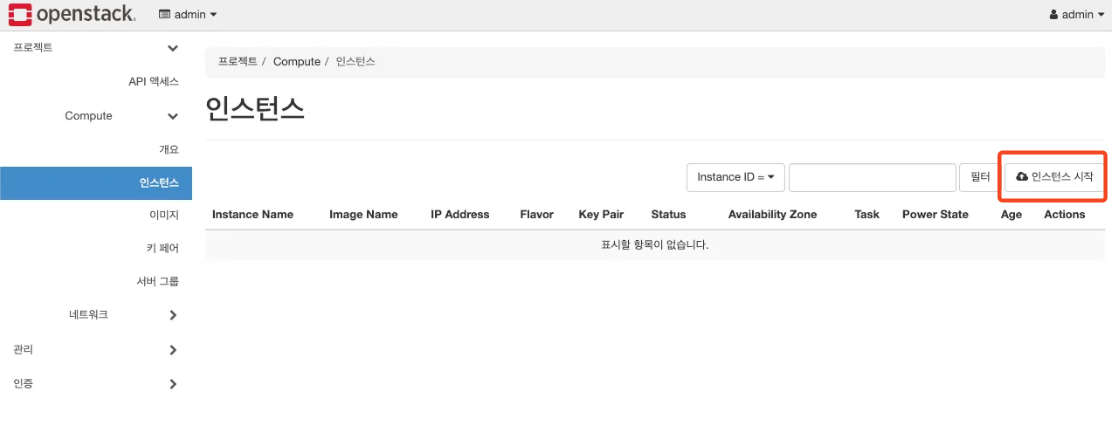
프로젝트 → Compute → 인스턴스 → 인스턴스 시작
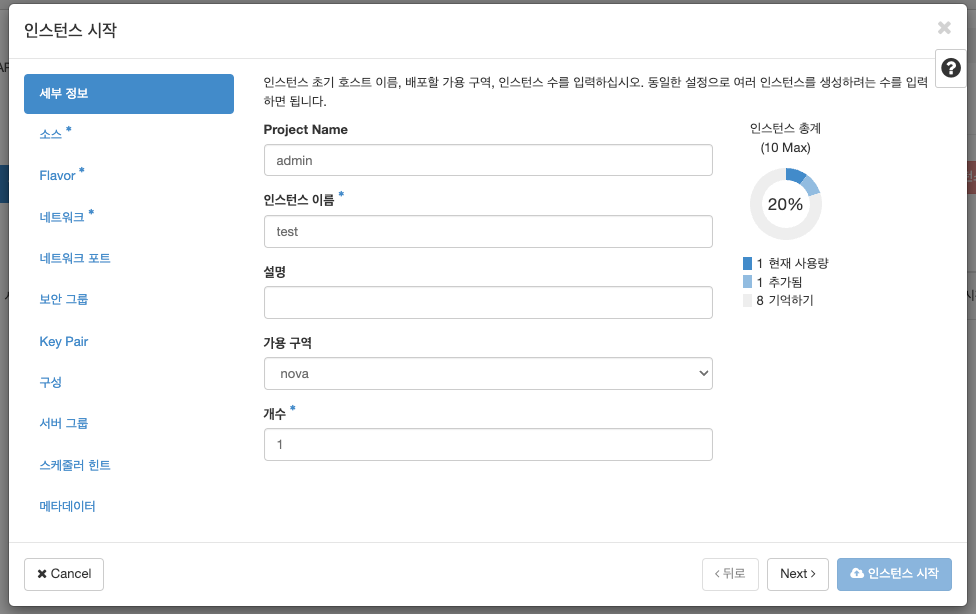
인스턴스 이름을 입력한다.
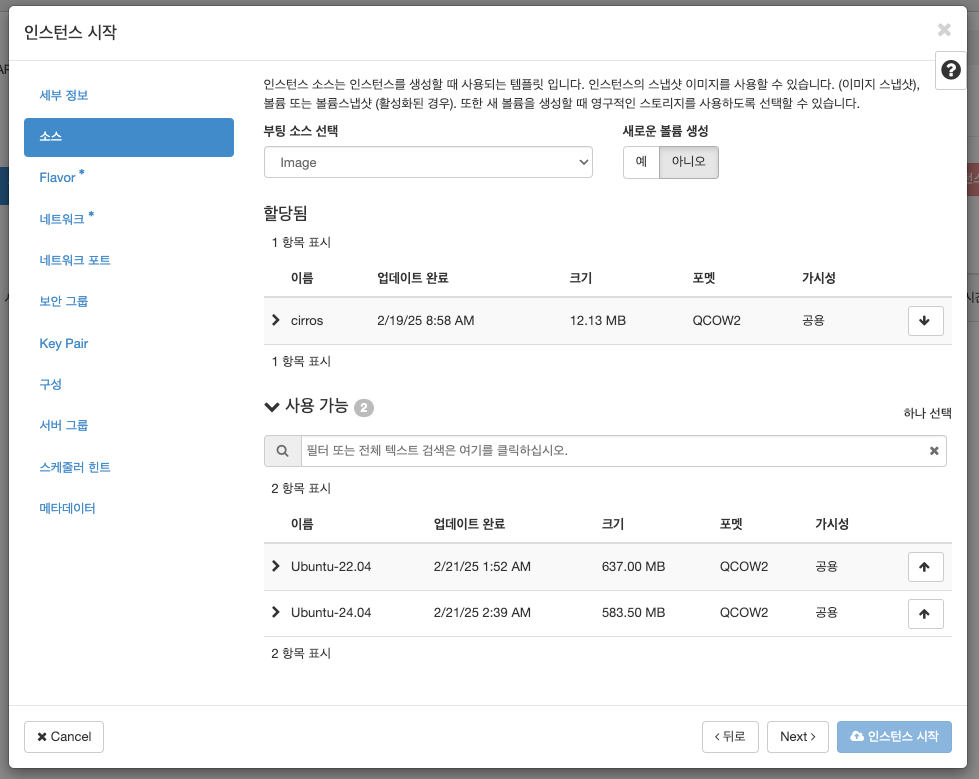
cirrocs를 선택한다. (ubuntu image는 추후에 추가할 것이니 무시한다.)
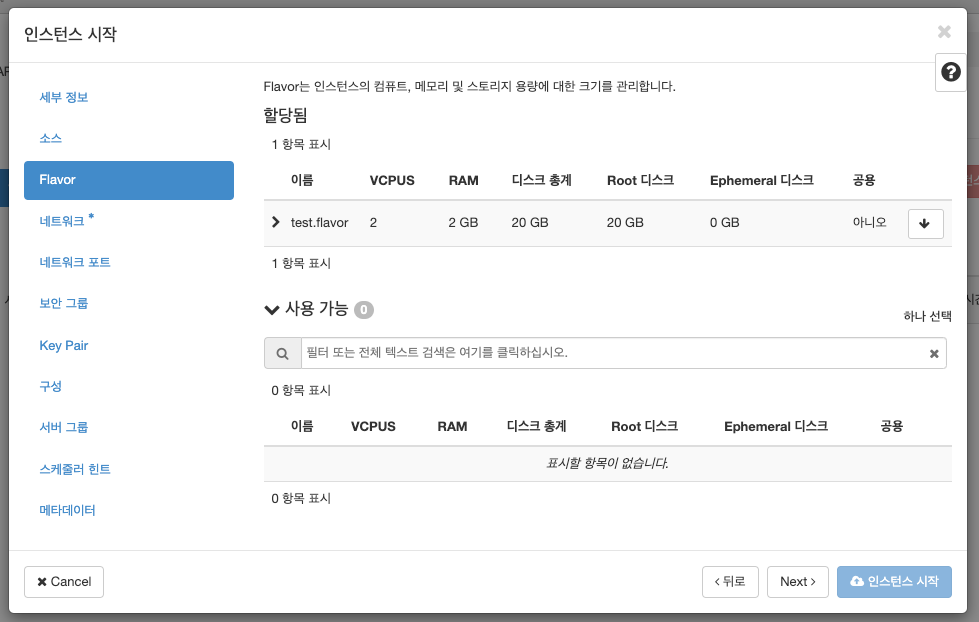
생성했던 Flavor를 선택한다.
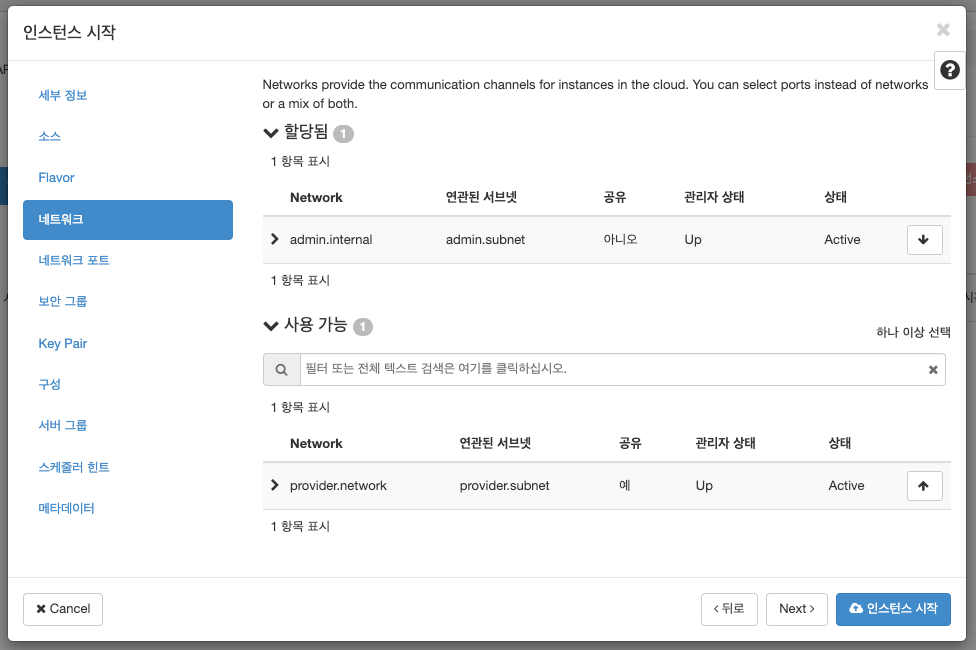
internal network를 선택한다. (provider network는 추후에 생성할 것이니 무시한다.)
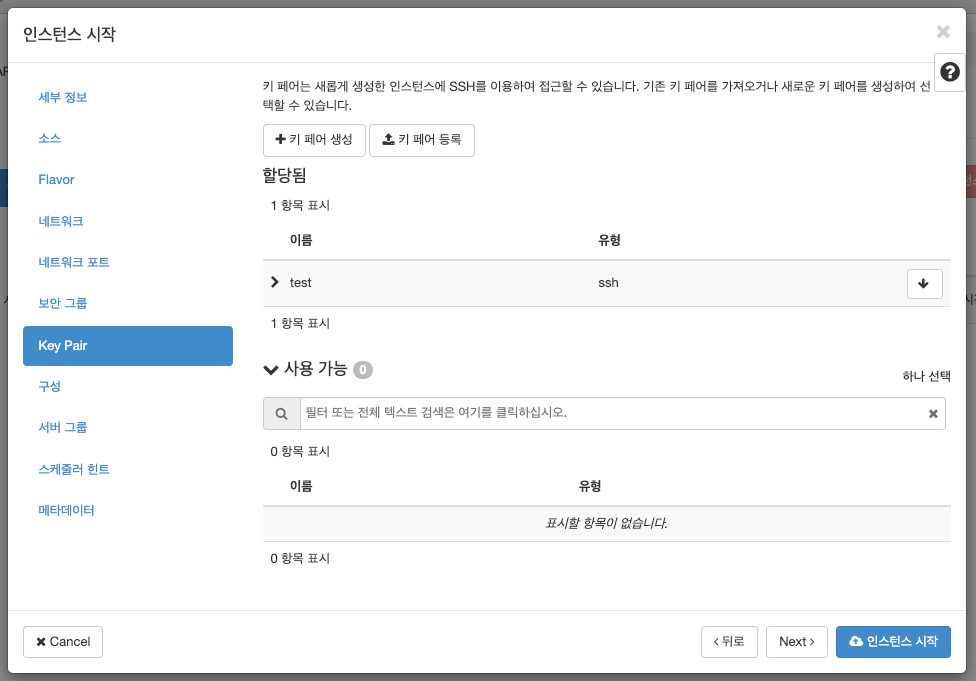
키 페어 생성을 선택 후 ssh 키를 생성 및 선택한다.
(생성 후 보여지는 개인키를 .pem으로 저장 및 400 권한으로 수정한다.)
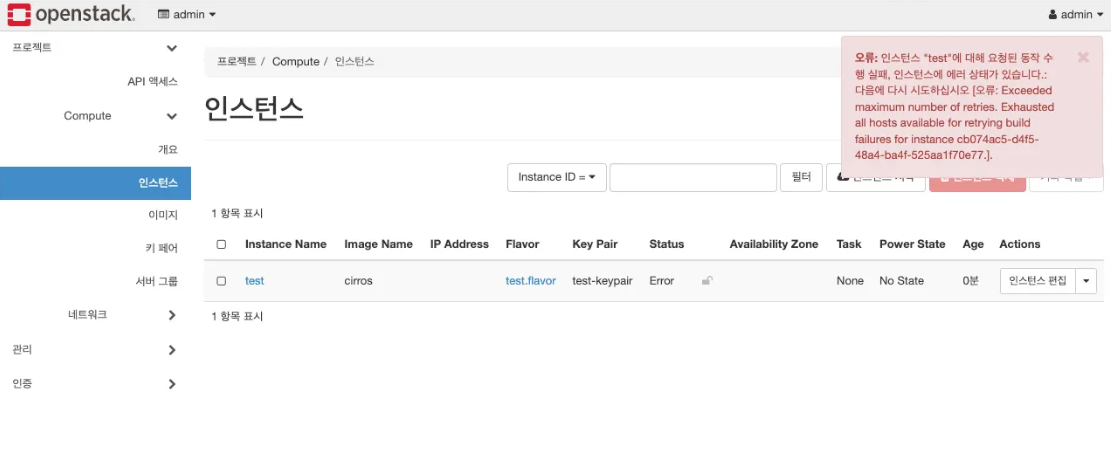
생성 시 오류 발생 (1)
주로
Nova,Neutron의 문제이니,설정 파일,로그를 확인한다.
로그 확인 명령어
# 시간 순으로 정렬하여, 최근 메시지 확인
ls -alht

# 최근 1000 라인 확인
tail -n 1000 nova.log

# 에러 발생 부분만 확인
tail -f nova.log | grep ERROR
/var/log/neutron , /var/log/nova 를 확인한다.
오류 원인 파악

로그 확인결과, https://controller/identity 로 접속을 시도
(이 과정을 따라한 경우, controller가 아닌 con01)- 이 과정에서는 https가 아닌 http로 설정하였으므로, 잘못되었다.
설정 파일 확인 (/etc/nova/nova.conf)
# con01, com01

vi /etc/nova/nova.conf

[keystone_authtoken]
www_authenticate_uri = https://con01/identity # → http://con01:5000/ 로 수정한다.
auth_url = http://con01:5000/
memcached_servers = con01:11211
auth_type = password
project_domain_name = Default
user_domain_name = Default
project_name = service
username = nova
password = openstack
관련 서비스 재시작
# con01
systemctl restart nova

# com01
systemctl restart nova-compute
생성 시 오류 발생 (2)
Neutron 로그 확인

- 생성 실패 내용 외에 실패 원인에 대한 정보를 얻기 어렵다.
DEBUG메시지를 켠다.
# con01

vi /etc/neutron/neutron.conf

[DEFAULT]
debug=true

systemctl restart neutron-server
인스턴스 생성 재시도

- 이전 에러 메시지와 함께
mechanism driver에서 메시지가 나온다.local,flat,vlan만 지원한다고 한다. (이 과정에서는vxlan으로 생성 시도를 했다.)
오류 원인 파악
OpenVSwitch는 OpenStack프로젝트가 아니여서 버전 업데이트에도 불구하고 OpenStack쪽 메뉴얼이 업데이트 되지 않았다.
- 최신 버전을 확인해보면 설정 내용이 바뀌었다. (https://docs.openstack.org/neutron/2024.1/install/controller-install-option2-ubuntu.html)
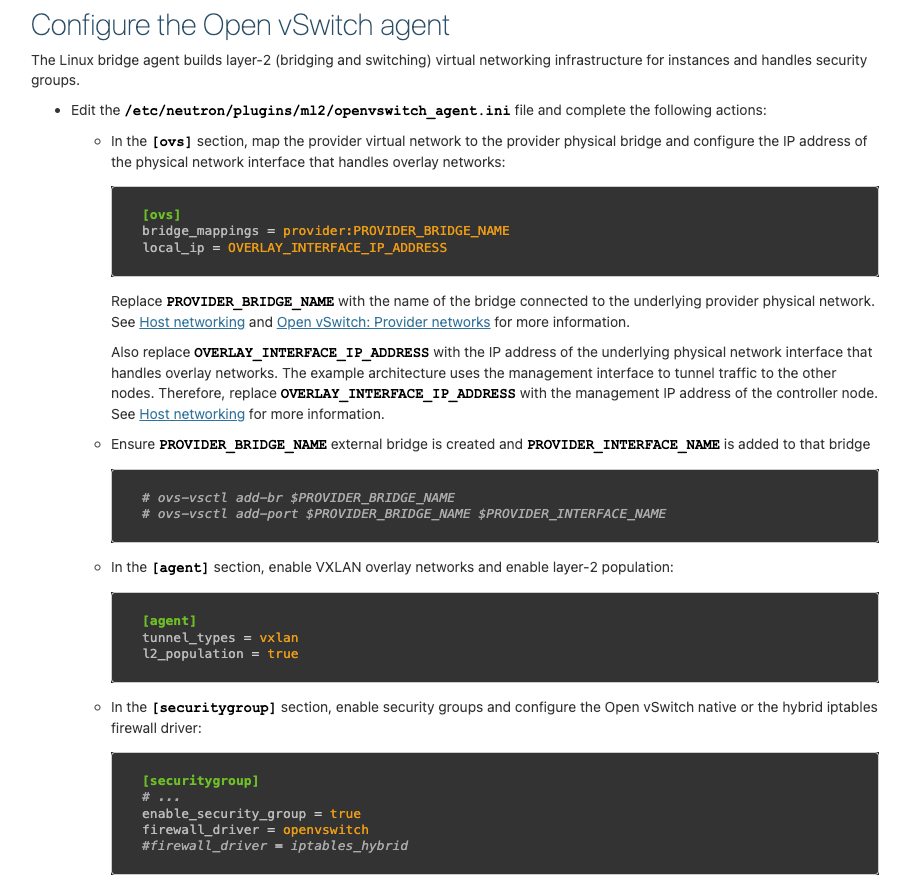
설정 파일 수정
# con01
vi /etc/neutron/plugins/ml2/openvswitch_agent.ini

[DEFAULT]
[ovs]
bridge_mappings = provider:br-provider
tunnel_bridge = br-tun
local_ip = 10.0.0.1

[agent]
tunnel_types = vxlan
l2_population = True

[securitygroup]
enable_security_group = true
firewall_driver = openvswitch
#firewall_driver = iptables_hybrid

systemctl restart openvswitch-switch
systemctl restart neutron-openvswitch-agent
systemctl restart neutron-server


# com01
vi /etc/neutron/plugins/ml2/openvswitch_agent.ini

[DEFAULT]
[ovs]
bridge_mappings = provider:br-provider
tunnel_bridge = br-tun
local_ip = 10.0.0.2

[agent]
tunnel_types = vxlan
l2_population = True

[securitygroup]
enable_security_group = true
firewall_driver = openvswitch
#firewall_driver = iptables_hybrid

systemctl restart openvswitch-switch
systemctl restart neutron-openvswitch-agent
인스턴스 생성 성공
실제 물리 노드를 통해 이 과정을 진행했다면, 인스턴스 생성에 성공했을 것이다.
Virtualbox,VMware등을 통해 진행했다면, 여기서 다시 한번 인스턴스 생성에 실패할 것이다.
Virtualbox, VMware 문제 해결
nested virtualization환경이므로,KVM이 사용 불가해 발생한 문제이다.
- 하이퍼바이저를QEMU로 변경해 해결한다.
# com01

vi /etc/nova/nova-compute.conf

[DEFAULT]
compute_driver=libvirt.LibvirtDriver
[libvirt]
virt_type=qemu

systemctl restart nova-compute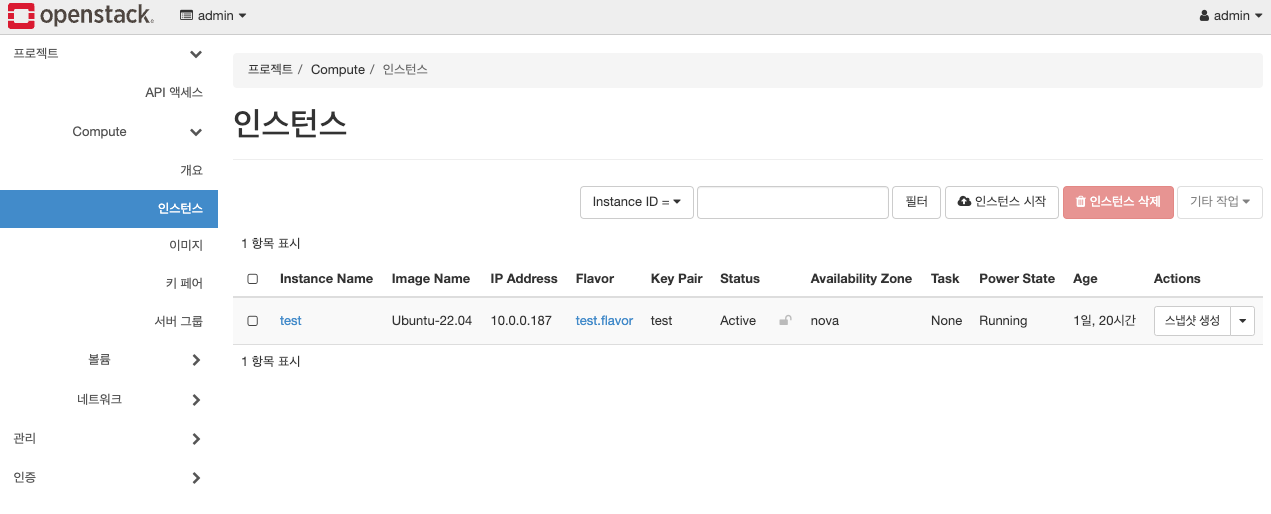
인스턴스 콘솔 조회 실패 오류 발생
인스턴스 페이지에 접속해 콘솔을 확인하면 보이지 않는다.
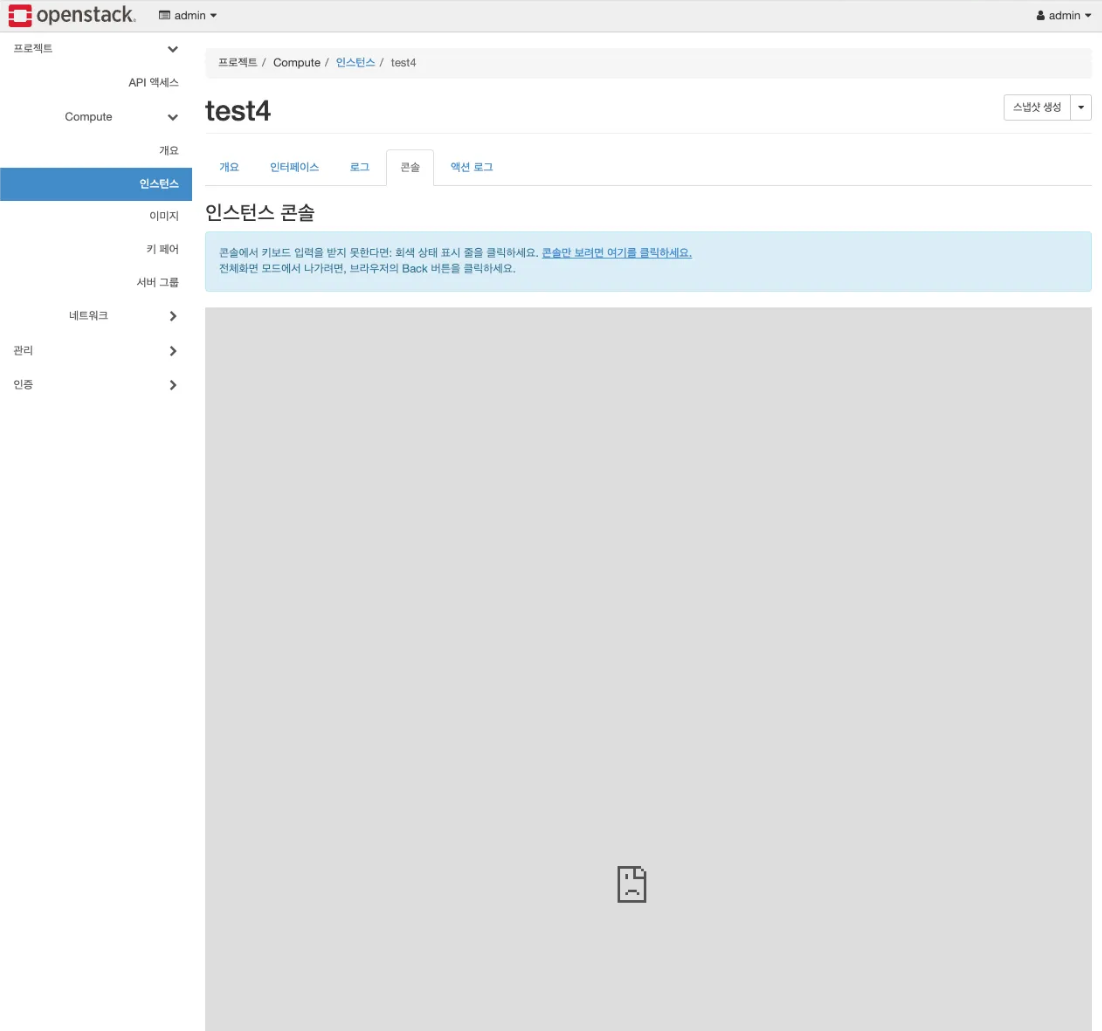
오류 원인 파악

con01(controller)라는 이름은 OpenStack 노드들 간에만 서로 알고 있는 이름이다.
- 인터넷 상에서 해당 이름으로 접근이 불가해서 발생하는 문제이다.
OpenStack VCNC 구조
- Controller : Proxy 역할
- 웹 기반 접근 가능한 공통 통로
- 모든 Compute Node와 연결
- Compute : VM의 VNC 콘솔 화면을 Controller에 전달
- 각 VM 에 대한 접근 주소를 생성하여 제공
- 접근 주소= base url + token-based path
설정 파일 수정
# com01

vi /etc/nova/nova.conf

[vnc]
novncproxy_base_url = http://192.168.1.23:6080/vnc_auto.html

systemctl restart nova-compute
콘솔 조회 성공