들어가며
오늘 다뤄볼 이야기는 AppBar위젯입니다. AppBar는 화면 상단에 표시되는 제목줄입니다. Flutter에서 Scaffold는 기본적으로 appBar를 통해서 AppBar를 화면에 표현할 수 있어요.
환경 구성
body에 Container만 전달한 빈 화면을 그려주겠습니다. 이전 포스팅에서는 암묵적으로 계속 appBar에 다루는 위젯을 표시했었는데요. 오늘은 그 주인공이 바로 AppBar이기 때문에 body는 건들이지 않겠습니다.
import 'package:flutter/material.dart';
class AppBarPage extends StatelessWidget {
const AppBarPage({super.key});
Widget build(BuildContext context) {
return Scaffold(
appBar: AppBar(),
body: Container(),
);
}
}
AppBar
이미 코드로 가장 기본적인 앱바가 화면에 나타나있습니다. 이제부터 AppBar를 한번 샅샅이 살펴보겠습니다.
title
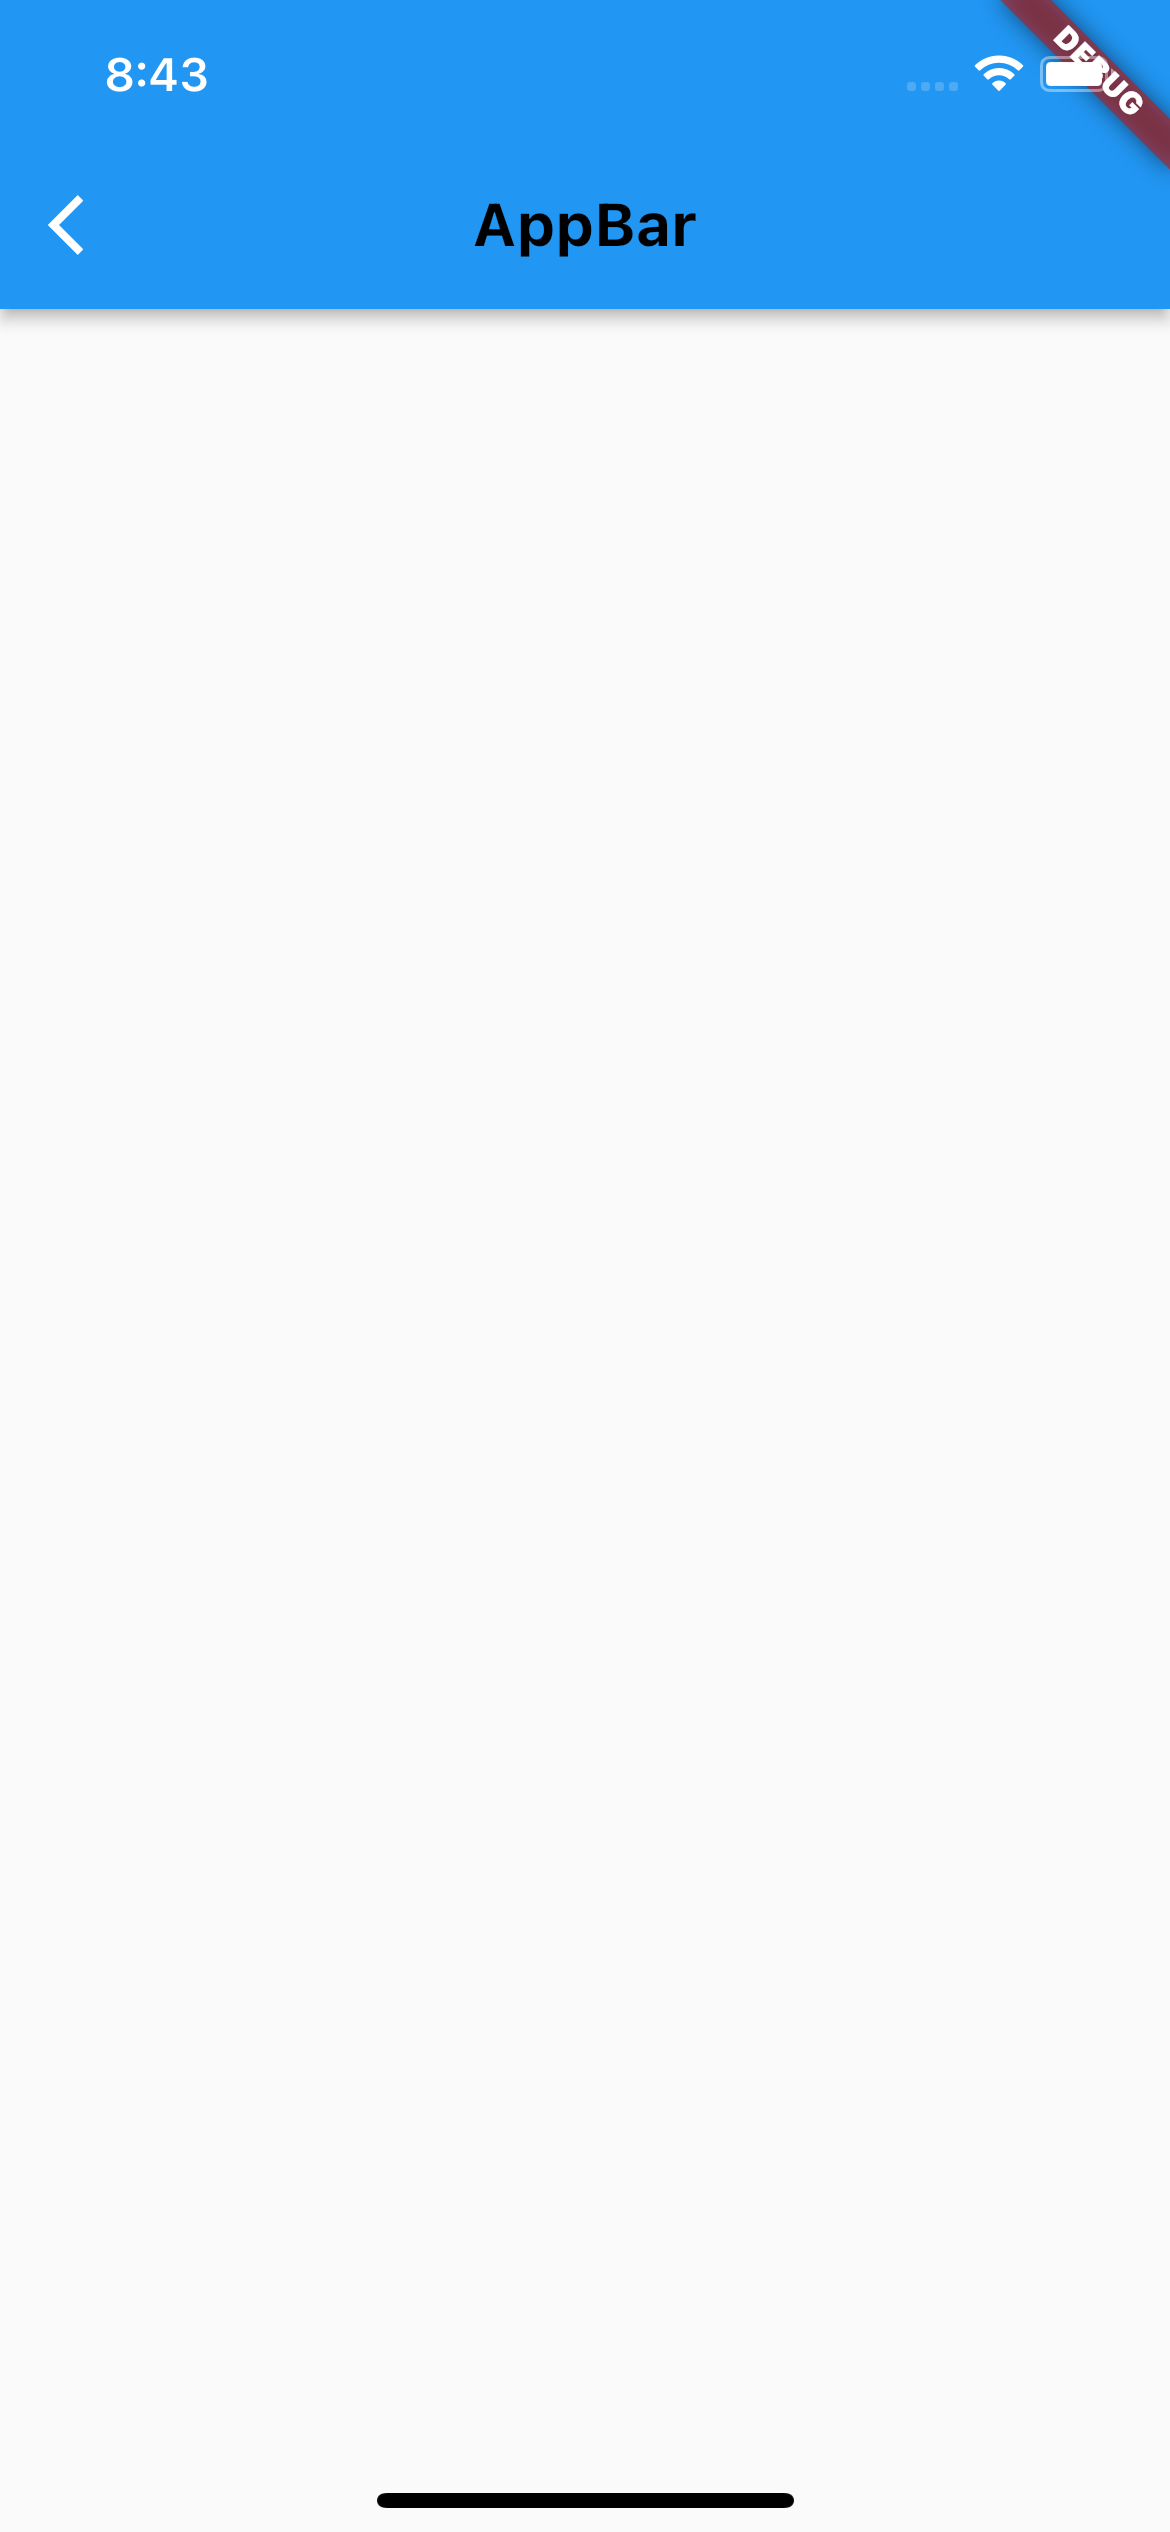
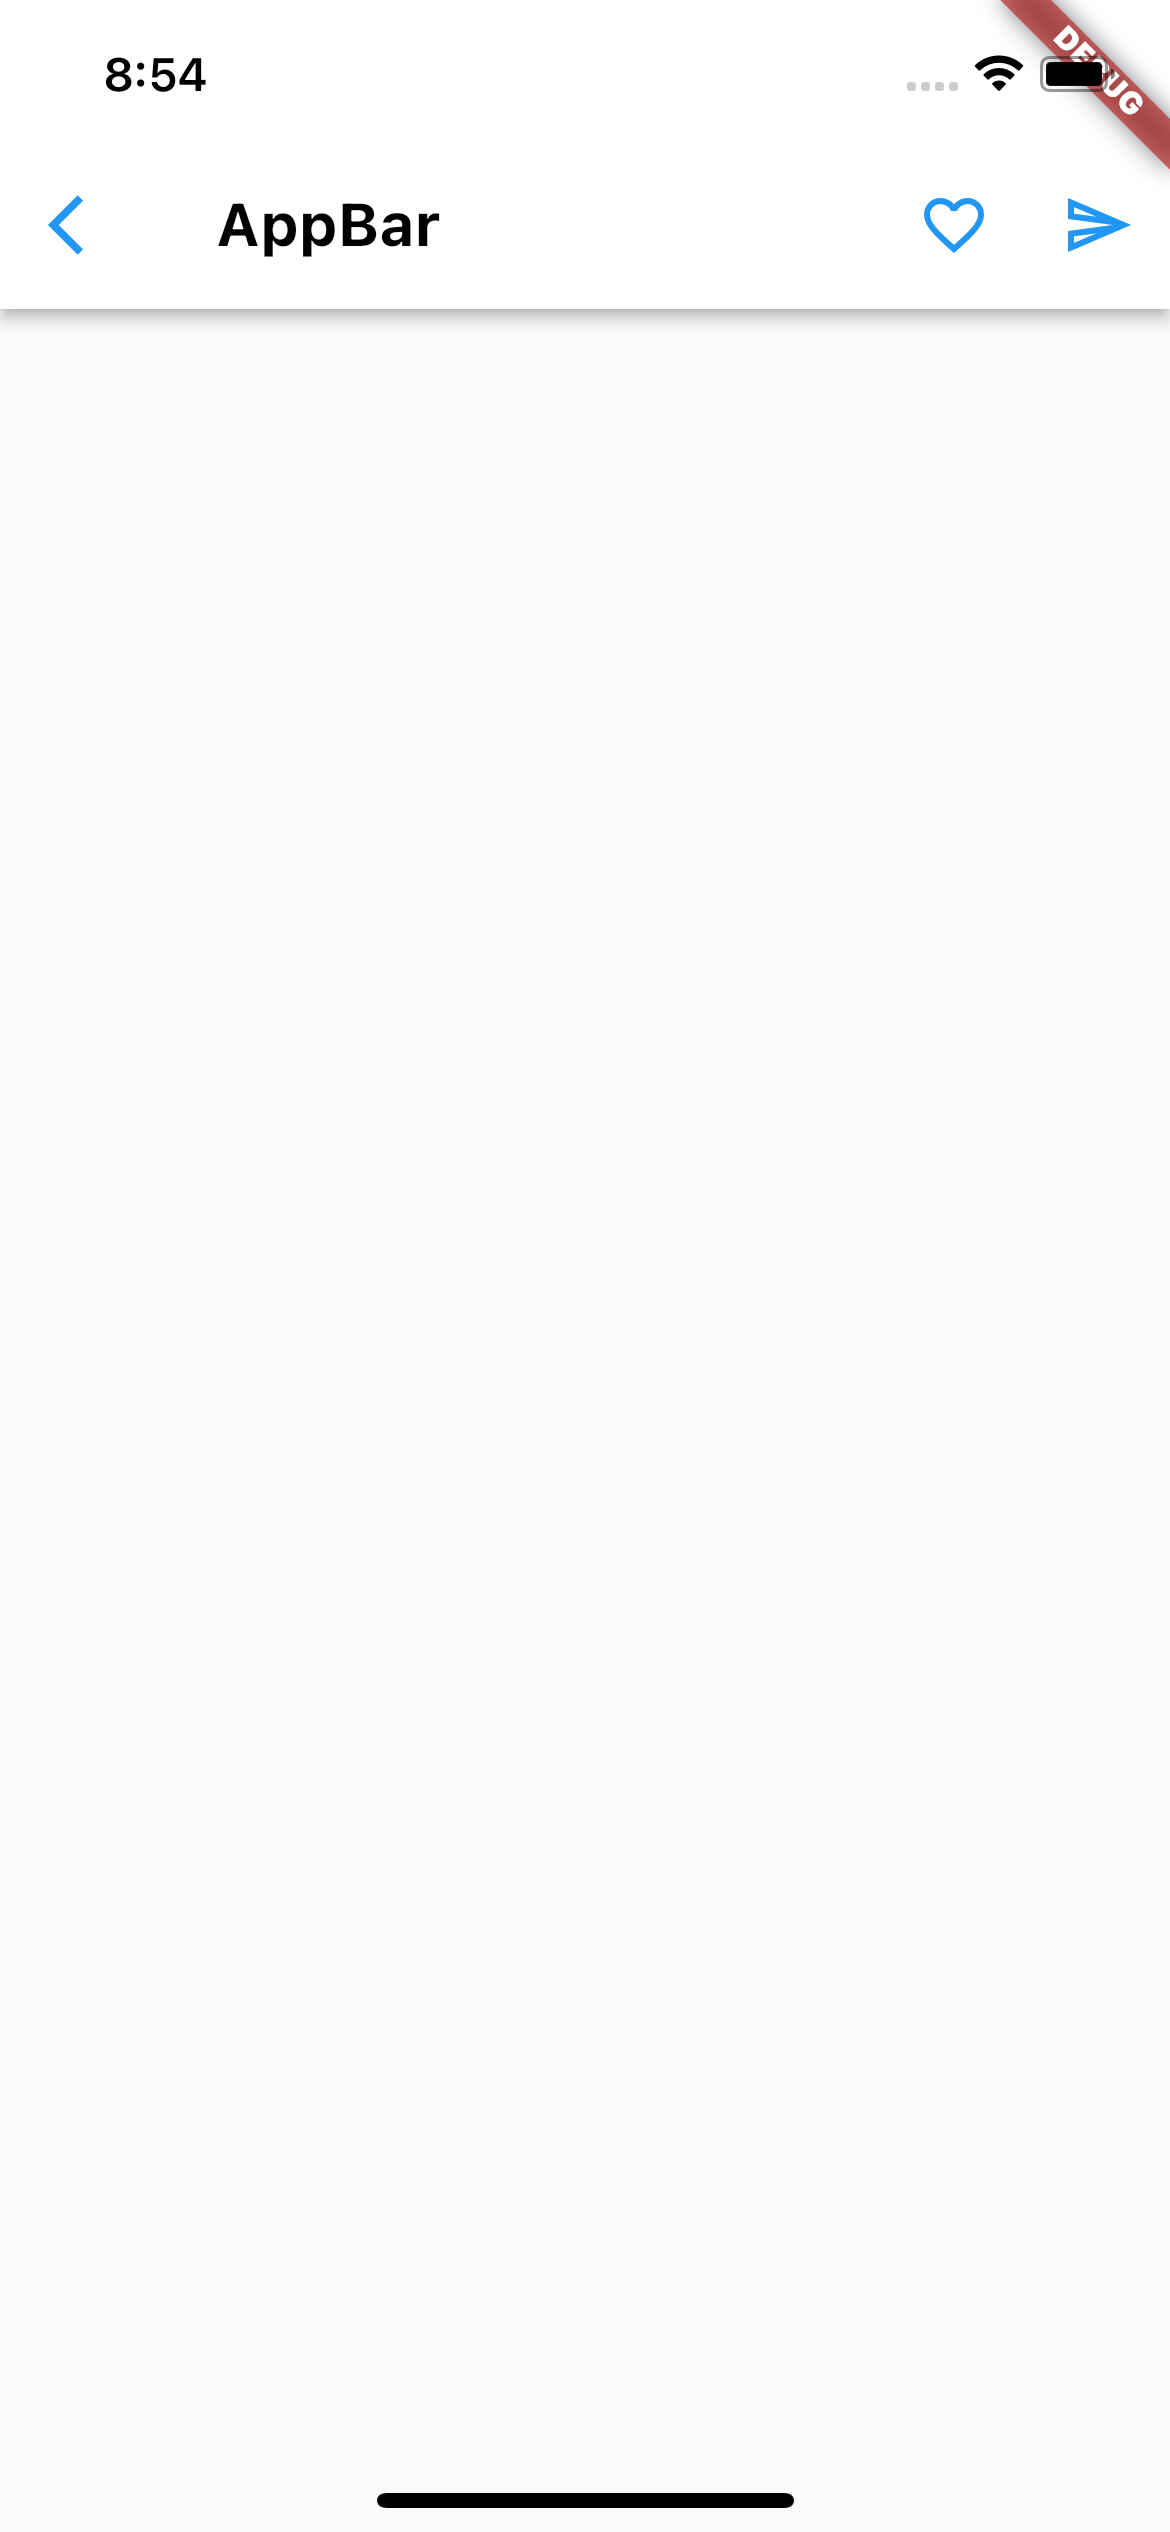
AppBar는 title에 전달되는 값으로 AppBar에 표시되는 제목을 그릴 수 있습니다. title은 Text위젯을 전달받기 때문에 그냥 String 값은 빨간줄이 표시됩니다. 저는 간단하게 'AppBar'라고 해보겠습니다.
import 'package:flutter/material.dart';
class AppBarPage extends StatelessWidget {
const AppBarPage({super.key});
Widget build(BuildContext context) {
return Scaffold(
appBar: AppBar(
title: Text('AppBar'),//title 지정
),
body: Container(),
);
}
}titleTextStyle
title에 전달한 Text위젯에 여러가지 효과를 주기 위해서 그냥 Text위젯 자체적으로 style을 줘도 되지만, titleTextStyle에 전달하여 title에 효과를 줄 수 있습니다. 역시나 TextStyle을 전달해줘야 합니다.
...
appBar: AppBar(
        title: Text('AppBar'),
        titleTextStyle: TextStyle(//title style지정
            fontSize: 20, fontWeight: FontWeight.bold, color: Colors.black),
...
      ),
color
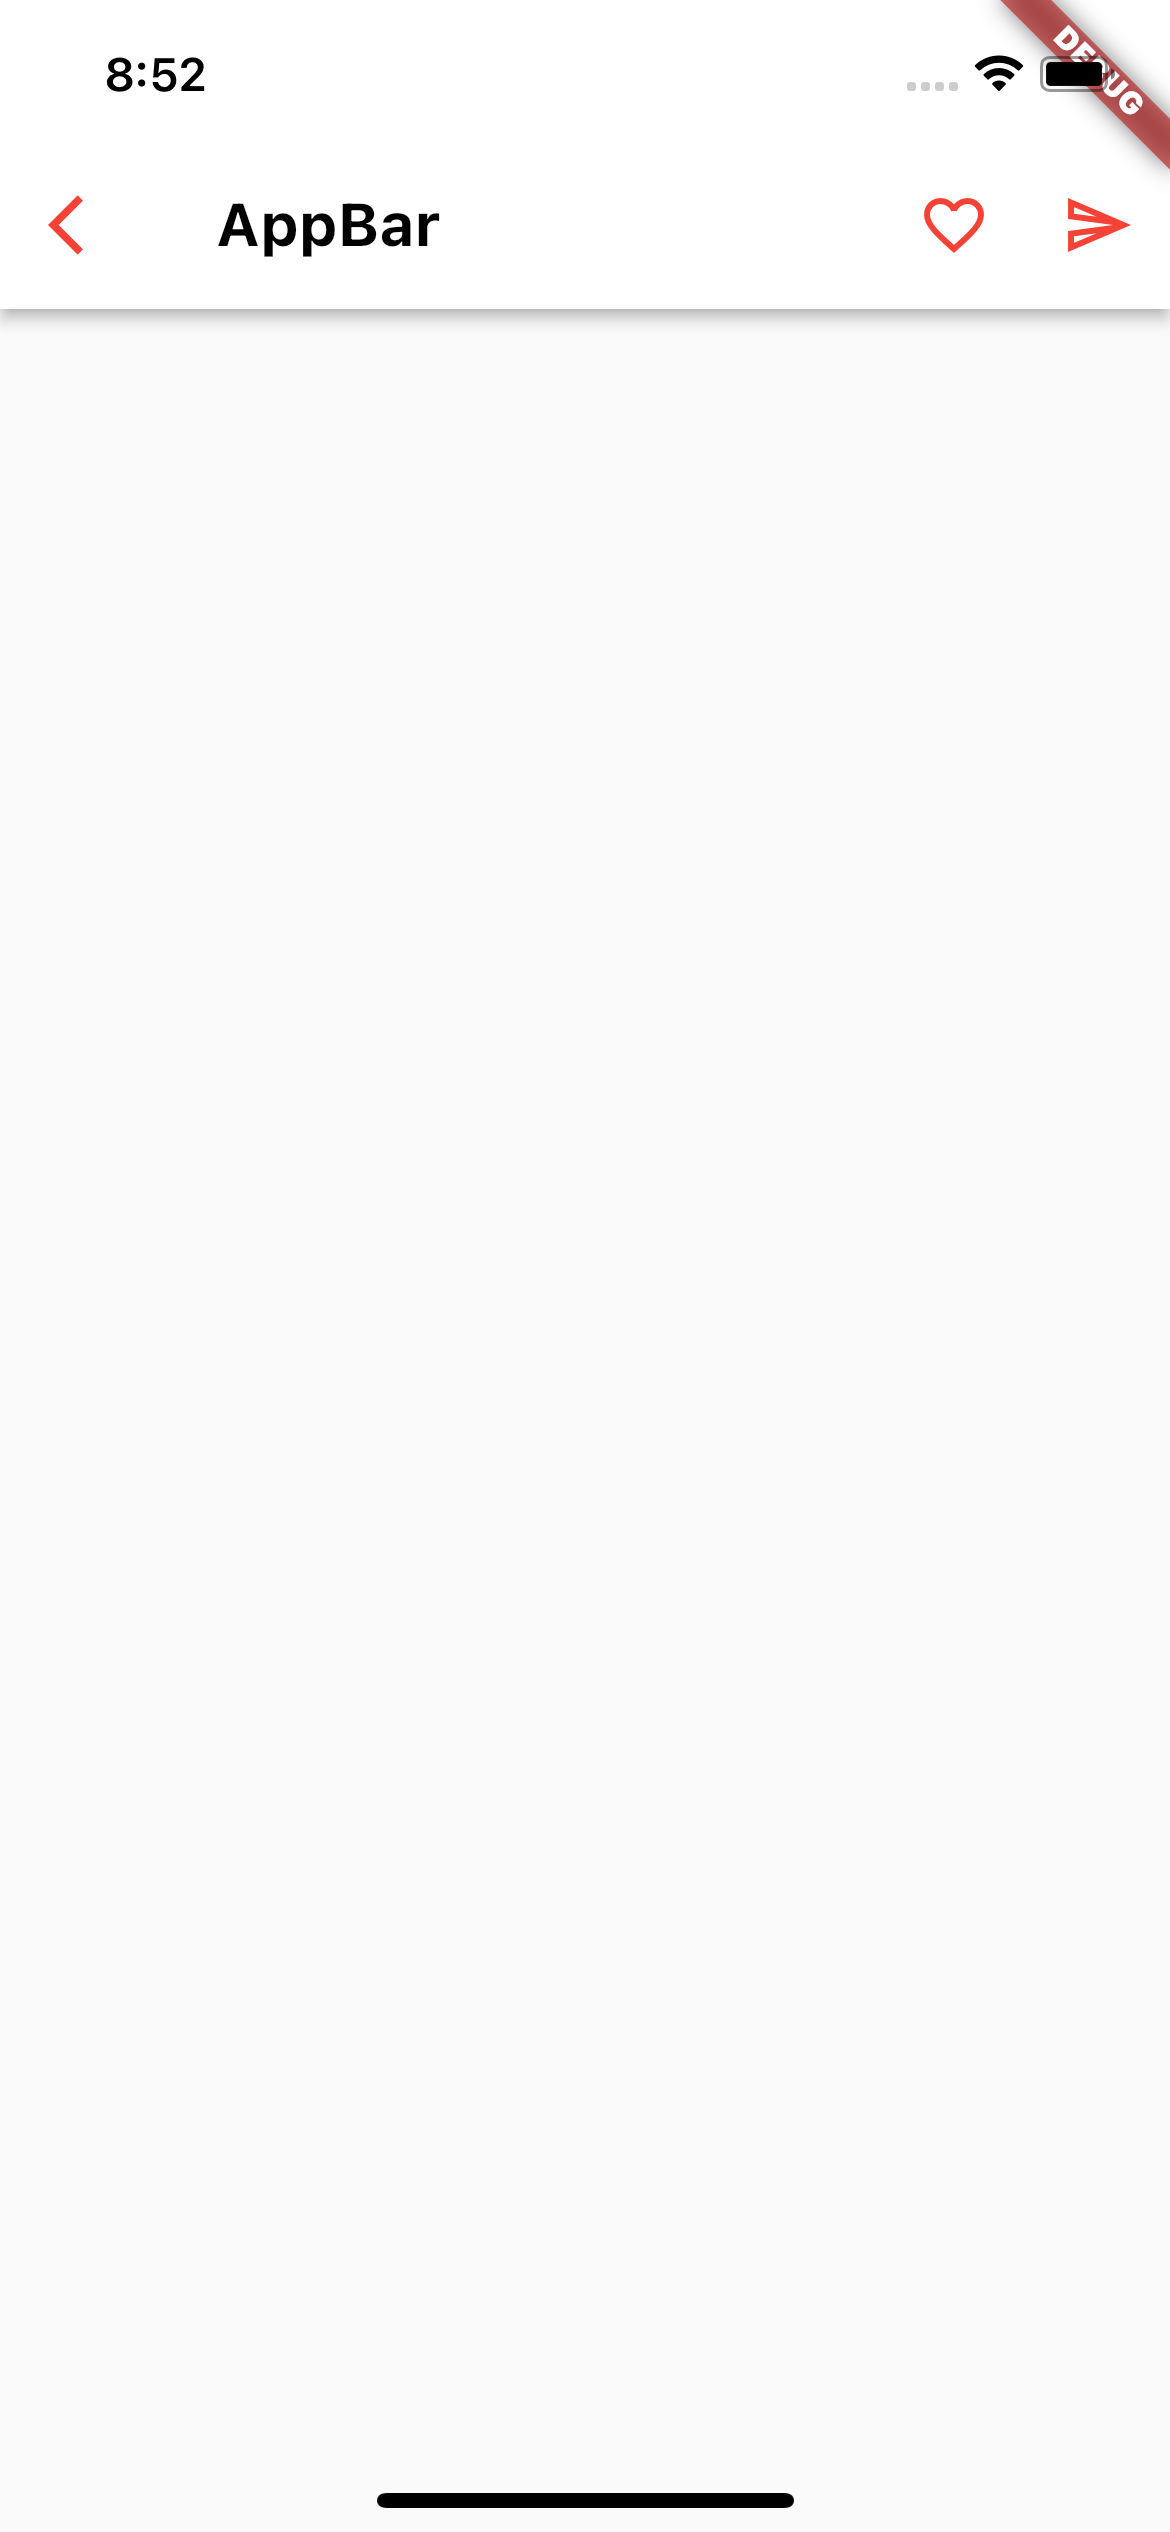
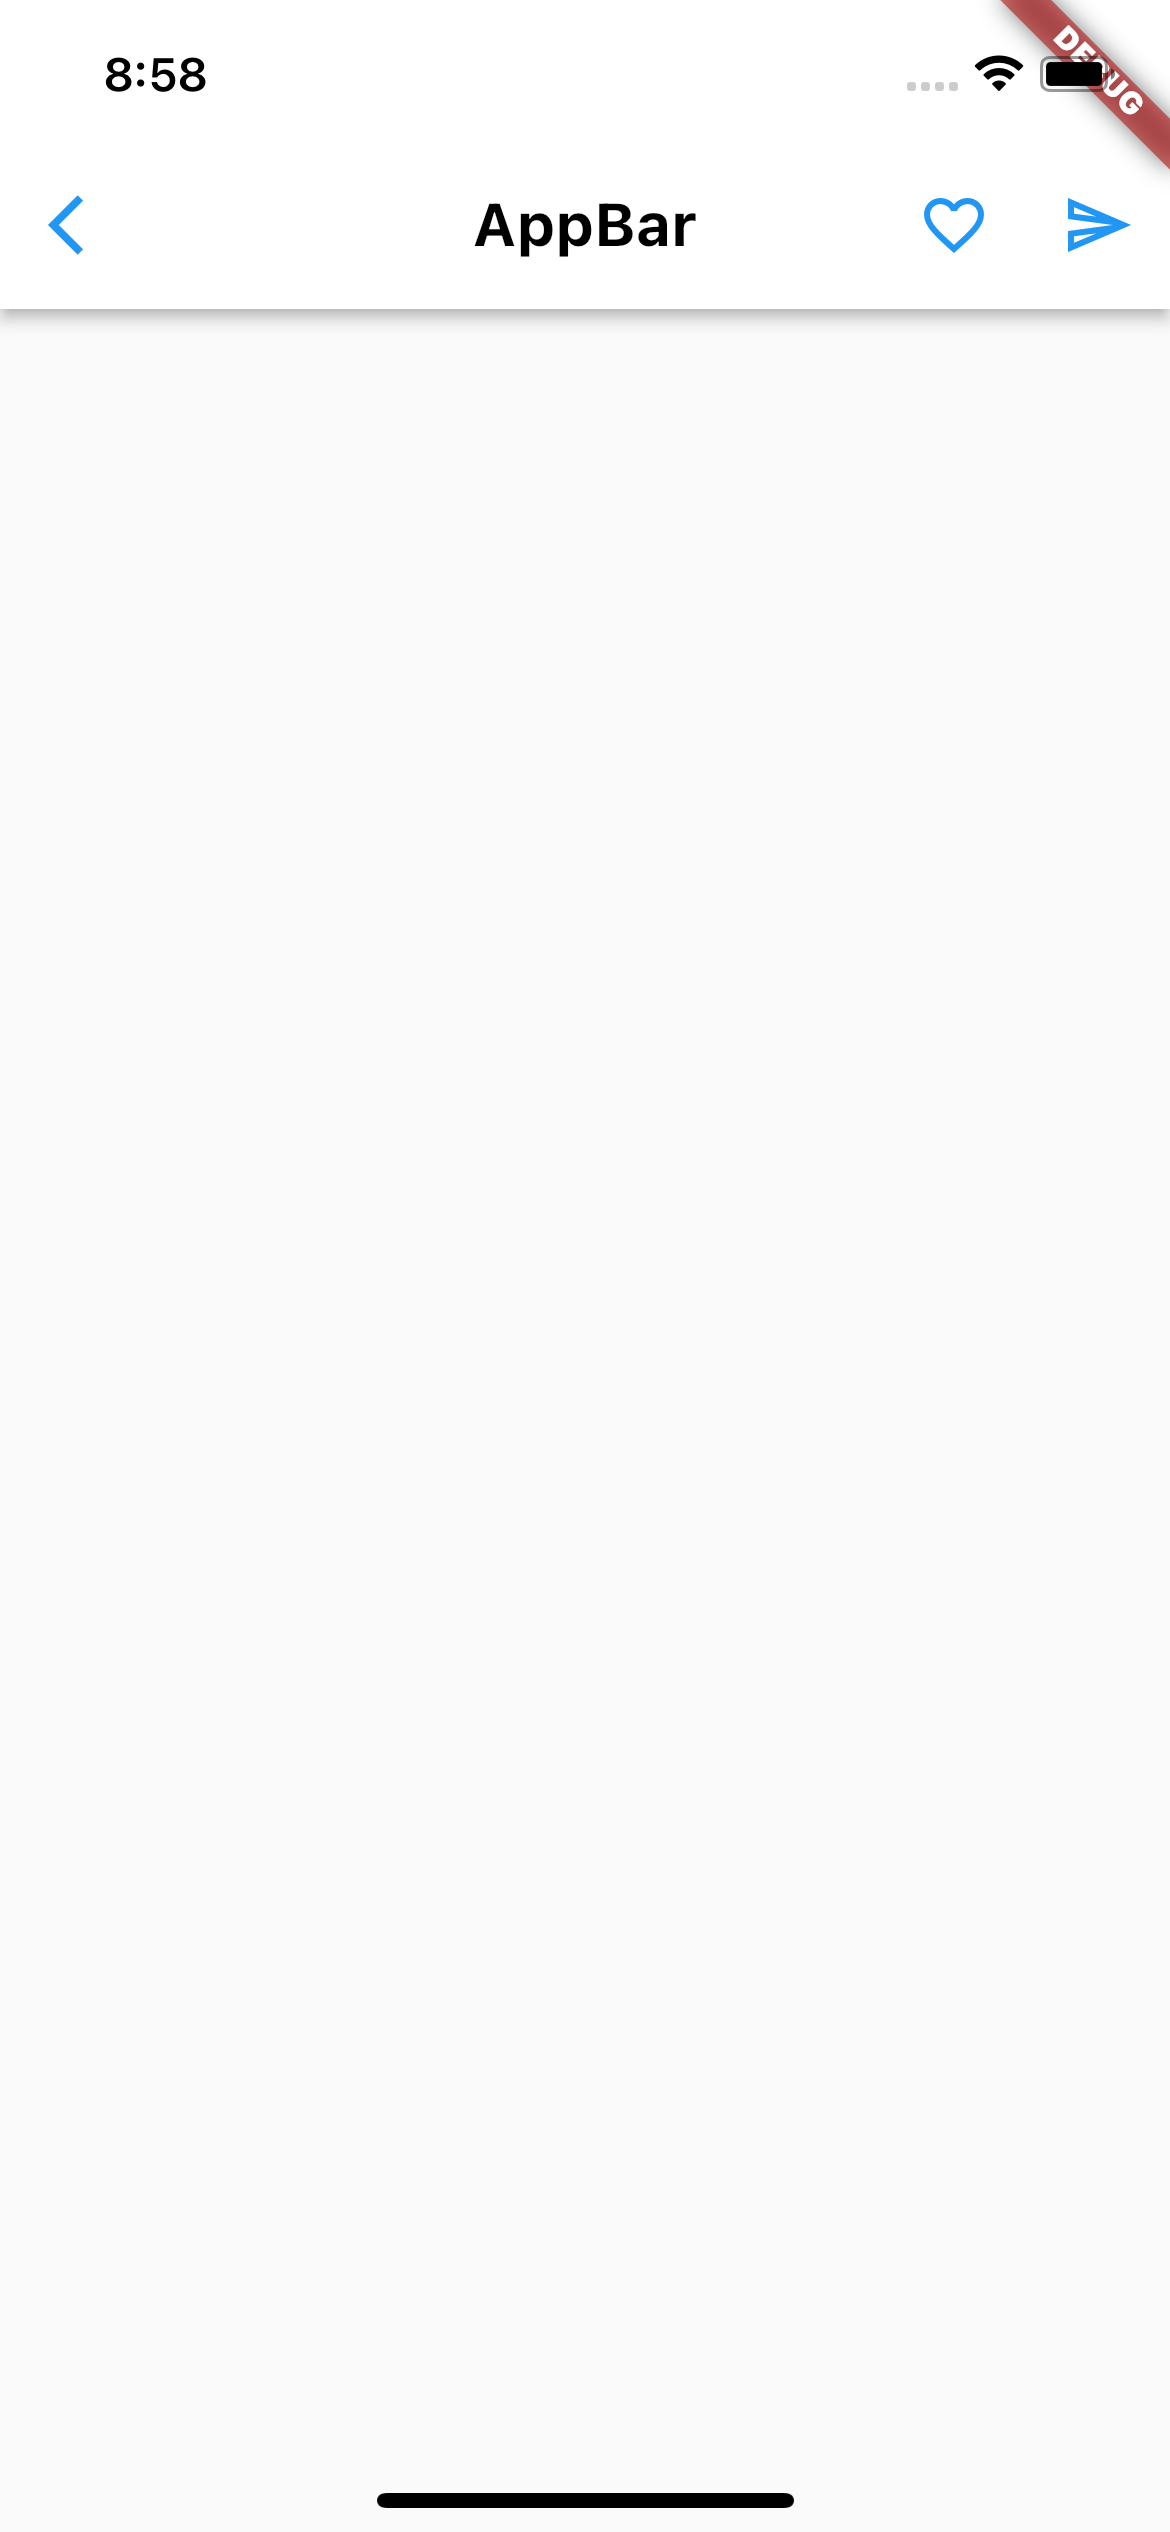
AppBar에서 color는 background, foreground로 나누어집니다. backgroundColor는 AppBar의 배경색상을 지정할 수 있고, foregroundColor는 AppBar의 아이콘 버튼 등의 색상을 지정할 수 있습니다.
...
appBar: AppBar(
        title: Text('AppBar'),
        titleTextStyle: TextStyle(
            fontSize: 20, fontWeight: FontWeight.bold, color: Colors.black),
        backgroundColor: Colors.white,//배경색상 지정
        foregroundColor: Colors.red,//전면색상 지정
      ),
...
actions
actions는 AppBar우측 상단에 메뉴 버튼등을 넣을 수 있도록 해주는 아규먼트입니다. 제너릭 값으로 Widget으로 지정되어 있으므로 Widget만 넣을 수 있어요.
...
appBar: AppBar(
        title: Text('AppBar'),
        titleTextStyle: TextStyle(
            fontSize: 20, fontWeight: FontWeight.bold, color: Colors.black),
        backgroundColor: Colors.white,
        foregroundColor: Colors.red,
        actions: [//actions 위젯 리스트 지정
          IconButton(
              onPressed: () {}, icon: Icon(Icons.favorite_border_outlined)),
          IconButton(onPressed: () {}, icon: Icon(Icons.send_outlined)),
        ],
      ),
...
iconTheme
여기서 생긴 아이콘 버튼들은 foregroundColor에 의해서 색상이 빨갛습니다. 그런데, 아이콘에만 변화를 주고 싶다면 방법이 있습니다. iconTheme를 이용해서 Icon들의 테마를 지정할 수 있어요. iconTheme는 IconThemeData를 통해서 전달해줄 수 있습니다.
...
appBar: AppBar(
        title: Text('AppBar'),
        titleTextStyle: TextStyle(
            fontSize: 20, fontWeight: FontWeight.bold, color: Colors.black),
        backgroundColor: Colors.white,
        foregroundColor: Colors.red,
        actions: [
          IconButton(
              onPressed: () {}, icon: Icon(Icons.favorite_border_outlined)),
          IconButton(onPressed: () {}, icon: Icon(Icons.send_outlined)),
        ],
        iconTheme: IconThemeData(color: Colors.green),
      ),//icon theme 지정
...
foregroundColor가 지정되어 있으나, iconTheme로 지정된 색상을 더 우선시 해서 표현합니다.
centerTitle
actions로 인해서 title이 살짝 왼쪽으로 치우쳐졌습니다. title을 그저 가운데로 고정시킬 수 있는 boolean 아규먼트가 centerTitle입니다. default가 false이며, true값을 전달하면 title이 중앙에 고정됩니다.
...
      appBar: AppBar(
        title: Text('AppBar'),
        titleTextStyle: TextStyle(
            fontSize: 20, fontWeight: FontWeight.bold, color: Colors.black),
        centerTitle: true, // title 중앙 고정
        backgroundColor: Colors.white,
        foregroundColor: Colors.red,
        actions: [
          IconButton(
              onPressed: () {}, icon: Icon(Icons.favorite_border_outlined)),
          IconButton(onPressed: () {}, icon: Icon(Icons.send_outlined)),
        ],
        iconTheme: IconThemeData(color: Colors.blue),
      ),
...
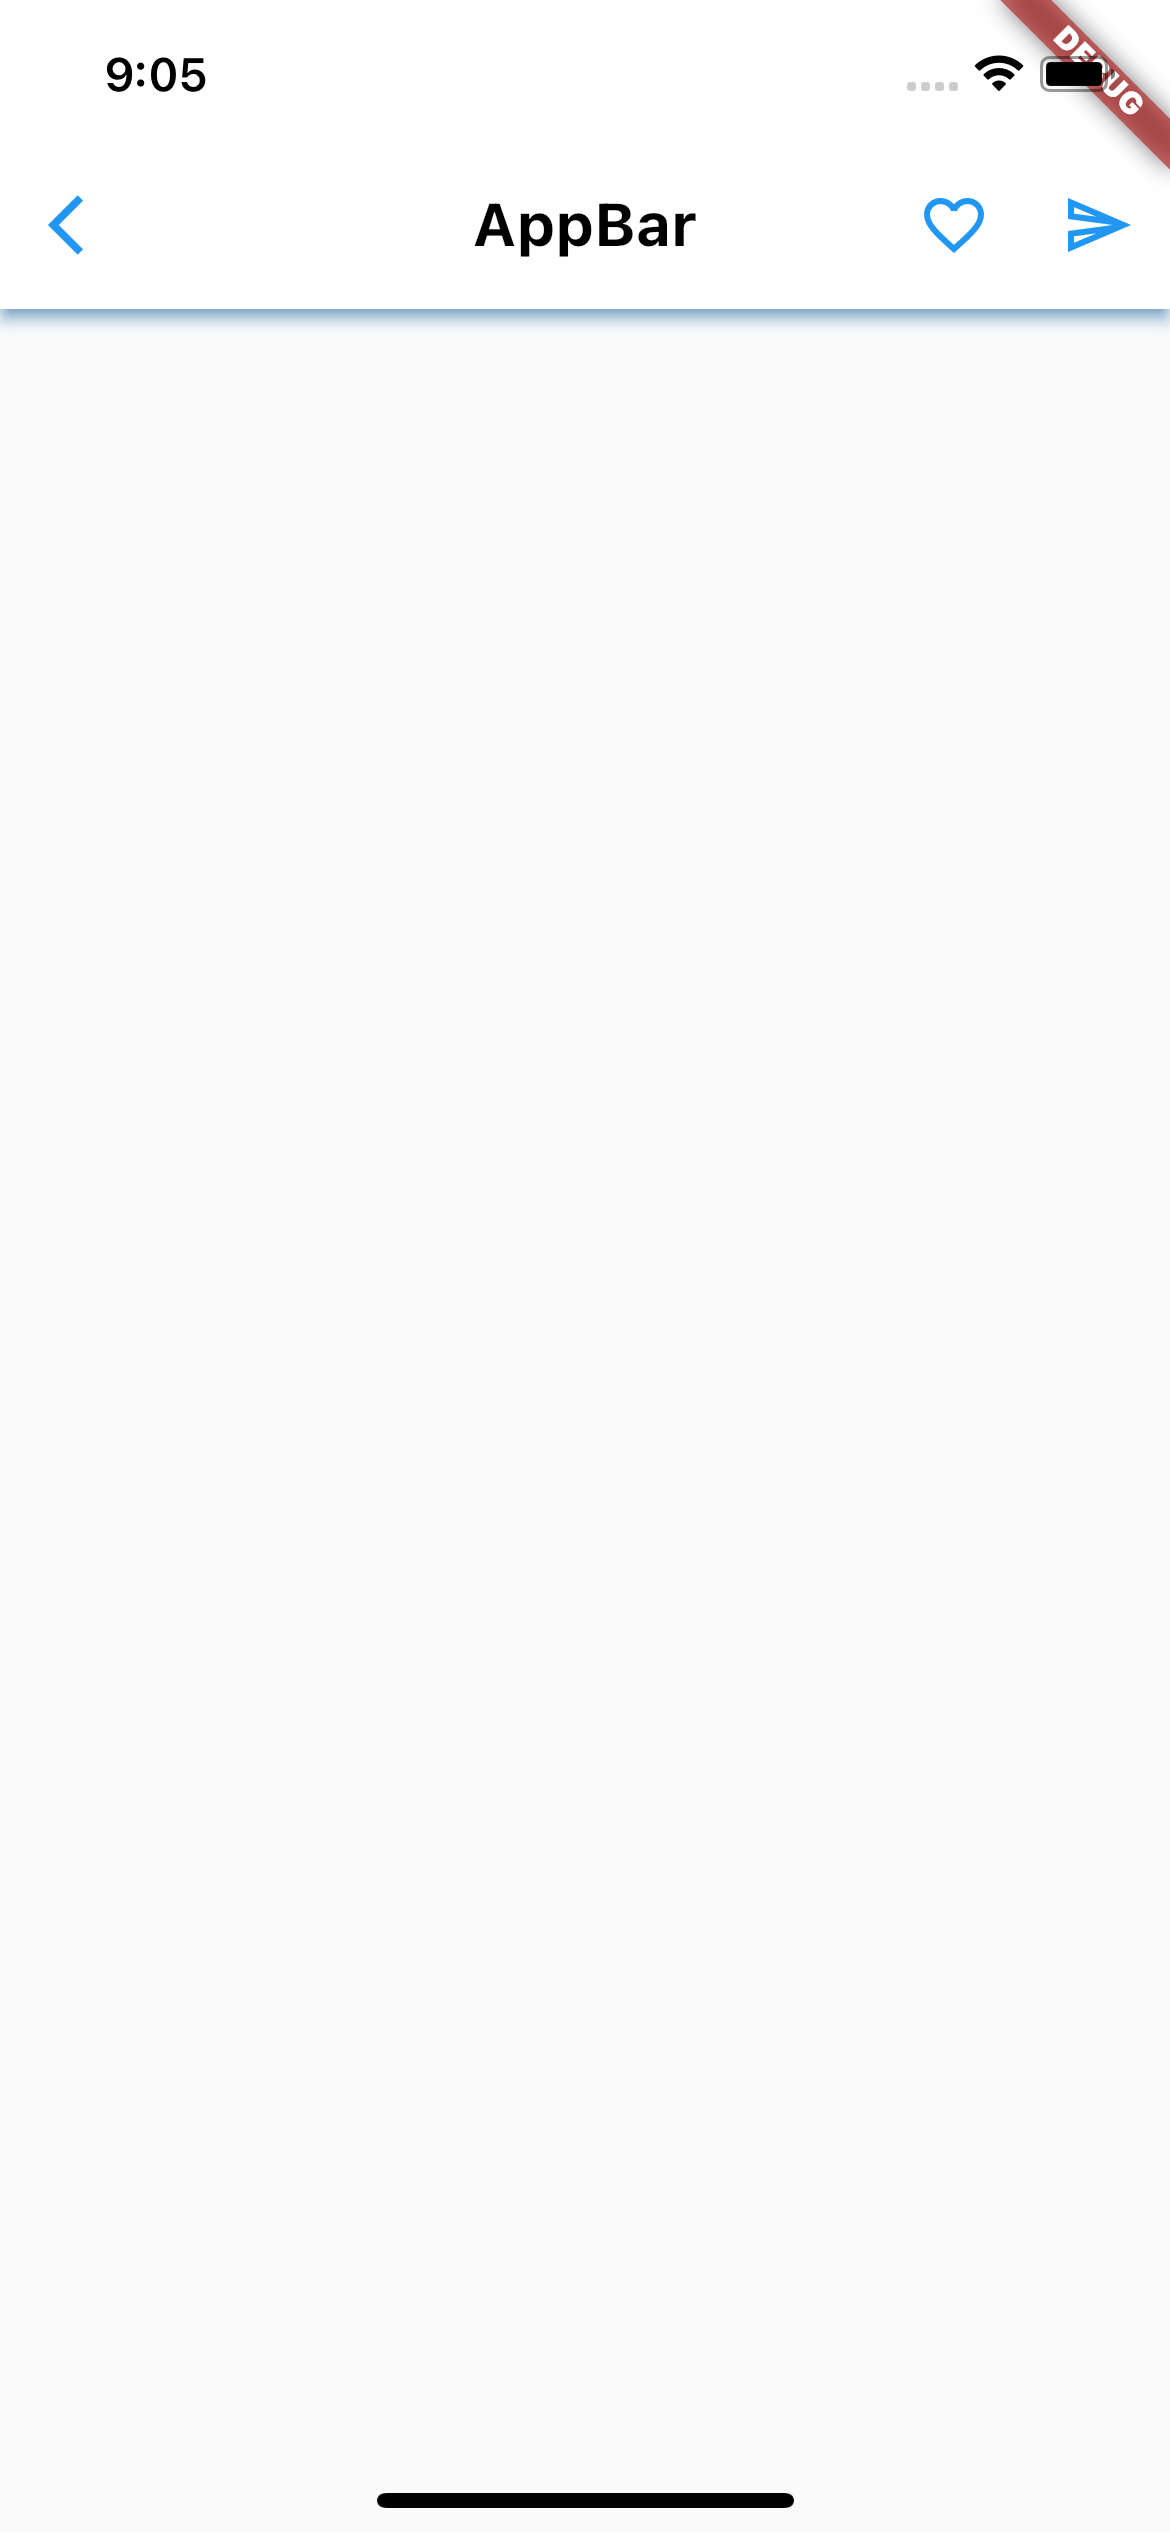
shadowColor
AppBar를 자세히 보면, 미묘하게 그림자가 져있습니다. shadowColor를 통해서 그림자의 색상을 바꿀 수 있습니다.
...
      appBar: AppBar(
        title: Text('AppBar'),
        titleTextStyle: TextStyle(
            fontSize: 20, fontWeight: FontWeight.bold, color: Colors.black),
        centerTitle: true,
        backgroundColor: Colors.white,
        foregroundColor: Colors.red,
        actions: [
          IconButton(
              onPressed: () {}, icon: Icon(Icons.favorite_border_outlined)),
          IconButton(onPressed: () {}, icon: Icon(Icons.send_outlined)),
        ],
        iconTheme: IconThemeData(color: Colors.blue),
        shadowColor: Colors.blue,//앱바 그림자 색상 지정
      ),
...
elevation
이것은 AppBar의 높이를 지정해줄 수 있습니다. 크기가 아니라 AppBar가 그림자가 지어져 있는 것은 배경화면보다 좀 위에 랜더가 된 형식인 겁니다. 그래서 elevation을 통해서 이 높이를 조정할 수 있습니다. 아예 배경과 딱 붙일수도 있어요.
...
appBar: AppBar(
        title: Text('AppBar'),
        titleTextStyle: TextStyle(
            fontSize: 20, fontWeight: FontWeight.bold, color: Colors.black),
        centerTitle: true,
        backgroundColor: Colors.white,
        foregroundColor: Colors.red,
        actions: [
          IconButton(
              onPressed: () {}, icon: Icon(Icons.favorite_border_outlined)),
          IconButton(onPressed: () {}, icon: Icon(Icons.send_outlined)),
        ],
        iconTheme: IconThemeData(color: Colors.blue),
        shadowColor: Colors.blue,
        elevation: 0.0,
      ),
...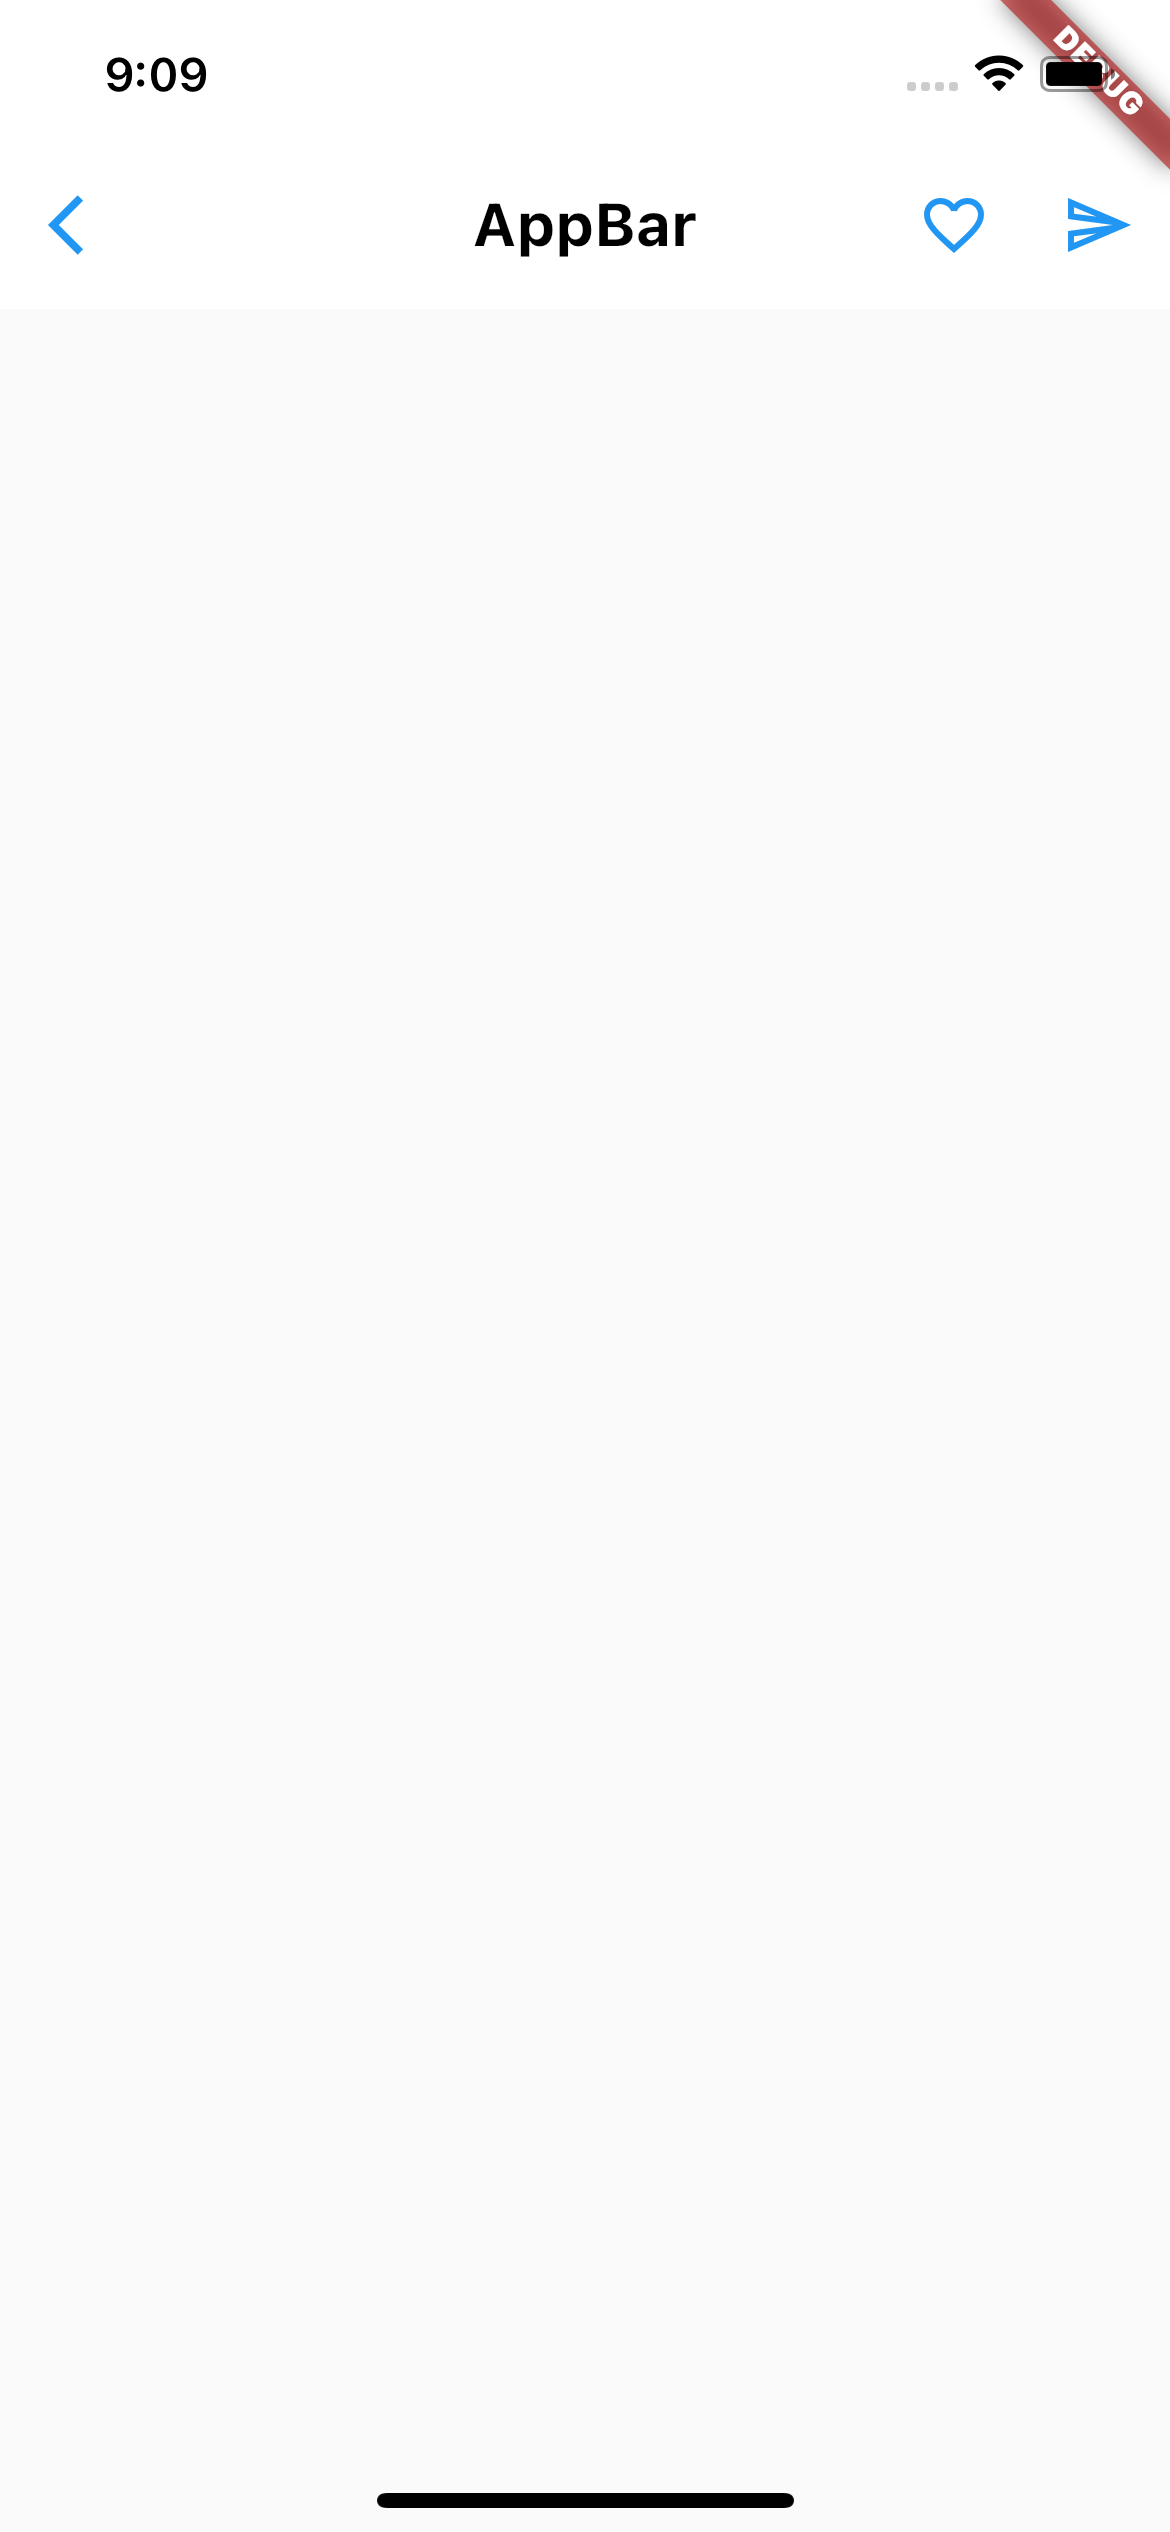
그림자가 아예 사라졌죠?? 그림자가 생길 이유가 없기 때문입니다.
AppBar에 대한 더 자세한 내용은 공식문서를 확인해주세요 !