
1. Firebase 설정
build.gradle(Project)에 classpath 추가
buildscript {

    ... 생략

        classpath 'com.google.gms:google-services:4.3.10'

    ... 생략
}- 구글 서비스의 classpath를 추가해줍니다.
build.gradle(Module)에 dependencies 추가
plugins {
    id 'com.android.application'
}
apply plugin: 'com.android.application'
apply plugin: 'com.google.gms.google-services'

android {

... 생략

    androidTestImplementation 'androidx.test.espresso:espresso-core:3.4.0'

    // 롬복
    compileOnly 'org.projectlombok:lombok:1.18.20'
    annotationProcessor 'org.projectlombok:lombok:1.18.20'

    // Firebase SDK 시작하기
    implementation platform('com.google.firebase:firebase-bom:28.3.0')
    implementation 'com.google.firebase:firebase-analytics'
    implementation 'com.google.firebase:firebase-auth'
    implementation 'com.firebaseui:firebase-ui-auth:7.2.0'
    implementation 'com.google.android.gms:play-services-auth:19.2.0'
    implementation 'com.google.firebase:firebase-firestore'
}- 상단에 apply plugin을 추가합니다.
- lombok과 Firebase SDK 추가합니다.
- 추가 후 Sync Now해서 적용시켜 줍니다.
google-servies.json 받아서 추가
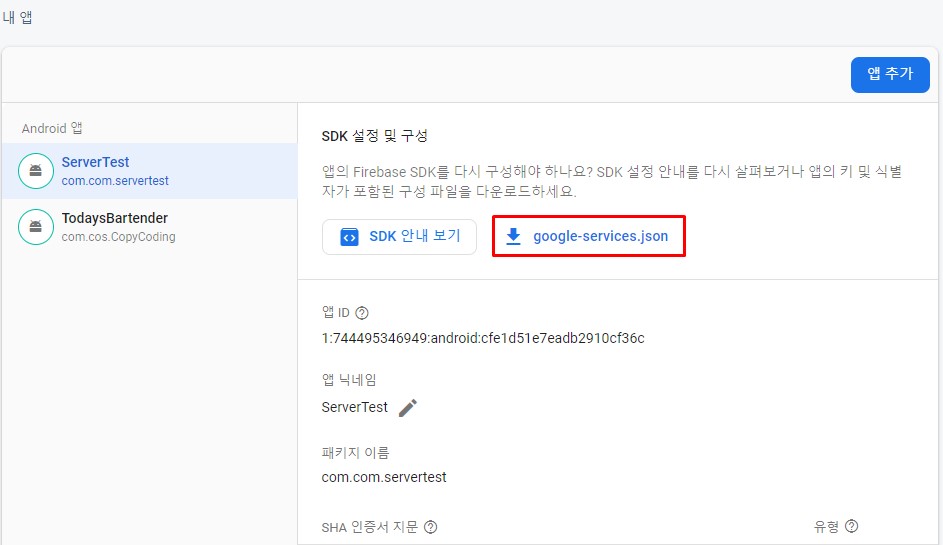
- 파이어베이스 설정에서 google-servies.json 다운로드를 해줍니다.
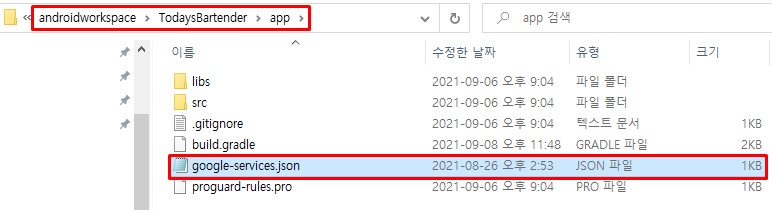
- 프로젝트 app폴더에 붙여넣어 주면 Firebase가 정상적으로 연결됩니다.
2. 코드 작성
bg_gradient 생성
<shape
    xmlns:android="http://schemas.android.com/apk/res/android"
    android:shape="rectangle">

    <gradient
        android:angle="90"
        android:startColor="#E379C8"
        android:centerColor="#BD81D6"
        android:endColor="#F6F2E6"
        android:type="linear" />

</shape>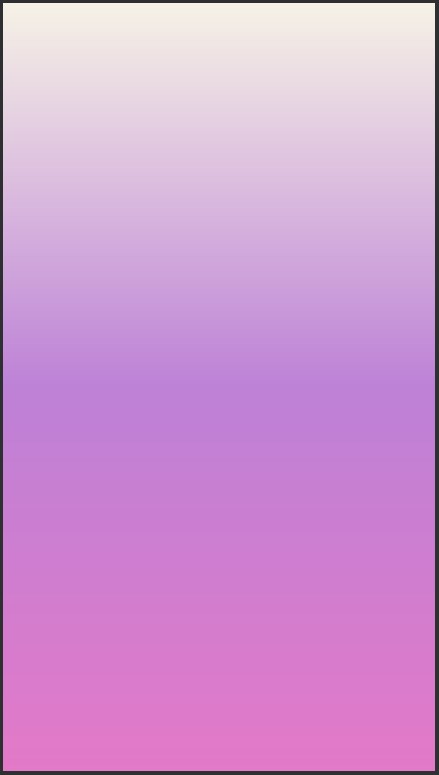
- 배경색상으로 사용합니다.
- 프로젝트 진행하면서 변경될 수도 있습니다.
Appbar
- Appbar는 테스트 결과 사용하지 않기로 결정했습니다.
- themes.xml에서 NoActionbar로 변경해줍니다.
- 디자인과 맞지 않고, 모바일 앱 중 고정 앱바는 잘 없으므로 일반적인 Appbar는 폐기하겠습니다.
- 네비게이션 앱바는 사용할 수도 있으므로 보류하겠습니다.
activity_main.xml
- 메인 액티비티의 전체 레이아웃은 LinearLayout의 vertical로 진행하겠습니다.
<?xml version="1.0" encoding="utf-8"?>
<androidx.appcompat.widget.LinearLayoutCompat
    xmlns:android="http://schemas.android.com/apk/res/android"
    xmlns:app="http://schemas.android.com/apk/res-auto"
    xmlns:tools="http://schemas.android.com/tools"
    android:layout_width="match_parent"
    android:layout_height="match_parent"
    android:orientation="vertical"
    android:background="@drawable/bg_gradient"
    tools:context=".activity.MainActivity">

    <TextView
        android:layout_width="match_parent"
        android:layout_height="match_parent"
        android:text="테스트 테스트"
        android:textSize="30dp"
        android:textColor="@android:color/black"
        android:layout_margin="10dp"
        android:layout_gravity="center" />

</androidx.appcompat.widget.LinearLayoutCompat>
3. 추가 구상
- Appbar를 폐기했으므로 기존의 Web에서 사용했던 header를 사용할 수 없습니다.
- header 영역에 있던 각종 화면 이동 버튼을 어떻게 구현할 지 고민이 필요합니다.
- MainActivity의 기능을 조금 더 강화시켜야할꺼 같습니다.
- 버튼의 Click을 이용한 menu 생성도 고려를 해봐야 겠습니다.
- 우선 내일은 JoinActivity, LoginActivity를 생각중입니다.

Nil Desperandum <절대 절망하지 마라>