1
js는 모든 브라우저에서 쓰이는 언어
프론트엔드라면 js외에 다른 언어의 선택지가 없다.
three.js : js로 3D구현
react native: js만으로 안드로이드, IOS앱을 만들게 해주는 프레임워크
electron: js만으로 데스크탑 앱을 만들게 해주는 프레임워크
ml5.js: js만으로 머신러닝 모델 생성하는 웹사이트 구축 및 훈련 가능
Replit: vscode를 설치할 수 없는 환경(기기)일 때 유용한 사이트
2
크롬 브라우저 개발자도구 열기: F12> console
Window CLI
- cmd로 폴더 조회:
dir- cmd로 폴더 이동:
cd 폴더명/cd ..- cmd로 폴더 생성:
mkdir 폴더명- cmd로 폴더 삭제:
rmdir 폴더명- cmd로 vscode 열기:
code/code 경로code C:\Users\user\Documents\momentum
vscode에서 HTML 자동완성하기 : !+ Tab
<!DOCTYPE html>
<html lang="en">
<head>
  <meta charset="UTF-8">
  <meta http-equiv="X-UA-Compatible" content="IE=edge">
  <meta name="viewport" content="width=device-width, initial-scale=1.0">
  <link rel="stylesheet" href="style.css">
  <title>Momentum</title>
</head>
<body>
  <div class="hello">
    <h1>Grab me!</h1>
  </div>
    <script src="app.js"></script>
</body>
</html>
브라우저에서 html을 실행한다.
HTML에서 실행해야할 파일들(css, js)을 확인하고 가져온다.
js는 위에서 아래로 한줄씩 읽는다
prompt() -> css도 적용할 수 없고 어떤 브라우저에서는 막혀서 안 씀!
const age = parseInt(prompt("how old are you?"))

if(isNaN(age)) console.log("숫자를 입력하세요")
else console.log("나이가 입력되었다.")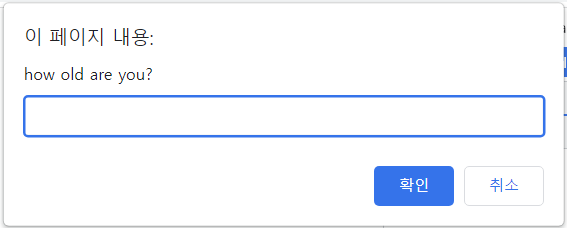
isNaN() : 숫자인지 아닌지 판단하는 함수.
// true인 경우:
true && true
true || false
3
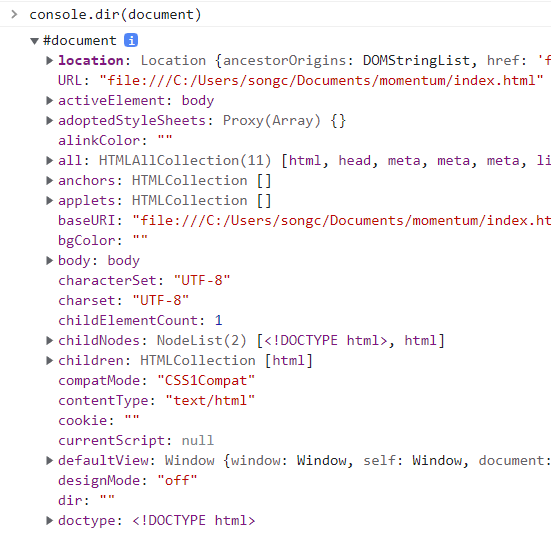
document: 브라우저 상에 이미 존재하는 객체
- js에서 html을 불러올 수 있다.
document.getElementById("title")
console.dir(document.title)- js에서 html을 변경할 수 있다.
document.title = "Hello World!"

const title = document.getElementById("title")
title.innerText = "got you"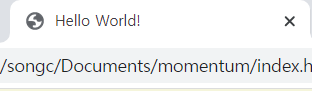
document.getElementsByClassName():
const hellos = document.getElementsByClassName("hello")
console.log(hellos) // [div.hello]document.querySelector(): element를 css방식으로 검색할 수 있다.
// 검색된 첫번째만
const hellos = document.querySelector(".hello h1")
console.log(hellos)		// <h1>Grap me!</h1>

// 검색된 여러개
const hellos = document.querySelectorAll(".hello h1")
console.log(hellos)		// [h1, h1, h1]
동일하다
document.querySelector("#hello")
document.getElementById("hello")
event
eventListener를 찾고 싶다면?
- HTMLHeadingElement - Web API
- console.dir(document.querySelector(""))
on으로 시작하는 event 메소드들을 사용하면 됨!('on'은 빼고)
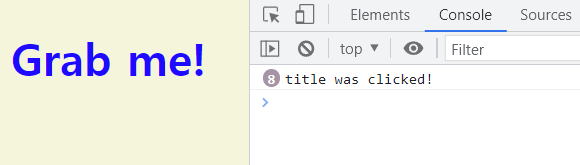
click event
// app.js
const ha = document.querySelector("div.hello:first-child h1")

function handleTitleClick(){
  h1.style.color = "blue"
  console.log("title was clicked!")
}

h1.addEventListener("click", handleTitleClick)
// Point! 함수를 바로 실행하지 않도록 ()는 입력하지 않는다!
// JS에게 함수만 넘겨줘서 유저가 클릭하면 실행됨
h1.onclick = handleTitleClick // 또는 이렇게 쓸수도 있다
- if...else 응용
function handleh1Click(){
  const curColor = h1.style.color
  let newColor;
  if(curColor === 'blue'){
    newColor = "tomato"
  }else{
    newColor = "blue"
  }
  h1.style.color = newColor
}
window - events
window는 기본적으로 제공됨
https://developer.mozilla.org/en-US/docs/Web/API/Window#events
- error, devicemotion, resize, copy, offline, online
resize : 화면 크기 조절 시 css변화를 확인해보자
// app.js
function handleWindowResize(){
  document.body.style.backgroundColor = "tomato"
}
window.addEventListener("resize", handleWindowResize)

document.body,document.head, document.title 등은 불러올 수 있지만 div 등은 없어서 querySeletor로 불러와야 한다.
css
- css는 app.js가 아닌 style.css에서 작성한다
- className은 getter이자 setter이다.
- css의 js에서 이벤트에 따라 변경하고 싶다면?
예) h1 태그를 className으로 접근할 수 있다.
<body>
  <div class="hello">
    <h1>Click me!</h1>
  </div>
    <script src="app.js"></script>
</body>
// app.js const h1 = document.querySelector("div.hello h1") function handleh1Click(){ const clickedClass = "clicked" // 중복되는 부분은 변수 할당! if(h1.className === clickedClass){ h1.className = "" } else { h1.className = clickedClass } } h1.addEventListener("click", handleh1Click).clicked { color: tomato }
className을 직접 변경할 수도 있지만
h1.className = "clickedClass"기존의 html 파일에 설정한 class를 계속 유지하기 위해 classList를 사용한다.
- contains
https://developer.mozilla.org/en-US/docs/Web/API/DOMTokenList/contains - remove
https://developer.mozilla.org/en-US/docs/Web/API/DOMTokenList/remove - add
https://developer.mozilla.org/en-US/docs/Web/API/DOMTokenList/add
// app.js
const h1 = document.querySelector("div.hello h1")

function handleh1Click(){
  const clickedClass = "clicked"
  if(h1.classList.contains(clickedClass)){
    h1.classList.remove(clickedClass)
  }else{
    h1.classList.add(clickedClass)
  }
}

h1.addEventListener("click", handleh1Click) - 기존의 sexy 클래스에서 클릭이벤트 후 clicked 클래스가 추가됐을 때:
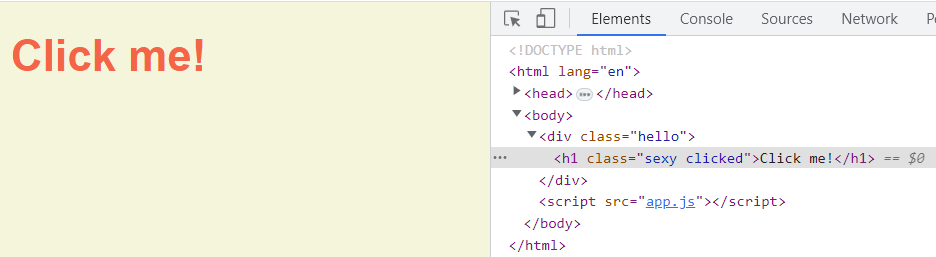
위의 클릭이벤트를 그대로 구현한 toggle 함수가 있다!
https://developer.mozilla.org/en-US/docs/Web/API/DOMTokenList/toggle
const h1 = document.querySelector("div.hello h1")

function handleh1Click(){
  h1.classList.toggle("clicked")
}

h1.addEventListener("click", handleh1Click)
// 변수 선언도 필요없다