Deep-labv2 for Image Segmentation(이미지 세그멘테이션) + 이미지 폴더 단위 세그멘테이션 code 추가
출처 : https://github.com/kazuto1011/deeplab-pytorch
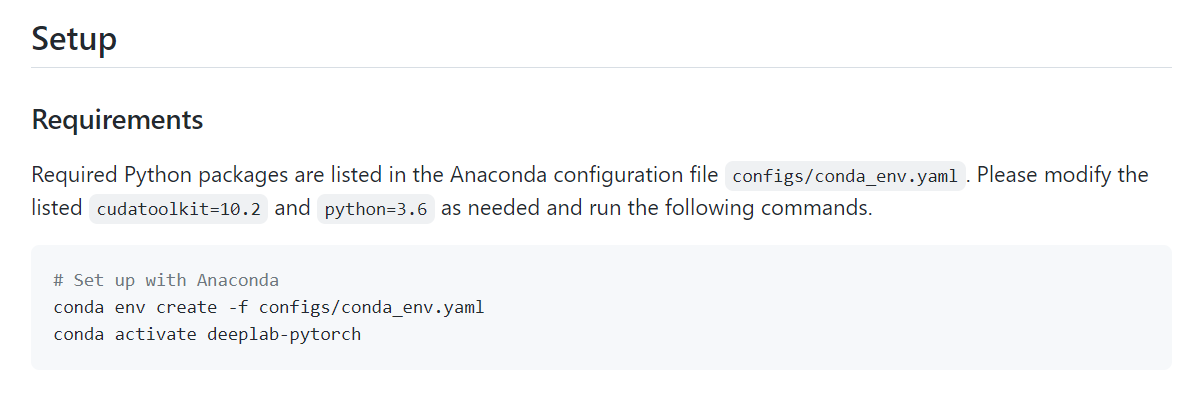
환경 설정
사전학습 모델
Fine-tuning 하기 전 모델입니다.
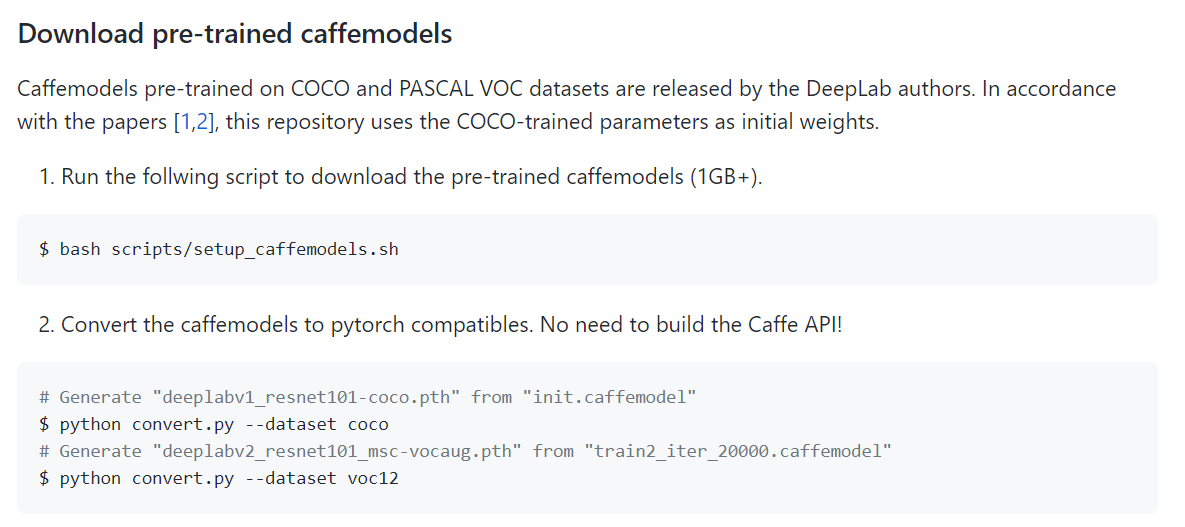
Deeplab v1 인 것 같은데, ;;
finu-tuned 모델
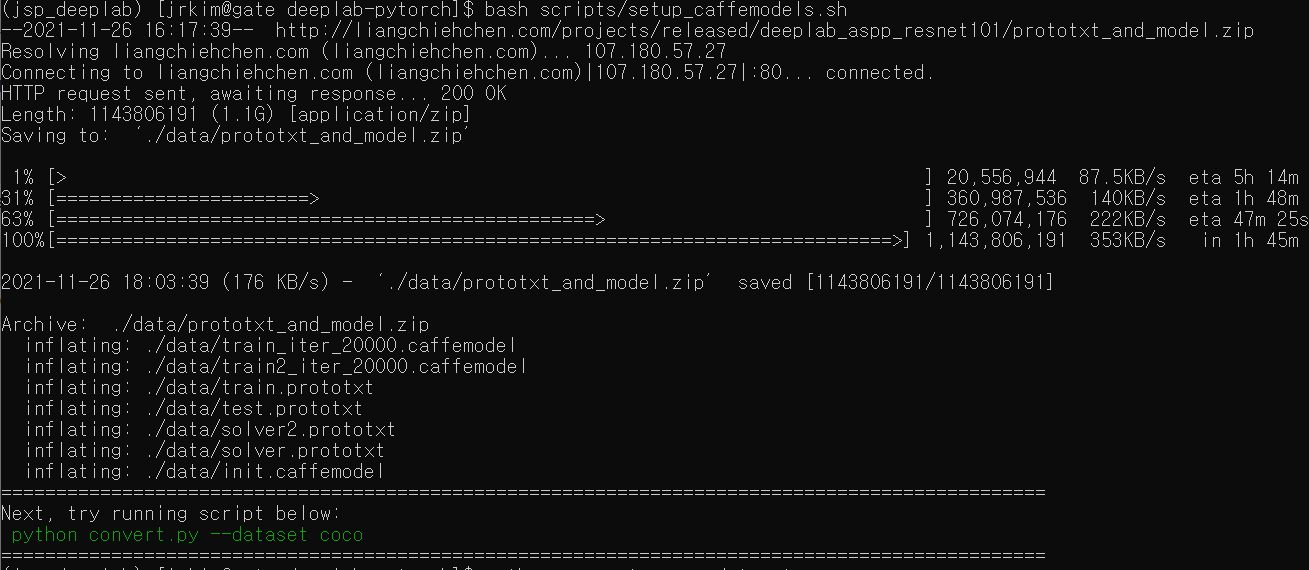
위의 Caffe 방식으로 진행 후 convert coco를 이용할 수도 있지만, scripts 설치하는 데 조금 오래 걸릴 수 있습니다.
이 때는 아래와 같이 pre-trained model(의 parameter)을 곧바로 다운받아 사용할 수 있습니다.
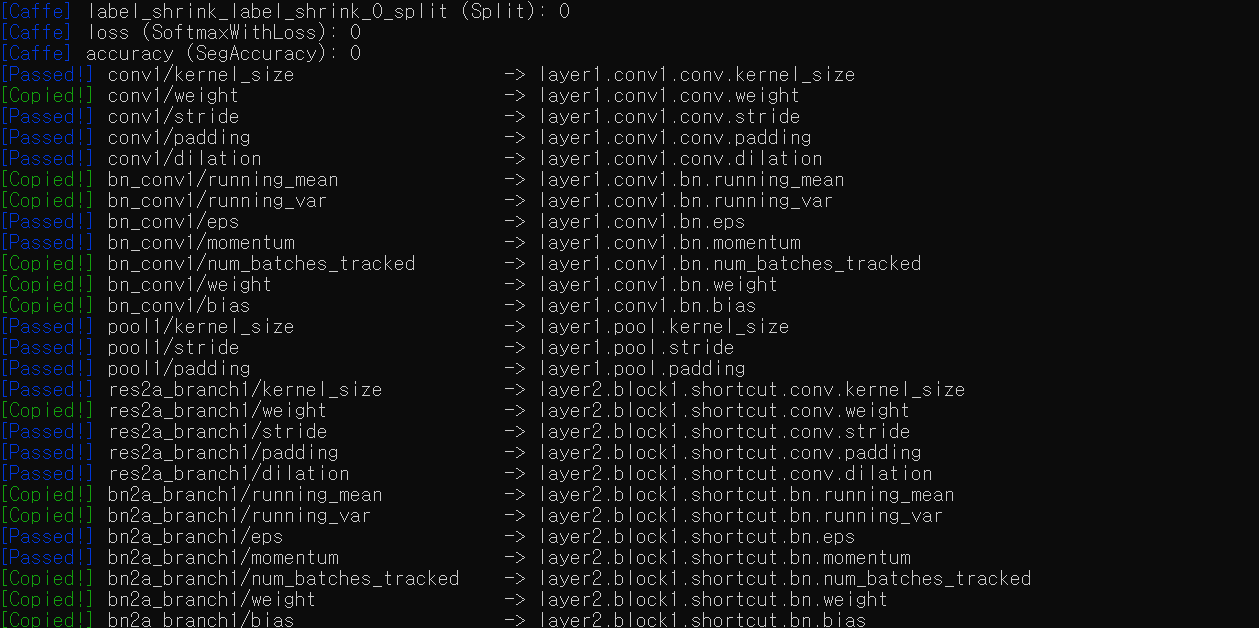
위의 링크에서 parameter를 따로 받을 수 있습니다.
단, 위의 링크에서 받는 것은 dict 형태의 parameter이므로 같은 repo 내 모델 구축 코드를 참고해 모델로 사용하여야 합니다.
모델을 곧바로 불러오려면 같은 repo 내 탑재되어 있는 torch.hub 이용
실행
$ python demo.py single --config-path configs/cocostuff164k.yaml
--model-path data/models/coco/deeplabv2_resnet101_msc-cocostuff164k-100000.pth
--image-path image.png --crf --cpu
위의 deeplabv2_resnet101_msc-cocostuff164k-100000.pth는 github 내 pre-trained parameter를 받아 저장한 것.
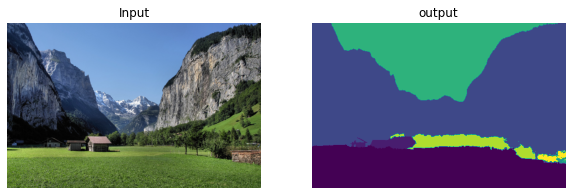
결과
실행 전 코드 수정
demo.py내 함수def single(...)의 마지막 줄에
plt.savefig('fig1.png', dpi=300)추가해주어야 한다.
(사실 왜 demo파일에 plot 함수를 담아놨는 지는 잘 모르겠음. 내 지식 부족인듯)
fig1.png
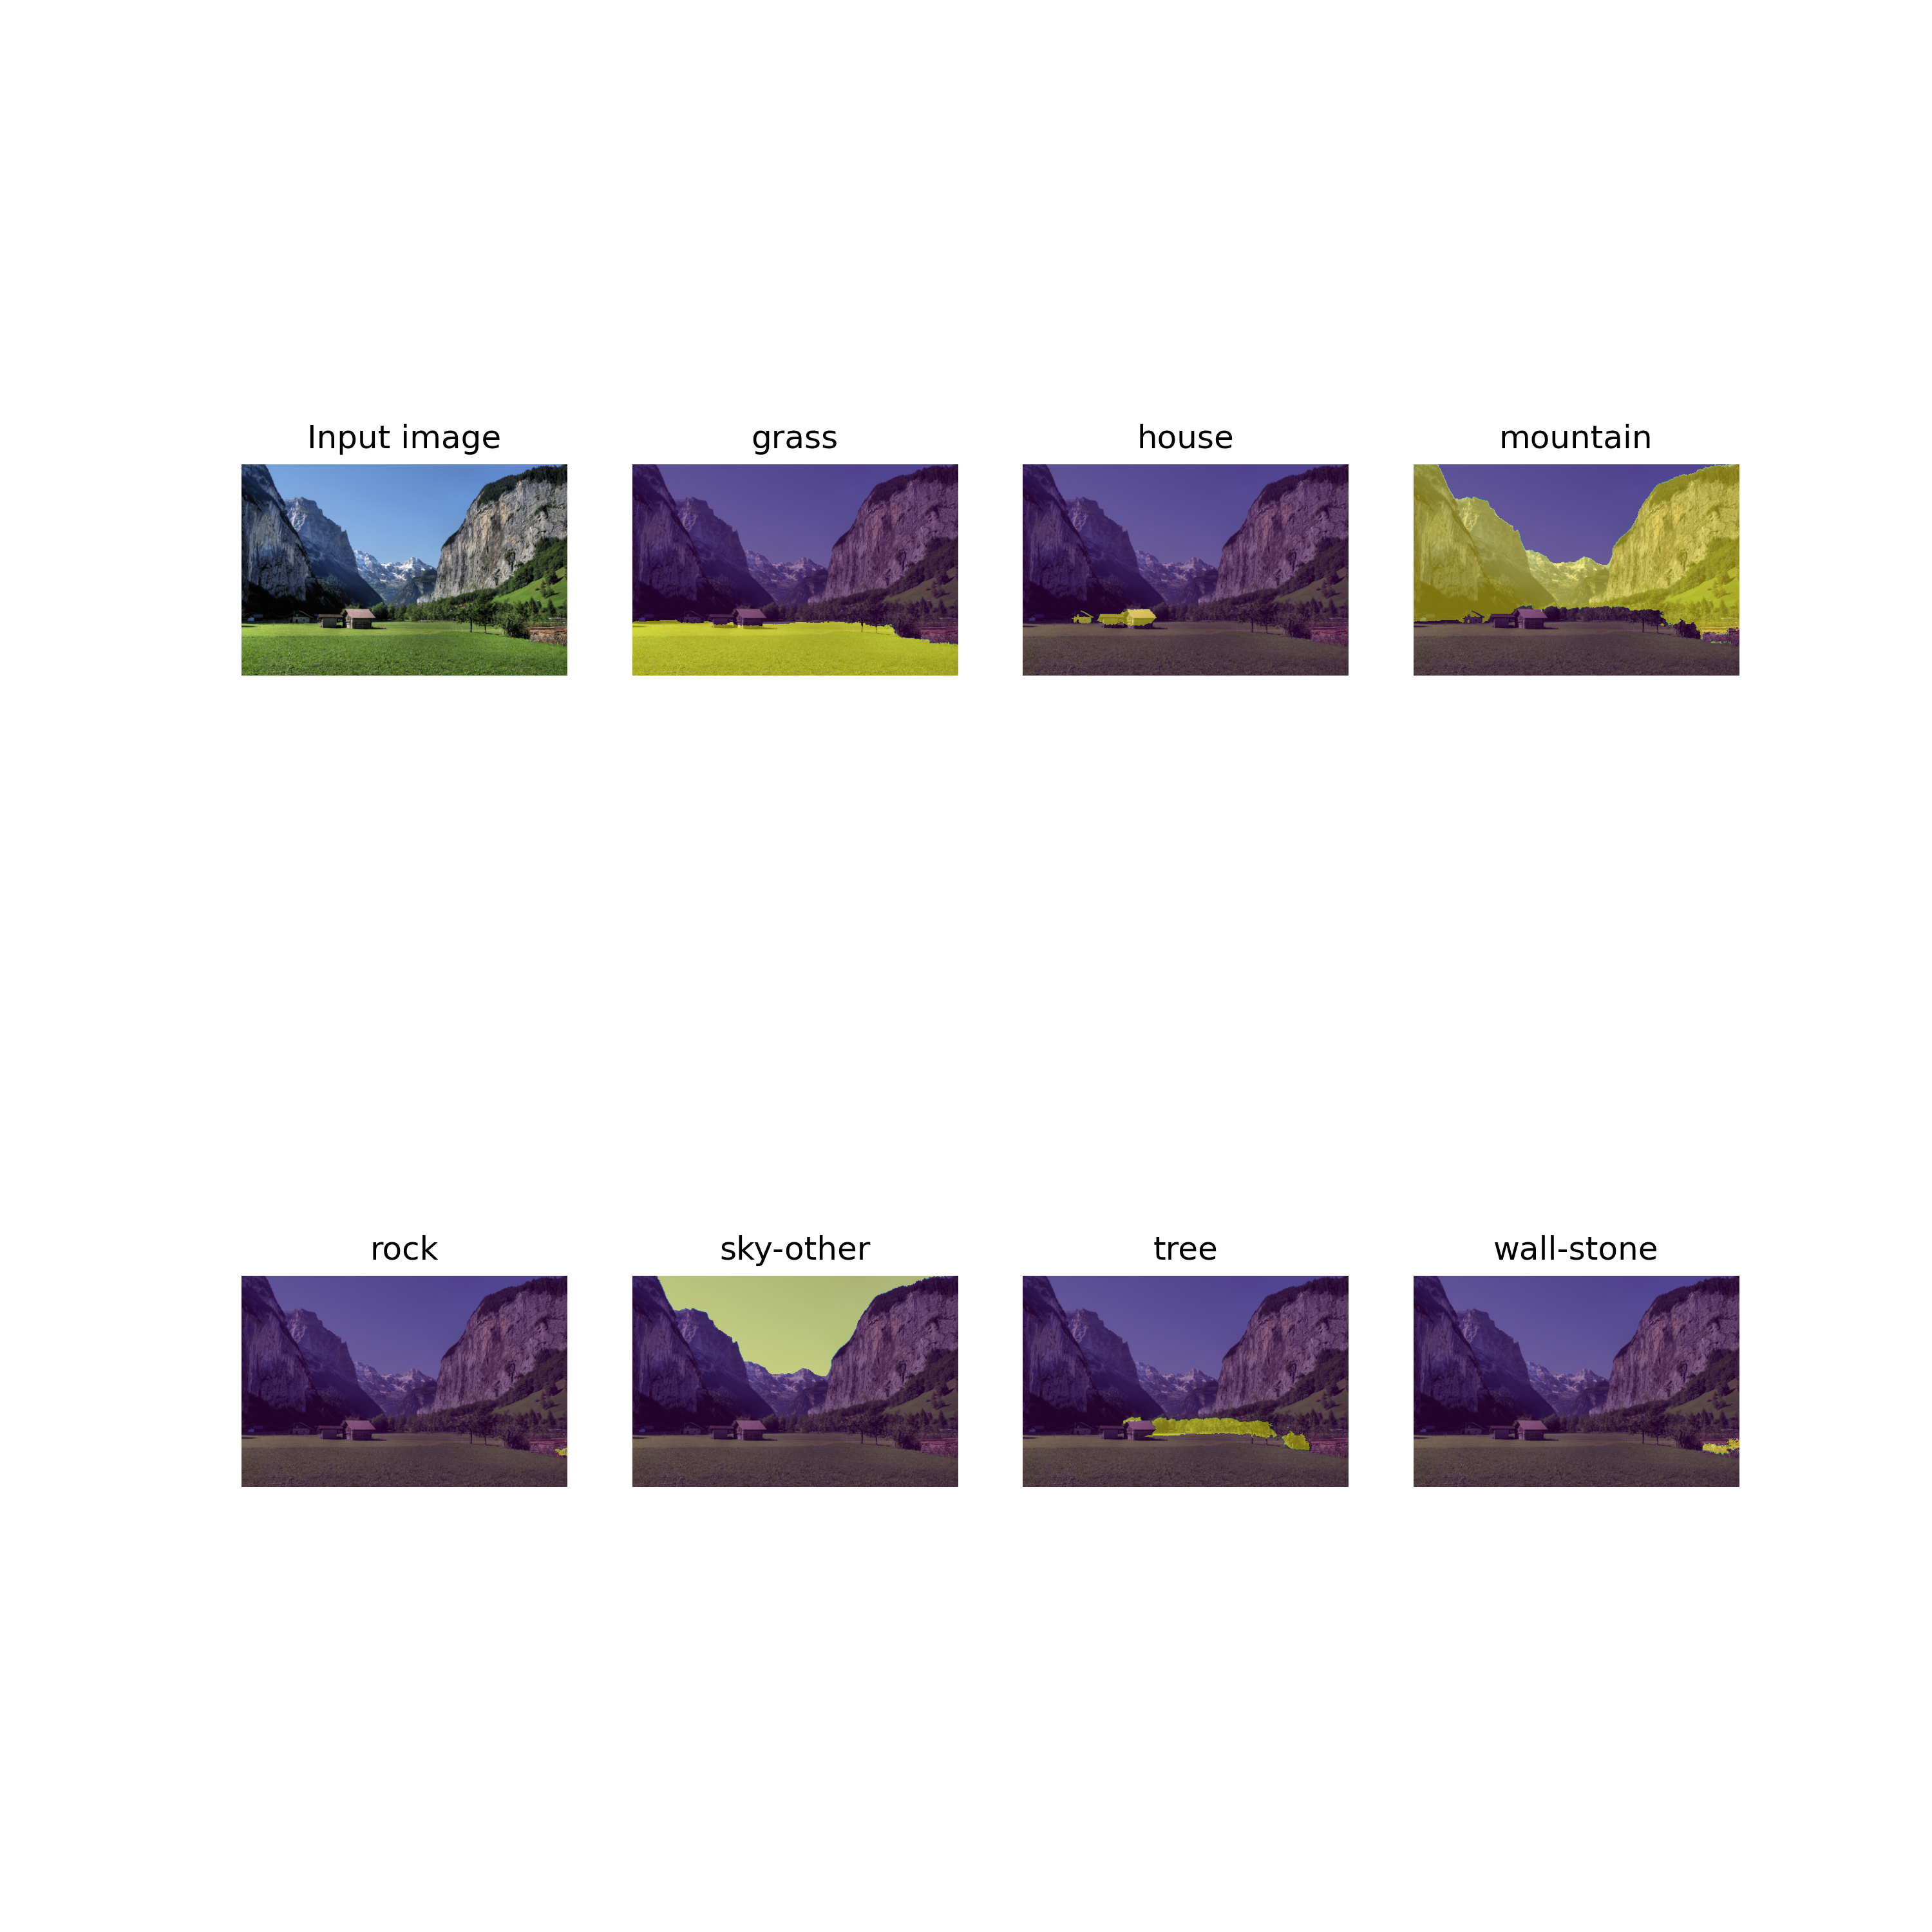
Labelmap만 따로 떼온 경우

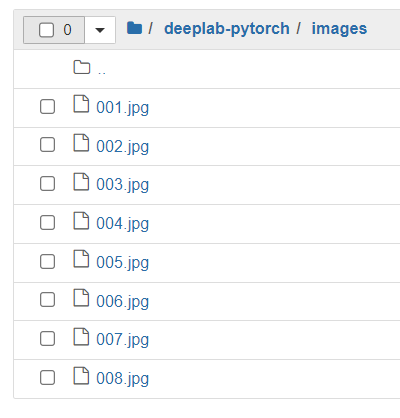
Multi Image Process(코드 추가)
위처럼 시각화를 위한 것이 아닌, 이미지 폴더 내 모든 이미지에 대한 segmentation mask 를 담은 마스크 폴더를 생성하는 코드를 따로 구축합니다.
Input : Image folder
Output : Mask folder
@main.command()
@click.option(
    "-c",
    "--config-path",
    type=click.File(),
    required=True,
    help="Dataset configuration file in YAML",
    )
@click.option(
    "-m",
    "--model-path",
    type=click.Path(exists=True),
    required=True,
    help="PyTorch model to be loaded",
)
@click.option(
    "-i",
    "--image-folder",
    type=click.Path(exists=True),
    required=True,
    help="Image to be processed",
)
@click.option(
    "--cuda/--cpu", default=True, help="Enable CUDA if available [default: --cuda]"
)
@click.option("--crf", is_flag=True, show_default=True, help="CRF post-processing")
@click.option(
    "--mask-folder", default='labels', help="folder to store segmentation masks [default: './labels']"
)
def multi(config_path, model_path, image_folder, mask_folder, cuda, crf):
    """
    Inference from a single image
    """

    # Setup
    CONFIG = OmegaConf.load(config_path)
    device = get_device(cuda)
    torch.set_grad_enabled(False)

    classes = get_classtable(CONFIG)
    postprocessor = setup_postprocessor(CONFIG) if crf else None

    model = eval(CONFIG.MODEL.NAME)(n_classes=CONFIG.DATASET.N_CLASSES)
    state_dict = torch.load(model_path, map_location=lambda storage, loc: storage)
    model.load_state_dict(state_dict)
    model.eval()
    model.to(device)
    print("Model:", CONFIG.MODEL.NAME)


    #
    image_paths = glob(os.path.join(image_folder, '*')) # 이미지 파일의 경로들.
    image_names = [im_path.split('/')[-1].split('.')[0] for im_path in image_paths] # 이미지 파일의 이름들.

    # 저장 폴더
    mask_folder='./labels'
    if not os.path.exists(mask_folder):
        os.mkdir(mask_folder)

    num_image=len(os.listdir(image_folder))
    num_label=len(os.listdir(mask_folder))

    if num_label==num_image:
        print('이미지와 라벨의 개수가 이미 같습니다')
        return

    # Inference
    for idx, image_path in enumerate(image_paths):
        if idx < num_label :
            print('pass. ... ', image_path)
            continue

        print('process ... ', image_path)
        image = cv2.imread(image_path, cv2.IMREAD_COLOR)
        image, raw_image = preprocessing(image, device, CONFIG)
        labelmap = inference(model, image, raw_image, postprocessor)

        labelmap=labelmap.astype(np.uint8)

        # save
        save_path=os.path.join(mask_folder, image_names[idx]+'.png')

        Image.fromarray(labelmap).save(save_path) #픽셀 값 바뀌는 현상 방지를 위해 PIL.Image 이용.
이미 처리한 이미지는 처리하지 않습니다.
실행
./images
$ python segment_jsp.py multi --config-path configs/cocostuff164k.yaml
--model-path data/models/coco/deeplabv2_resnet101_msc-cocostuff164k-100000.pth
--image-folder images --crf --cpu
CPU라 오래걸릴 수 있습니다.
결과
./labels

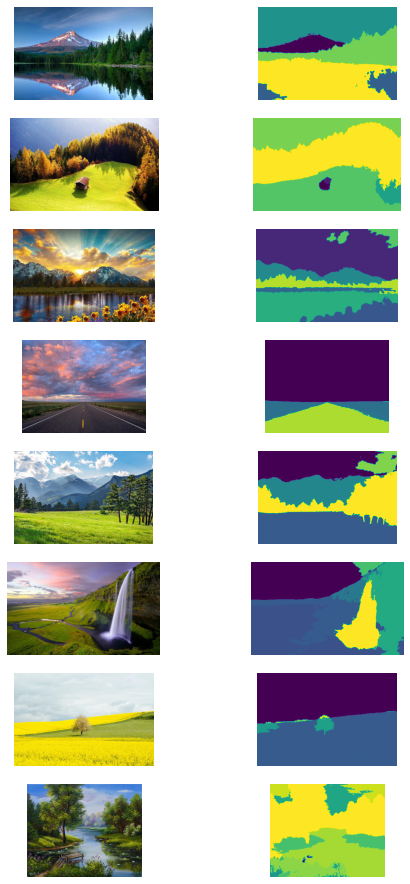
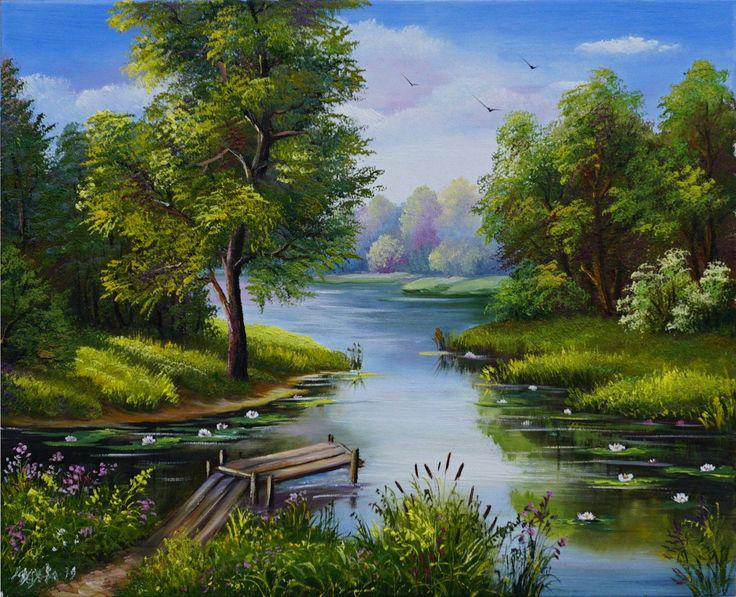
나쁘진 않음(마지막은 그림)