node.js에 swagger를 적용하여 프론트엔드에서 API가 잘 작동하는지 검증할 수 있도록 작업해줬다. 원래 백엔드에서는 postman으로 data가 잘 오가는지 확인했는데 뭐.. 프론트에서 해달라니까 해야지!!
일단 swagger관련 모듈을 설치해야함.
npm i swagger-jsdoc swagger-ui-express --save-dev
그러고 나서 swagger 초기 설정을 해줘야한다.
일단, swagger.js 파일을 만들고
const swaggerUi = require('swagger-ui-express');
const swaggereJsdoc = require('swagger-jsdoc');

const options = {
    swaggerDefinition: {
        info: {
            title: 'SSukSSuk API',
            version: '1.0.0',
            description: 'SSSS API with express',
        },
        host: 'localhost:3001',
        basePath: '/'
    },
    apis: ['./routes/*.js', './swagger/*']
};

const specs = swaggereJsdoc(options);
module.exports = {
    swaggerUi,
    specs
};
해주고 나서 app.js에 아래의 코드를 넣어야 한다.
const { swaggerUi, specs } = require('./swagger');
app.use('/api-docs', swaggerUi.serve, swaggerUi.setup(specs));
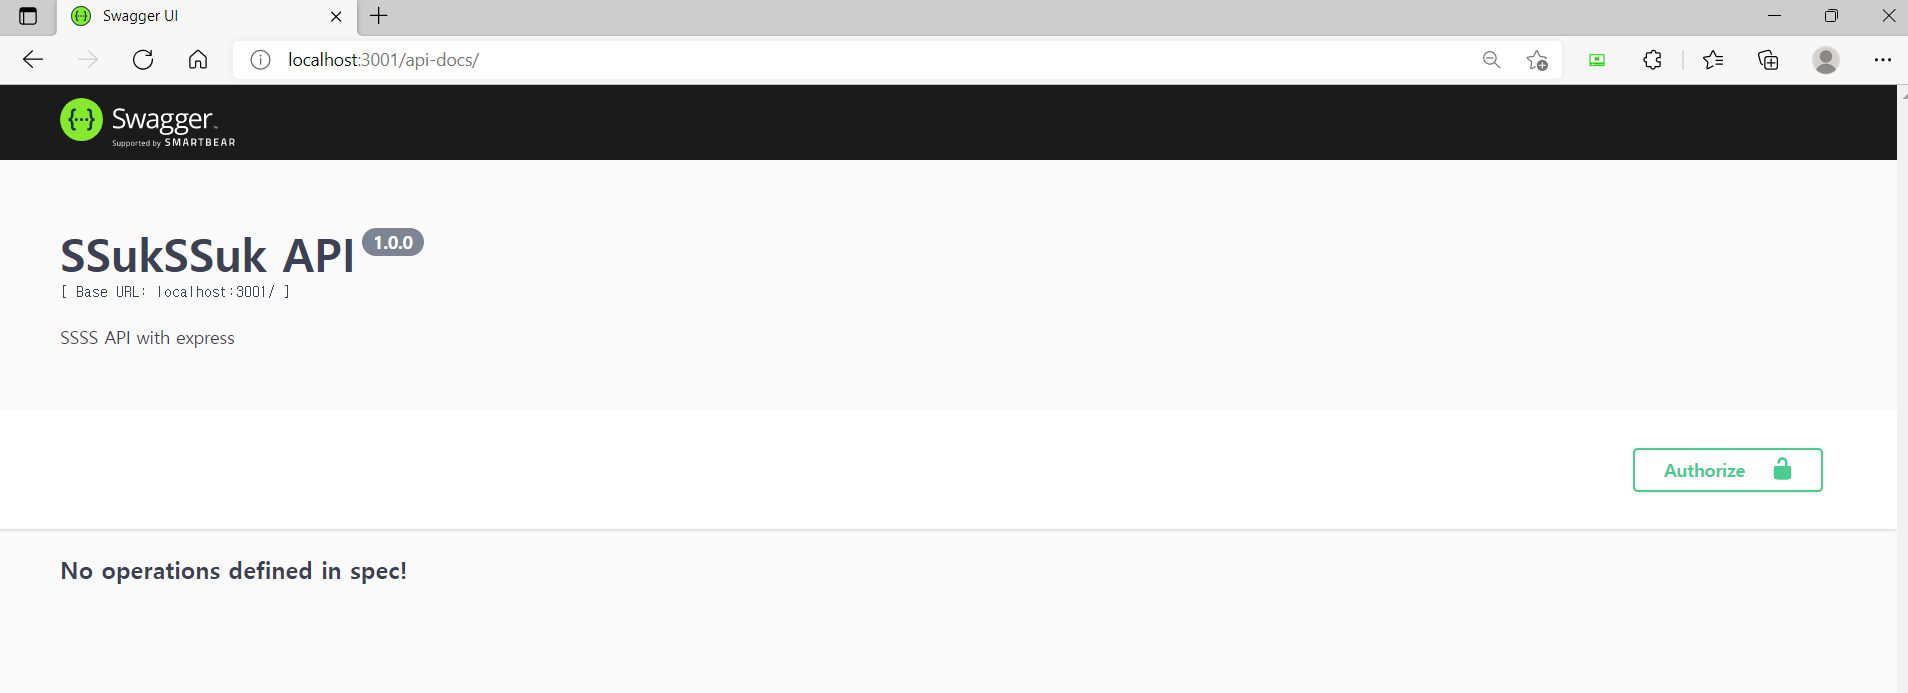
그러고 나면 서버 실행하고 localhost:3001/api-docs로 들어가면 초기 페이지가 나오면 성공!
다음으로는 swagger폴더를 만들고 아래에 user.yaml 파일을 생성해 Api와 url에 맞는 정보가 담긴 UI를 불러올 수 있게 만들 것이다.
swagger: "2.0"
info:
  description: "This is a sample server Petstore server.  You can find out more about     Swagger at [http://swagger.io](http://swagger.io) or on [irc.freenode.net, #swagger](http://swagger.io/irc/).      For this sample, you can use the api key `special-key` to test the authorization     filters."
  version: "1.0.0"
  title: "Swagger Petstore"
  termsOfService: "http://swagger.io/terms/"
  contact:
    email: "apiteam@swagger.io"
  license:
    name: "Apache 2.0"
    url: "http://www.apache.org/licenses/LICENSE-2.0.html"
host: "petstore.swagger.io"
basePath: "/v2"
tags:
  - name: "user"
    description: "Operations about user"
    externalDocs:
      description: "Find out more about our store"
      url: "http://swagger.io"
schemes:
  - "https"
  - "http"
이거는 swagger 버전과 저 위의 초기 페이지에 들어가는 설명 정도?
아래 definitions에 schema를 만들어 특정 api요청시 필요한 키들을 적어 놓는다. (Get같은 경우는 body 방식으로 값을 읽어올 수 없기 때문에 schema를 만들 필요없이 query나 path에 있는 params를 가지고 오는 방식으로 진행했다.)
/user/myInfo/{id}:
get:
tags:
- "user"
summary: "get userinfo"
description: "This can only be done by the logged in user."
operationId: "selectUser"
produces:
- "application/xml"
- "application/json"
parameters:
- in: path
name: "id"
description: "Created user object"
required: true
responses:
default:
description: "successful operation"
회원 정보를 가져오는 get방식의 yaml코드이다. path에 있는 id값을 가져오겠다는 것을 나타낸다.
이것을 적고 서버를 돌리면,
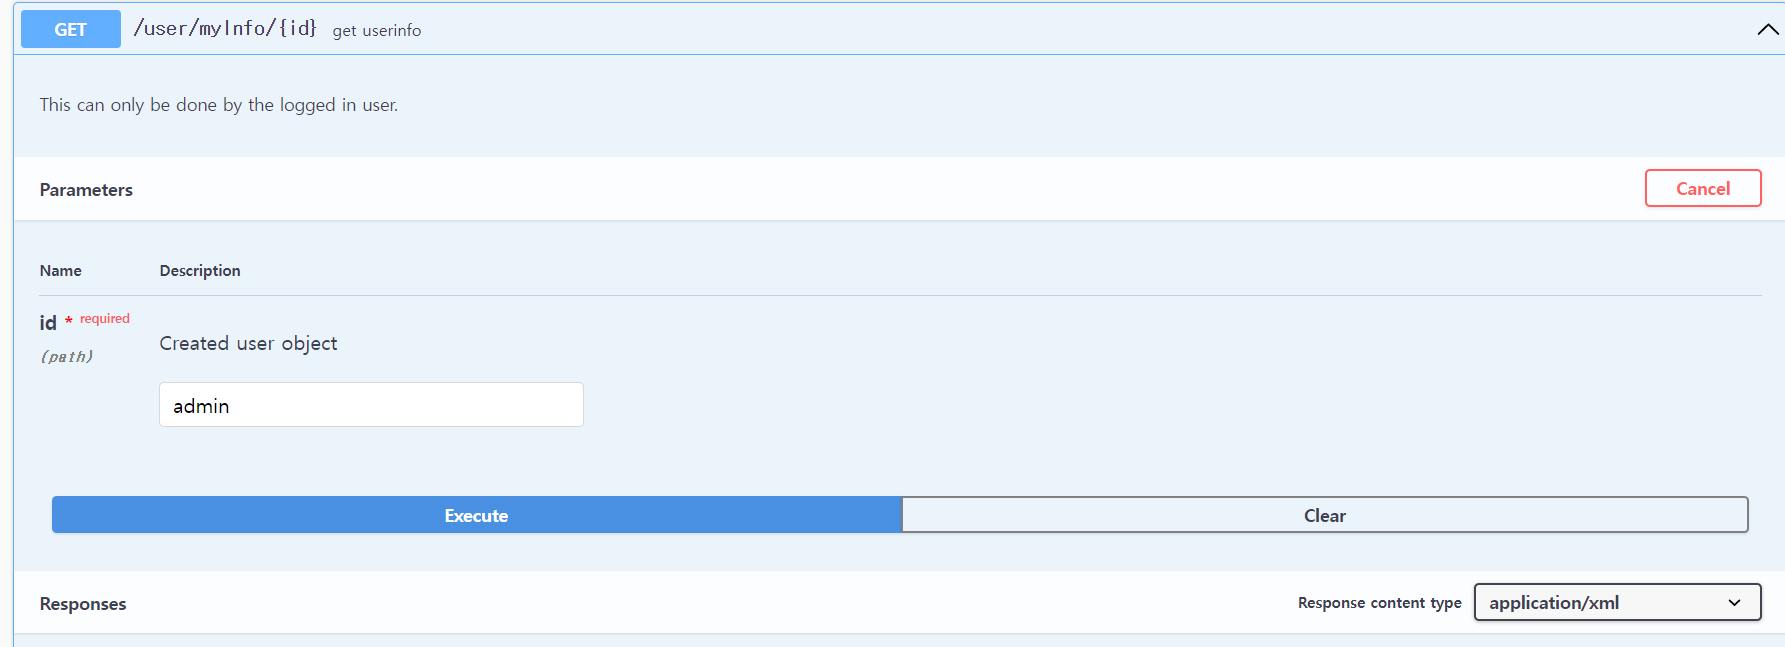

이렇게 잘 작동하는 걸 볼 수 있다.