Admin 페이지의 default 화면을 공지사항으로 해놨는데, Admin 페이지를 클릭하면 공지사항 관련한 모든 데이터가 로딩된 후 공지사항이 표시되도록 하고자 한다.
이를 위해 router를 사용했다. 그 흐름을 되짚어보자.
-
Admin 클릭
Admin을 클릭하면 함수가 동작한다.
<template>
  <div id="nav">
      ...
    <router-link to="/admin" @click="getNotices">Admin</router-link>
  </div>
  <router-view/>
</template>

<script>
import { useStore } from 'vuex'
export default ({
  setup() {
    const store = useStore()
    return {
      getNotices: () => {
        store.dispatch('getNotices') // actions/getNotices에 dispatch
      }
    }
  },
})
</script>
getNotices 함수는 actions의 getNotices함수에 dispatch한다.
-
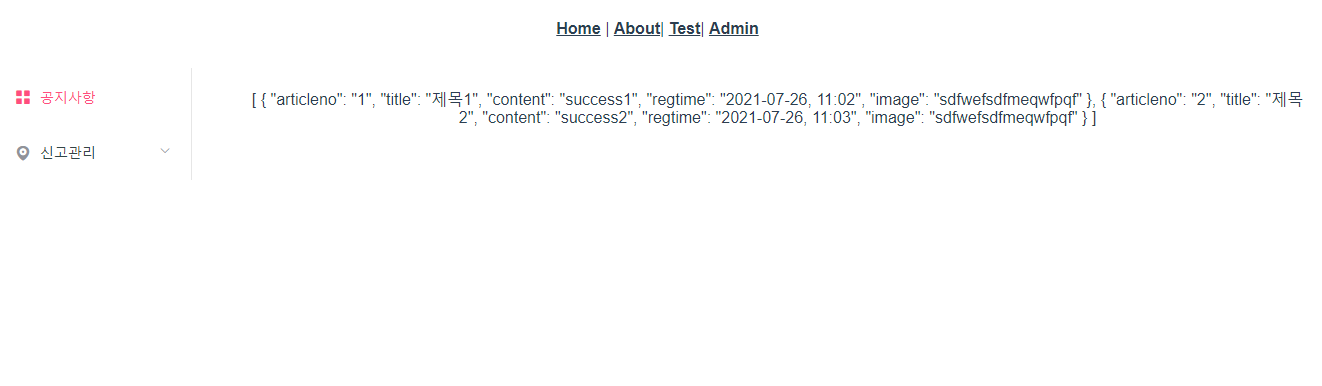
axios 동작
import axios from 'axios'
export function getNotices ({ commit }) {
    axios.get('https://e7d14d3b-41a2-4dc5-874c-a55731c663b9.mock.pstmn.io/noticeList')
    .then(res => {
      console.log(res.data)
      commit('GET_NOTICES', res.data)
    })
    .catch(err => {
      console.log(err)
    })
}
actions에서 원하는 데이터를 요청하는 axios 동작을 하고 mutations에 정보를 전달한다.
-
mutations 동작
import router from '../router'
export const GET_NOTICES = (state, noticeDatas) => {
    state.notices = noticeDatas
    router.push('/admin/notice') // Admin 클릭 => notices가 로드되고 난 후에 notice 페이지로 push
}
mutations에서는 응답받은 데이터를 state에 반영하고 router.push로 notice 페이지로 push한다.
따라서 Admin을 클릭하면 데이터를 요청한 후 응답을 받고 notice 페이지로 push를 하게 된다. (default page)
여기서 router를 import 할 때 setup 내부였다면 다음과 같이 import를 했을 것이다.
<script>
import { useRouter } from 'vue-router'
export default {
    setup() {
        const router = useRouter()
        router.push('경로')
    }
}
</script>
하지만 js 파일에서는 setup을 어거지로 쓸 수 없었고, 따라서 import router from '../router'를 사용했다. index.js가 들어있는 router 폴더 자체에서 router를 import 해올 수 있었다.
