
들어가며
이전 글에서 Playwright 설치를 완료했습니다. 이번 글에서는 설치 시 생성된 기본 예제 코드를 활용해서 다양한 테스트 실행 옵션을 알아보겠습니다.
💻 작성 환경
- macOS Tahoe 26.2
- VS Code
- Node.js
기본 예제 코드 살펴보기
Playwright 설치 시 tests/example.spec.ts 파일이 자동으로 생성됩니다.
import { test, expect } from '@playwright/test';

test('has title', async ({ page }) => {
  await page.goto('https://playwright.dev/');

  // Expect a title "to contain" a substring.
  await expect(page).toHaveTitle(/Playwright/);
});

test('get started link', async ({ page }) => {
  await page.goto('https://playwright.dev/');

  // Click the get started link.
  await page.getByRole('link', { name: 'Get started' }).click();

  // Expects page to have a heading with the name of Installation.
  await expect(page.getByRole('heading', { name: 'Installation' })).toBeVisible();
});
이 코드는 Playwright 공식 사이트에 접속해서 타이틀을 확인하고, "Get started" 링크를 클릭하는 간단한 테스트입니다. 이 예제를 기준으로 다양한 실행 옵션을 살펴보겠습니다.
테스트 실행 옵션
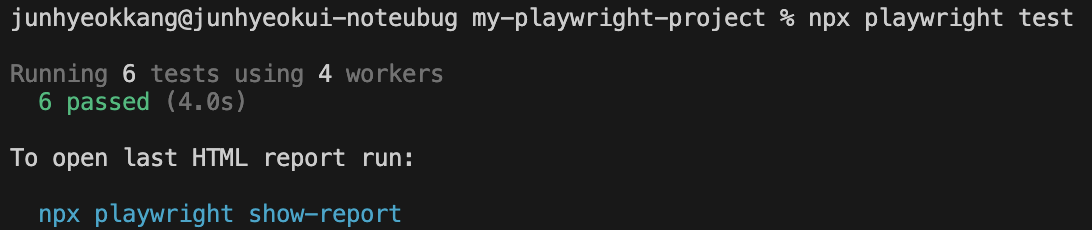
기본 실행
npx playwright test모든 테스트 파일을 실행합니다. 기본적으로 headless 모드(브라우저 창 없이)로 실행되며, 설정된 모든 브라우저(Chromium, Firefox, WebKit)에서 테스트가 진행됩니다.
Worker 수 지정
npx playwright test --workers 3병렬로 실행할 worker 수를 지정합니다. 기본값은 CPU 코어 수의 절반입니다. 테스트가 많을 때 worker 수를 늘리면 전체 실행 시간을 단축할 수 있습니다. 반대로 리소스가 부족하거나 테스트 간 충돌이 발생하면 worker 수를 줄여볼 수 있습니다.
특정 파일 실행
npx playwright test one.spec.ts특정 테스트 파일만 실행합니다. 파일명 일부만 입력해도 매칭되는 파일을 찾아 실행합니다.
npx playwright test one.spec.ts two.spec.ts여러 파일을 지정하려면 공백으로 구분해서 나열하면 됩니다.
파일명 키워드로 실행
npx playwright test one two파일명에 one 또는 two가 포함된 모든 테스트 파일을 실행합니다. 확장자 없이 키워드만 입력해도 됩니다.
테스트 이름으로 실행
npx playwright test -g "test title"-g 옵션을 사용하면 테스트 이름(title)으로 필터링할 수 있습니다. 예제 코드 기준으로 "has title" 테스트만 실행하고 싶다면 다음과 같이 입력합니다.
npx playwright test -g "has title"정규식 패턴도 사용 가능합니다.
특정 브라우저에서 실행
npx playwright test --project=chromium특정 브라우저에서만 테스트를 실행합니다. playwright.config.js에 정의된 프로젝트 이름을 사용합니다.
| 옵션 | 설명 |
|---|---|
--project=chromium | Chrome 기반 브라우저 |
--project=firefox | Firefox |
--project=webkit | Safari 기반 브라우저 |

브라우저 창 띄워서 실행
npx playwright test --headed기본적으로 Playwright는 headless 모드로 실행되어 브라우저 창이 보이지 않습니다. --headed 옵션을 사용하면 실제 브라우저 창이 열리면서 테스트가 진행되는 모습을 눈으로 확인할 수 있습니다.
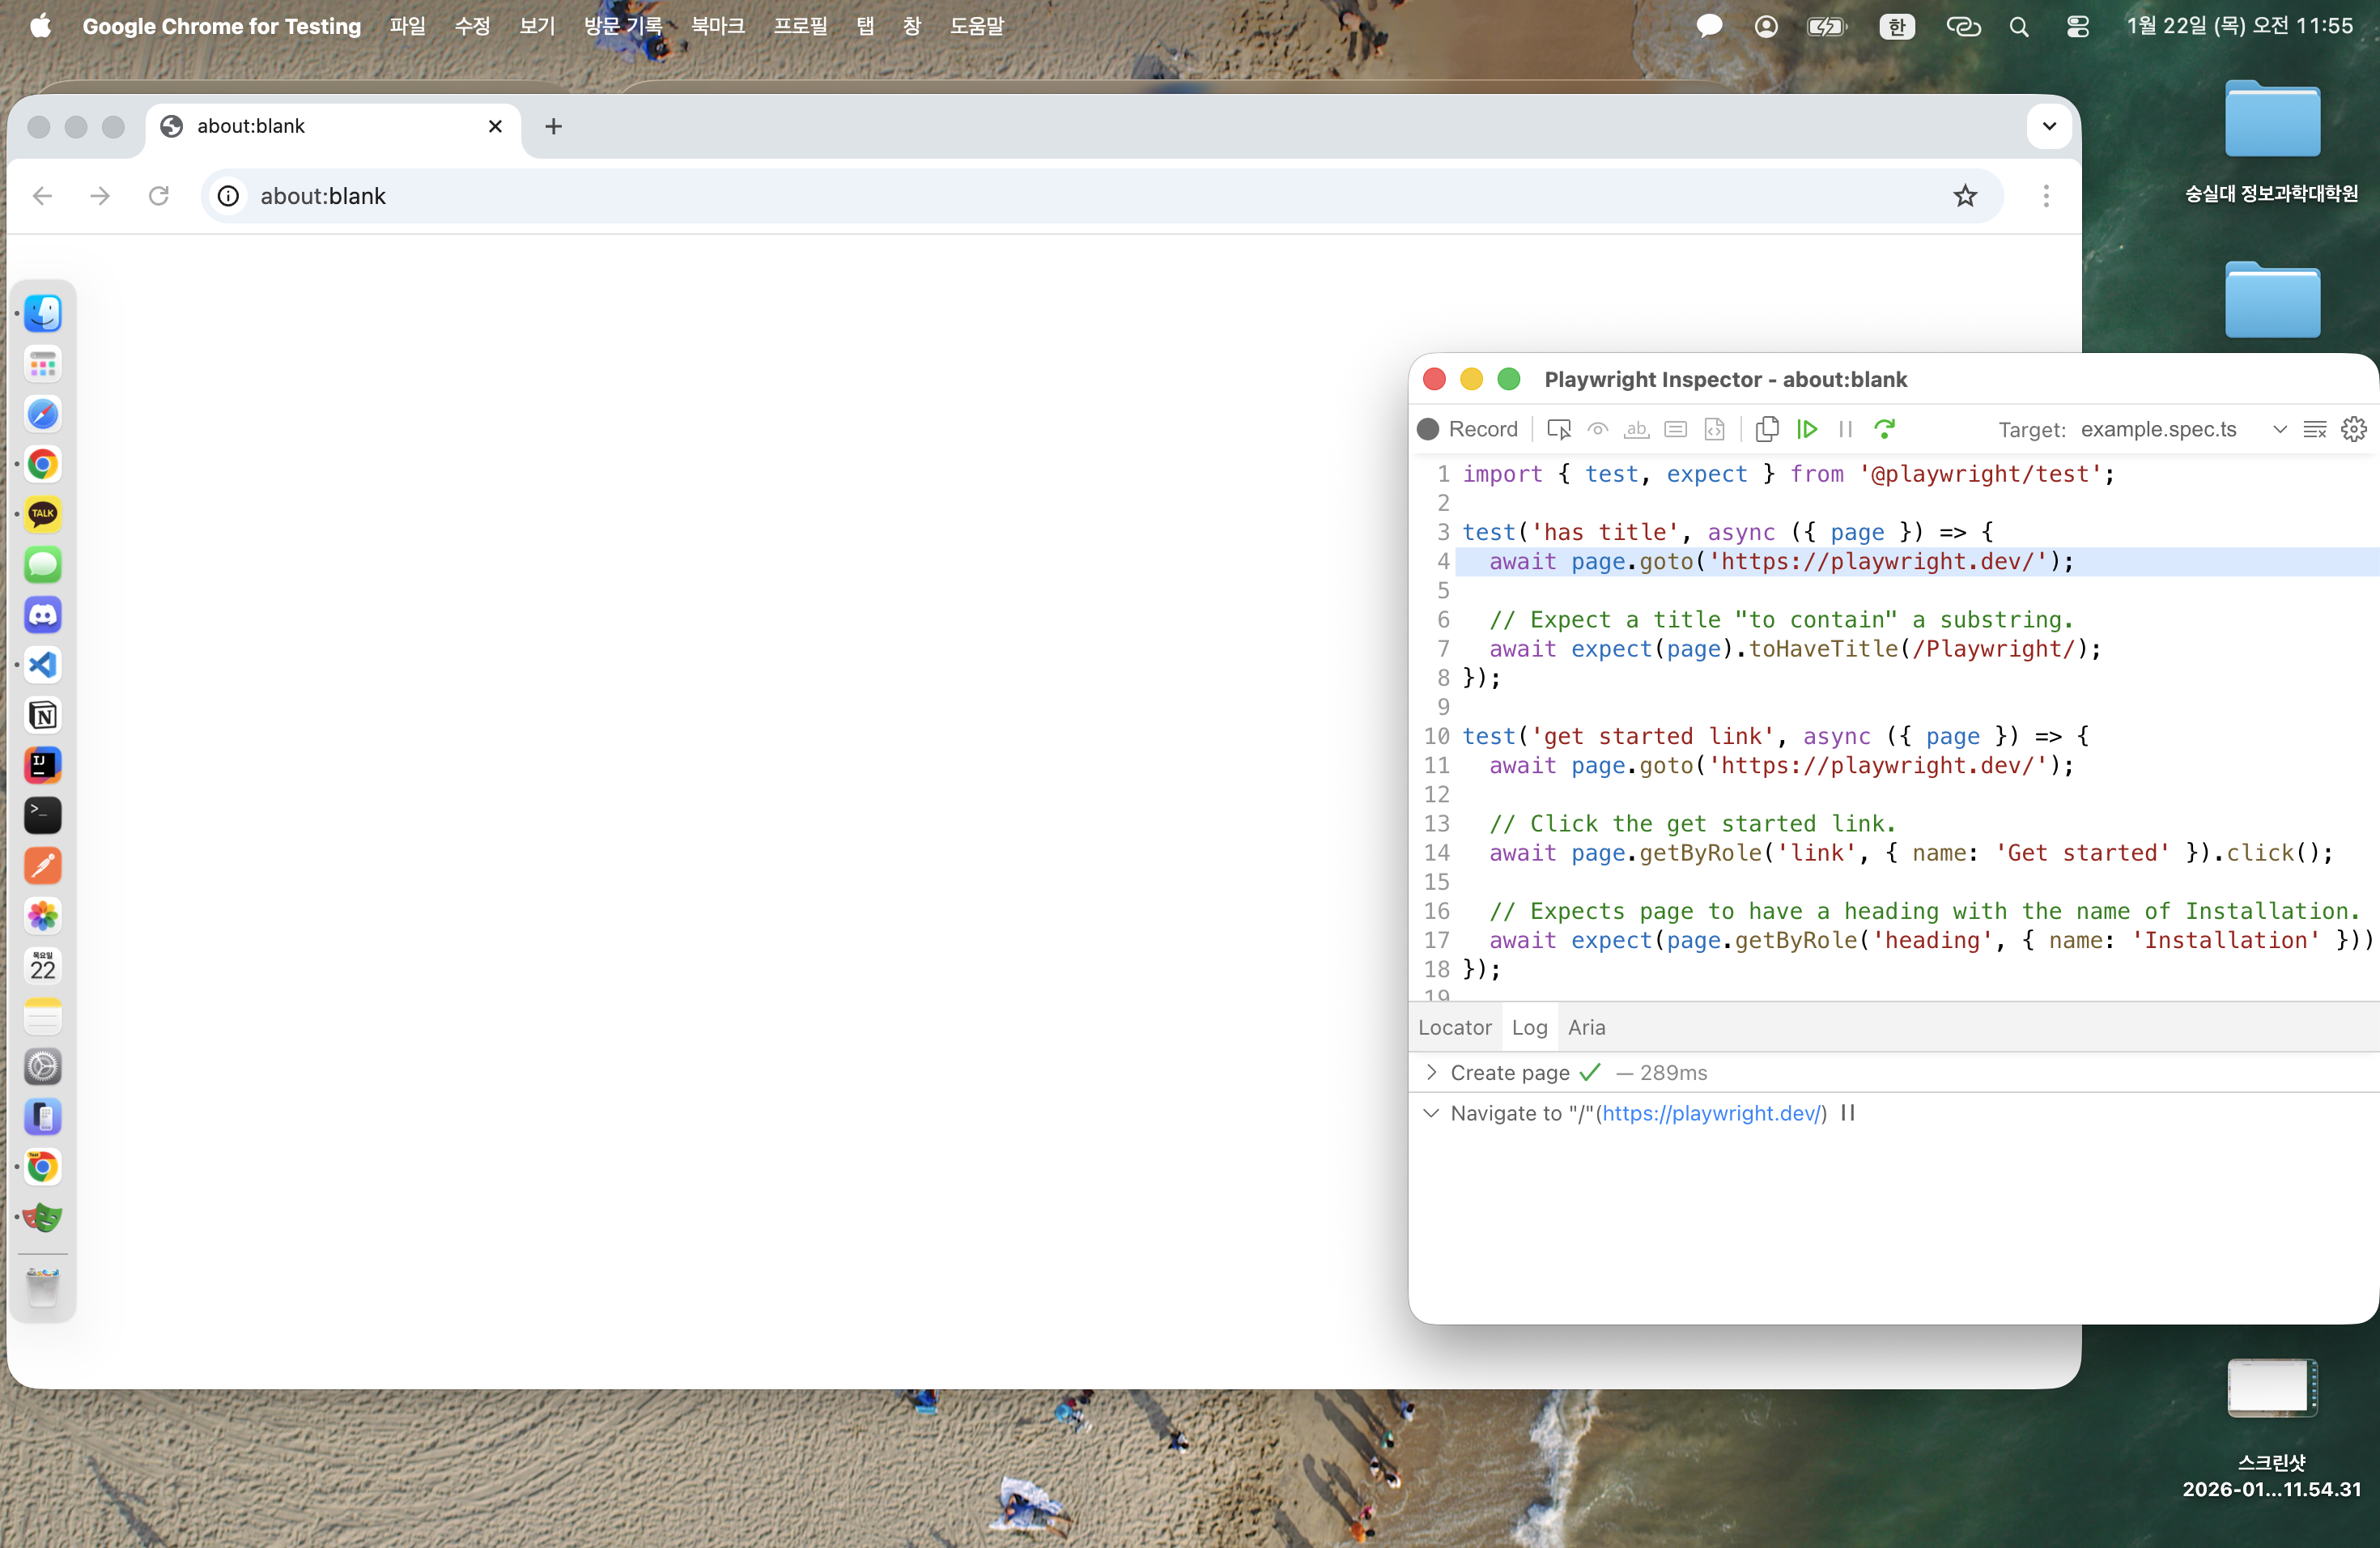
디버그 모드 실행
npx playwright test --debug디버그 모드로 실행합니다. Playwright Inspector가 열리면서 테스트를 단계별로 실행하고, 각 단계에서 멈춰서 상태를 확인할 수 있습니다.
특정 라인부터 디버그
npx playwright test one.spec.ts:11 --debug파일명 뒤에 :라인번호를 붙이면 해당 라인에 있는 테스트부터 디버그 모드로 실행합니다. 특정 테스트만 집중적으로 디버깅할 때 유용합니다.
옵션 조합 예시
여러 옵션을 조합해서 사용할 수 있습니다.
# Chromium에서 headed 모드로 특정 파일 실행
npx playwright test example.spec.ts --project=chromium --headed

# worker 1개로 순차 실행하면서 디버그
npx playwright test --workers 1 --debug

# 특정 테스트만 Firefox에서 실행
npx playwright test -g "has title" --project=firefox
실행 옵션 요약
| 명령어 | 설명 |
|---|---|
npx playwright test | 전체 테스트 실행 |
npx playwright test --workers 3 | worker 수 지정 |
npx playwright test one.spec.ts | 특정 파일 실행 |
npx playwright test one two | 키워드로 파일 필터링 |
npx playwright test -g "test title" | 테스트 이름으로 필터링 |
npx playwright test --project=chromium | 특정 브라우저 실행 |
npx playwright test --headed | 브라우저 창 띄워서 실행 |
npx playwright test --debug | 디버그 모드 실행 |
npx playwright test file.spec.ts:11 --debug | 특정 라인부터 디버그 |
마치며
테스트를 작성하다 보면 전체 테스트를 돌리기보다 특정 테스트만 반복 실행하는 경우가 많습니다. 오늘 다룬 옵션들을 활용하면 개발 중에 빠르게 피드백을 받으면서 테스트를 작성할 수 있습니다.
다음 글에서는 테스트 코드를 직접 작성하는 방법을 알아보겠습니다.
📚 참고 자료