Auth Guard를 활용하여 요청 시 유저 인증 정보를 검증하고, 인증된 유저 정보를 가져오는 기능을 구현한다.
설치
pnpm add @nestjs/passport passport passport-local @nestjs/jwt passport-jwt @nestjs/swagger
pnpm add -D @types/passport-local @types/passport-jwt
인증 처리를 위해 Passport를 사용하고, 토큰 기반 인증을 위해 JWT를 함께 사용한다.
또한 API 문서 자동화를 위해 Swagger를 설치한다.
- passport: 인증 전략을 관리하기 위한 라이브러리
- passport-jwt: JWT 기반 인증 전략
- @nestjs/passport: NestJS에서 Passport를 쉽게 사용하기 위한 모듈
- @nestjs/jwt: JWT 생성 및 검증
- @nestjs/swagger: API 문서화
JWT 인증 전체 흐름
요청 → Guard → Strategy → validate → controller
AccessTokenGuard
import { Injectable } from '@nestjs/common';
import { AuthGuard } from '@nestjs/passport';

@Injectable()
export class AccessTokenGuard extends AuthGuard('jwt-access-token') {}- 요청이 들어오면 인증을 검사하는 입구라고 생각하면 된다.
- 'jwt-access-token'이라는 이름의 Strategy를 실행
여기서의 'jwt-access-token'와 strategy의 'jwt-access-token' 부분에 이름이 똑같아야 한다 무조건.
AccessTokenStrategy
import { Injectable } from '@nestjs/common';
import { PassportStrategy } from '@nestjs/passport';
import { ExtractJwt, Strategy } from 'passport-jwt';

type JwtPayload = {
  sub: string;
  email?: string;
  name?: string;
  picture?: null;
  iat?: number;
};

@Injectable()
export class AccessTokenStrategy extends PassportStrategy(
  Strategy,
  'jwt-access-token',
) {
  constructor() {
    super({
      jwtFromRequest: ExtractJwt.fromAuthHeaderAsBearerToken(),
      ignoreExpiration: false,
      secretOrKey: process.env.AUTH_SECRET!,
    });
  }

  async validate(payload: JwtPayload) {
    return payload;
  }
}
Guard를 통해 Strategy로 진입하면, 먼저 constructor(생성자)가 실행된다.
이 과정에서 JWT를 어떤 방식으로 추출할지, 어떤 비밀 키로 검증할지 등의 인증 설정을 정의한다.
super({
  jwtFromRequest: ExtractJwt.fromAuthHeaderAsBearerToken(),
  ignoreExpiration: false,
  secretOrKey: process.env.AUTH_SECRET!,
});- jwtFromRequest: 요청에서 토큰을 추출하는 방식 (Authorization 헤더의 Bearer 토큰)
- ignoreExpiration: 토큰 만료 여부 검사
=> false일 경우 만료시 인증 실패 - secretOrKey: JWT 서명 검증에 사용되는 비밀 키 => 토큰 생성 시 사용한 키와 동일해야 한다
이후에 토큰이 유효한 경우 validate 함수가 실행된다. validate는 검증된 결과를 처리하는 단계라고 볼 수 있다. 최종적으로 인증된 사용자 정보가 req.user에 주입된다.
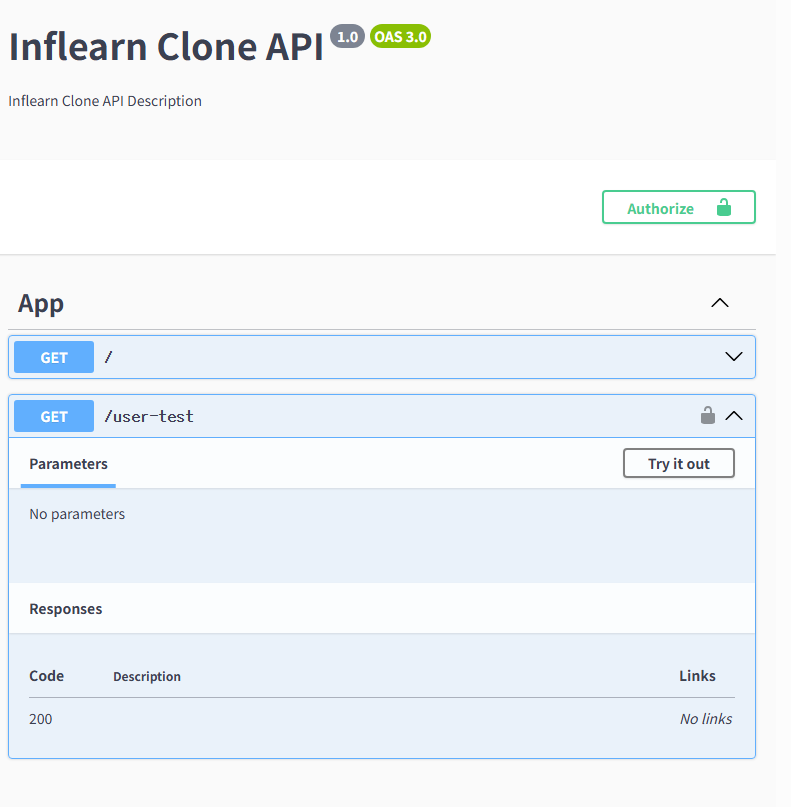
인증된 사용자 정보 확인 API
@Get('user-test')
@UseGuards(AccessTokenGuard)
@ApiBearerAuth('access-token')
testUser(@Req() req: Request & { user: JwtPayload }) {
  console.log(req.user);
  return 'test complete';
}- @UseGuards(AccessTokenGuard) : 해당 API에 JWT 인증 Guard 적용 요청이 들어오면 Guard가 먼저 실행됨
- @ApiBearerAuth('access-token') : Swagger에서 Authorization 헤더를 사용할 수 있도록 설정 실제 요청 시 다음과 같이 토큰을 포함해야 함
Swagger 설정 및 JWT 인증 적용
Swagger란?
Swagger는 API를 문서화하고 테스트할 수 있게 해주는 도구 NestJS에서는 @nestjs/swagger를 통해 쉽게 적용할 수 있음
import { NestFactory } from '@nestjs/core';
import { AppModule } from './app.module';
import { SwaggerModule, DocumentBuilder } from '@nestjs/swagger';

async function bootstrap() {
  const app = await NestFactory.create(AppModule);

  const config = new DocumentBuilder()
    .setTitle('API Docs')
    .setDescription('NestJS JWT 인증 API 문서')
    .setVersion('1.0')
    .addBearerAuth(
      {
        type: 'http',
        scheme: 'bearer',
        bearerFormat: 'JWT',
        name: 'Authorization',
        in: 'header',
      },
      'access-token',
    )
    .build();

  const document = SwaggerModule.createDocument(app, config);
  SwaggerModule.setup('api', app, document);

  await app.listen(3000);
}
bootstrap();
.addBearerAuth(..., 'access-token') 이 부분이 Controller에서 사용햇던 @ApiBearerAuth('access-token') 이 부분과 이름이 맞아야함.
DocumentBuilder
const config = new DocumentBuilder()
Swagger 문서의 기본 설정을 정의하는 빌더 객체
API 문서의 제목, 설명, 인증 방식 등을 설정
option
- type: 'http'
HTTP 인증 방식 사용 - scheme: 'bearer'
Bearer 토큰 방식 사용 - bearerFormat: 'JWT'
토큰 형식이 JWT임을 명시 (문서용, 필수는 아님) - name: 'Authorization'
헤더 이름 지정 - in: 'header'
토큰을 헤더에 포함시킨다는 의미
Swagger

나만의 기록장