
<< 스프링부트 게시판 만들기1
지난번에 스프링부트 게시판을 만들 때 view를 jsp기반으로 만들었었는데
이번에는 thymeleaf와 jsp를 동시에 사용할 수 있는 법을 알아보도록 하겠다.
우선, pom.xml에 thymeleaf를 사용하기 위한 dependency를 추가해주자.
<dependency>
			<groupId>org.thymeleaf.extras</groupId>
			<artifactId>thymeleaf-extras-springsecurity5</artifactId>
		</dependency>
		<dependency>
			<groupId>org.springframework.boot</groupId>
			<artifactId>spring-boot-starter-thymeleaf</artifactId>
		</dependency>
		<dependency>
			<groupId>nz.net.ultraq.thymeleaf</groupId>
			<artifactId>thymeleaf-layout-dialect</artifactId>
			<version>3.0.0</version>
</dependency>
그다음, application.properties에 thymeleaf와 관련된 설정을 추가해준다.
기존 jsp설정은 그대로 유지해도 괜찮다. 아래 코드를 추가하면 jsp와 thymeleaf를 동시에 사용할 수 있다.
#thymeleaf 설정
spring.thymeleaf.prefix=classpath:/templates/
spring.thymeleaf.check-template-location=true
spring.thymeleaf.suffix=.html
spring.thymeleaf.mode=HTML5
spring.thymeleaf.enabled=true
spring.thymeleaf.cache=false
spring.thymeleaf.view-names=thymeleaf/*
사실 처음에 구글링을 했을 때 대부분 prefix, suffix, cache=false, view-names만 설정해줬었는데 그렇게 했더니 아무리해도 자꾸만 컨트롤러에서 jsp파일만을 호출하는 문제가 생겼다.
그런데 다음 코드를 추가했더니 thymeleaf를 적용할 수 있게 되었다. 그러니 다음 코드를 꼭 추가해주자.
spring.thymeleaf.check-template-location=true
타임리프 구현을 위한 html파일은 위 구조도처럼 resources/templates 경로 아래에 thymeleaf 폴더를 생성한 뒤 그 안에 test.html 이 있는 구조이다.
test.html
<head>
<meta http-equiv="Content-Type" content="text/html; charset=UTF-8">
<title>Hello thymeleaf</title>
</head>
<body>
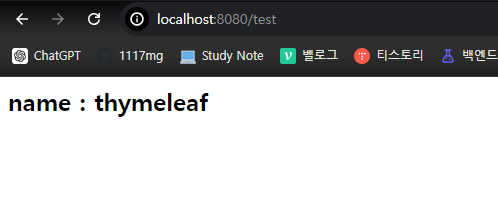
<h2>name : <span th:text="${name}"></span></h2>
</body>
</html>BoardController.java
// 타임리프
@RequestMapping("/test")
public String test(Model model){
model.addAttribute("name","thymeleaf");
return "thymeleaf/test";
}
// jsp
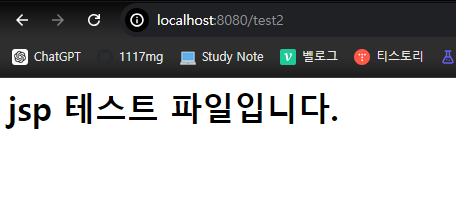
@RequestMapping("/test2")
public String test2(Model model){
model.addAttribute("name","thymeleaf");
return "test";
}-
localhost:8080/test실행
-
localhost:8080/test2실행
이렇게 하면 한 프로젝트 내에서 jsp와 thymeleaf를 모두 사용할 수 있게 된다.

백엔드 개발하는 사람