
Jenkins ?
젠킨스(Jenkins)는 소프트웨어 개발 시 지속적 통합(continuous integration) 서비스를 제공하는 툴이다. 다수의 개발자들이 하나의 프로그램을 개발할 때 버전 충돌을 방지하기 위해 각자 작업한 내용을 공유 영역에 있는 Git등의 저장소에 빈번히 업로드함으로써 지속적 통합이 가능하도록 해 준다. MIT 라이선스를 따른다.
Jenkins 를 통한 CI/CD 목표
- Github 에 소스코드 push 시 web hook 으로 ci 과정 자동화
- 빌드 및 테스트 과정 자동화
- Dockerizing
- AWS 에 Deploy
Jenkins 설치와 설정
Jenkins 를 활용 하기 위해서 docker 와 같이 사용해보았습니다.
Docker 의 설치및 설정과정을 생략 하겠습니다.
Docker 를 통한 jenkins 설치를 위해 dockefile 을 작성합니다
Dockerfile
FROM jenkins/jenkins
LABEL maintainer="2012.monk@gmail.com"

USER root
# jenkins 내부에 docker 설치
RUN apt-get update
RUN apt-get -y install \
    apt-transport-https \
    ca-certificates \
    curl \
    gnupg \
    lsb-release
RUN curl -fsSL https://download.docker.com/linux/ubuntu/gpg |  gpg --dearmor -o /usr/share/keyrings/docker-archive-keyring.gpg
RUN echo \
  "deb [arch=amd64 signed-by=/usr/share/keyrings/docker-archive-keyring.gpg] https://download.docker.com/linux/ubuntu \
  $(lsb_release -cs) stable" | tee /etc/apt/sources.list.d/docker.list > /dev/null
RUN apt-get update && \
    apt-get -y install docker-ce docker-ce-cli docker-compose
docker-compose
Docker 실행을 위한 docker-compose file 을 작성합니다
docker-compose.yml
version: '3'
services:
    jenkins_master:
        container_name: 'jenkins'
        build:
            context: .
            dockerfile: ./Dockerfile
        restart: always
        ports:
            - "8080:8080"
            - "50000:50000"
        volumes:
            - './jenkins_home:/var/jenkins_home'
            - '/var/run/docker.sock:/var/run/docker.sock'
        environment:
            TZ: "Asia/Seoul"
Jenkins 실행
디렉토리 구조
Jenkins
├── Dockerfile
└── docker-compose.yml
해당 디렉토리로 이동후 도커를 실행시킵니다
_local 환경에 docker 설치및 docker 권한설정이 되어 있어야 합니다
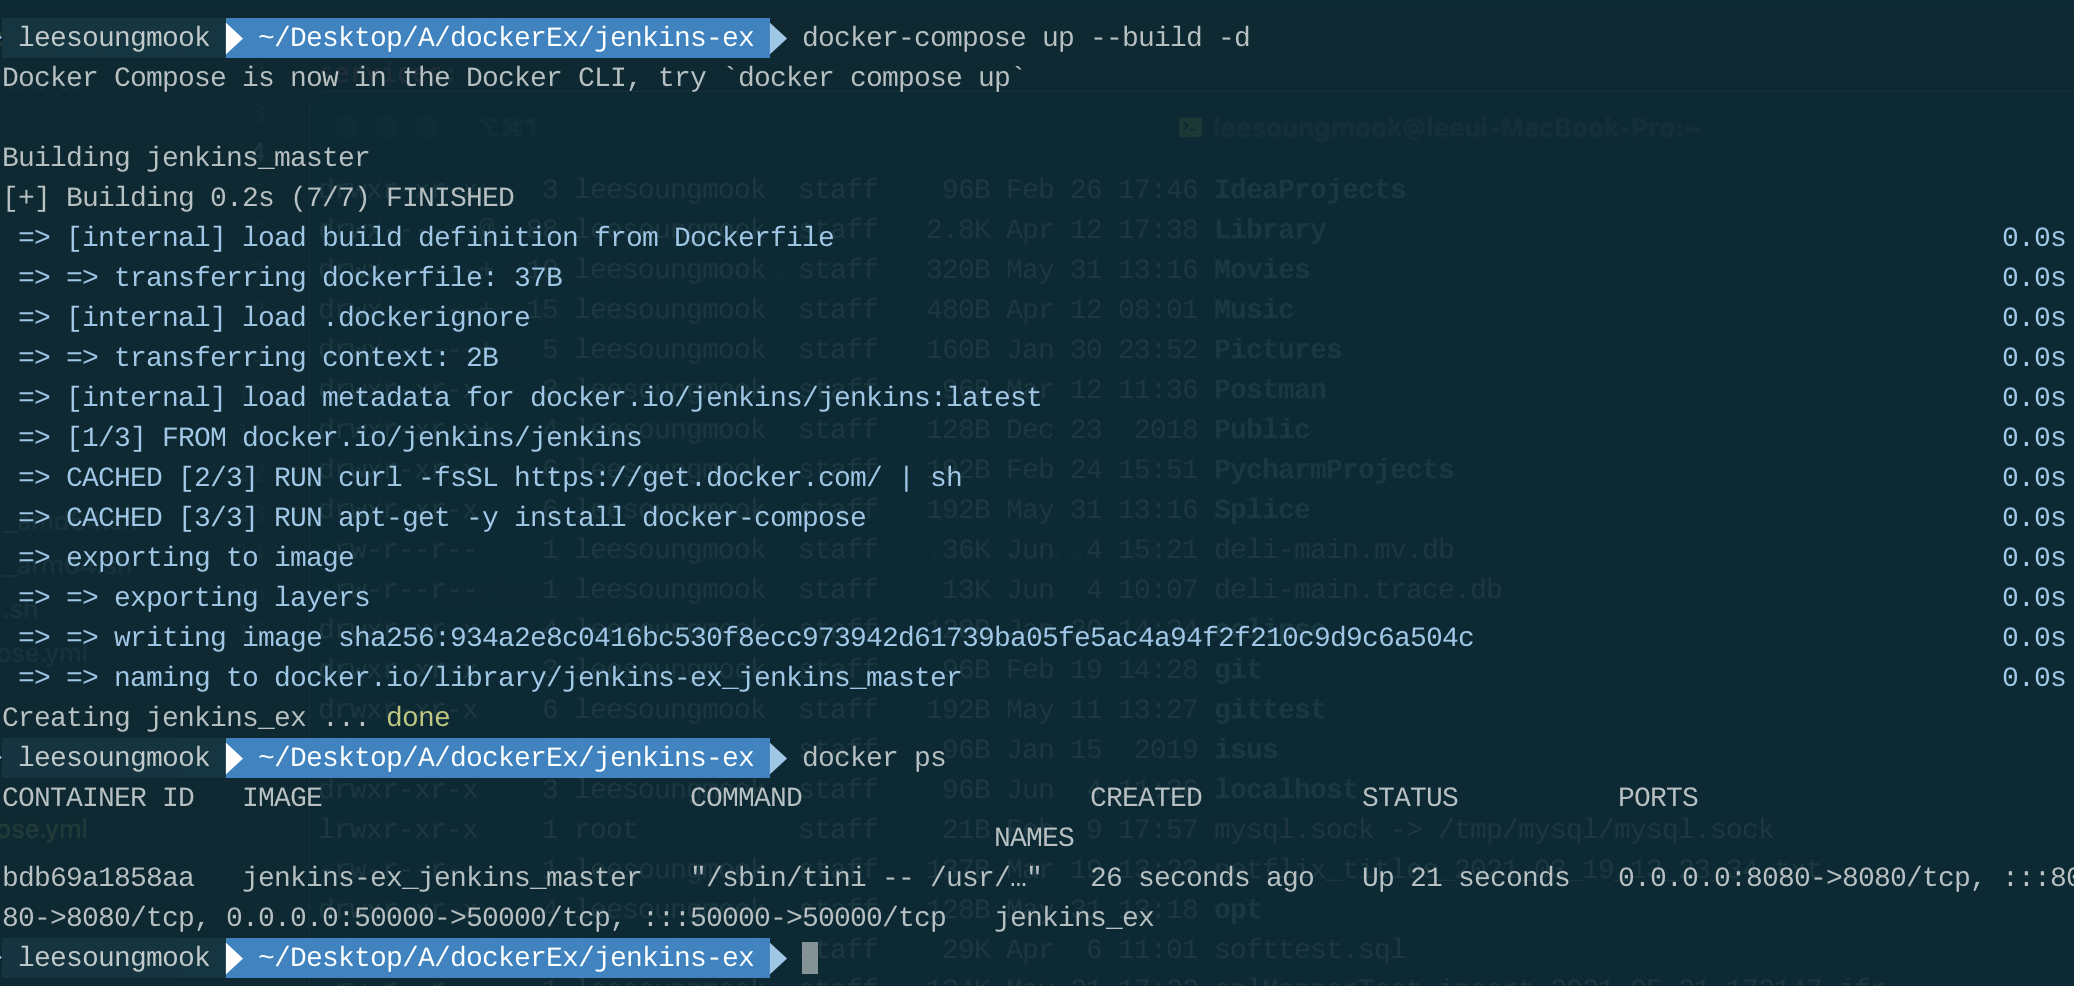
docker-compose up --build -d
# --build 서비스 시작전 이미지를 새로 만듭니다
# -d 서비스 실행후 콘솔로 빠져나옵니다
Docker-compose 실행후
docker ps명령으로 container 가 잘 실행되고 있는지 확인 해봅니다.
Jenkins 설정
http://localhost:8080 주소로 젠킨스서버에 접속합니다.
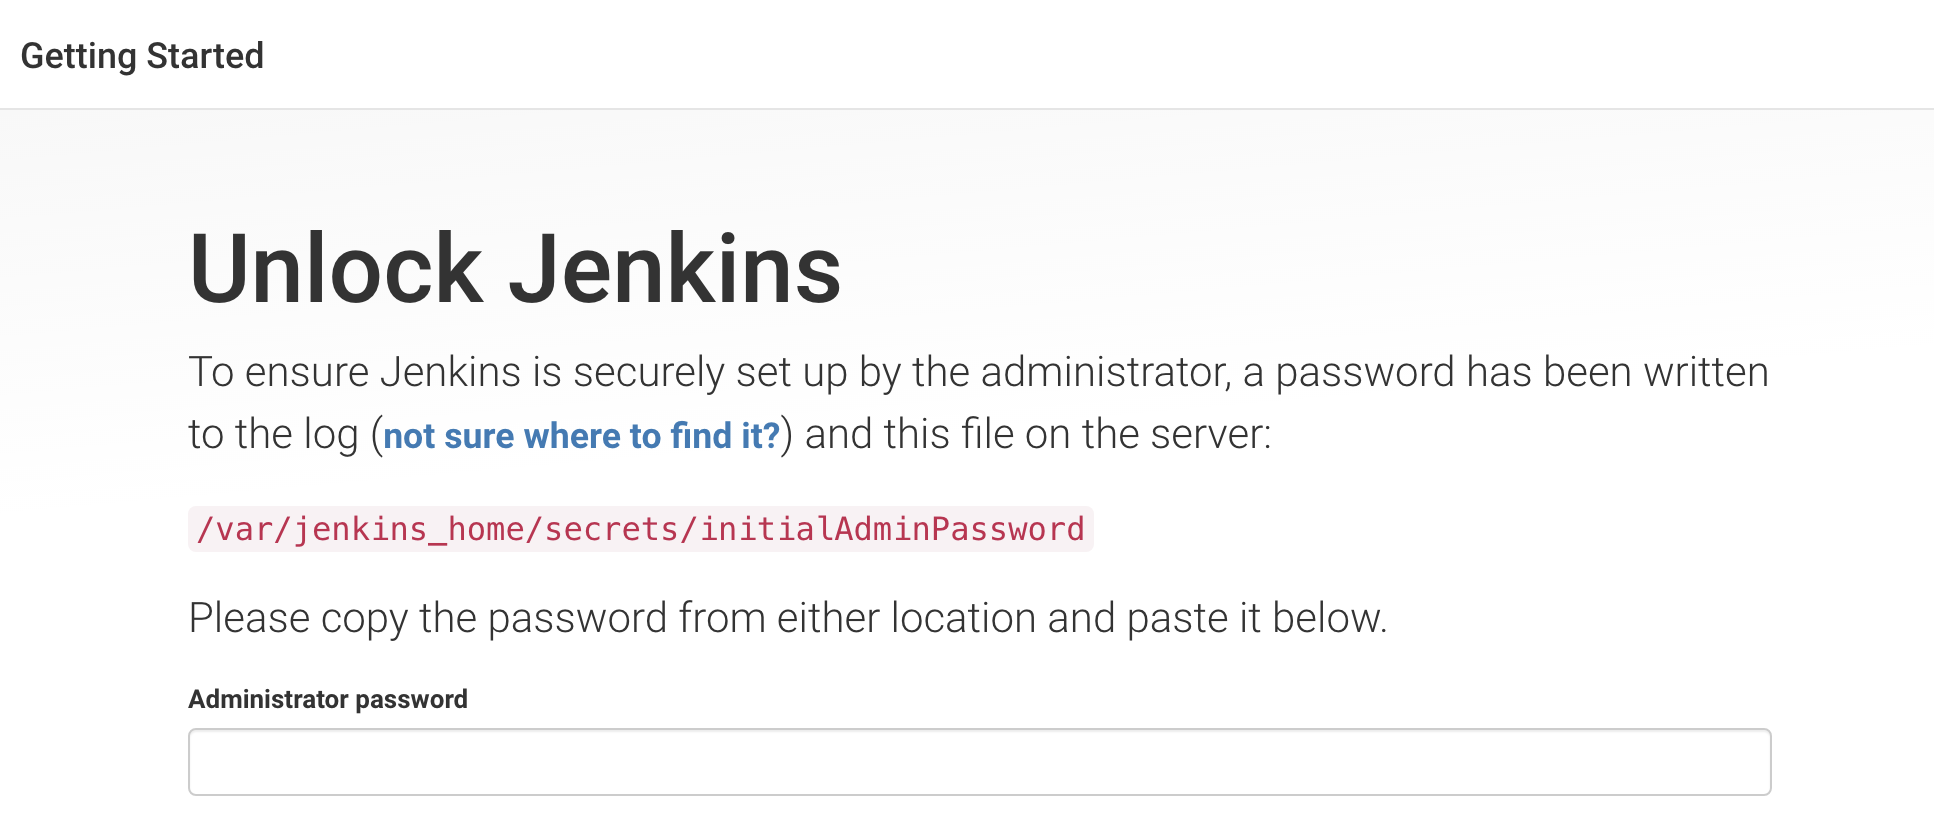
최초 접속시 인증키를 입력해야 합니다.
Docker 내부 접속으로 키를 가져오는 방법
docker exec -it jenkins_ex bash
cat /var/jenkins_home/secrets/initialAdminPassword
Docker log 로 키를 가져오는 방법
docker logs -f jenkins_ex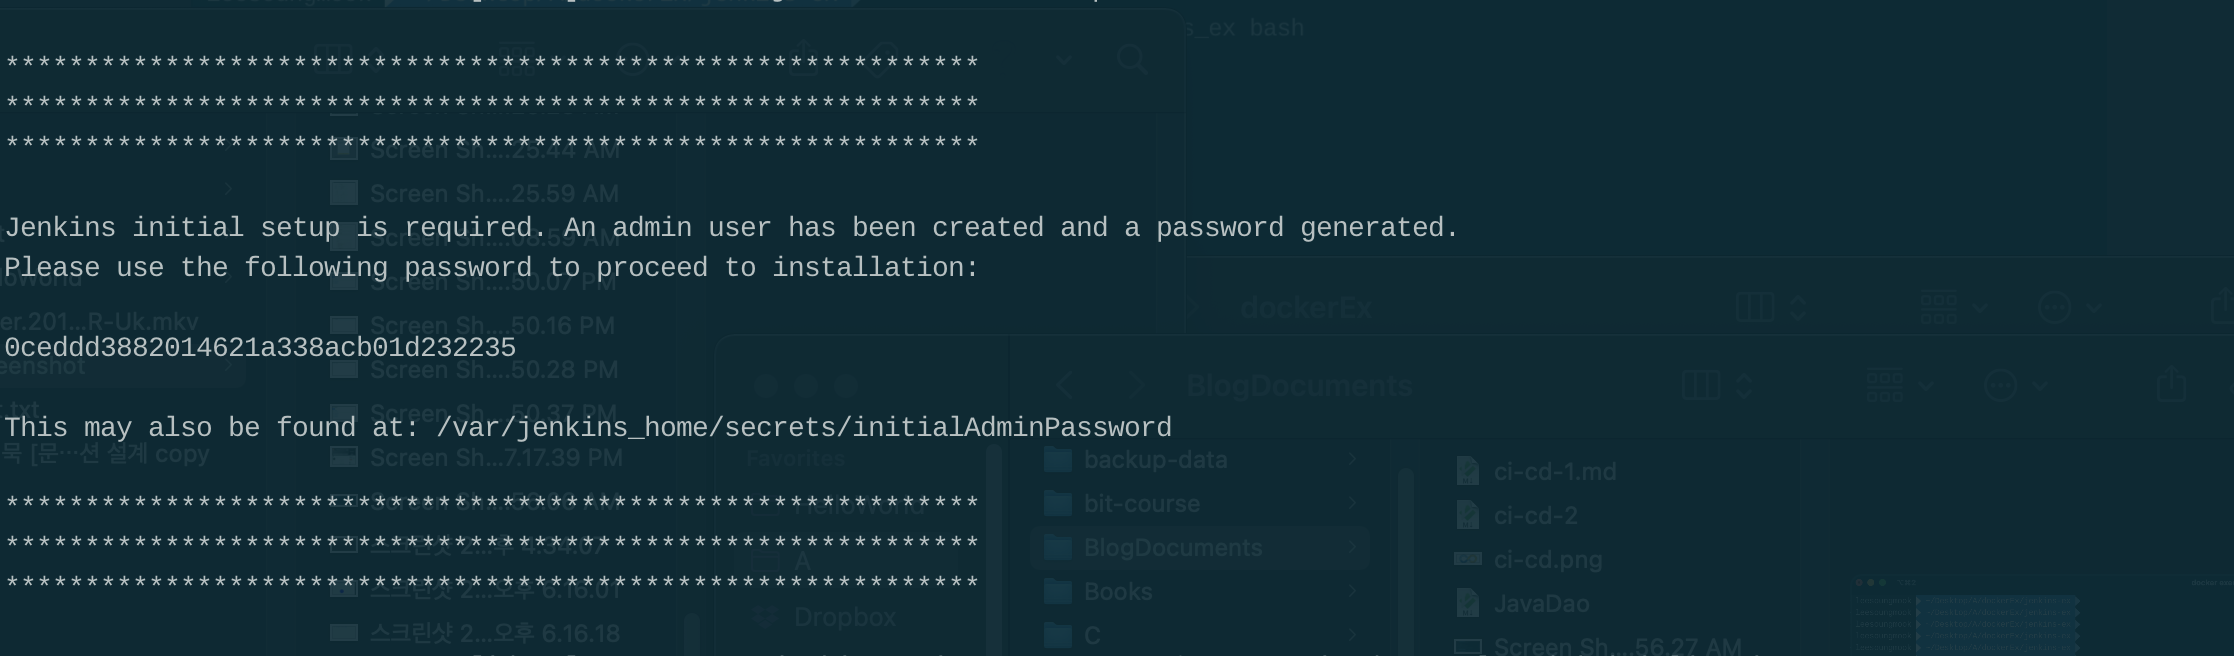
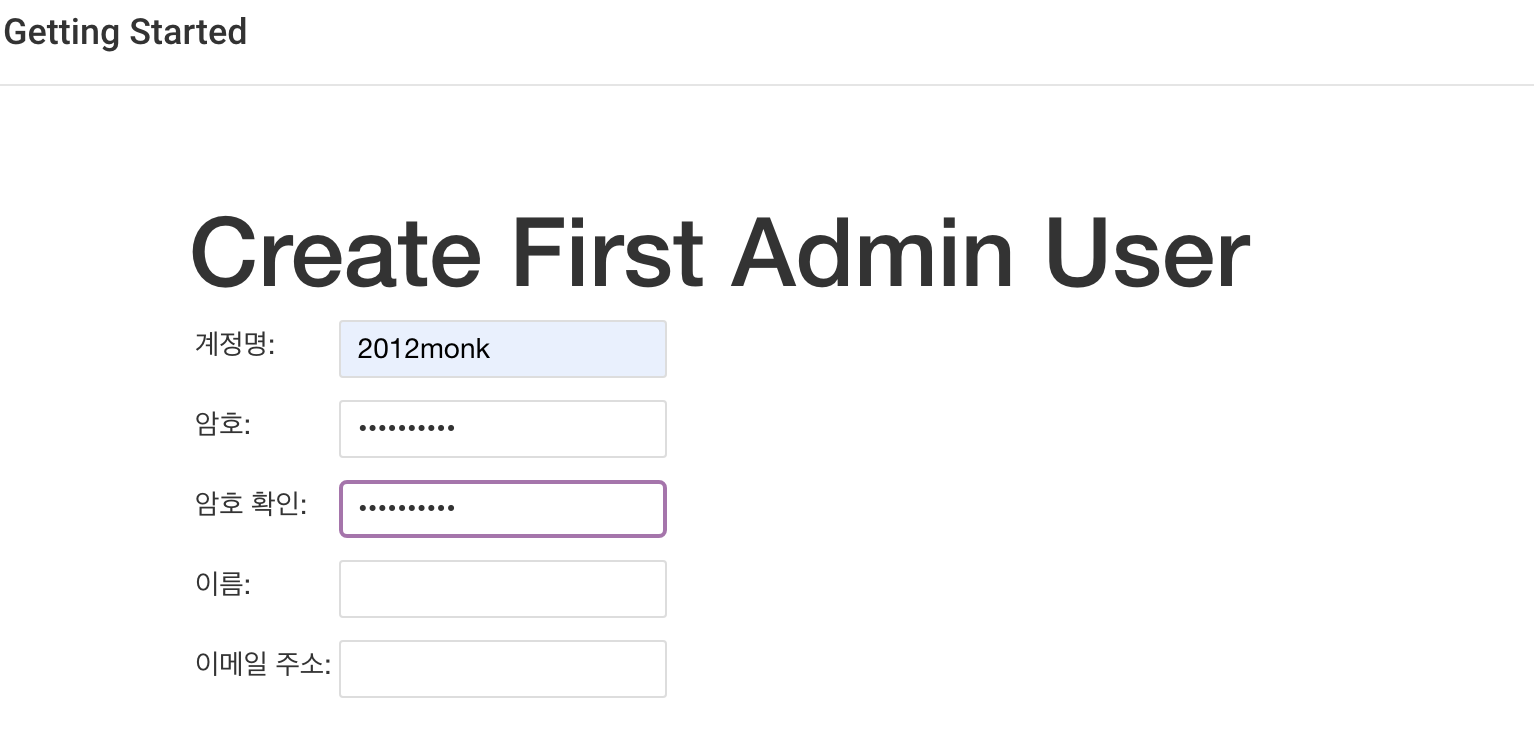
키입력후 계정을 생성합니다
접속휴 추천 플러그인 들을 설치합니다
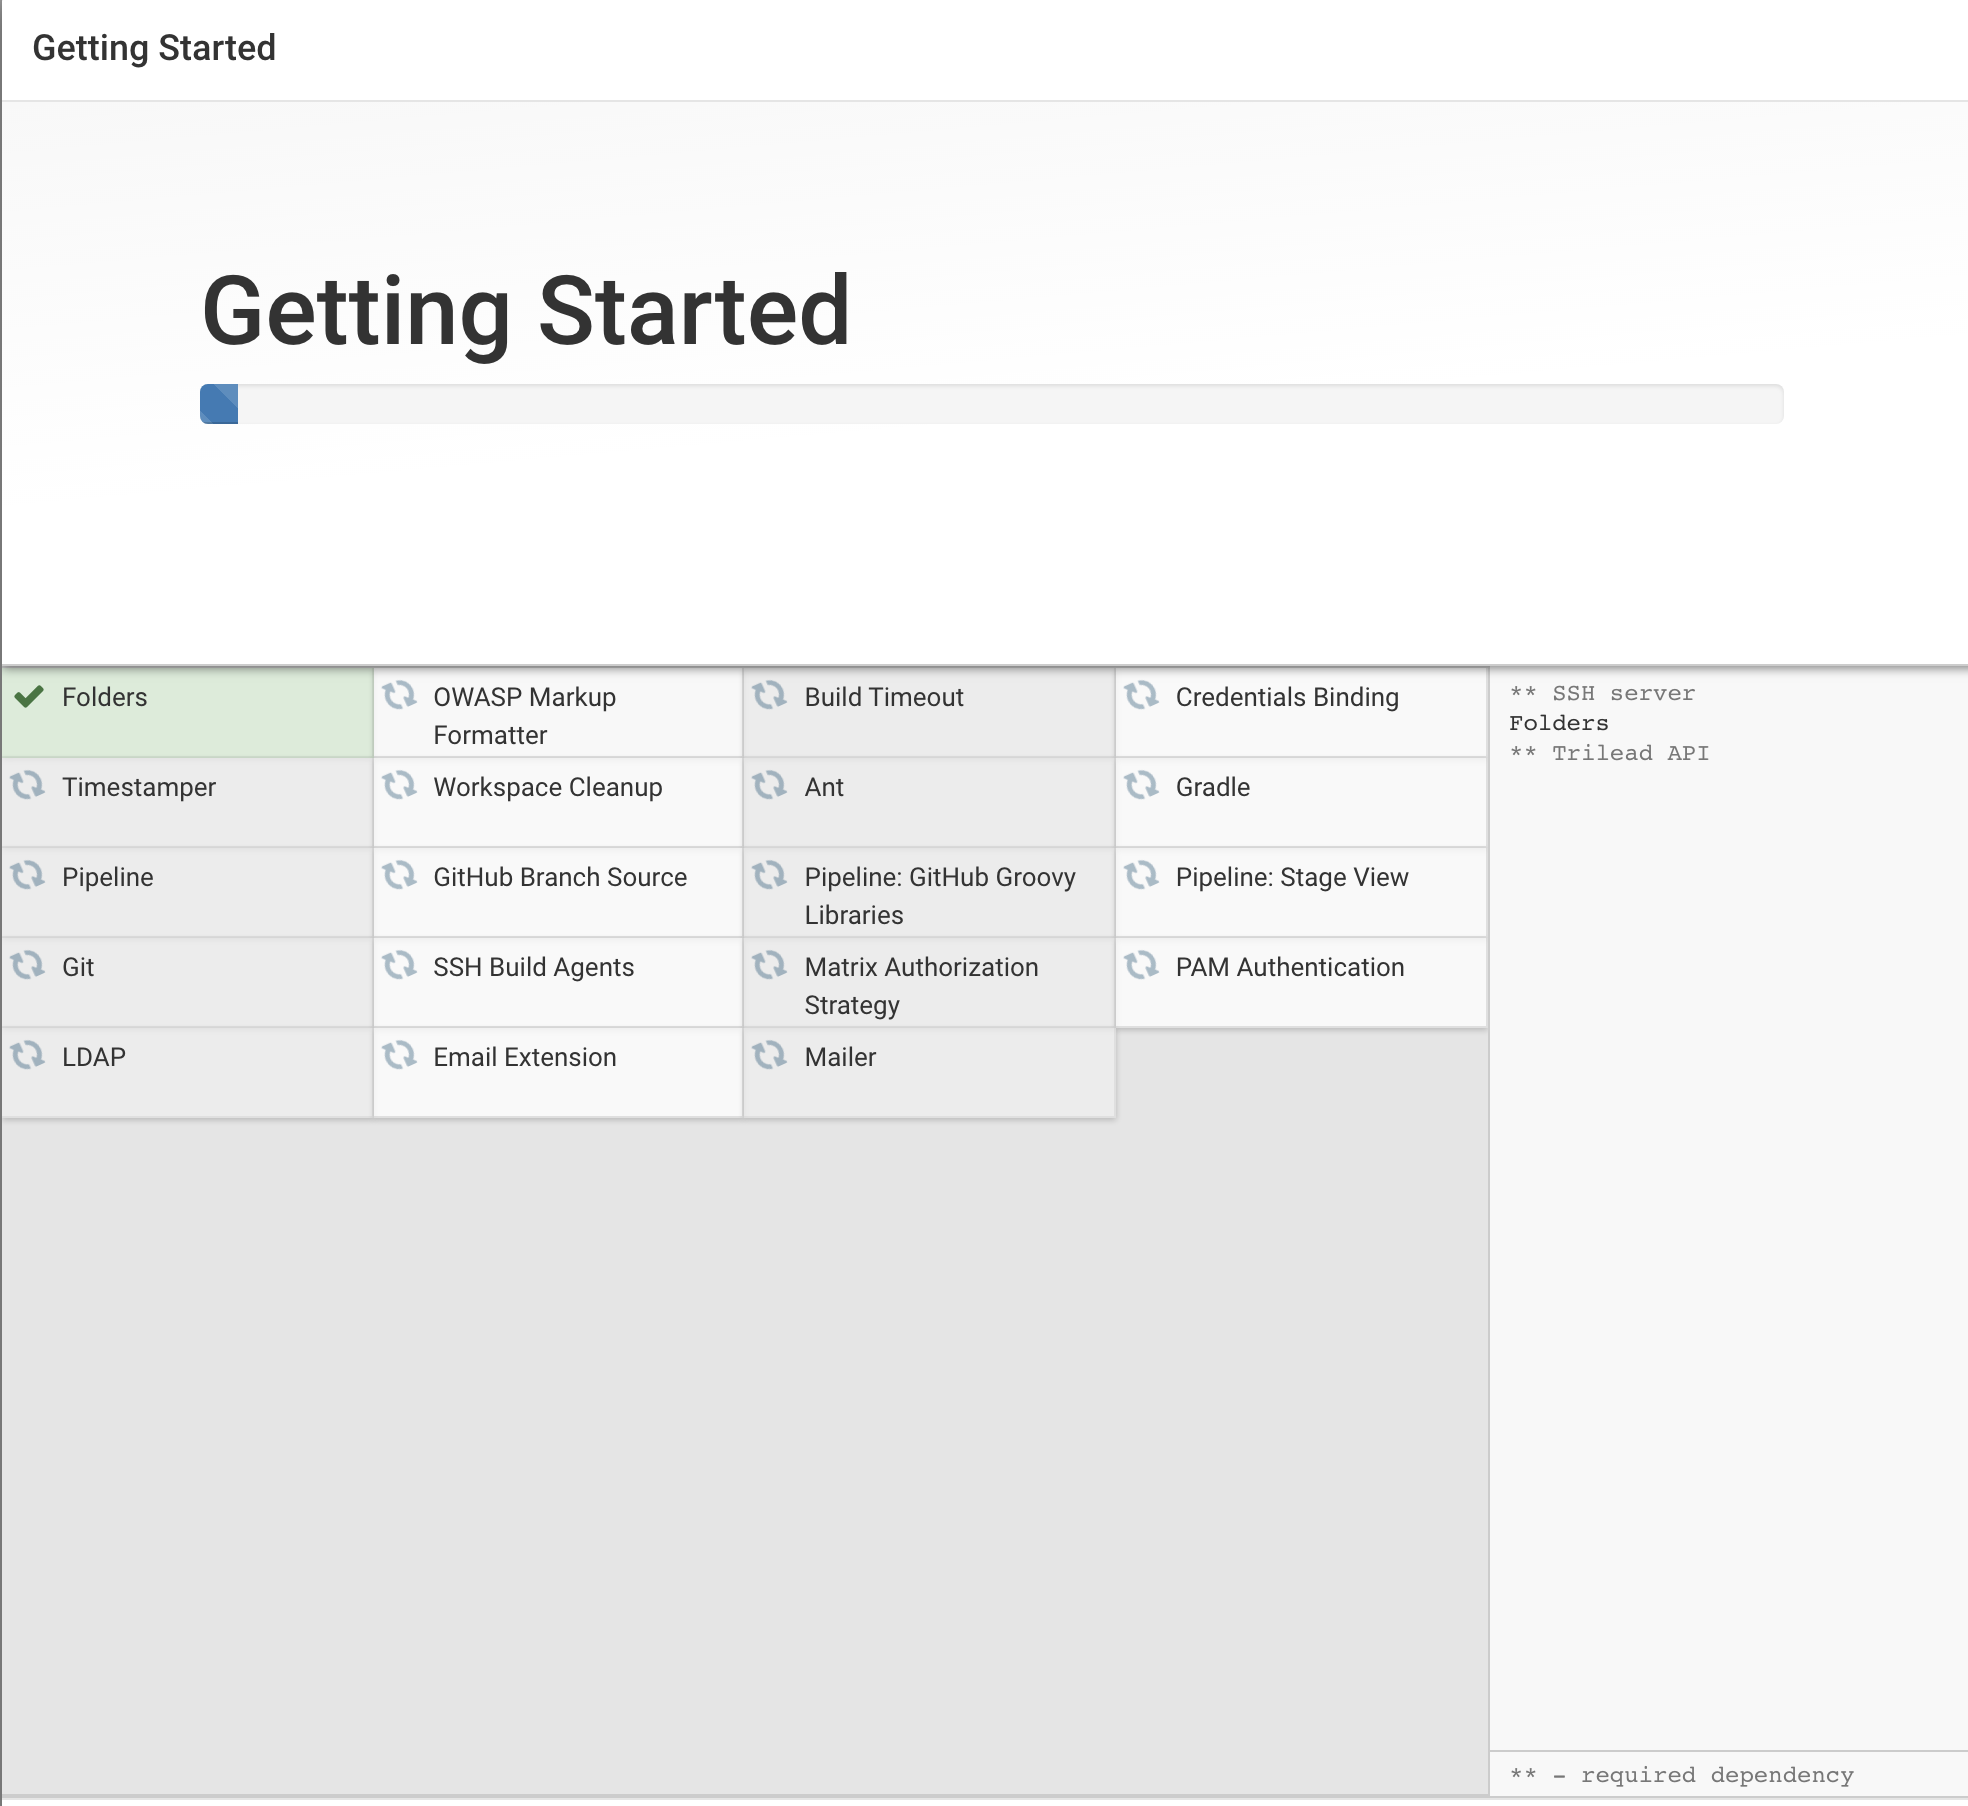
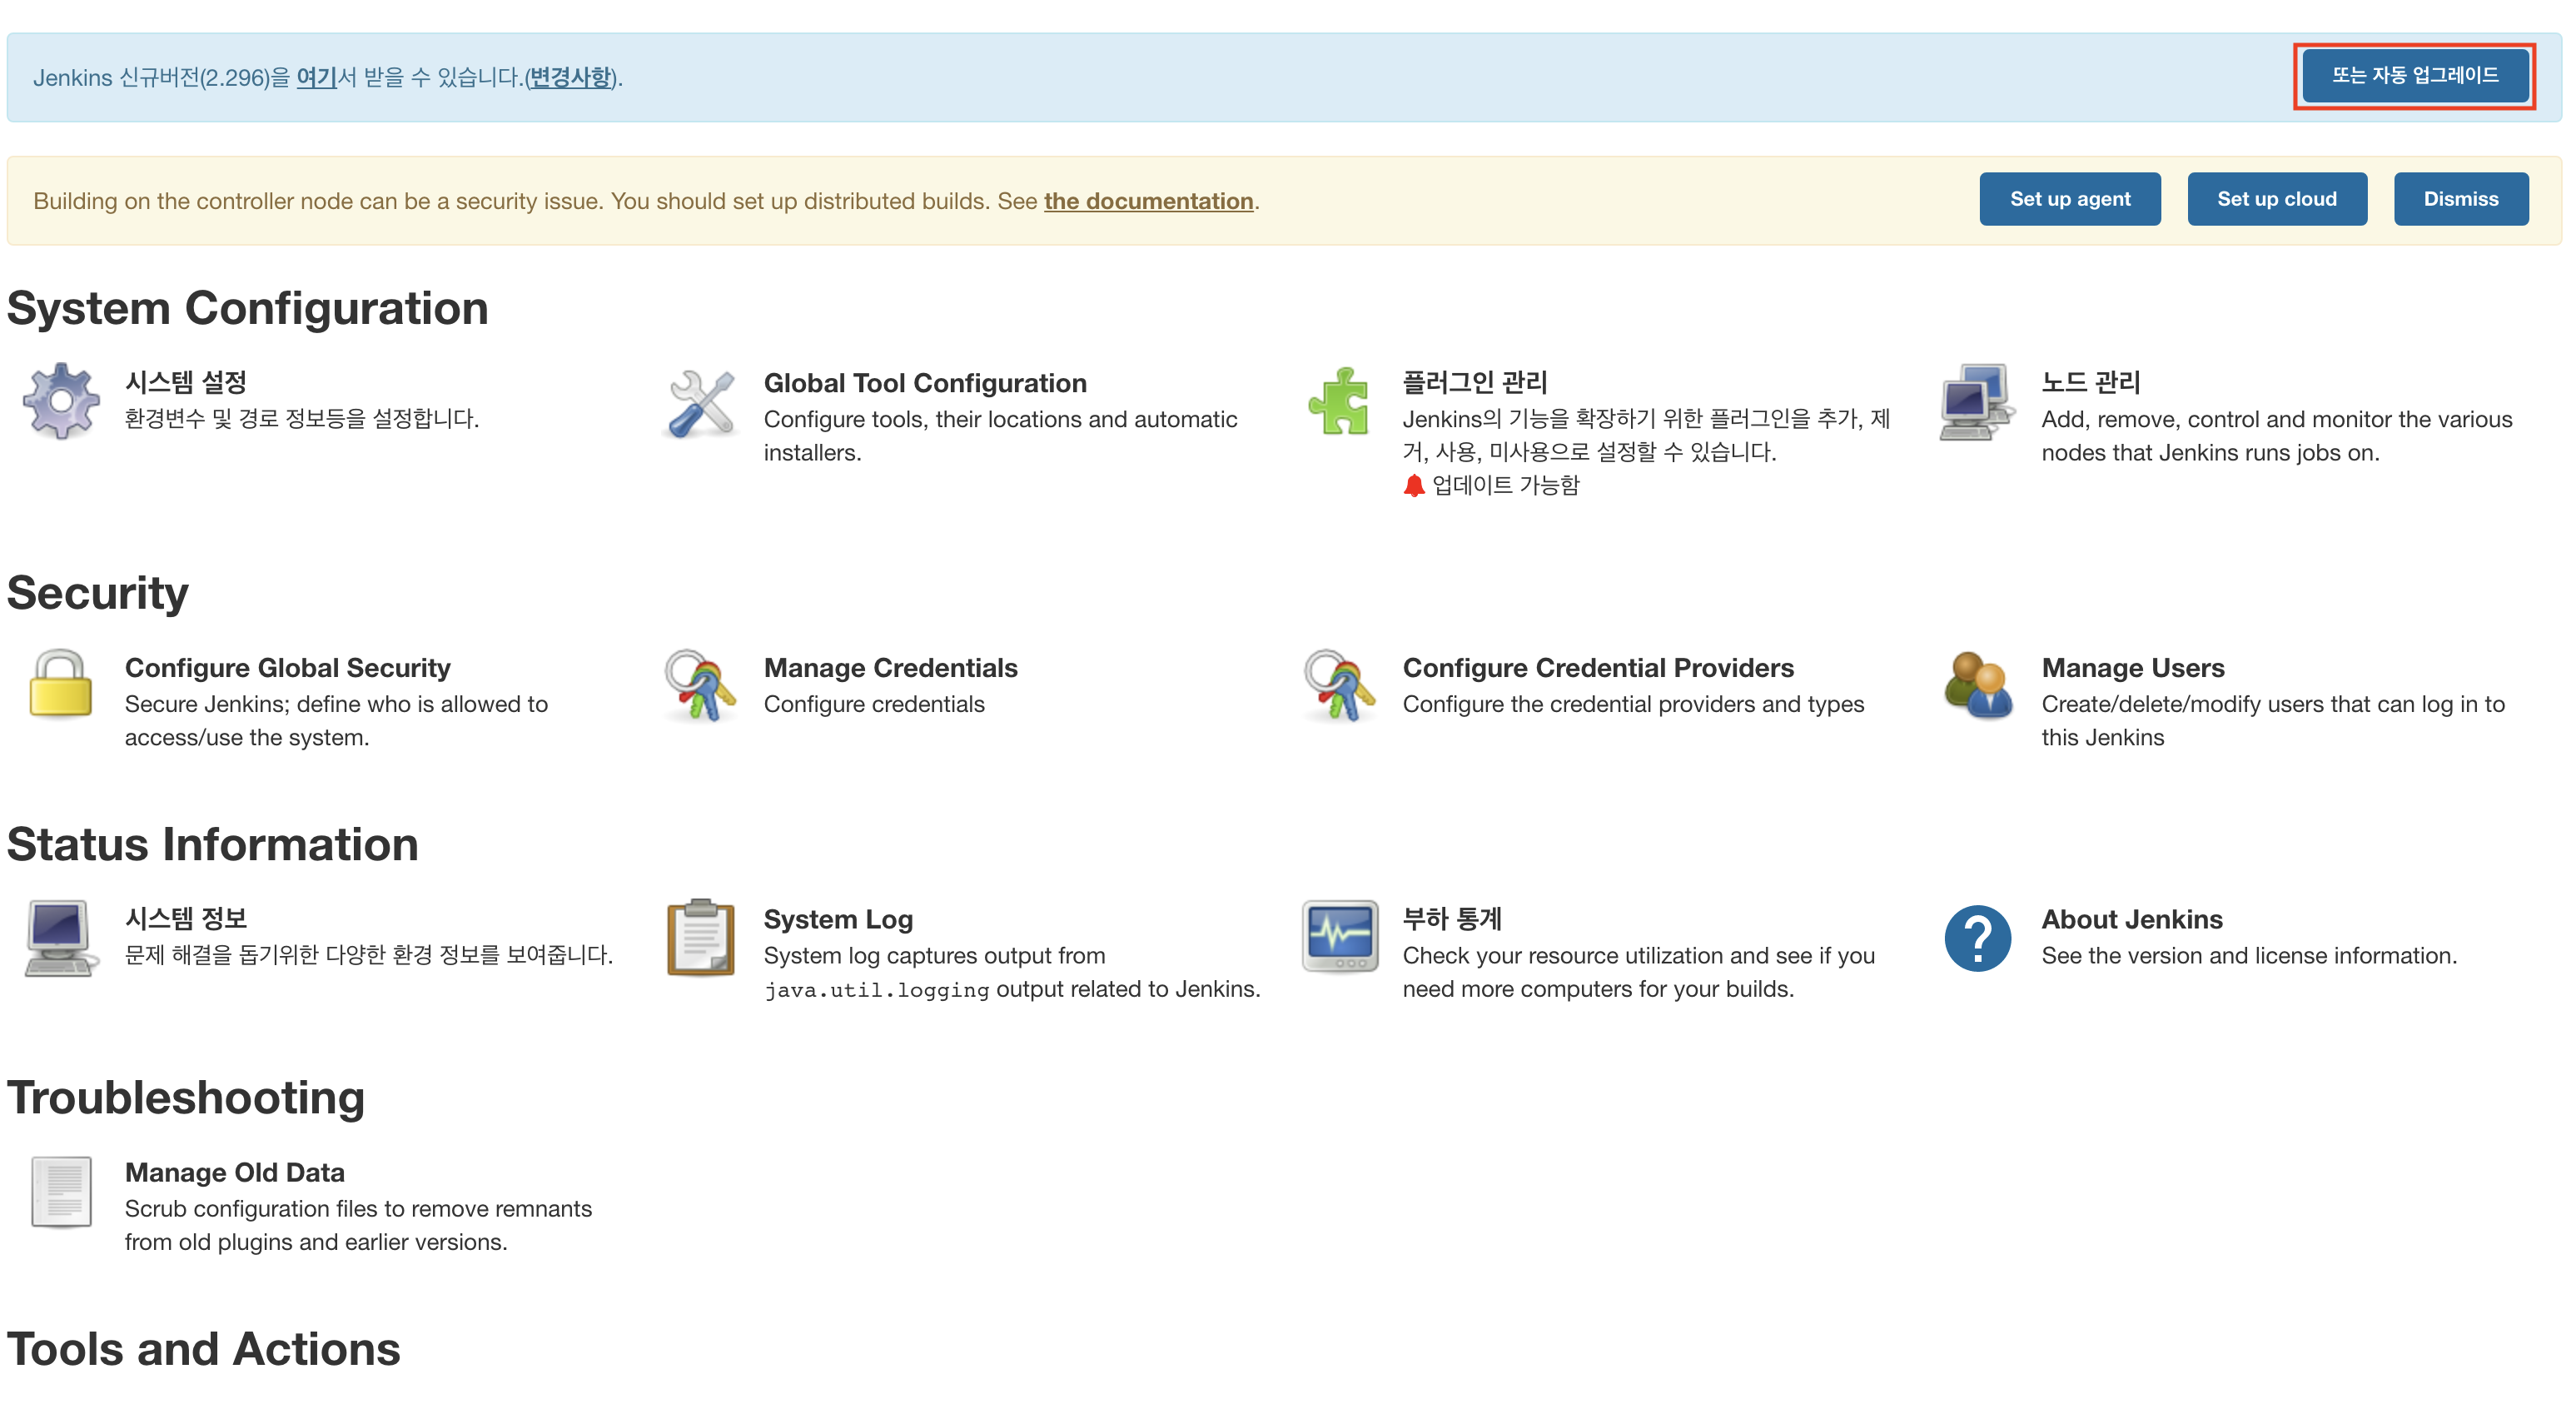
플러그인 설치 실패시 에는 젠킨스 버전이 낮아 플러그인 이 설치되지 않을수도 있으므로 젠킨스 버전 업데이트 이후 다시 시도해봅니다.
젠킨스 관리로 들어가서 jenkins를 업데이트 해줍니다.
Docker 관련 플러그인들도 설치합니다.
Docker, Docker pipeline
Jenkins Project 생성
Jenkins 빌드과정은 declartive pipeline 스크립트로 실행 시키겠습니다.
젠킨스 파이프라인이란
A Jenkins pipeline is a suite of plugins which supports implementing and integrating continuous delivery pipelines into Jenkins.
젠킨스의 플러그인 으로써 ci/cd 파이프라인을 구축하는데 사용되어집니다.
Jenkins Job 들의 순차적 이나 병렬적으로 실행시키거나 작성된 스크립트로 이벤트들을 연속으로 실행시키는 일을 지원합니다.
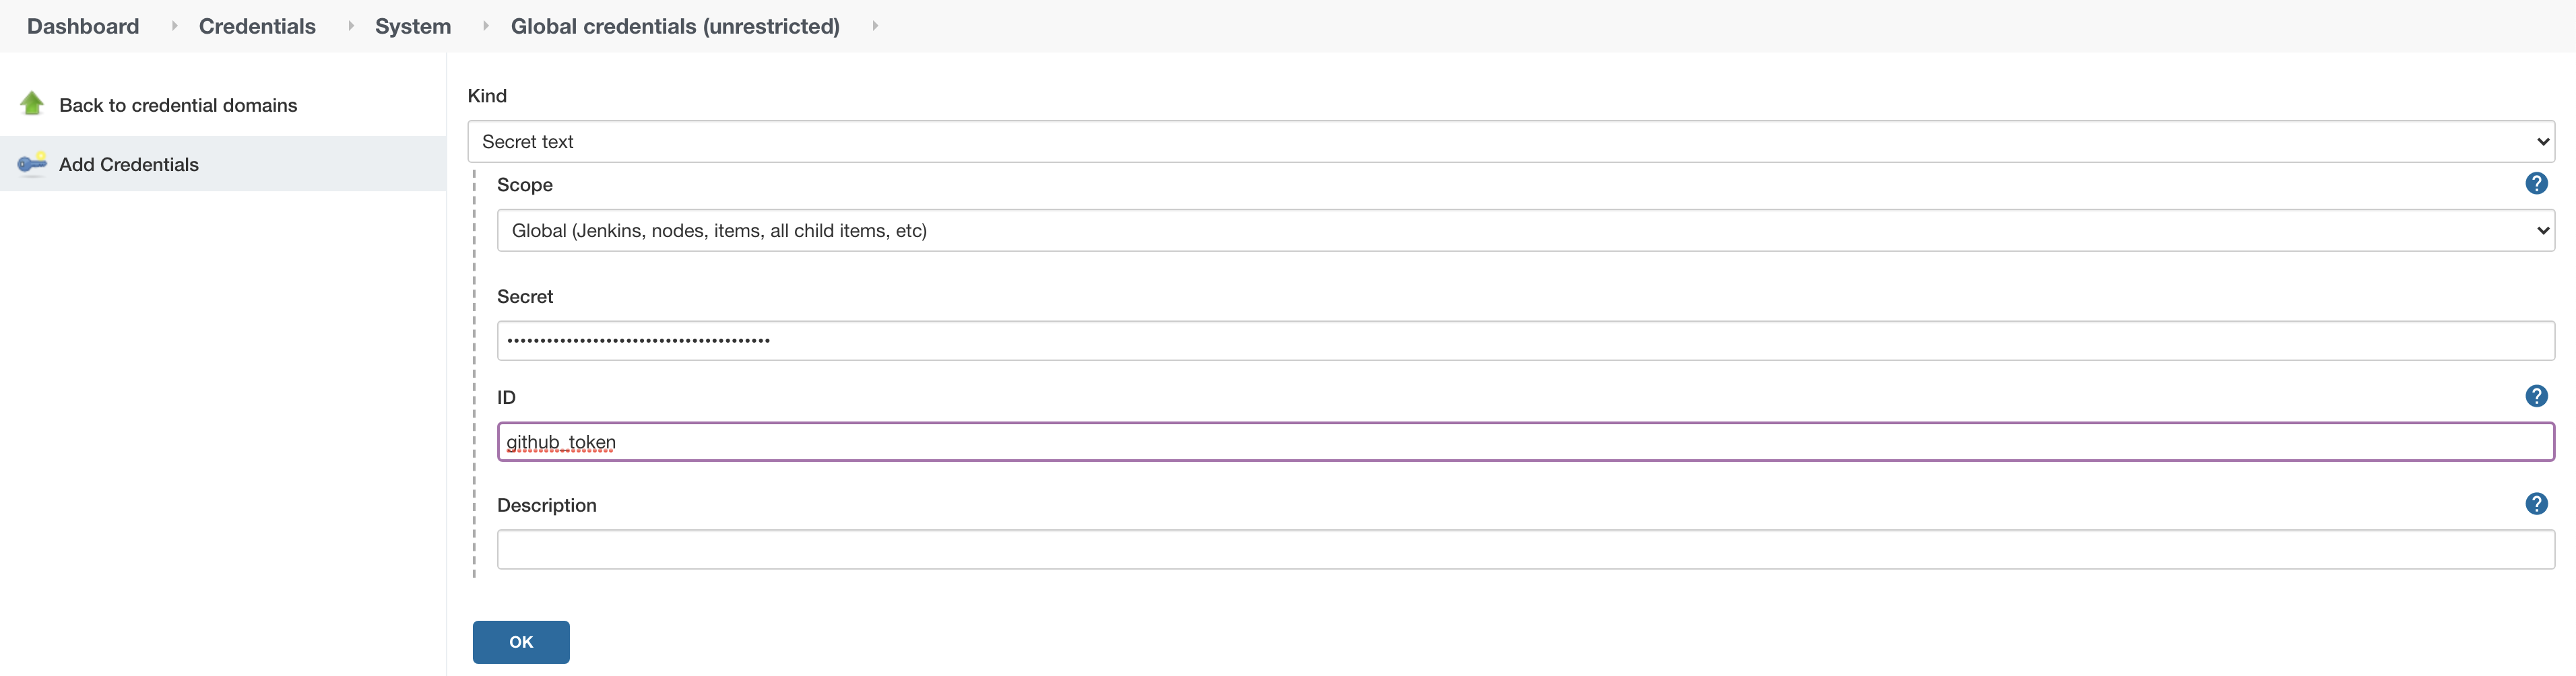
Github credentials 을 설정합니다.


저는 깃허브 access token을 등록했습니다
Github id/pw 를 등록해도 가능합니다.
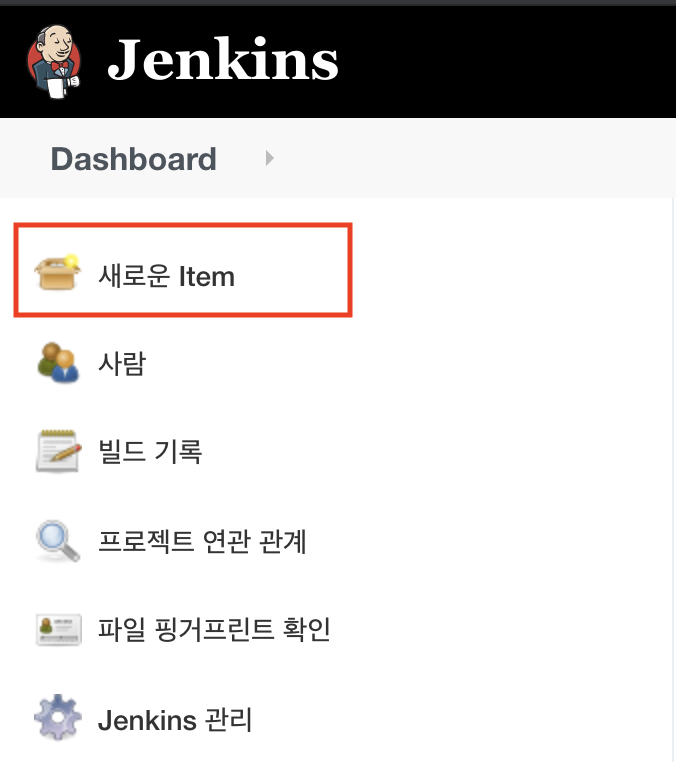
젠킨스에서 새로운 Pipeline job 을 생성합니다.
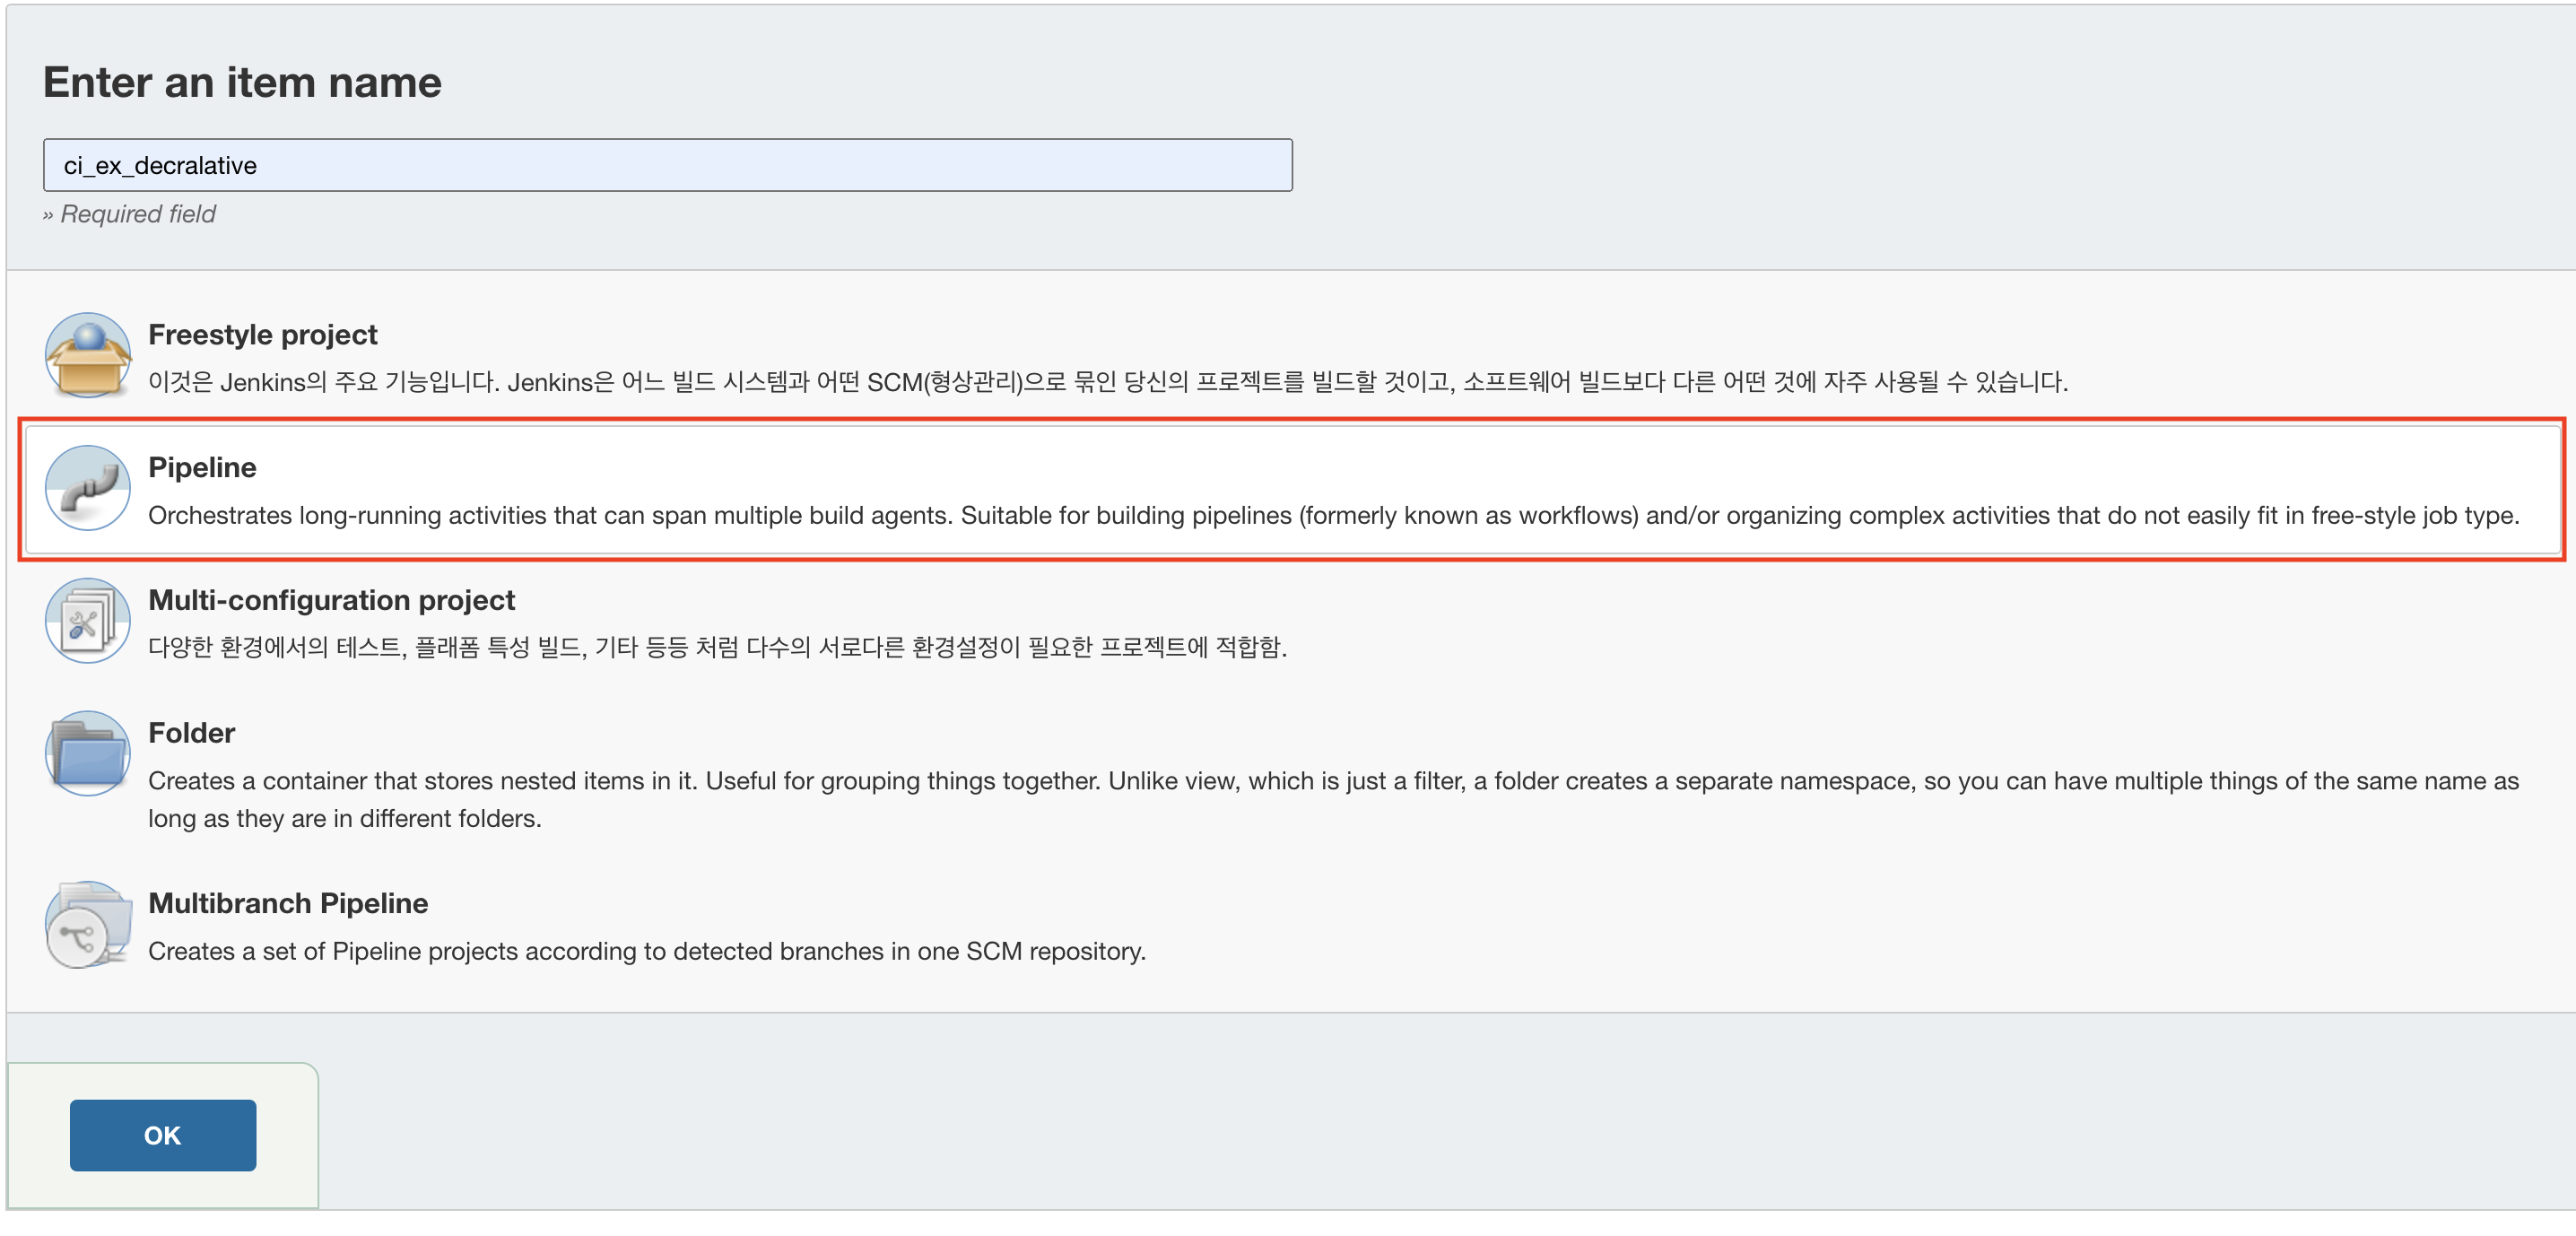
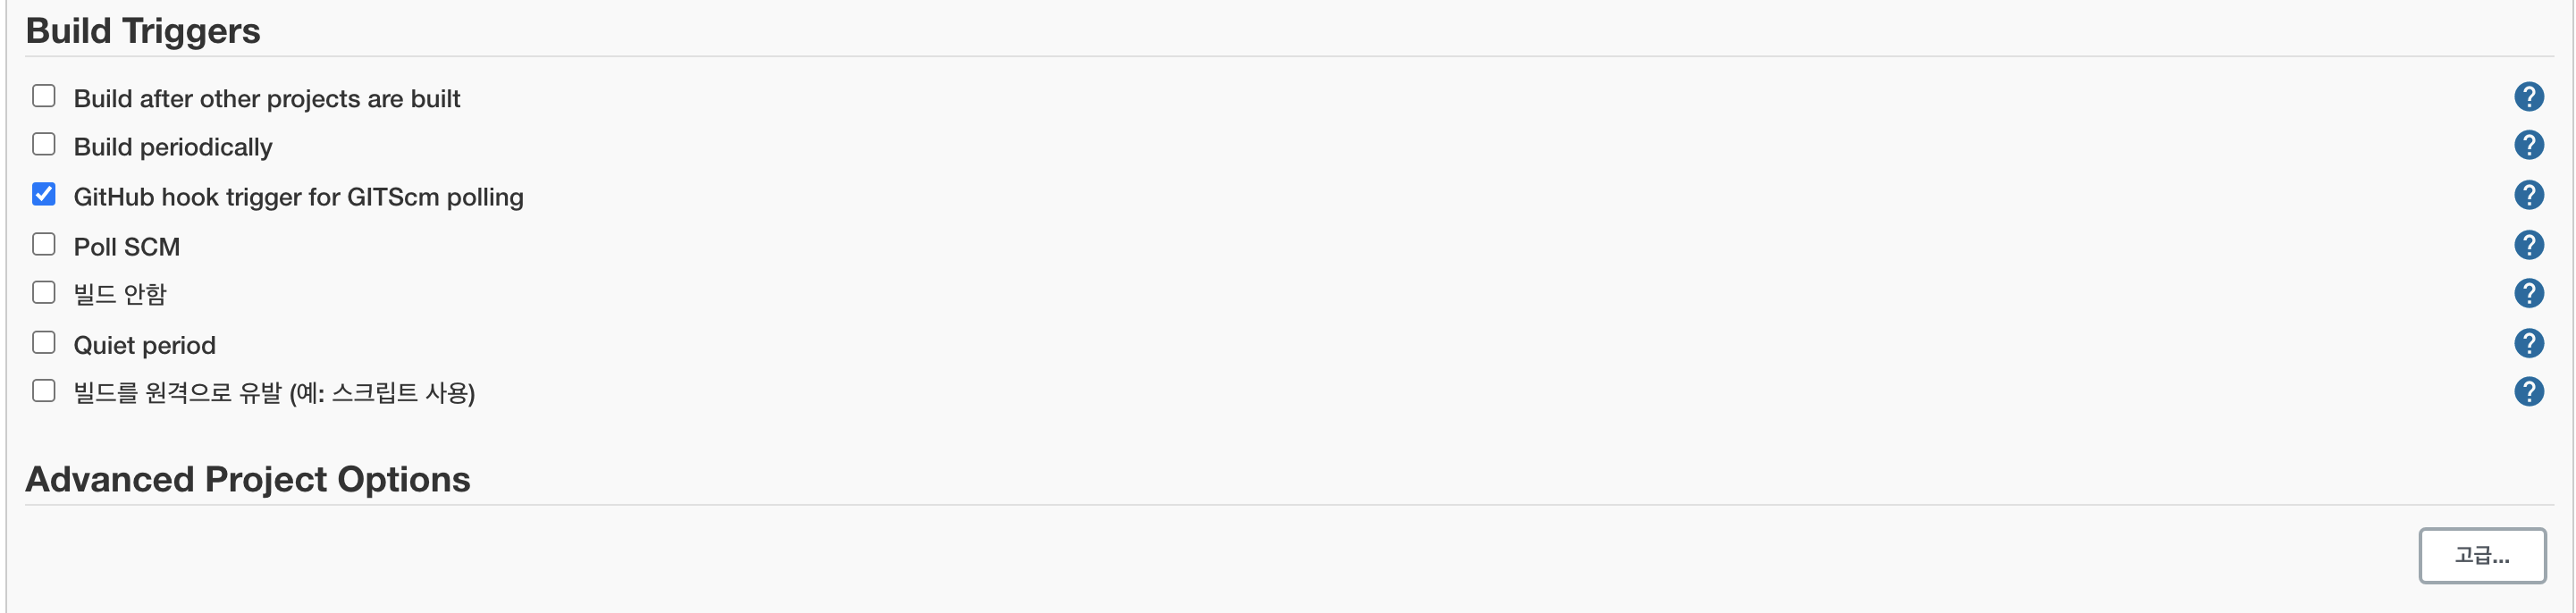
Build Trigger 에서 trigger by scm 을 선택합니다
Github Webhook 등록하기
GitHub setting -> Web hooks
Web hook 등록시에는 도메인이 필요합니다.
Domain 업체에서 구입해서 네임서버를 사용하시거나 ngrok 같은 프로그램을 이용하셔도 됩니다.
또는 개인 공유기환경에서 포트포워딩해서 사용하셔도 가능합니다.

URL 주소에는 http://도메인이름/github-webhook/
마지막 / slash 붙여주셔야 합니다.
Content type 은 application/json 으로 선택해주시면 됩니다.
Project 작성하기
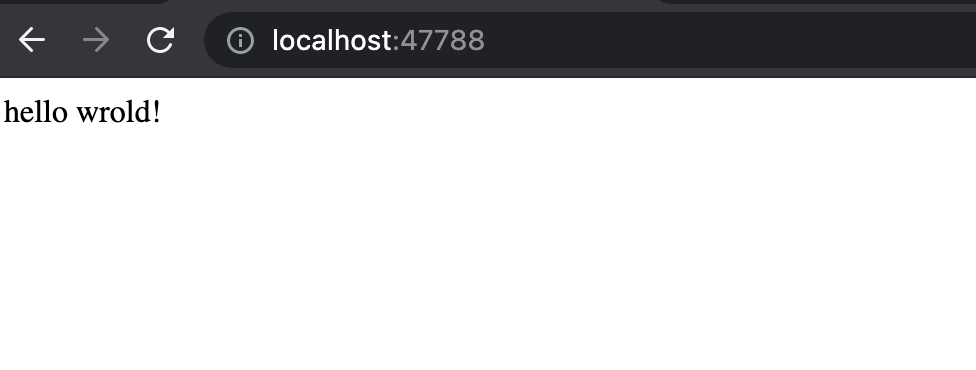
테스트를 위한 접속시 Hello world! 를 출력하는 간단한 spring boot app 을 작성하겠습니다.
테스트에서는 젠킨스가 설치되어 있는 환경에서 바로 애플리케이션을 실행하기때문에 8080포트에서 다른포트로 바꾸어 주셔야합니다.

빌드 툴은 Gradle 을 사용하였습니다.
build.gradle

Project 배포를 위한 Dockerfile 작성
빌드후 도커를 통해 배포를 진행할것이므로 docker image build 를 위한 docker file 을 작성하겠습니다
FROM openjdk:8-jre-alpine

COPY /build/libs/app.jar app.jar

CMD ["java", "-jar", "/app.jar"]
Pipeline script 작성하기
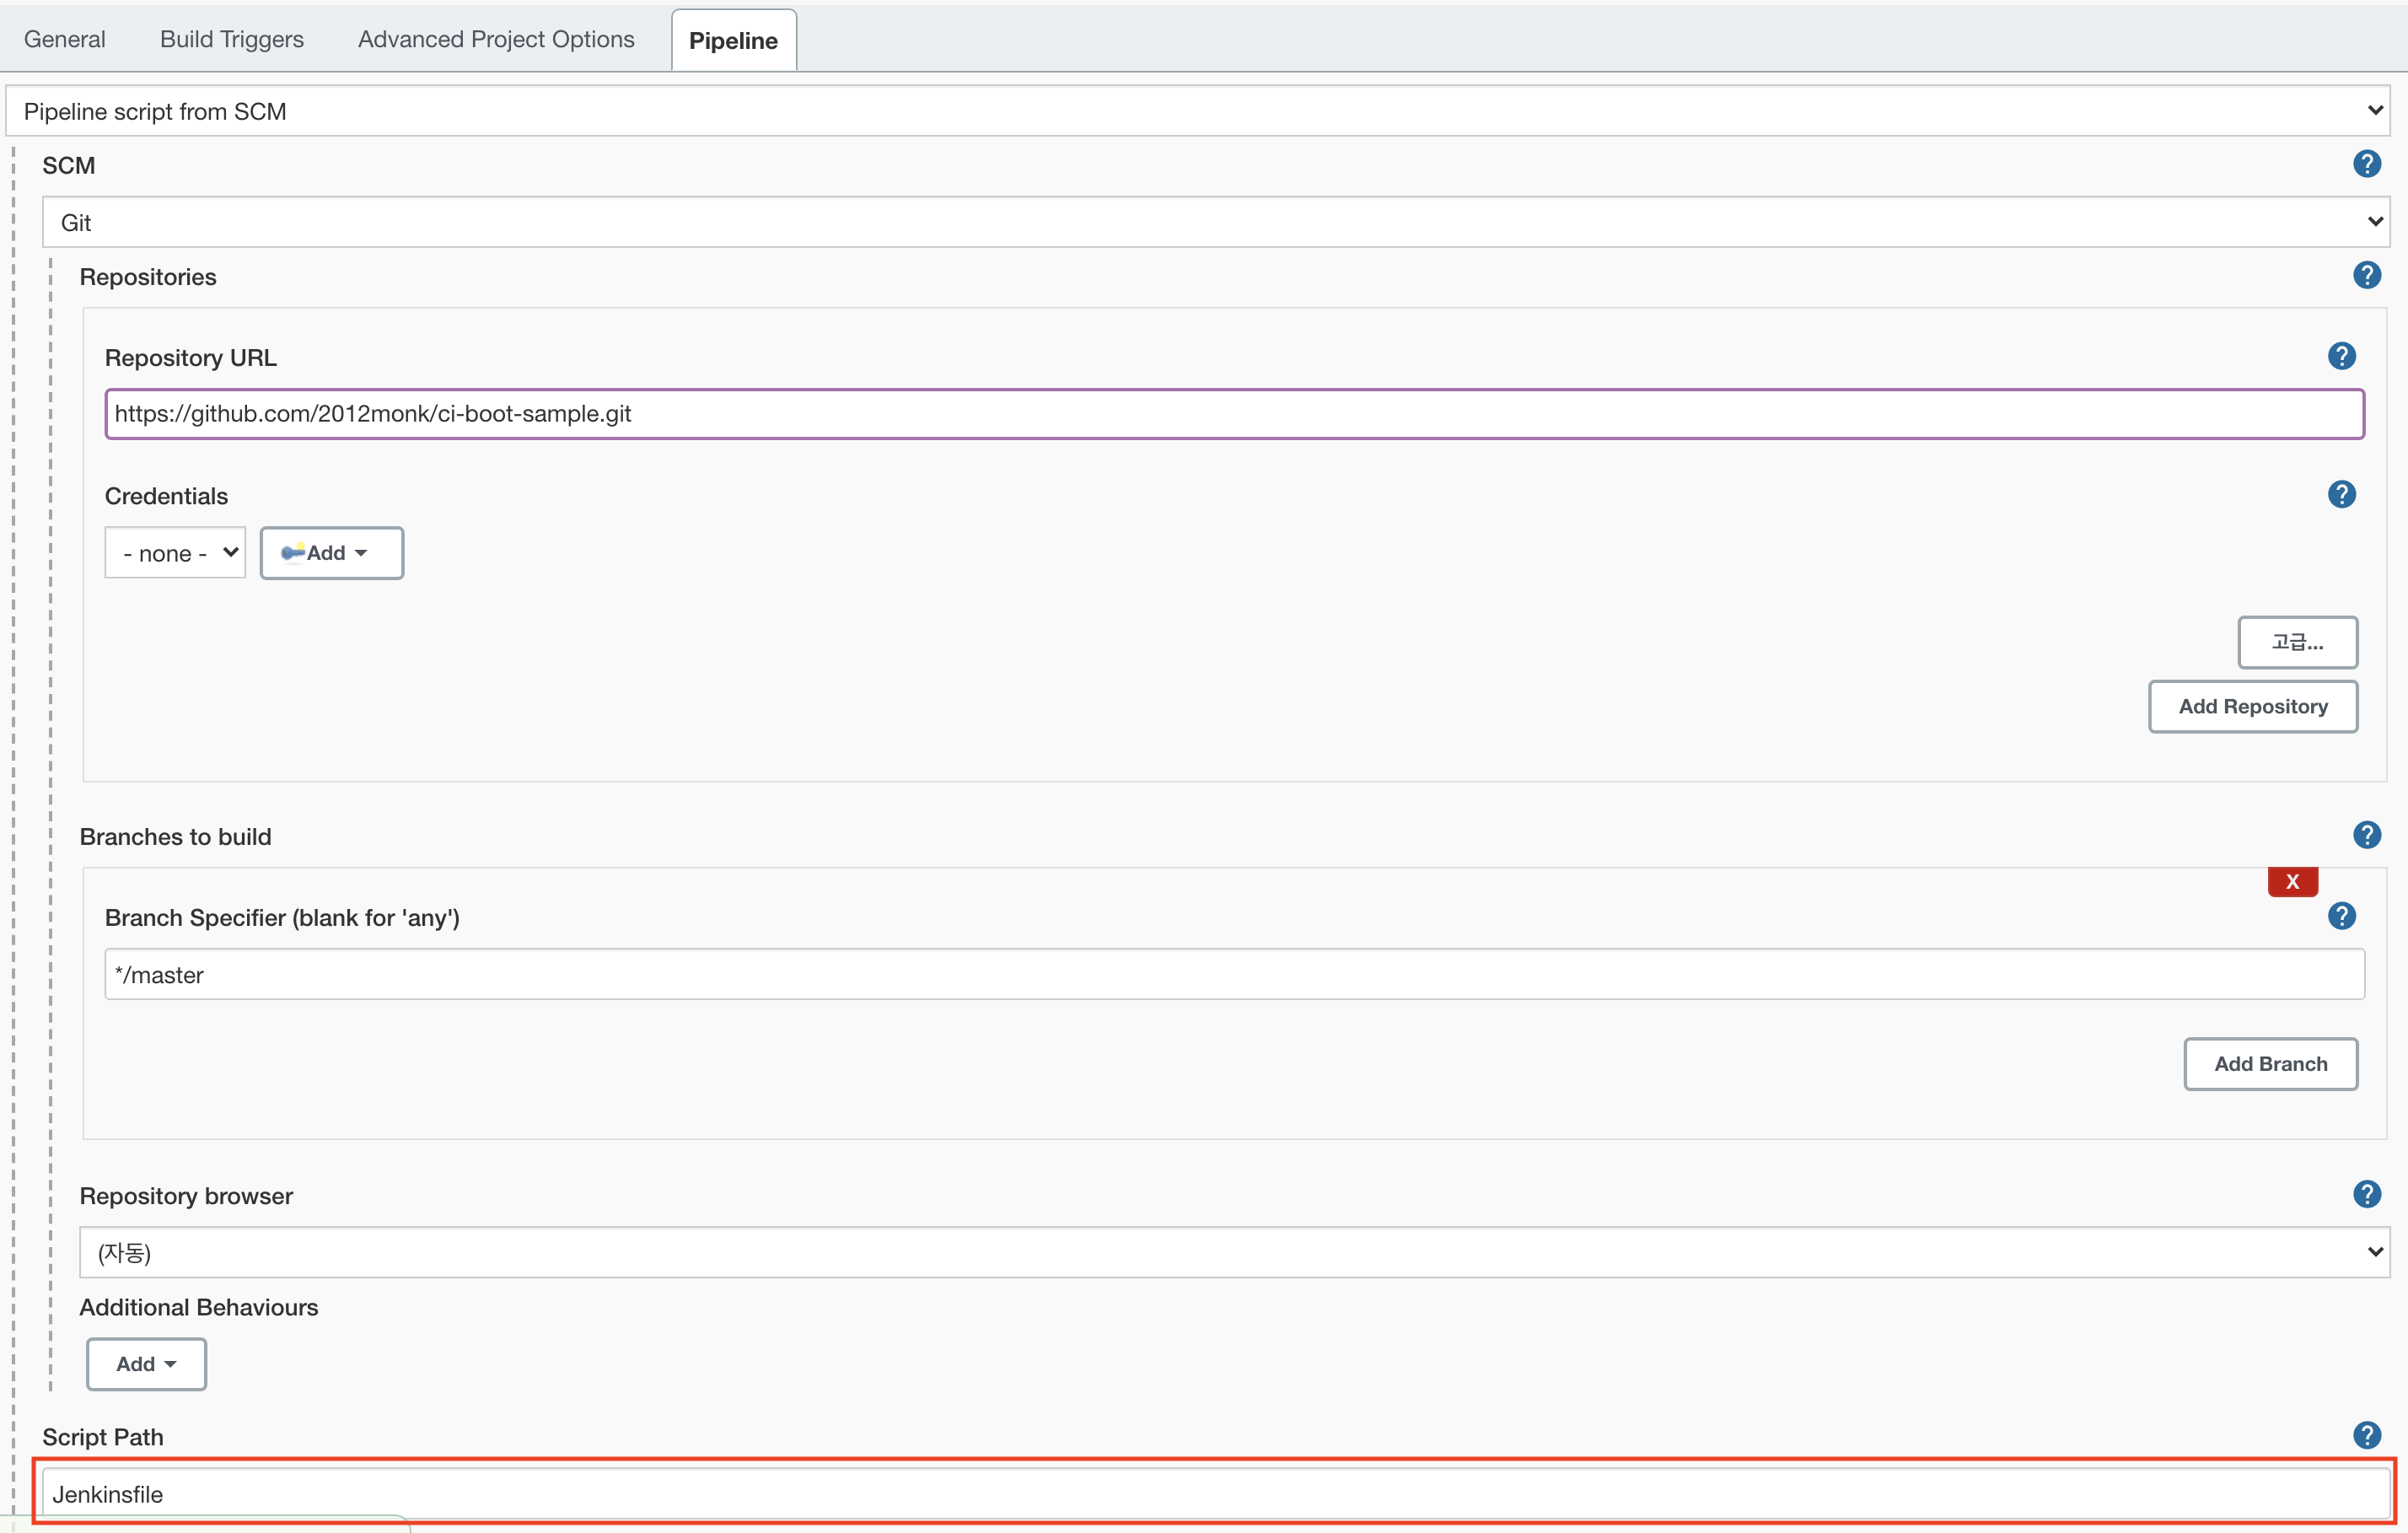
Pipeline script 를 실행시키는 방법은 두가지가 있습니다. Jenkins 에서 직접 파이프라인을 등록하는 방법과
SCM 에 jenkinsfile 을 업로드하여 파이프라인을 실행시키는 방법이 있습니다.
Pipeline script 를 직접 입력하는 방식

저는 GitHub 에 jenkinsfile 을 등록후 Job을 실행시키도록 하겠습니다.
Jenkins file 의 디렉토리를 잡아주시면 됩니다.
Jenkinsfile
Pipeline 의 구성은 Gradle 로 빌드후 Docker image 를 빌드해서 로컬환경에서 바로 실행 시키겠습니다.
pipeline {
    agent any

    stages {
        stage('Prepare') {
            agent any

            steps {
                checkout scm
            }

            post {

                success {
                    echo 'prepare success'
                }

                always {
                    echo 'done prepare'
                }

                cleanup {
                    echo 'after all other post conditions'
                }
            }
        }

        stage('build gradle') {
            steps {
                sh  './gradlew build'


                sh 'ls -al ./build'
            }
            post {
                success {
                    echo 'gradle build success'
                }

                failure {
                    echo 'gradle build failed'
                }
            }
        }

        stage('dockerizing'){
            steps{
                sh 'docker build . -t ci/test'
            }
        }

        stage('Deploy') {
            steps {
                sh 'docker run -d -p 47788:47788 --name ci_test ci/test'
            }

            post {
                success {
                    echo 'success'
                }

                failure {
                    echo 'failed'
                }
            }
        }
    }
}
파이프라인 은 여러개의 스테이지들로 구성되어있고 순차적으로 실행됩니다.
- Git clone
- Grade build
- Docker image build
- Docker container run
결과
GitHub 에 소스코드 push 를 하면 web hook 에의해 jenkins가 자동으로 트리거되어 빌드, 테스트, 배포과정을 대신 수행해 줍니다.
파이프라인 진행 상황을 단계별로 한눈에 볼수있습니다.

결과화면
수없는 삽질끝에 파이프라인 구축에 성공했습니다.
긴글 읽어주셔서 감사합니다