
How to create a git branch
git branch: branch 목록 출력git checkout -b foo: 새 branch 만들고 현재 작업 중인 branch를 그 branch로 전환git checkout main: main branch로 이동git branch -D foo: branch 삭제
Adding the table view
TableView = Data + Protocol Delegate
- Data
let games = [ "Pacman", "Space Invaders", "Space Patrol", ] - Protocol-Delegate
tableView.delegate = self tableView.dataSource = self- protocol-delegate 패턴이 두 번 사용되었다.
Adding the table view header
nib file?
- iOS, Mac 애플리케이션의 유저 인터페이스 정보를 저장하는 리소스 파일
nib 파일 만들기
먼저 테이블 뷰 헤더를 구현할 AccountSummaryHeaderView.swift 파일을 만든다.
// AccountSummaryHeaderView.swift

import UIKit

class AccountSummaryHeaderView: UIView {

}
그리고 새 파일 창에서 View를 선택하고 파일명은 방금 만들었던 파일과 동일하게 지어준다. (AccountSummaryHeaderView)
생성된 AccountSummaryHeaderView.xib 파일의 Atttributes Insepctor에서 Size를 Freeform으로 변경해준다. Freeform은 보여지는 인터페이스의 사이즈를 마음대로 조절할 수 있다.
nib 파일과 클래스 파일 연결하기
-
nib 파일의 File’s Owner을 누르고 Custom Class의 Class 속성에서
AccountSummaryHeaderView를 입력한다. -
nib파일에서 Assistant 창을 열고 nib파일의 View를 IBOutlet으로 연결한다.
-
다음과 같이 코드를 작성한다.
import UIKit class AccountSummaryHeaderView: UIView { @IBOutlet var contentView: UIView! override init(frame: CGRect) { super.init(frame: frame) commonInit() } required init?(coder aDecoder: NSCoder) { super.init(coder: aDecoder) commonInit() } override var intrinsicContentSize: CGSize { return CGSize(width: UIView.noIntrinsicMetric, height: 144) } private func commonInit() { let bundle = Bundle(for: AccountSummaryHeaderView.self) bundle.loadNibNamed("AccountSummaryHeaderView", owner: self, options: nil) addSubview(contentView) contentView.backgroundColor = appColor contentView.translatesAutoresizingMaskIntoConstraints = false contentView.topAnchor.constraint(equalTo: self.topAnchor).isActive = true contentView.leadingAnchor.constraint(equalTo: self.leadingAnchor).isActive = true contentView.trailingAnchor.constraint(equalTo: self.trailingAnchor).isActive = true contentView.bottomAnchor.constraint(equalTo: self.bottomAnchor).isActive = true } }- commonInit() : nib 파일을 연결하는 코드
- intrinsicContentSize : 뷰가 설정하고자 하는 디폴트 사이즈. 스택 뷰나 스크롤 뷰에 뷰를 추가할 때를 위해 디폴트 크기를 지정해준다. (사실 아직 이해가 잘 안 된다🤯)
- 지금은 width 값은 상관이 없기 때문에 width를
UIView.noIntrinsicMetric로 설정했다. height이나 144로 잘 설정해줘라~ 그런 느낌
- 지금은 width 값은 상관이 없기 때문에 width를
Table View의 Header View 설정하기
- AccountSummaryViewController에
setupTableHeaderView()메소드를 작성하고 이 메소드를 호출한다.
		private func setupTableHeaderView() {
        let header = AccountSummaryHeaderView(frame: .zero) // width = 0, height = 0

        var size = header.systemLayoutSizeFitting(UIView.layoutFittingCompressedSize) // width = 0, height = 144
        size.width = UIScreen.main.bounds.width // width = 390, height = 144
        header.frame.size = size

        tableView.tableHeaderView = header
}- AccountSummaryHeaderView(frame: .zero) : 헤더뷰 클래스 인스턴스화.
.zero는 initial size가 없음을 의미한다. - UIView.layoutFittingCompressedSize : 헤더의 사이즈를 가능한 가장 작은 사이즈로 설정한다. 헤더의 레이아웃을 가장 잘 설정하는 방법이라고 한다..🤯
- 헤더 width 설정 : width는 디바이스의 크기에 따라 달라지기 때문에 전에 width는 신경쓰지 않아도 된다고 한 것
Styling the header with stack views
nib을 이용하면 오토레이아웃을 적은 코드로 설정할 수 있다.
label과 button은 기본적으로 intrinsic content size 값을 가지고 있기 때문에 우리는 사이즈는 신경 쓸 필요가 없고 위치만 설정을 해주면 된다.
컴포넌트들의 레이아웃 설정하는 방법
- 오토레이아웃 설정하기
- 스택뷰 이용하기
- 스택뷰는 constraint의 개수를 최소화하는 방법이다.
- 인터페이스 빌더에서 constraint를 많이 추가할수록 우리의 애플리케이션이 레이아웃을 어떻게 설정할지를 더욱 많이 찾아야 한다. 이는 심각한 문제는 아니기 때문에 constraint을 최소화하는 방법에 대해 크게 고민할 필요는 없지만 한 번쯤은 생각해보면 좋은 주제일 것이다.
- 스택뷰 안에 넣을 컴포넌트들을 선택하고 인터페이스 빌더 우측 하단의 Embed In 메뉴 - Stack View를 선택하면 스택뷰가 자동으로 생성된다.
- Label들을 Vertical Stack View로 묶고, Label들을 묶은 스택뷰와 이미지를 Horizontal Stack View로 묶는다.
How to resolve ambiguity
스택뷰로 오토레이아웃을 설정하고 실행을 해보면 디버깅 콘솔에
[LayoutConstraints] Unable to simultaneously satisfy constraints.
	Probably at least one of the constraints in the following list is one you don't want.
	Try this:
		(1) look at each constraint and try to figure out which you don't expect;
		(2) find the code that added the unwanted constraint or constraints and fix it.
위와 같은 메시지가 뜬다. 이는 우리가 스택 뷰의 위치를 고정한 방법 때문에 뜨는 메시지이다.
이를 해결하기 위해 스택뷰의 trailing과 leading alignment constraint의 Priority를 999로 바꿔준다. 그러면 오토레이아웃을 표시하는 선이 점선으로 바뀌는데, 이는 optional임을 의미한다.
뭐야... 어떻게 한 건데 🤔
원래는 스택뷰의 상하좌우의 위치를 고정했었는데, 오른쪽과 아래의 priority를 조정함으로써 위와 왼쪽은 강하게 고정해주고 아래와 오른쪽은 약하게 고정하도록 해주었다. 이는 스택뷰가 스스로 확장하거나 줄어드는 능력을 갖도록 한다. (🤯..)
- 오토레이아웃의 constraint는 required constraint과 optional contraint으로 나뉜다.
- required : 반드시 true가 되어야 함. priority = 1000
- optional : priority < 1000
Content-Hugging-Compression-Resistance (CHCR)
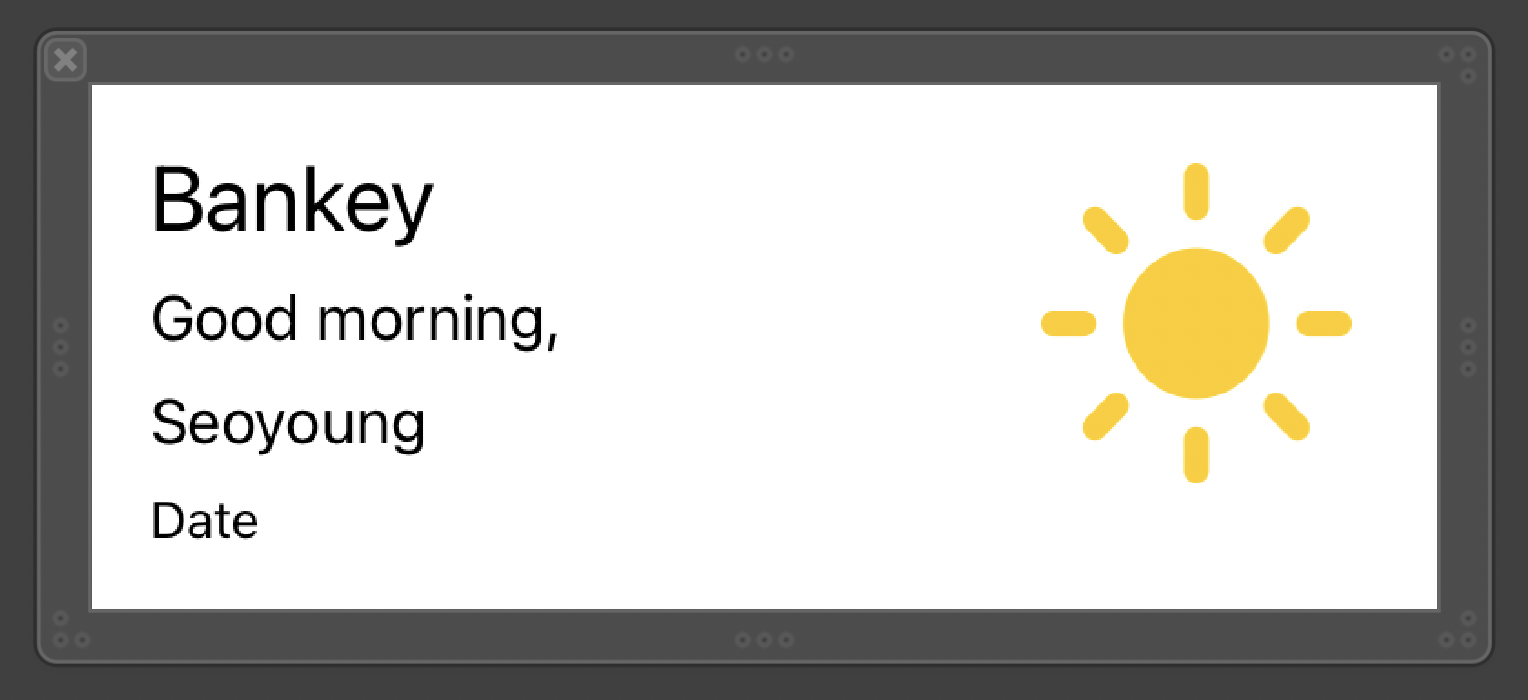
Label 스택뷰는 Content Hugging Priority가 250, Sun 이미지뷰는 251로 설정되어있다. 이는 스택뷰는 늘어나고 이미지뷰는 자기 자신을 더 꽉 hug하도록 해준다. 이렇게 Content Hugging Priority를 다르게 설정하는 것이 인터페이스 빌더에서 ambiguity를 해결하는 방법이다.
정리
- Start by just getting it to work
- StaciViews are handy for minimizing constraints
- eware the Xcode occasionally works magic for us
- You can sometimes resolve ambiguity by making constraints optional
- There is no one way to do a layout - If one way isn’t working, try another