
1. REST API
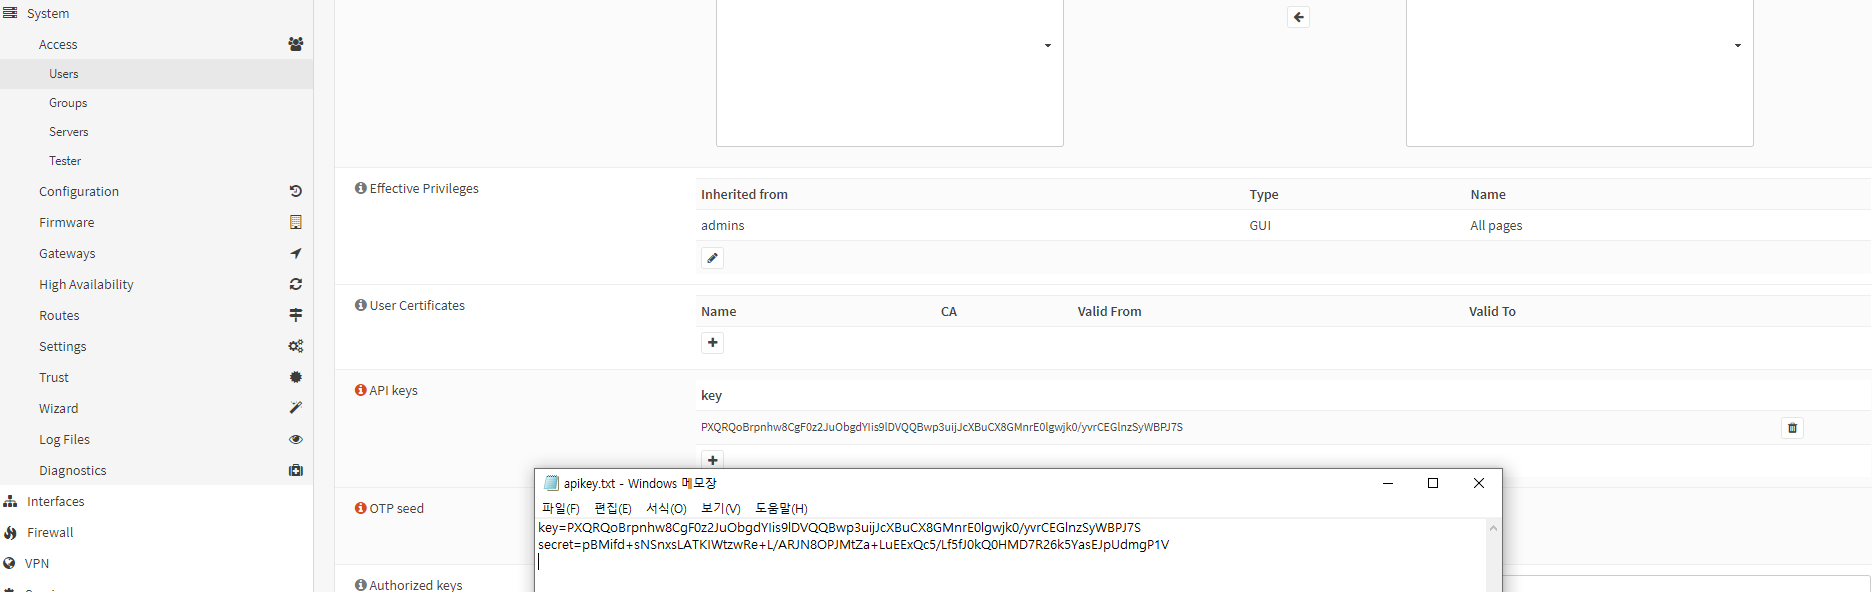
System > Access > Users 메뉴에서 REST API를 사용할 사용자를 선택한 뒤
하단의 API keys를 클릭하면 API에 필요한 정보가 다운로드된다.
사용법은 Documentation을 클릭하면 사용법이 출력되며
API 명세서\를 확인한 뒤 API를 사용해본다.
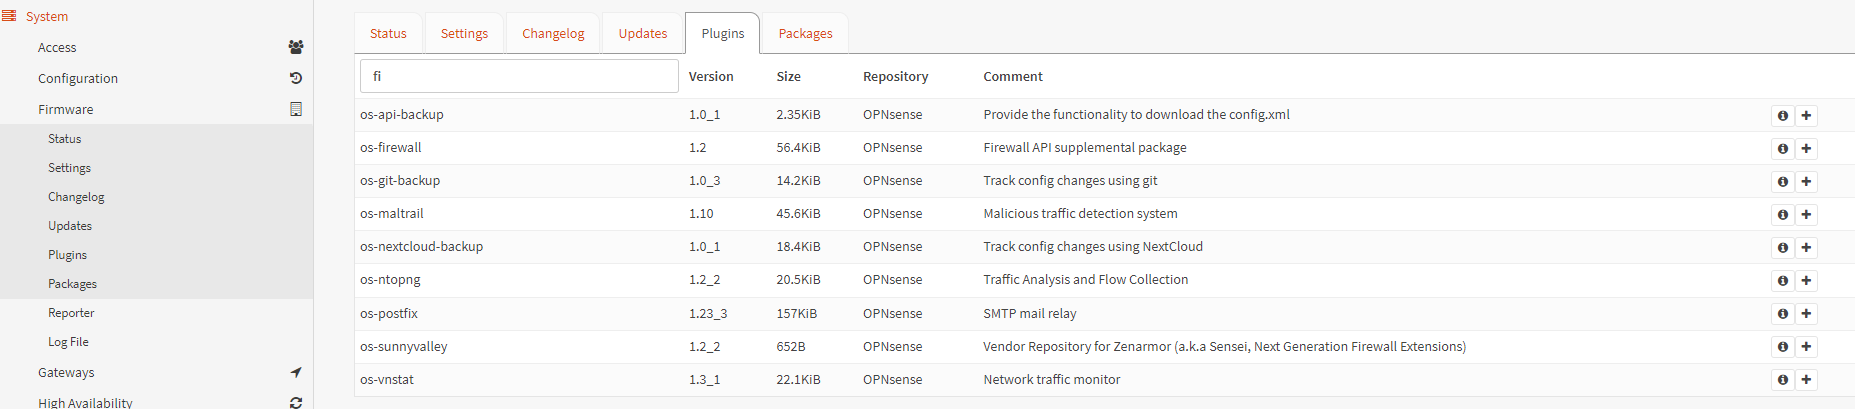
원하는 API가 Plugin일 경우 System > Firmware > Plugins에서 설치한다.
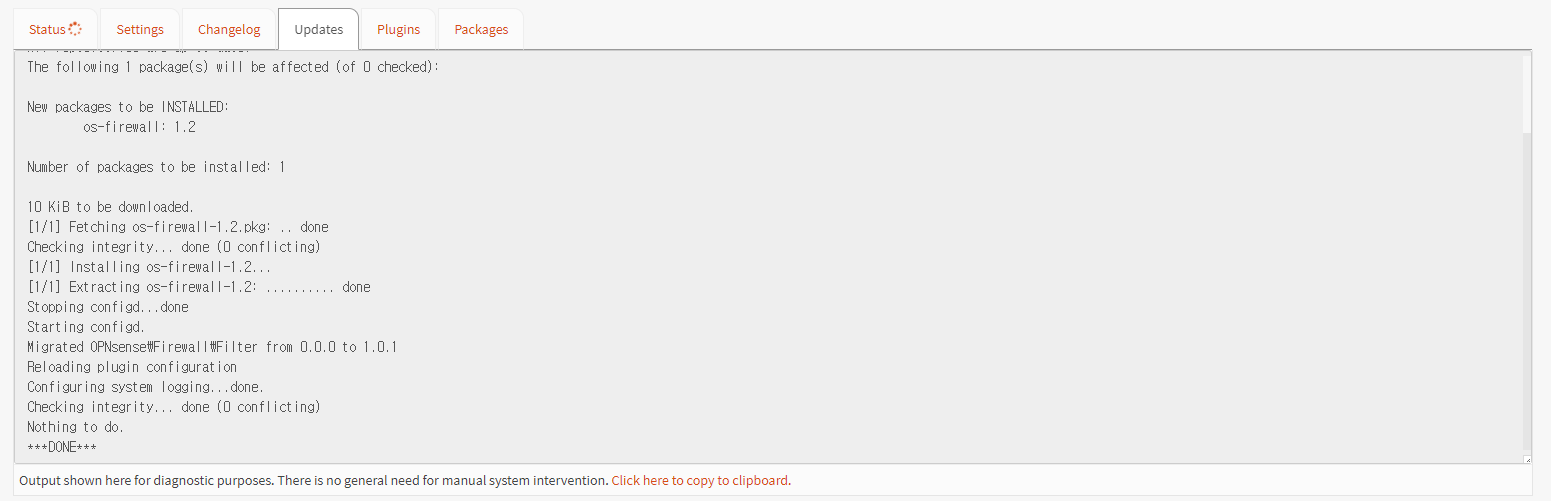
- 버튼을 누르면 콘솔화면이 출력되고 결과를 알려준다.
사용자 메뉴에서 얻은 API Keys를 이용하여 인증을 거치고
방화벽 룰을 REST API를 이용하여 등록한다.
import requests
url = "https://192.168.0.18"
key = "PXQRQoBrpnhw8CgF0z2JuObgdYIis9lDVQQBwp3uijJcXBuCX8GMnrE0lgwjk0/yvrCEGlnzSyWBPJ7S"
secret = "pBMifd+sNSnxsLATKIWtzwRe+L/ARJN8OPJMtZa+LuEExQc5/Lf5fJ0kQ0HMD7R26k5YasEJpUdmgP1V"
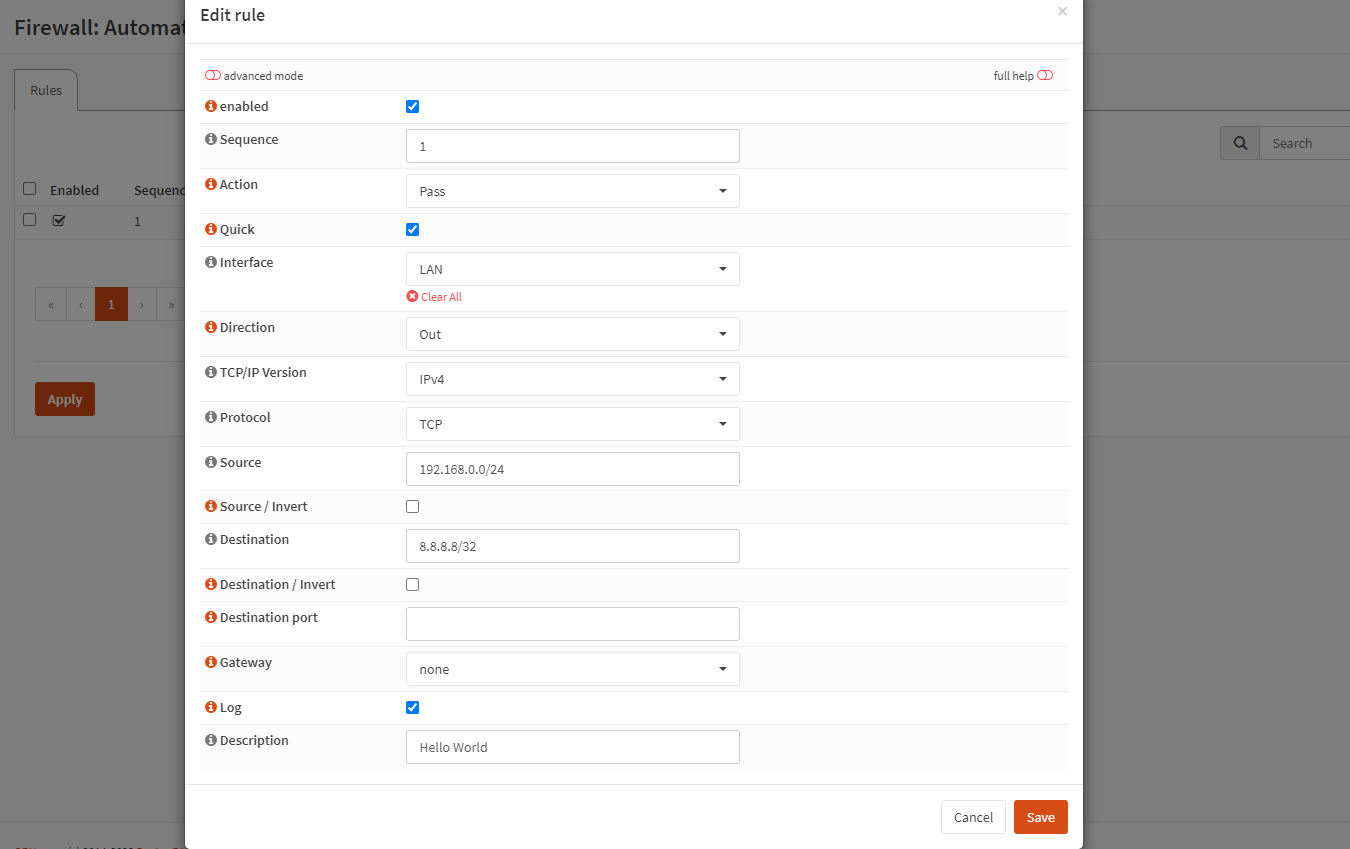
data = {"rule":{"description":"Hello World", "source_net": "192.168.0.0/24", "protocol": "TCP", "destination_net": "8.8.8.8/32", "direction": "out", "log":True}}
response = requests.post(url=url + "/api/firewall/filter/addRule", auth=(key, secret), json=data, verify=False)
print(response.text)웹에서 검증을 해본다.
Firewall > Rules > LAN 메뉴에서 Automatically generated rules를 클릭하면
생성된 룰들을 확인할 수 있다.
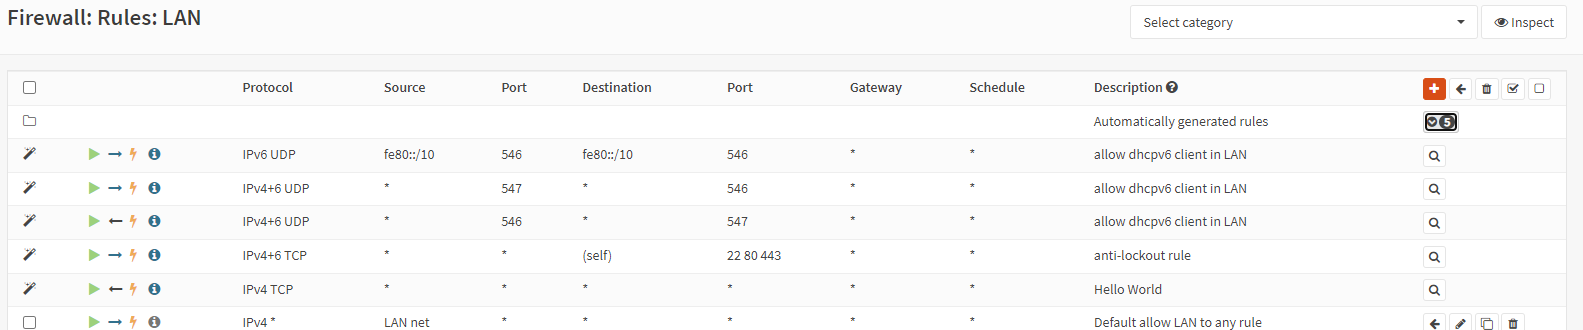
돋보기 버튼을 클릭하면 Firewall > Automation > Filter 메뉴로 리다이렉션이 되면서
상세내용을 확인할 수 있다.

IT 도서관