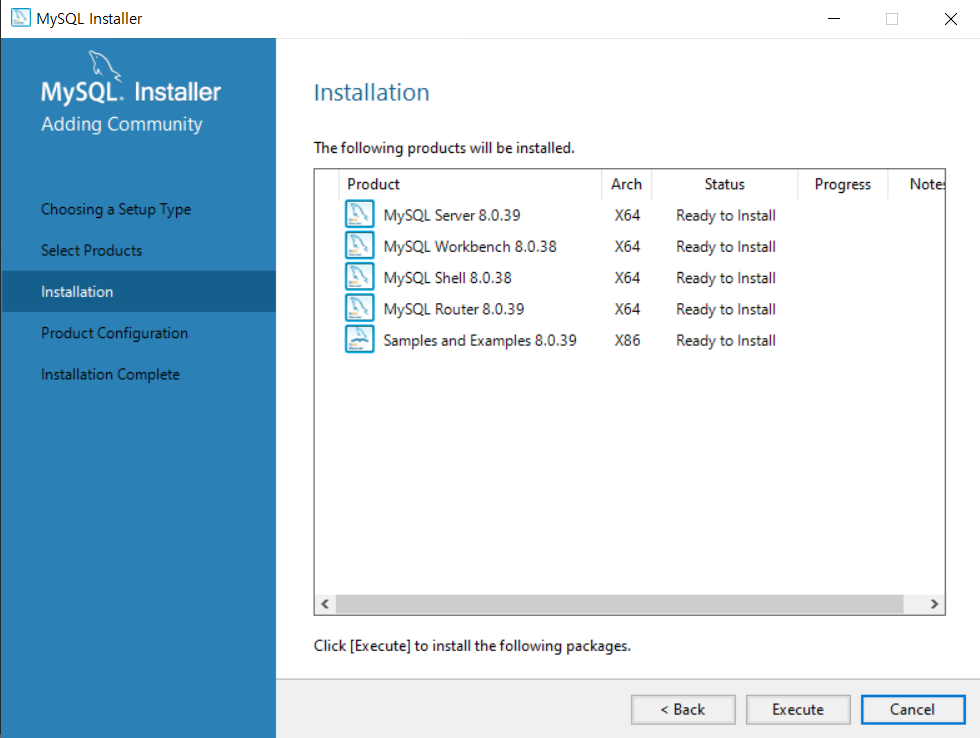
🔰 MySQL
https://dev.mysql.com/downloads/mysql/
🔰 IntelliJ IDEA
https://www.jetbrains.com/ko-kr/idea/
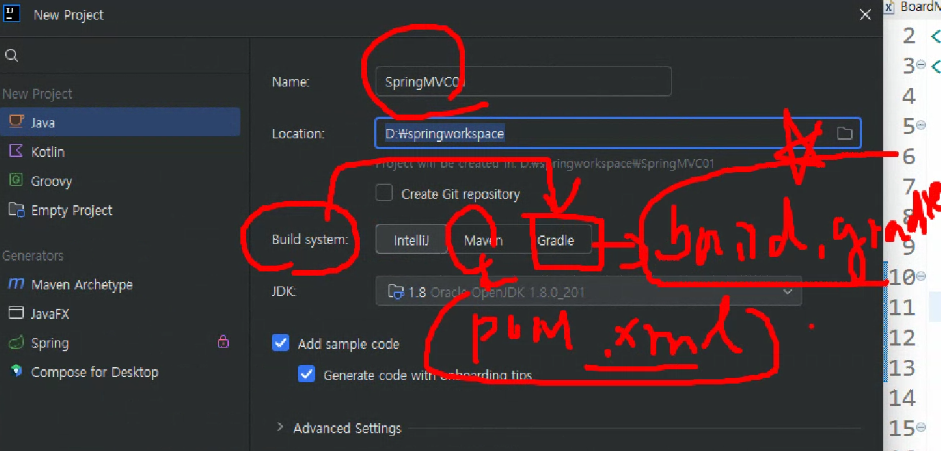
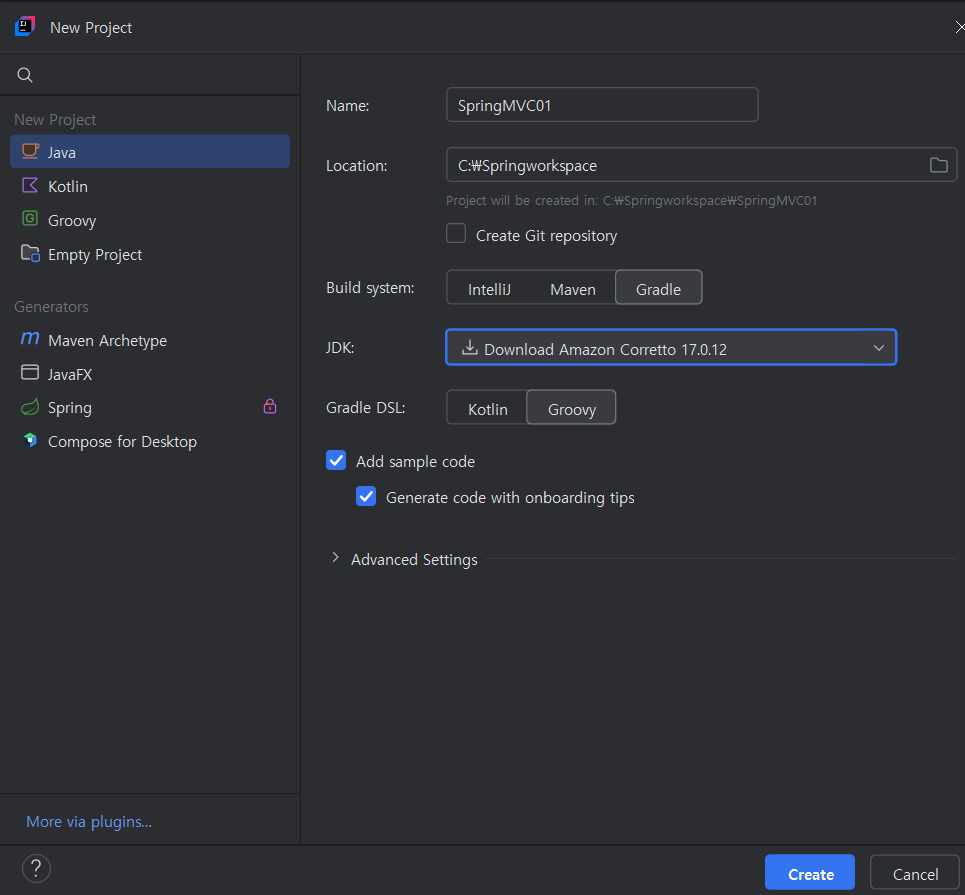
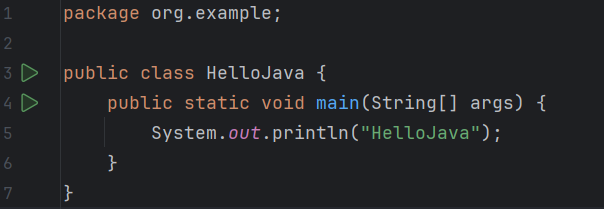
[예시] 구동되는지 확인해보기
sout: System.out.println();
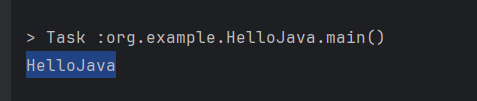
console창에 잘 출력된다.
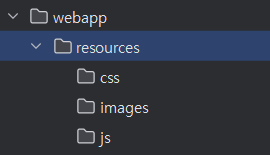
resources폴더 : HTML, CSS, JS
forwarding : jsp로 가는 법
redirect : 다른 controller로 가는 법
bulid 안에 classes가 있지만 WEB-INF 안에 있다 생각하면 됨.
build.gradle

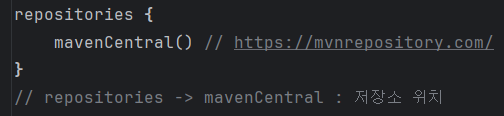
repositories는 저장소 위치를 지정해주면 된다.
- repositories -> mavenCentral : 저장소 위치
dependencies를 통해 library 넣어놓으면 repositories에서 불러와 External Libraries에 넣어준다.
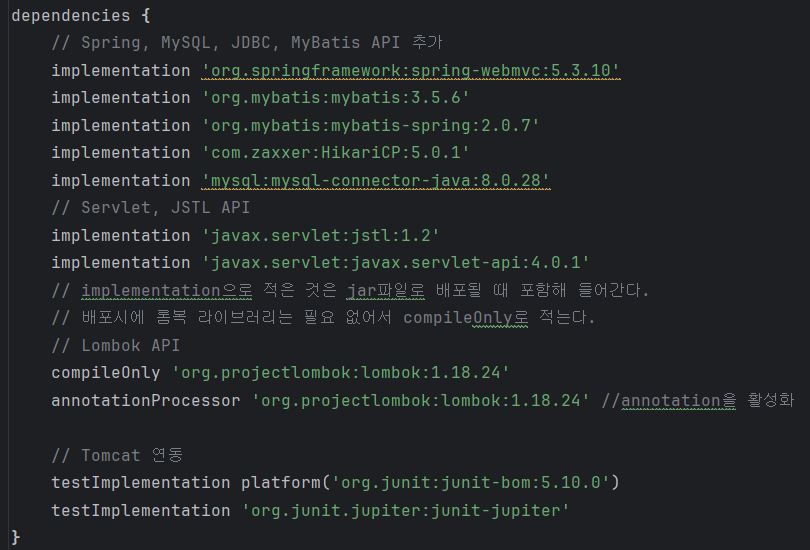
pom.xml에 dependencies에 넣었던 API들 build.gradle에 넣으면 된다.
-
dependencies : library를 추가할 때 사용한다
-
compileOnly : 롬복 라이브러리는 compile 할 때만 필요하여 배포파일에는 굳이 들어갈 필요 없다.

-> 롬복 다운로드 해주기
해당 코드
dependencies {
    // Spring, MySQL, JDBC, MyBatis API 추가
    implementation 'org.springframework:spring-webmvc:5.3.10'
    implementation 'org.mybatis:mybatis:3.5.6'
    implementation 'org.mybatis:mybatis-spring:2.0.7'
    implementation 'com.zaxxer:HikariCP:5.0.1'
    implementation 'mysql:mysql-connector-java:8.0.28'
    // Servlet, JSTL API
    implementation 'javax.servlet:jstl:1.2'
    implementation 'javax.servlet:javax.servlet-api:4.0.1'
    // implementation으로 적은 것은 jar파일로 배포될 때 포함해 들어간다.
    // 배포시에 롬복 라이브러리는 필요 없어서 compileOnly로 적는다.
    // Lombok API
    compileOnly 'org.projectlombok:lombok:1.18.24'
    annotationProcessor 'org.projectlombok:lombok:1.18.24' //annotation을 활성화

    // Tomcat 연동
    testImplementation platform('org.junit:junit-bom:5.10.0')
    testImplementation 'org.junit.jupiter:junit-jupiter'
}
Spring boot는 보통 jar파일이 필요하다
jar파일 배포시 서버와 상관없이 실행시킬 수 있어 독립형 어플리케이션으로 생성할 수 있다.
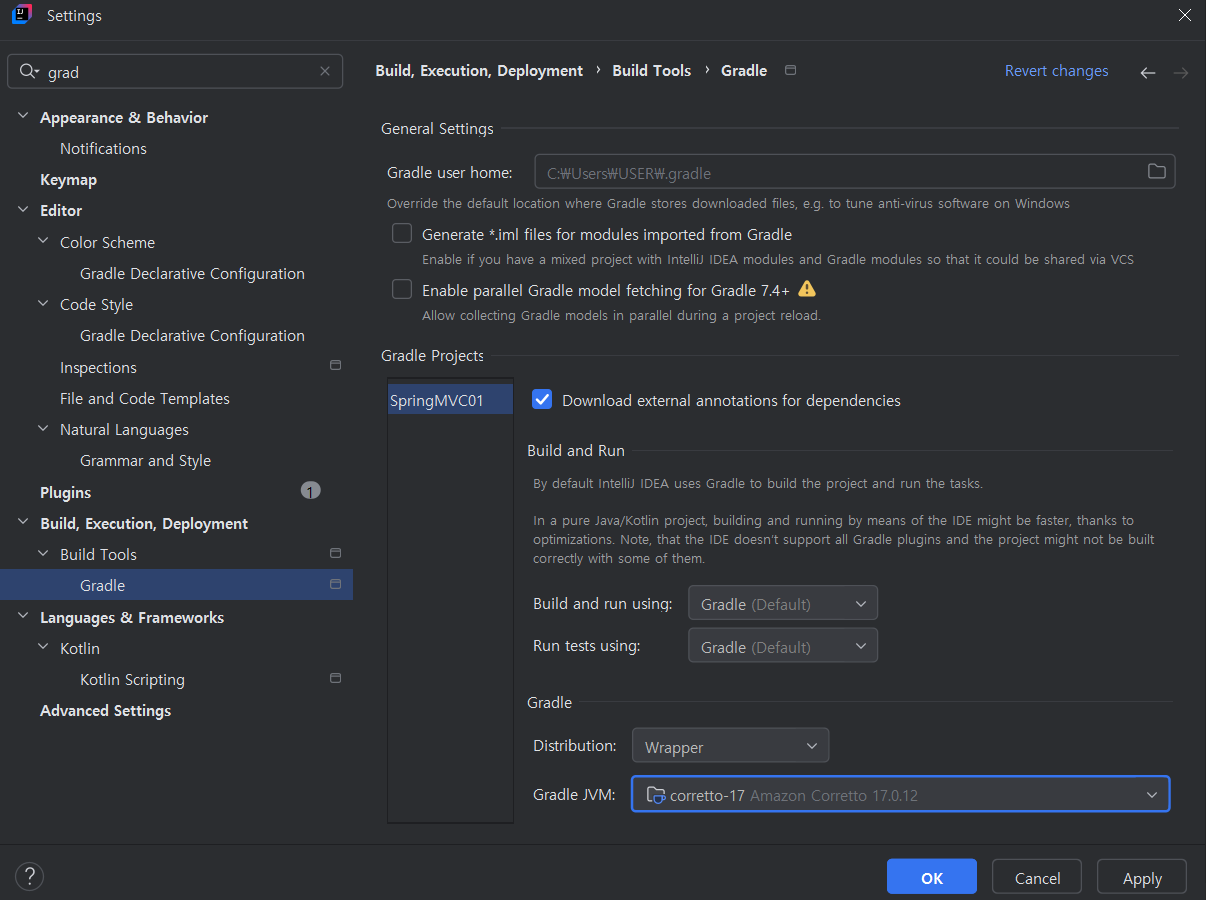
- Gradle의 JVM을 지정해준다.
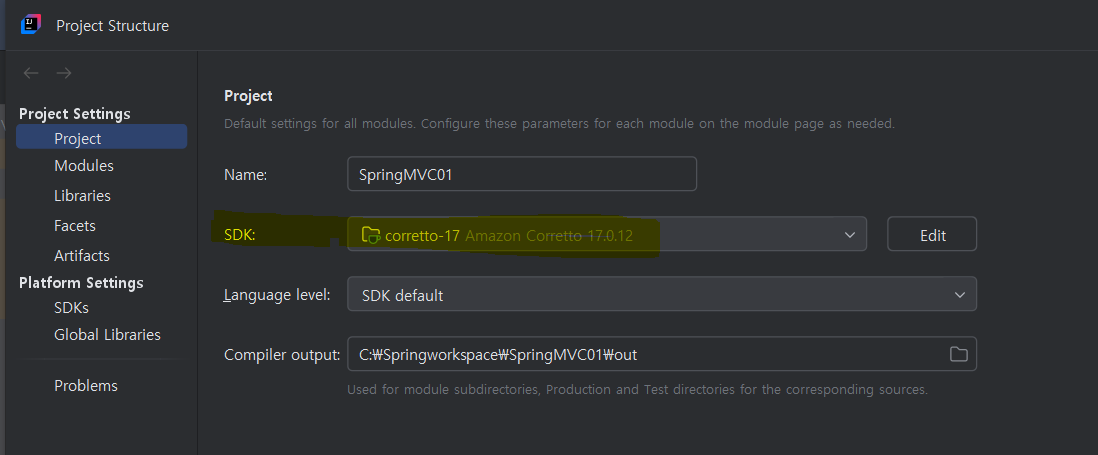
- API 사용을 위해 SDK를 선택해준다.
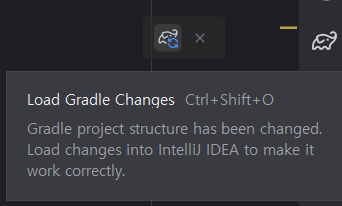
build.gradle 수정시 아이콘 클릭해줘야 External Libraries에 적용 생성된다.
web.xml
ContextLoaderListener가 DB 세팅을 위해 root-context.xml를 읽는다.
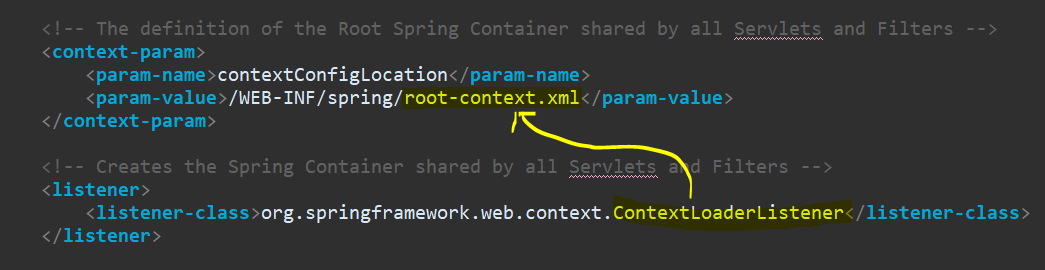
root-context.xml
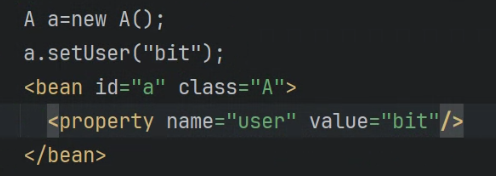
- Spring의 핵심 기술 : Autowired Constructor Dependency Injection
Spring에서는 객체 생성을 직접 하지 않고 bean태그를 이용하여 객체를 생성한다.
property 를 통해 setter 메서드를 호출한다. 그래서 이름이 정확해야 한다.
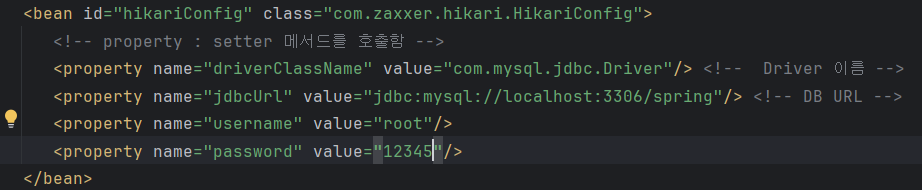
Driver 이름, url, 아이디, 비번 넣는다.
constructor-arg를 이용하여 bean의 class 내에서, ref를 통해 생성자 생성

property : bean class 내에서 ref 통해 생성자 생성
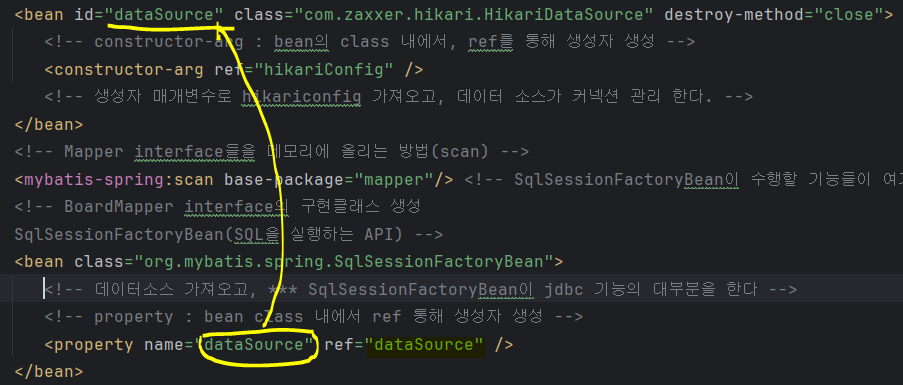

handler mapping은 servlet-context.xml에서 지정된 controller scan 하여 @RequestMapping을 훑어서 가져온다.
Tomcat 서버 등록

Plugin Tomcat 다운로드
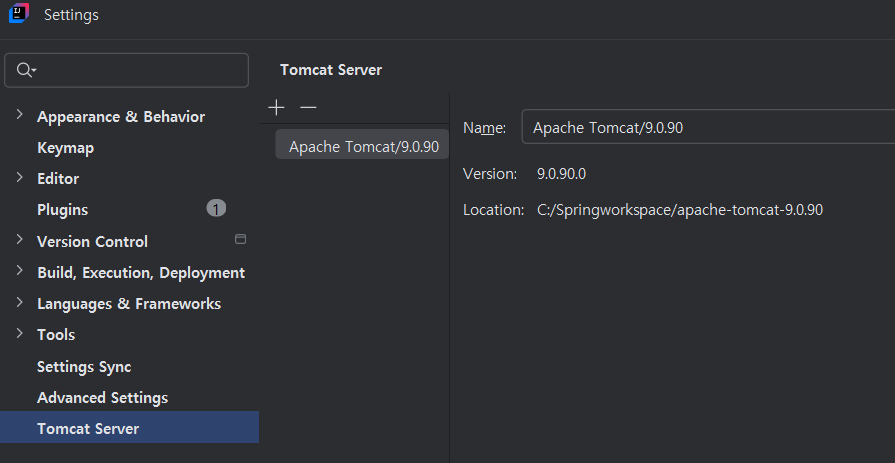
Setting에서 Tomcat 경로 등록
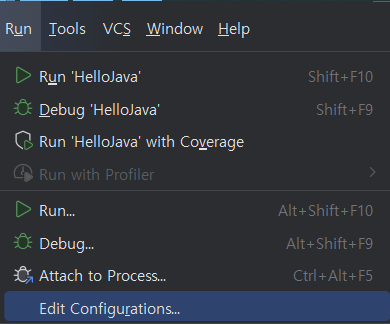
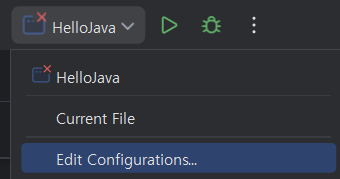
-> 둘 중 편하는 방법으로 들어가서 서버 등록하기
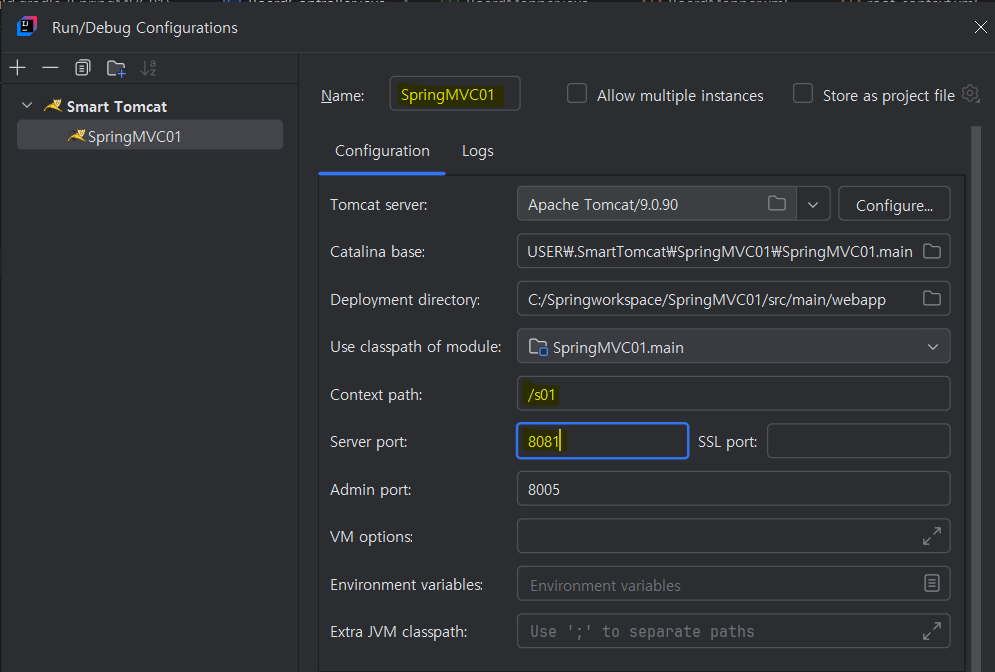
Name, ContextPath 등록하고, Server port 중복되지 않게 변경해준다.

상단에서 서버 실행해주기
실행오류
bulid.gradle
dependencies에 implementation 'org.springframework:spring-jdbc:5.3.10' 추가
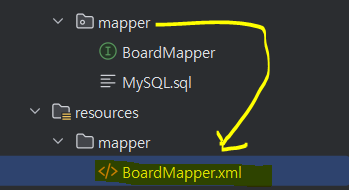
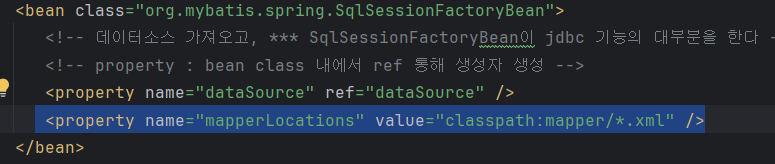
root-context.xml
<property name="mapperLocations" value="classpath:mapper/*.xml" /> 추가
refresh 후 시행