build.gradle 설정
implementation 'com.google.firebase:firebase-admin:6.8.1'의존성을 추가해준다.
메시지를 보내는 형태는 fcm 공식문서에 작성된 json 형태에 맞춰 보내야한다.
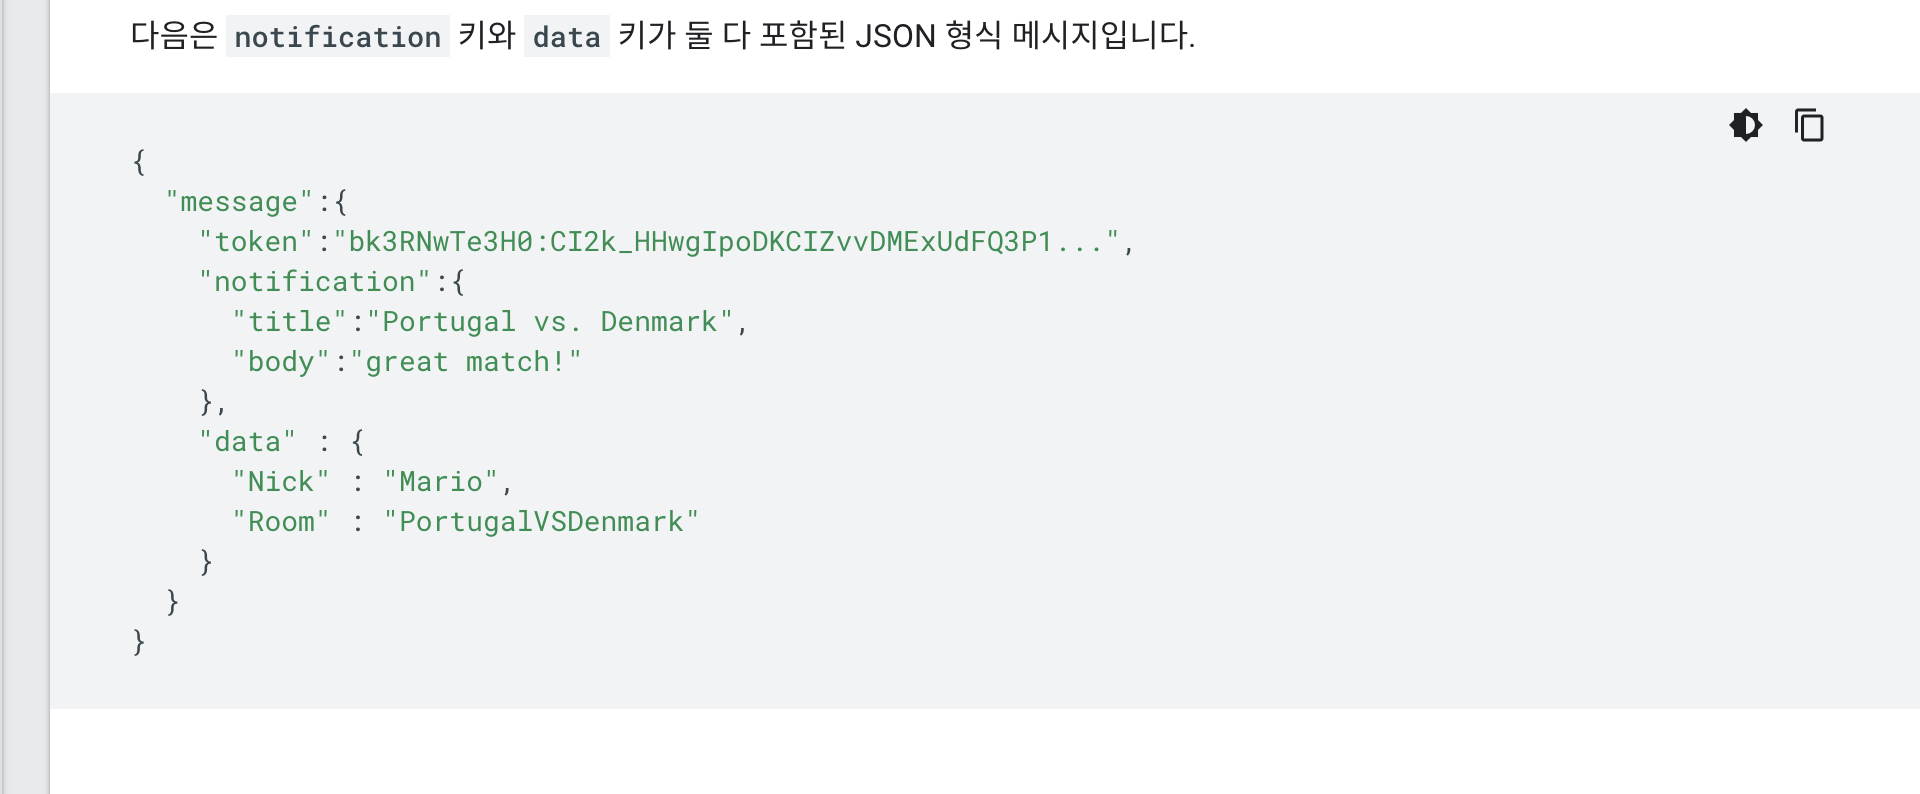
우선 message 객체는 notification, token, data를 묶는다.
token에는 기기의 토큰을 담아주고, notification에는 푸시알람의 제목과 내용을 담아 보낸다. data는 사용자가 정의한 data값을 정의해 보내준다.
나같은 경우엔 사용자가 push alarm을 클릭했을 시, 네이티브로 하여금 해당 컨텐츠로 이동을 처리해주도록 path값을 담아보냈다.
Configuration
@Service
@Slf4j
@RequiredArgsConstructor
public class FirebaseCloudMessageService {
    // 1)
    private final String API_URL = "fcm project url";

    private final ObjectMapper objectMapper;

    public void sendMessageTo(String targetToken, String title, String body, String path) throws Exception {
        String message = makeMessage(targetToken, title, body, path);
        OkHttpClient client = new OkHttpClient();
        RequestBody requestBody = RequestBody.create(message, MediaType.get("application/json; charset=utf-8"));
        Request request = new Request.Builder()
                .url(API_URL)
                .post(requestBody)
                .addHeader(HttpHeaders.AUTHORIZATION, "Bearer " + getAccessToken())
                .addHeader(HttpHeaders.CONTENT_TYPE, "application/json; UTF-8")
                .build();

        Response response  = client.newCall(request).execute();

        log.info(response.body().string());
    }

    private String makeMessage(String targetToken, String title, String body, String path) throws JsonProcessingException {
        FcmMessage fcmMessage = FcmMessage.builder()
                .message(FcmMessage.appMessage.builder()
                        .token(targetToken)
                        .notification(FcmMessage.Notification.builder()
                                .title(title)
                                .body(body)
                                .image(null)
                                .build()
                        )
                        .data(FcmMessage.FcmData.builder()
                                .path(path)
                                .build()
                        )
                        .build()
                ).validate_only(false).build();

        log.info(objectMapper.writeValueAsString(fcmMessage));
        return objectMapper.writeValueAsString(fcmMessage);
    }

    private String getAccessToken() throws Exception {
        // 2)
        String firebaseConfigPath = "key_path;

        GoogleCredentials googleCredentials = GoogleCredentials.fromStream(new ClassPathResource(firebaseConfigPath).getInputStream())
                .createScoped(List.of("https://www.googleapis.com/auth/cloud-platform"));

        // accessToken 생성
        googleCredentials.refreshIfExpired();

        // GoogleCredential의 getAccessToken으로 토큰 받아온 뒤, getTokenValue로 최종적으로 받음
        // REST API로 FCM에 push 요청 보낼 때 Header에 설정하여 인증을 위해 사용
        return googleCredentials.getAccessToken().getTokenValue();
    }
}
출처 - https://web-inf.tistory.com/22
1) fcm project url을 적어준다
2) key json 파일이 저장된 path를 적어준다.
유저의 단말 토큰 등록은 네이티브에서 api를 실행하여 db에 저장하였다.
결과


무한삽질로그