👉 Next.js
Next.js는 React로 만드는 프레임워크 중 하나로, React로만 만들어진 앱과 다른 점은 서버사이드 랜더링이 기본적으로 되어있다는 것이다.
React로만 구성된 앱에 비해서 routing이 간단해지고 api 호출 기능이 내장되어있다는 장점이 있다.
👉 시작하기
React app과 마찬가지로 Next.js를 이용한 app도 개발 도구를 지원해준다.
$> npx create-next-app app이름위와 같은 명령어를 입력하면 자동으로 Next.js app을 생성해준다.
프로젝트의 생성이 완료되면 다음과 같은 파일들이 생성된 것을 확인할 수 있다.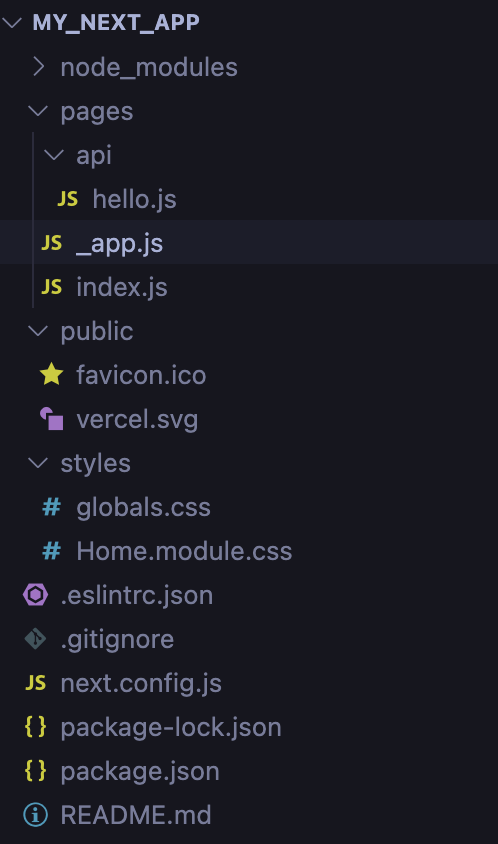
생성된 파일 중 index.js 파일이 시작 파일이고, app을 실행시킨 후 root endpoint로 접근했을 때 화면에 보여지는 페이지의 구성이 index.js에 적혀진 값이다.
javascript로 만들어진 app이기 때문에 Next.js app도 React app과 동일하게 package.json이 존재하며, 내부에 npm 명령어 스크립트가 존재한다.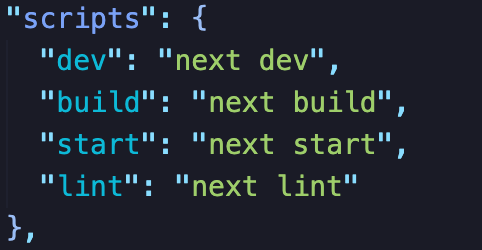
생성된 기초프로젝트는 다음과 같은 명령어로 실행시켜볼 수 있다.
$> npm run dev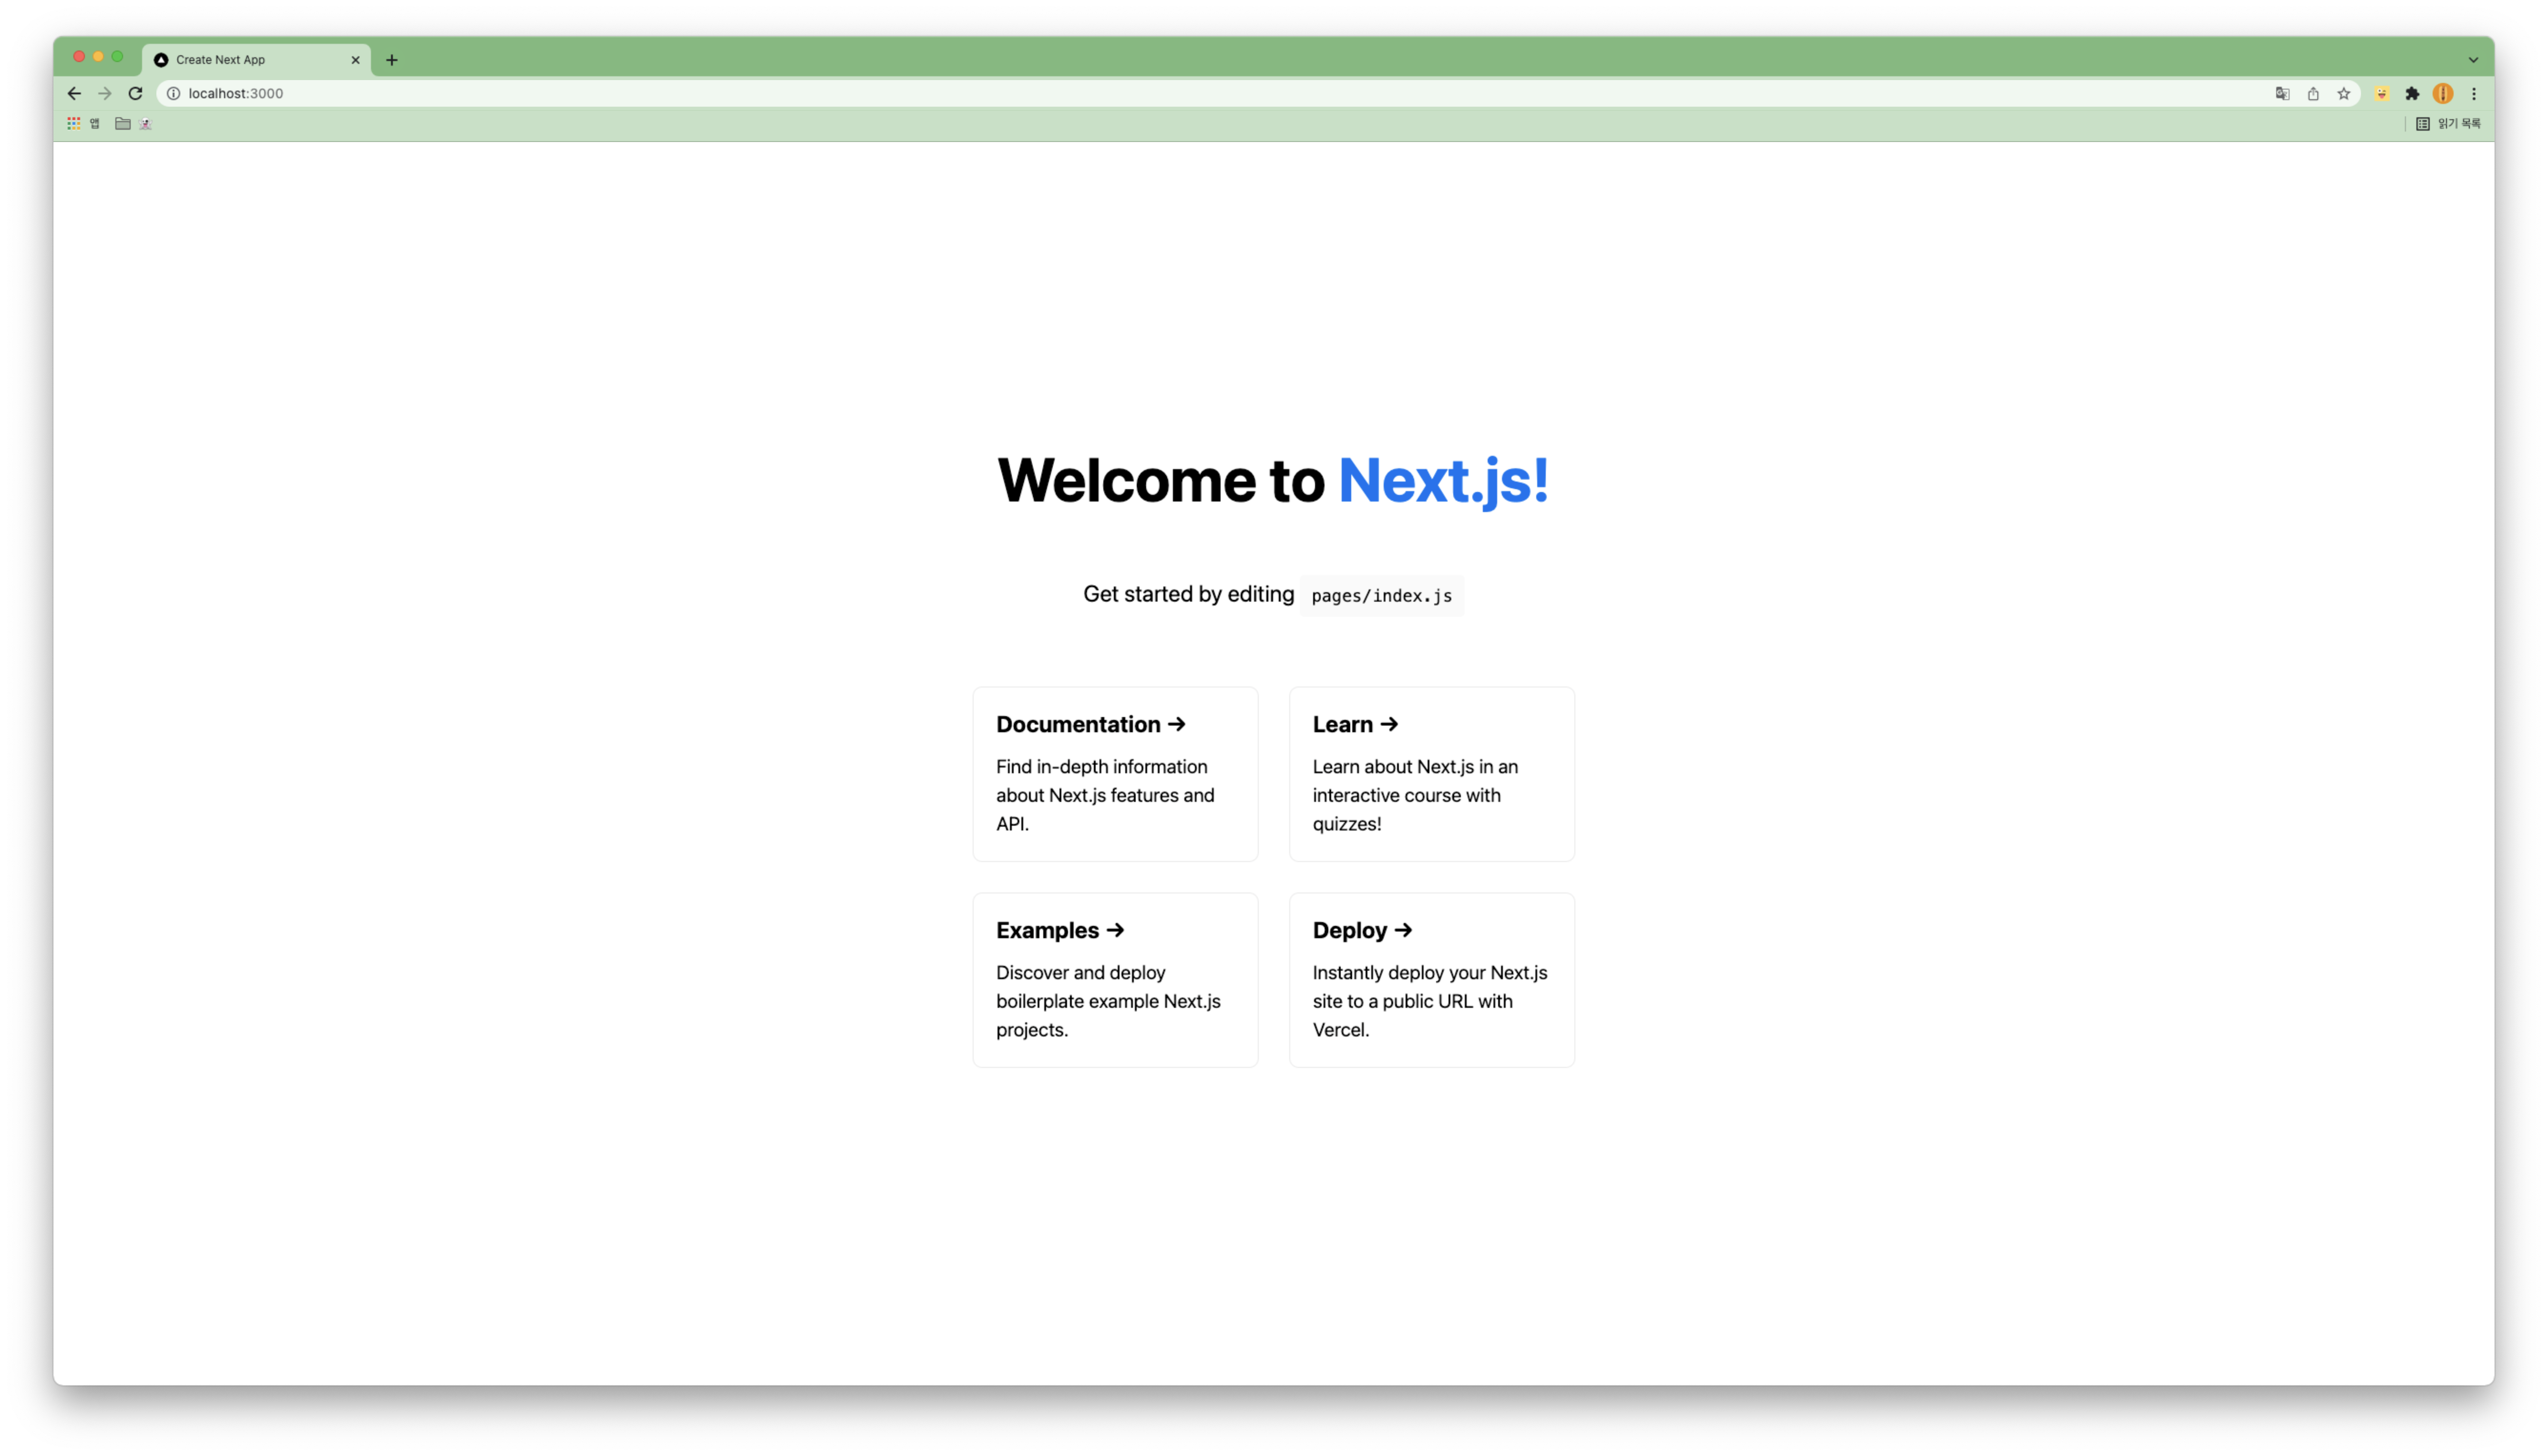
👉 사용해보기
✏️ routing
Next.js는 서버사이드 랜더링이 되어있기 때문에 간단하게 rounting을 할 수 있다.
js 혹은 jsx 파일을 생성하면 파일명을 endpoint로해서 실행한 app에서 접근이 가능해진다.
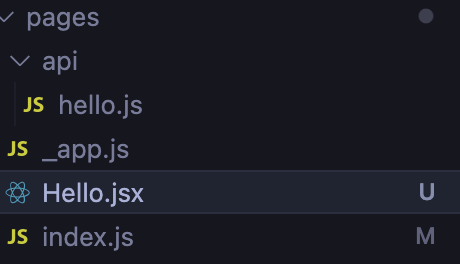
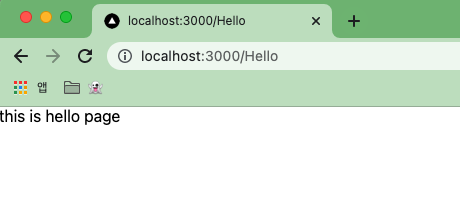
index.js 파일의 경우는 기본 페이지이기 때문에 index를 endpoint로 갖는 것이 아닌 /으로 접근했을 때의 페이지가 된다.
✏️ Link
<Link>를 이용하면 페이지의 전환을 구현할 수 있다.
<Link>의 herf 속성을 이용하면 다른 페이지로의 링크가 형성된다.
index.js 👇
import React from "react"
import Link from "next/link"

export default function Home() {
  return (
    <>
    <div>hello, world</div>
    <Link href="/hello">go to hello page</Link>
    </>
  )
}
hello.js 👇
import React from "react";
import Link from "next/link";

const HelloPage = () => {
    return(
        <React.Fragment>
            <div>this is hello page</div>
        </React.Fragment>
    );
};

export default HelloPage;
전환될 페이지의 endpoint는 이동할 페이지가 보여지는 파일명으로 작성하면 된다.
index.js가 반환하는 값의 최상위 태그는 <>인데, 이 태그는 hello.js의 React.Fragment와 동일한 태그이다.
✏️ path variable 사용하기
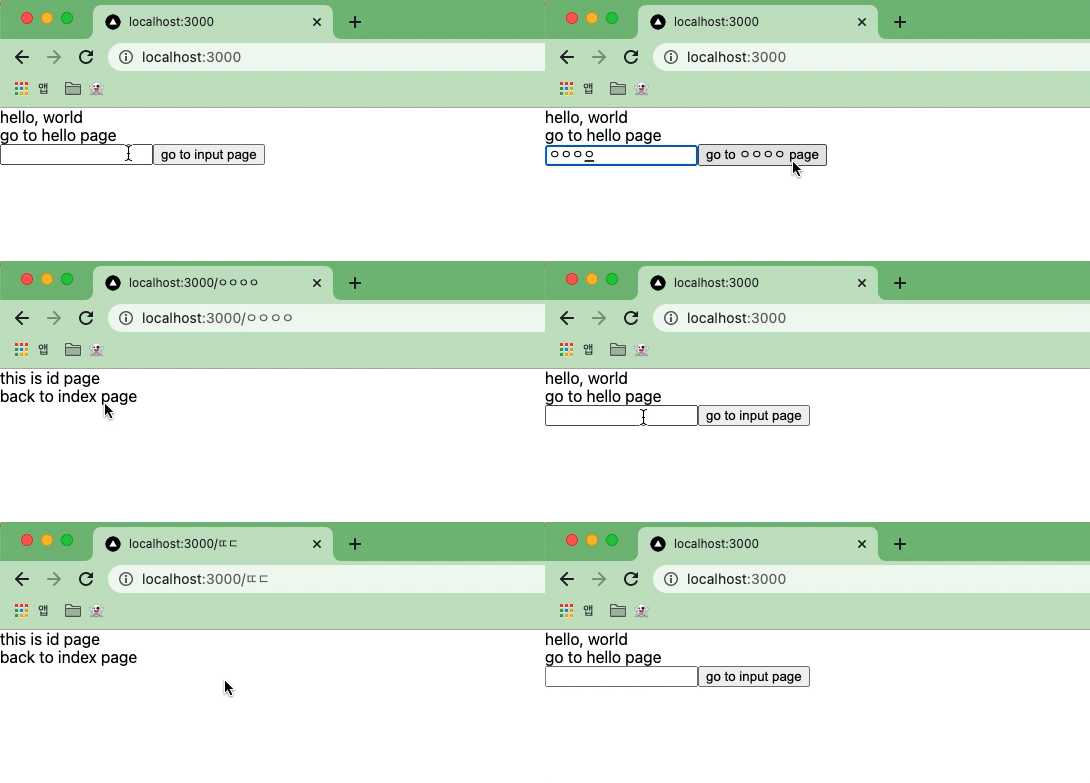
path variable을 통해 접근할 페이지는 [path variable 이름].js( or [path variable 이름].jsx)로 생성하면 된다.
index.js 👇
import React, { useState } from "react"
import Link from "next/link"

export default function Home() {
  const [id, setId] = useState("input");

  return (
    <>
    <div>hello, world</div>
    <Link href="/hello">go to hello page</Link><br/>
    <input type="text" onChange={(e) => setId(e.target.value)}/>
    <Link href={`/${id}`}>
      <button>go to {id} page</button>
    </Link>
    </>
  )
}
[id].jsx 👇
import Link from "next/link";
import React, { useState } from "react";

export default function indexId(){
    return (
        <>
            <div>this is id page</div>
            <Link href={("/")}>back to index page</Link>
        </>
    );
};
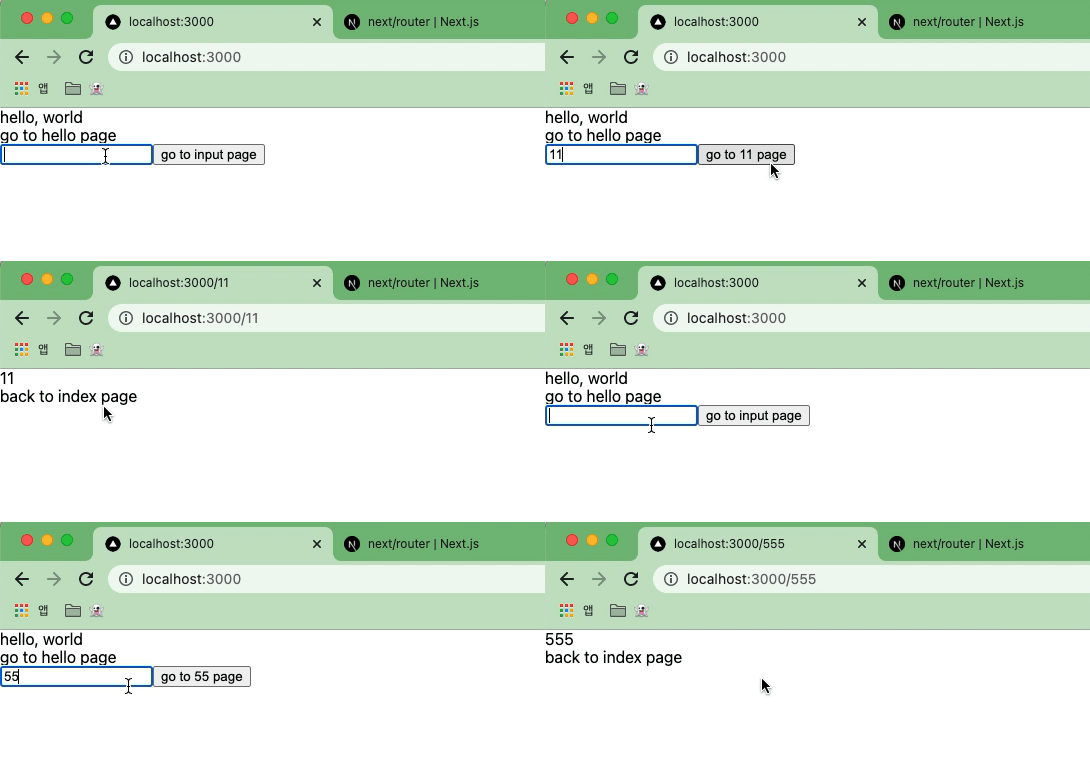
이동한 페이지에서 path variable의 값을 사용하고 싶다면 이동한 page에서 useRouter라는 hook을 사용해주면 된다.
useRouter를 통해 받은 router object의 값은 페이지의 하위 페이지에서도 사용할 수 있다.
(ex. /id 에서 router를 받았다면 /id/detail 에서도 사용이 가능)
[id].jsx 👇
import Link from "next/link";
import { useRouter } from "next/router";
import React, { useState } from "react";

export default function indexId(){
    const router = useRouter();
  // router 객체의 query에서 id라는 값을 indexId로 받아오겠다
    const {id: indexId} = router.query;

    return (
        <>
            <div>{indexId}</div>
            <Link href={("/")}>back to index page</Link>
        </>
    );
};
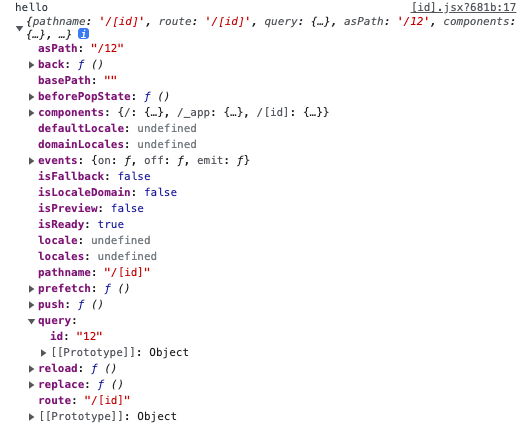
router object의 값을 log에 찍어보면 다음과 같은 모양인 것을 확인할 수 있다.
✏️ axios를 이용한 API
axios는 http client library로, 외부 API를 이용해 데이터를 받아올 때 사용한다.
CRUD를 모두 수행할 수 있고, axios를 import한 뒤 axios.실행할 CRUD로 사용하면 된다.
import React, { useEffect, useState } from "react";
import axios from "axios";
import Link from "next/link";

const TodoPage = () => {
    // todo list를 받아서 todos에 저장
    const [todos, setTodos] = useState([])
    // await는 반드시 async 함수에서 사용
    // axios를 이용해서 값을 받아오는 부분
    useEffect( async () => {
        const resp = await axios.get("https://jsonplaceholder.typicode.com/todos");
        setTodos(resp.data);
    }, []);
    return (
        <>
            <h1>Todos</h1>
            {todos.map((todo) => (
                <div>
                    <h3>
                        <Link href={`/todos/${todo.id}`}>
                            <a>
                                <small>#{todo.id} </small> {todo.title}
                            </a>
                        </Link>
                    </h3>
                    <p>userId: {todo.userId}</p>
                    <p>{todo.completed ? "completed" : "not completed yet"}</p>
                </div>
            ))}
        </>
    );
};

export default TodoPage;
✏️ 내부 api 사용하기
next.js로 생성한 앱은 서버사이드 랜더링이 되어있기 때문에 내부 api를 사용할 수 있다.
내부 api로 사용할 내용은 api 디렉토리 하위에 작성하면 된다.(필수는 아닌 것 같다)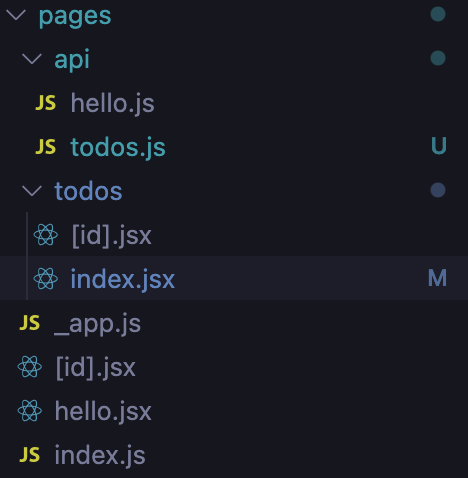
pages/api/todos.js 👇
import axios from "axios";

export default async (req, res) => {
    const resp = await axios.get("https://jsonplaceholder.typicode.com/todos");
    res.status(200).json(resp.data);
};
pages/todos/index.jsx 👇
...// 위의 index.jsx의 코드와 동일한데 axios로 요청하는 api의 주소만 변경됨
 useEffect( async () => {
        const resp = await axios.get("/api/todos");
        setTodos(resp.data);
    },[]);
...
요청하는 api의 주소를 내부 주소로 변경하여도 동일한 실행 결과를 얻을 수 있다.
