
IntelliJ 에서 SpringMVC 개발 셋팅 순서.
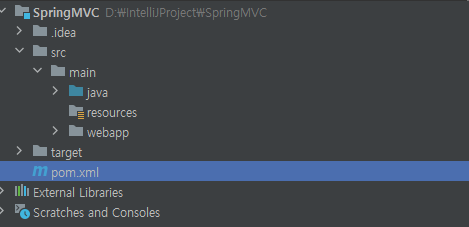
1. Maven 프로젝트 생성하기
2. pom.xml에 depency 설정으로 spring framework 추가하기
3. web.xml 설정
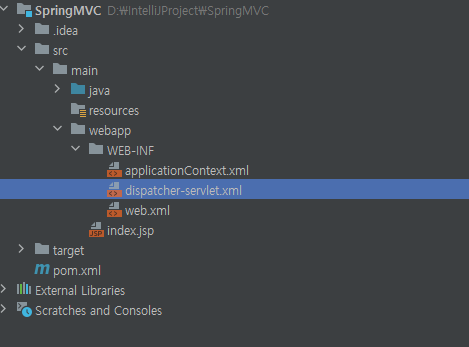
4. servlet-context.xml 설정 (intellij에서는 dispatcher-servlet.xml)
5. root-context.xml 설정 (intellij에서는 applicationContext.xml)
6. 서버 설정 (Tomcat)
7. Controller 생성
8. views 폴더 생성하여 jsp 파일 관리하기
9. 서버 실행 및 url 매핑에 따른 dispatcher Servlet 정상 동작 여부 확인
1. Maven 프로젝트 생성하기
Flie -> New -> Project 클릭
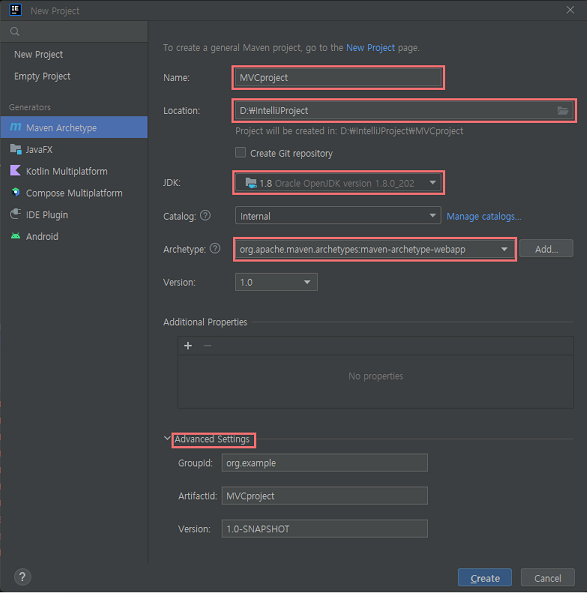
Name : 저장할 폴더명
Location : 저장할 위치
JDK : 사용하는 JDK 추가 (현 프로젝트는 Java 1.8 사용)
*원하는 JDK 가 없을 때 JDK 부분 클릭 시 Add JDK 버튼이 있는데 다운 받은 JDK 폴더를 선택 후 OK 버튼 누르면 된다.
Archetype : org.apache.maven.archetypes:maven-archetype-webapp 해당 주소 붙여넣기
Advanced Settings : 프로젝트에 맞게 변경해서 사용
2. pom.xml에 depency 설정으로 spring framework 추가하기
pom.xml 파일에 들어가서 코드 붙여넣기
<project xmlns="http://maven.apache.org/POM/4.0.0" xmlns:xsi="http://www.w3.org/2001/XMLSchema-instance"
  xsi:schemaLocation="http://maven.apache.org/POM/4.0.0 http://maven.apache.org/maven-v4_0_0.xsd">
  <modelVersion>4.0.0</modelVersion>
  <groupId>org.example</groupId>
  <artifactId>spring_example</artifactId>
  <packaging>war</packaging>
  <version>1.0-SNAPSHOT</version>
  <name>spring_example Maven Webapp</name>
  <url>http://maven.apache.org</url>

  <dependencies>

    <dependency>
      <groupId>org.springframework</groupId>
      <artifactId>spring-webmvc</artifactId>
      <version>4.0.4.RELEASE</version>
    </dependency>

    <dependency>
      <groupId>junit</groupId>
      <artifactId>junit</artifactId>
      <version>3.8.1</version>
      <scope>test</scope>
    </dependency>
  </dependencies>

  <build>
    <plugins>
      <plugin>
        <artifactId>maven-compiler-plugin</artifactId>
        <version>3.10.1</version>
        <configuration>
          <source>1.8</source>
          <target>1.8</target>
        </configuration>
      </plugin>
    </plugins>
  </build>


</project>
여기서
<version>4.0.4.RELEASE</version>Version 태그는 4.0.4 이 사용되었지만 4.0.4 버전은 굳이 따라하지 않아도 된다.
본인이 원하는 버전을 선택할 것
3. web.xml 설정
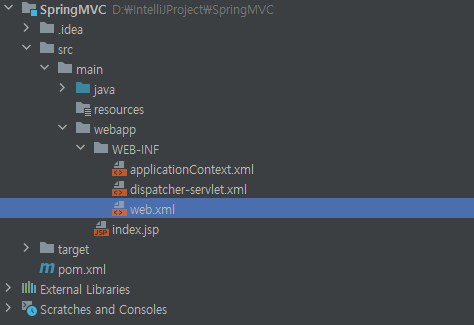
프로젝트 폴더 / src / main / webapp / WEB-INF 폴더에 web.xml 파일에 아래 코드를 붙여넣자.
<!DOCTYPE web-app PUBLIC
        "-//Sun Microsystems, Inc.//DTD Web Application 2.3//EN"
        "http://java.sun.com/dtd/web-app_2_3.dtd" >

<web-app>
  <display-name>Archetype Created Web Application</display-name>
  <context-param>
    <param-name>contextConfigLocation</param-name>
    <param-value>/WEB-INF/applicationContext.xml</param-value>
  </context-param>
  <listener>
    <listener-class>org.springframework.web.context.ContextLoaderListener</listener-class>
  </listener>
  <servlet>
    <servlet-name>dispatcher</servlet-name>
    <servlet-class>org.springframework.web.servlet.DispatcherServlet</servlet-class>
    <load-on-startup>1</load-on-startup>
  </servlet>
  <servlet-mapping>
    <servlet-name>dispatcher</servlet-name>
    <url-pattern>/</url-pattern>
  </servlet-mapping>
</web-app>
4. servlet-context.xml 설정 (intellij에서는 dispatcher-servlet.xml)
src/main/webapp/WEB-INF 폴더 내에 dispatcher-servlet.xml 파일을 생성 후 코드 넣기.
*파일 생성 방법: WEB-INF 폴더 우클릭 후 New->File 을 선택 후 dispatcher-servlet.xml 이라고 짓기.
<?xml version="1.0" encoding="UTF-8"?>
<beans xmlns="http://www.springframework.org/schema/beans"
       xmlns:xsi="http://www.w3.org/2001/XMLSchema-instance"
       xmlns:context="http://www.springframework.org/schema/context"
       xmlns:mvc="http://www.springframework.org/schema/mvc"
       xsi:schemaLocation="http://www.springframework.org/schema/mvc http://www.springframework.org/schema/mvc/spring-mvc-4.0.xsd http://www.springframework.org/schema/beans http://www.springframework.org/schema/beans/spring-beans-4.0.xsd http://www.springframework.org/schema/context http://www.springframework.org/schema/context/spring-context-4.0.xsd">

    <mvc:annotation-driven/>
    <context:component-scan base-package="controller" />

    <bean class="org.springframework.web.servlet.view.InternalResourceViewResolver">
        <property name="prefix" value="/WEB-INF/views/" />
        <property name="suffix" value=".jsp" />
    </bean>
</beans>
5. root-context.xml 설정 (intellij에서는 applicationContext.xml)
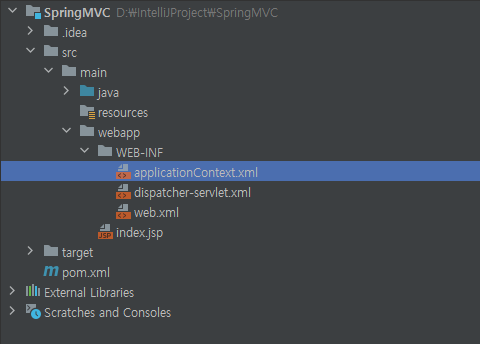
src/main/webapp/WEB-INF 폴더 내에 applicationContext.xml 파일을 생성 후 코드 넣기.
<?xml version="1.0" encoding="UTF-8"?>
<beans xmlns="http://www.springframework.org/schema/beans"
xmlns:xsi="http://www.w3.org/2001/XMLSchema-instance"
xsi:schemaLocation="http://www.springframework.org/schema/beans https://www.springframework.org/schema/beans/spring-beans.xsd">
<!-- Root Context: defines shared resources visible to all other web components -->
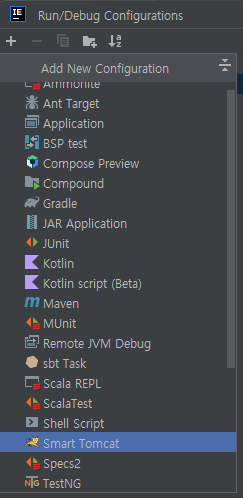
</beans>6. 서버 설정 (Tomcat)
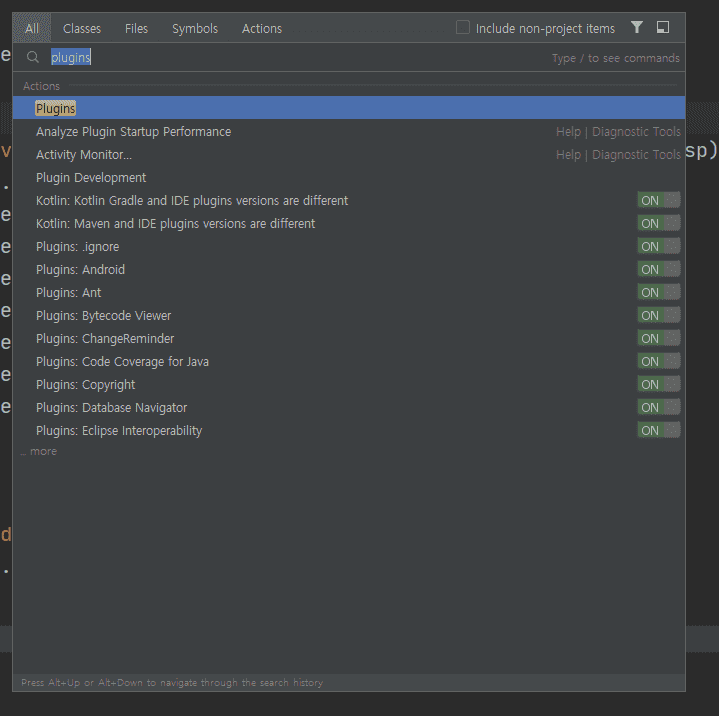
shift 두번 누른후 All tap 에서 plugins 를 들어간다.
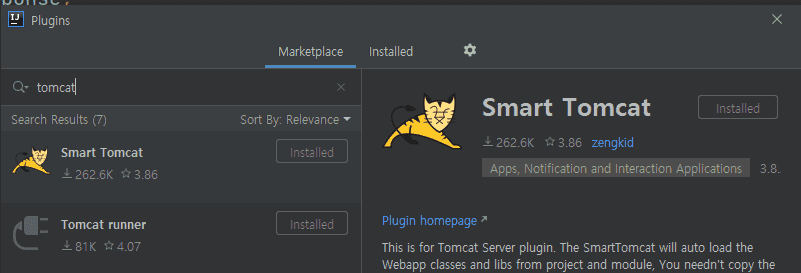
Tomcat 을 검색하여 Smart Tomcat 을 install.
톰캣 서버 다운로드,
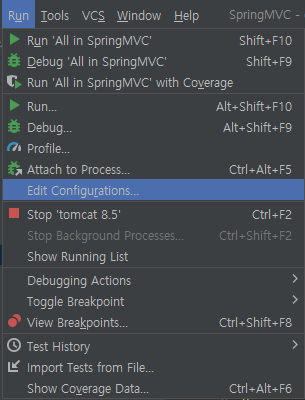
원하는 위치에 압축을 풀고 IntelliJ에서 Run - Edit Configurations 선택
좌측 상단에 + 버튼 클릭 후 Smart TomCat 추가.
Name : 알아서 짓기! ( Tomcat {버전} 형식으로 지정했음 )
Tomcat Server : 아까 압축 푼 Tomcat 폴더 선택
Context path: 기본 셋팅주소 (프로젝트 명으로 자동 셋팅 됨)
*기본 셋팅 요청 주소를 변경하고 싶으면 임의로 변경할 것
나머지도 다 자동 셋팅.

서버 준비는 완료가 되었고 이제 웹 브라우저의 요청을 받기만 하면 됨.
7. Controller 생성
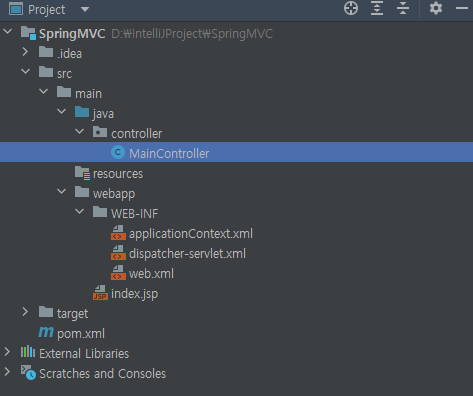
src/main 아래에 "java" 디렉토리 생성.
java 디렉토리 즉, java 폴더 내에 controller 패키지 생성 -> MainController 클래스 생성 후 코드 넣기
package controller;

import org.springframework.stereotype.Controller;
import org.springframework.web.bind.annotation.RequestMapping;

@Controller
public class MainController {
    public MainController() {
    }

    @RequestMapping({"/test"})
    public String main() {
        return "index";
    }
}
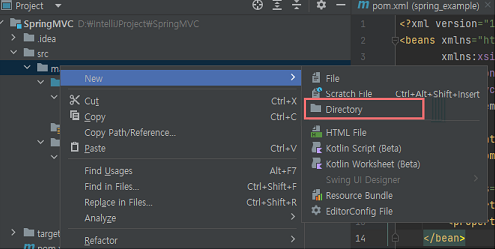
8. views 폴더 생성하여 jsp 파일 관리하기
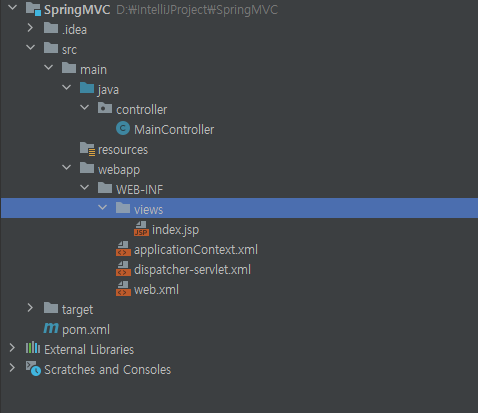
WEB-INF 폴더 내 views 폴더를 생성하여 index.jsp 를 옮기기.
모든 jsp 파일은 views 폴더 내에서 관리
9. 서버 실행 및 url 매핑에 따른 dispatcher Servlet 정상 동작 여부 확인
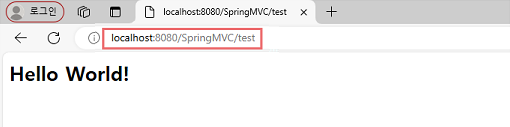
주소창에 localhost:8080/기본 Context Path 주소 / 요청주소 를 입력하면 정상적으로 출력됨!
기본 Context Path 주소를 모르겠다면 위에 꼼꼼히 다시 읽어보기.
http://localhost:8080/SpringMVC/test localhost:8080
폼캣 포트 번호를 통한 서버 접근
/SpringMVC
tomcat 서버 설정할 때 기본 요청주소 즉, Context Path: 에 적힌 요청 주소를 서버실행 시 무조건 실행.
/test
Web Brower에 요청 주소, Main Controller 에서 @RequestMapping 으로 /test 요청을 받아서 index로 return
 @RequestMapping({"/test"})
    public String main() {
        return "index";
    }
index 만 붙여도 dispatcher-servlet.xml 에서 설정된 셋팅으로 views 폴더 내 .jsp 파일을 찾아준다.
<bean class="org.springframework.web.servlet.view.InternalResourceViewResolver">
        <property name="prefix" value="/WEB-INF/views/" />
        <property name="suffix" value=".jsp" />
    </bean>
그래서 index 만 요청하면 결국 /WEB-INF/views/index.jsp 을 자동으로 맵핑한다.
페이지가 404 Error 가 떠서 찾을 수 없을 경우 dispatcher-servlet.xml 에서 기본적으로 어느 루트를 요청하고 있는지, 그 요청한 루트에 return 하고자하는 .jsp 파일이 존재하는지 확인할 것.
