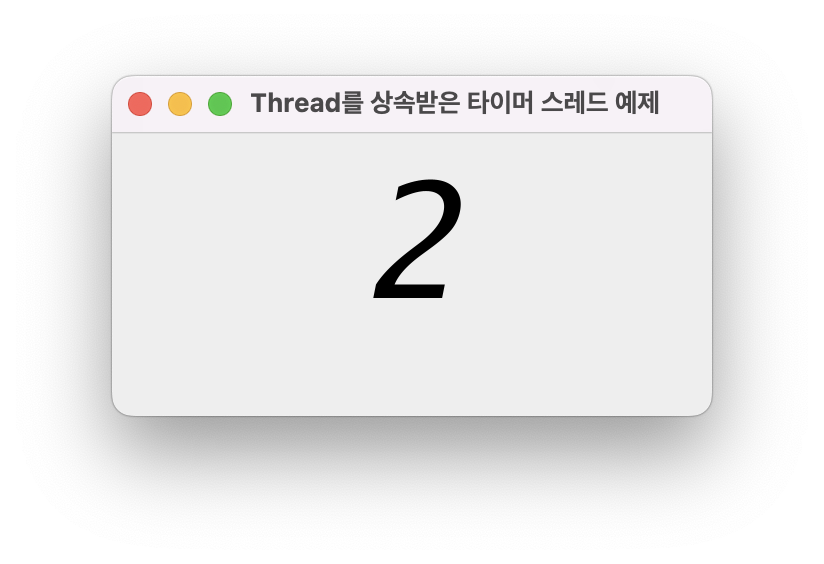
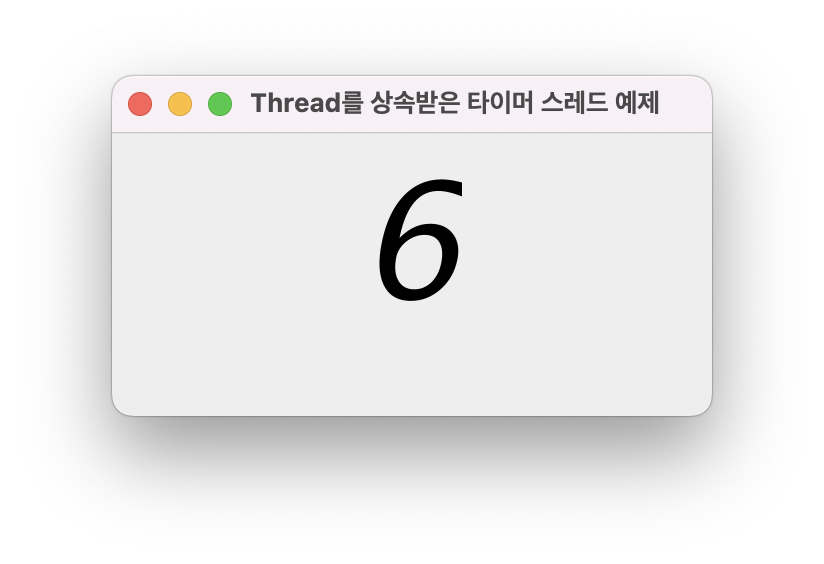
예제 13-1 | Thread를 상속받아 1초 단위로 출력하는 타이머 스레드 만들기
1초 단위로 증가하는 스레드를 만들고 레이블을 이용하여 타이머 값을 출력하라.
응용프로그램의 시작과 함께 타이머가 바로 작동한다. 타이머 값은 JLabel 컴포넌트를 생성하여 출력하고, Thread 클래스를 상속받는 TimerThread 클래스로 스레드를 만든다. 이 스레드는 1초마다 1씩 증가시킨 정수 값을 JLabel의 텍스트에 출력한다.
코드
import javax.swing.*;
import java.awt.*;

class TimerThread extends Thread {
    private JLabel timerLabel;

    public TimerThread(JLabel timerLabel){
        this.timerLabel = timerLabel;
    }

    @Override
    public void run(){
        int n=0;
        while(true){
            timerLabel.setText(Integer.toString(n));
            n++;
            try {
                Thread.sleep(1000);
            } catch (InterruptedException e){
                return;
            }
        }
    }
}

public class TimerThreadEx extends JFrame {
    public TimerThreadEx() {
        setTitle("Thread를 상속받은 타이머 스레드 예제");
        setDefaultCloseOperation(JFrame.EXIT_ON_CLOSE);
        Container c = getContentPane();
        c.setLayout(new FlowLayout());

        //타이머 값을 출력할 레이블 생성
        JLabel timerLabel = new JLabel();
        timerLabel.setFont(new Font("Gothic", Font.ITALIC,80));
        c.add(timerLabel);

        TimerThread th = new TimerThread(timerLabel);

        setSize(300,170);
        setVisible(true);

        th.start();
    }

    public static void main(String[] args) {
        new TimerThreadEx();
    }
}
출력
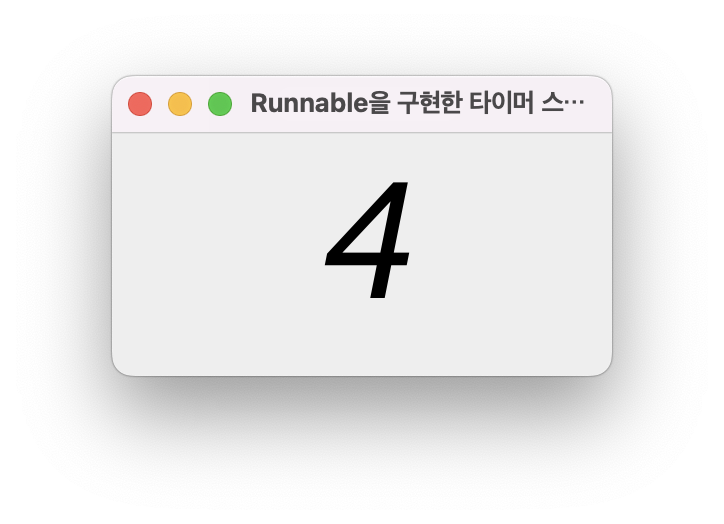
예제 13-2 | Runnable 인터페이스를 이용하여 1초 단위로 출력하는 타이머 스레드 만들기
Runnable 인터페이스를 구현하여 그림과 같이 1초 단위로 카운팅하여 출력하는 스레드를 만들고, 레이블을 이용하여 카운트 값을 출력하라.
코드
import javax.swing.*;
import java.awt.*;

class TimerRunnable implements Runnable {
    private JLabel timerLabel;

    public TimerRunnable(JLabel timerLabel) {
        this.timerLabel=timerLabel;
    }

    @Override
    public void run() {
        int n=0;
        while(true) {
            timerLabel.setText(Integer.toString(n));
            n++;
            try {
                Thread.sleep(1000);
            } catch (InterruptedException e) {
                return;
            }
        }
    }
}

public class RunnableTimerEx extends JFrame {
    public RunnableTimerEx() {
        setTitle("Runnable을 구현한 타이머 스레드 예제");
        setDefaultCloseOperation(JFrame.EXIT_ON_CLOSE);
        Container c = getContentPane();
        c.setLayout(new FlowLayout());

        //타이머 값을 출력할 레이블 생성
        JLabel timerLabel = new JLabel();
        timerLabel.setFont(new Font("Gothic", Font.ITALIC, 80));
        c.add(timerLabel);

        TimerRunnable runnable = new TimerRunnable(timerLabel);
        Thread th = new Thread(runnable);

        setSize(250,150);
        setVisible(true);

        th.start();
    }

    public static void main(String[] args) {
        new RunnableTimerEx();
    }
}
출력
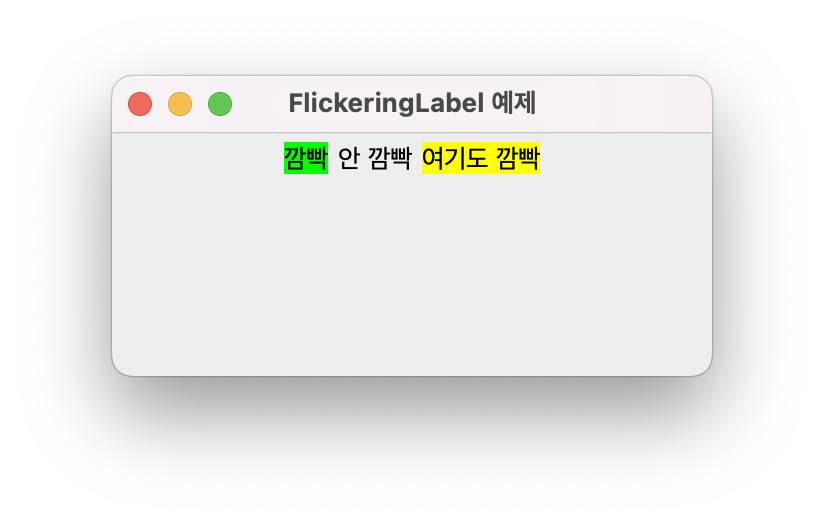
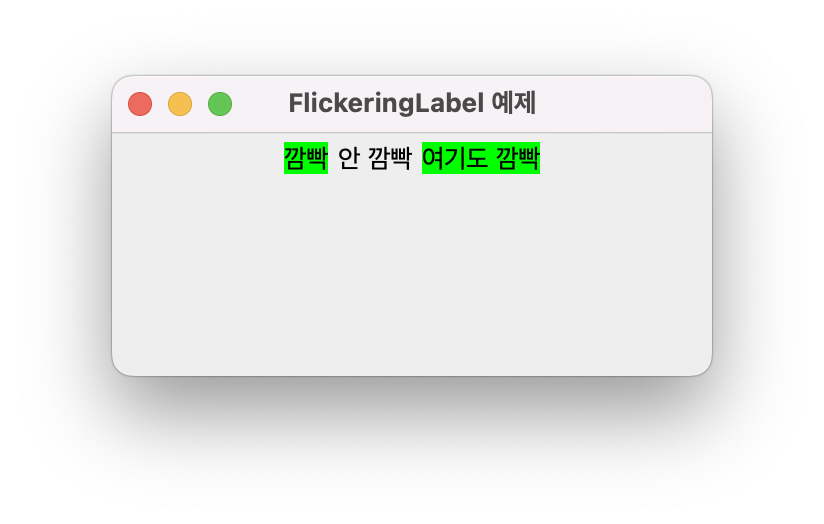
예제 13-3 | 깜빡이는 문자열을 가진 레이블 만들기
JLabel을 상속받아 문자열을 깜빡이는 FlickeringLabel 컴포넌트를 작성하라.
JLabel과 Runnable 인터페이스를 상속받는 FlickeringLabel 클래스를 작성하고 run() 메소드를 오버라이딩하라. 깜빡거림을 만들기 위해, run()은 레이블의 배경색을 노란색과 초록색을 번갈아 변경하면 된다. FlickeringLabel의 생성자에 깜빡거릴 문자열과 배경색이 바뀌는 지연 시간을 전달하라.
코드
import javax.swing.*;
import java.awt.*;

class FlickeringLabel extends JLabel implements Runnable {

    private long delay;

    public FlickeringLabel(String text, long delay) {
        super(text); //JLabel 생성자 호출
        this.delay = delay;
        setOpaque(true); //배경색 변경 가능하도록 설정

        Thread th = new Thread(this);
        th.start();
    }


    @Override
    public void run() {
        int n=0;
        while (true) {
            if(n==0) {
                setBackground(Color.YELLOW);
            } else setBackground(Color.GREEN);

            if(n==0)    n=1;
            else n=0;

            try {
                Thread.sleep(delay);
            } catch (InterruptedException e) {
                return;
            }
        }
    }
}
public class FlickeringLabelEx extends JFrame {

    public FlickeringLabelEx() {
        setTitle("FlickeringLabel 예제");
        setDefaultCloseOperation(JFrame.EXIT_ON_CLOSE);
        Container c = getContentPane();
        c.setLayout(new FlowLayout());

        FlickeringLabel fl = new FlickeringLabel("깜빡", 500);
        JLabel la = new JLabel("안 깜빡");
        FlickeringLabel fl2 = new FlickeringLabel("여기도 깜빡", 300);

        c.add(fl);
        c.add(la);
        c.add(fl2);

        setSize(300,150);
        setVisible(true);
    }
    public static void main(String[] args) {
        new FlickeringLabelEx();
    }
}
출력
예제 13-4 | main 스레드의 정보 출력
main() 메소드에서 현재 실행 중인 스레드 정보를 출력하라.
코드
public class ThreadMainEx {
    public static void main(String[] args) {
        long id = Thread.currentThread().getId();
        String name = Thread.currentThread().getName();
        int priority = Thread.currentThread().getPriority();

        Thread.State s = Thread.currentThread().getState();

        System.out.println("현재 스레드 이름 = "+name);
        System.out.println("현재 스레드 ID = "+id);
        System.out.println("현재 스레드 우선순위 값 = "+priority);
        System.out.println("현재 스레드 상태 = "+s);

    }
}
출력
현재 스레드 이름 = main
현재 스레드 ID = 1
현재 스레드 우선순위 값 = 5
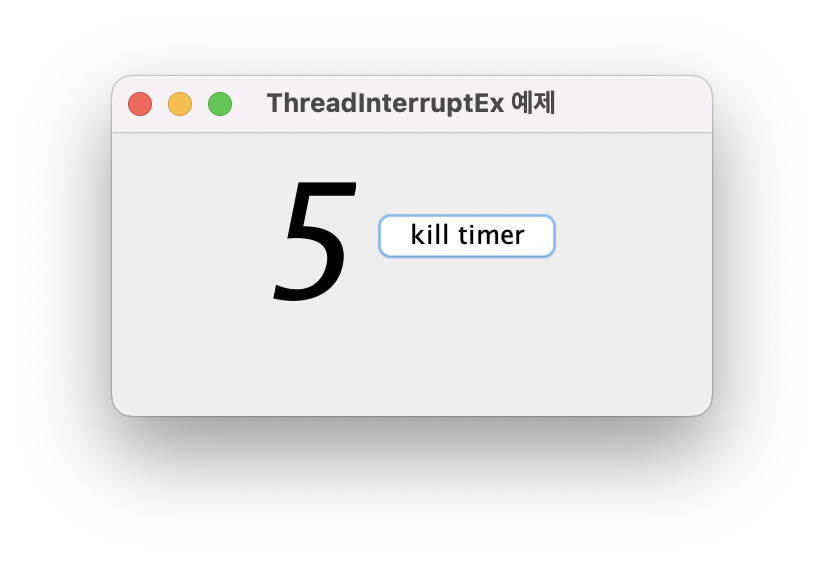
현재 스레드 상태 = RUNNABLE예제 13-5 | 타이머 스레드 강제 종료
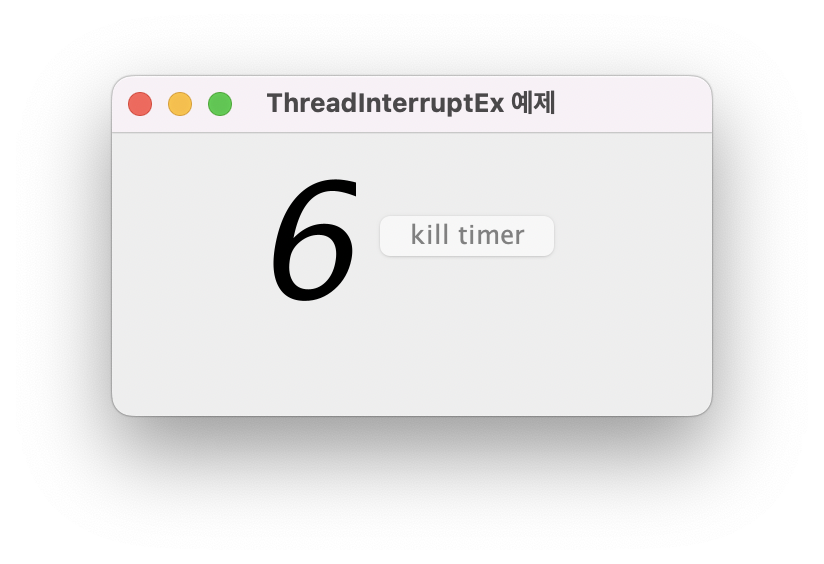
앞의 예제 13-2의 TimerRunnable을 참고하여 "Kill Timer" 문자열을 가진 버튼을 하나 추가적으로 만든다. 이 버튼을 선택하면 타이머 스레드에게 InterruptException을 보내 타이머 스레드를 강제 종료시킨다. 동시에 버튼을 비활성화시킨다.
코드
import javax.swing.*;
import java.awt.*;
import java.awt.event.*;

class TimerRunnable implements Runnable {
    private JLabel timerLabel;

    public TimerRunnable(JLabel timerLabel) {
        this.timerLabel=timerLabel;
    }

    @Override
    public void run() {
        int n=0;
        while(true) {
            timerLabel.setText(Integer.toString(n));
            n++;
            try {
                Thread.sleep(1000);
            } catch (InterruptedException e) {
                return;
            }
        }
    }
}

public class ThreadInterruptEx extends JFrame {
    public ThreadInterruptEx() {
        setTitle("ThreadInterruptEx 예제");
        setDefaultCloseOperation(JFrame.EXIT_ON_CLOSE);
        Container c = getContentPane();
        c.setLayout(new FlowLayout());

        //타이머 값을 출력할 레이블 생성
        JLabel timerLabel = new JLabel();
        timerLabel.setFont(new Font("Gothic", Font.ITALIC, 80));

        TimerRunnable runnable = new TimerRunnable(timerLabel);
        Thread th = new Thread(runnable);
        c.add(timerLabel);

        JButton btn = new JButton("kill timer");
        btn.addActionListener(new ActionListener() {
            @Override
            public void actionPerformed(ActionEvent e) {
                th.interrupt();
                JButton btn = (JButton)e.getSource();
                btn.setEnabled(false); //버튼 비활성화
            }
        });

        c.add(btn);

        setSize(300,170);
        setVisible(true);

        th.start();
    }

    public static void main(String[] args) {
        new ThreadInterruptEx();
    }
}
출력
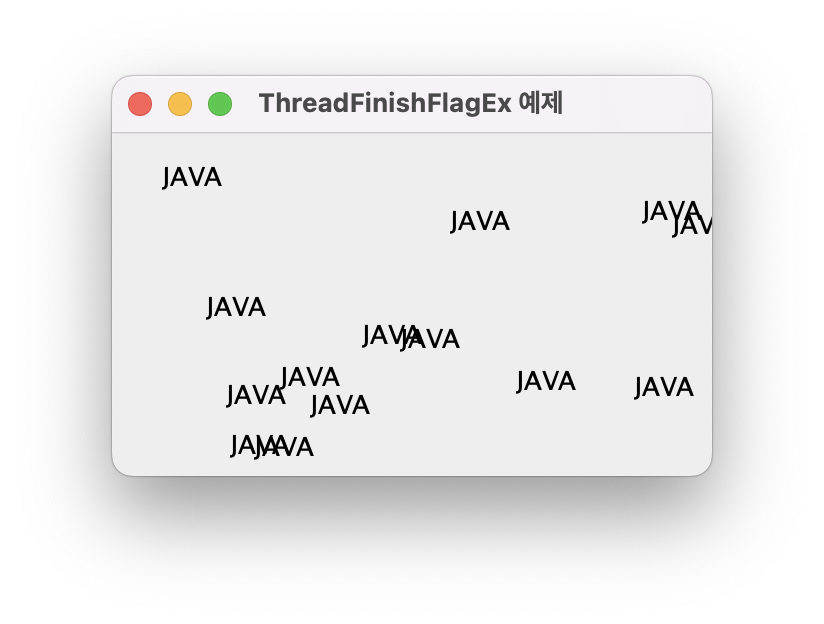
예제 13-6 | flag를 이용하나 스레드 강제 종료
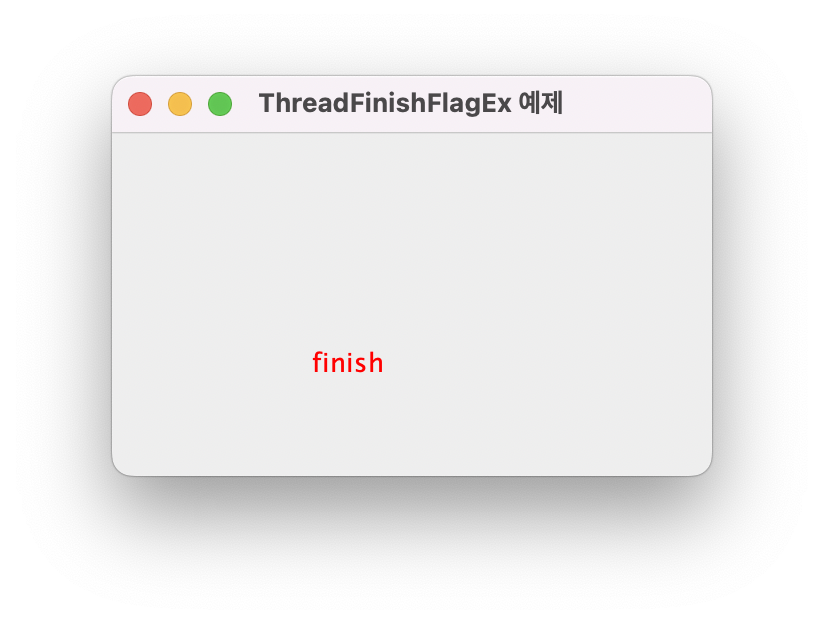
아래 그림과 같이 프로그램이 시작하자마자 0.3초 주기로 "Java" 문자열을 임의의 위체에 생성하는 스레드를 만들어라. 그리고 컨텐트팬에 마우스를 클릭하면 이 스레드를 종료시키고 "finish" 문자열을 (100,100) 위치에 출력하라.
코드
import javax.swing.*;
import java.awt.*;
import java.awt.event.*;

class RandomThread extends Thread {
    private Container contentPane;
    private boolean flag=false;

    public RandomThread(Container contentPane) {
        this.contentPane = contentPane;
    }

    void finish() {
        flag=true;
    }

    @Override
    public void run() {
        while (true) {
            int x = ((int)(Math.random()*contentPane.getWidth()));
            int y = ((int)(Math.random()*contentPane.getHeight()));

            JLabel la = new JLabel("JAVA");
            la.setSize(80,30);
            la.setLocation(x,y);
            contentPane.add(la);
            contentPane.repaint();

            try {
                Thread.sleep(300);

                if(flag==true) {
                    contentPane.removeAll();
                    la = new JLabel("finish");
                    la.setSize(80,30);
                    la.setLocation(100,100);
                    la.setForeground(Color.RED);
                    contentPane.add(la);
                    contentPane.repaint();
                    return;
                }
            } catch (InterruptedException e) {
                return;
            }
        }
    }
}

public class ThreadFinishFlagEx extends JFrame {
    private RandomThread th;

    public ThreadFinishFlagEx() {
        setTitle("ThreadFinishFlagEx 예제");
        setDefaultCloseOperation(JFrame.EXIT_ON_CLOSE);
        Container c = getContentPane();
        c.setLayout(null);

        c.addMouseListener(new MouseAdapter() {
            @Override
            public void mousePressed(MouseEvent e) {
                th.finish();
            }
        });

        setSize(300,200);
        setVisible(true);

        th = new RandomThread(c);
        th.start();
    }

    public static void main(String[] args) {
        new ThreadFinishFlagEx();
    }
}
출력
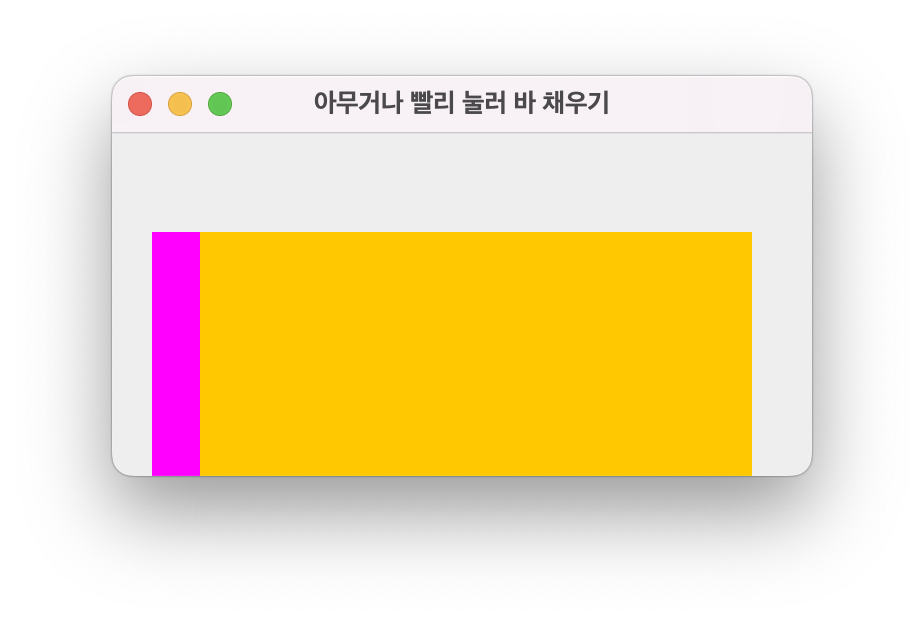
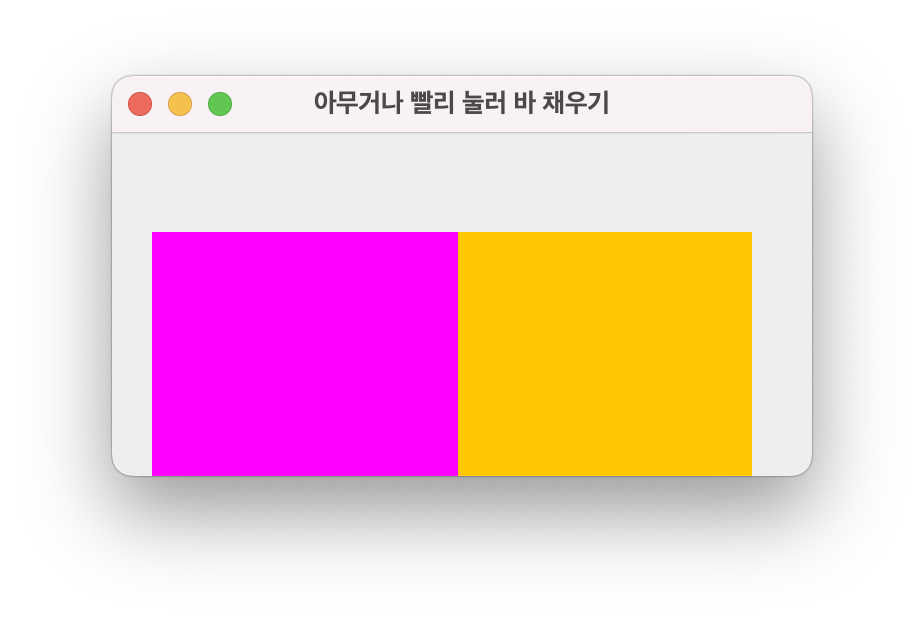
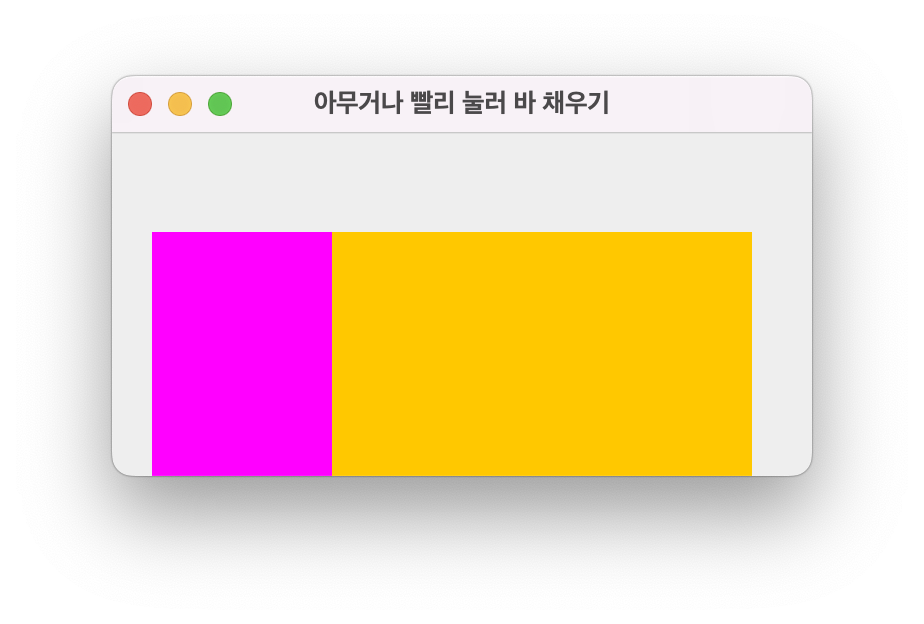
예제 13-7 | wait(), notify()를 이용한 바 채우기
다음 설명과 같이 작동하는 스윙 프로그램을 작성하라.
아래 그림에는 스레드를 가진 bar가 있다. 아무 키나 누르면 bar의 보라색이 오른쪽으로 1/100씩 진행된다. 가만히 있으면 스레드에 의해 0.2초 간격으로 bar의 보라색을 1/100씩 감소시킨다. 키를 빨리 누르지 않으면 스레드의 감소 속도를 이기지 못한다. bar는 JLabel을 상속받은 MyLabel로 작성하고 MyLabel의 paintComponent() 메소드가 bar를 보라색으로 채우도록 하라.
코드
import javax.swing.*;
import java.awt.*;
import java.awt.event.*;

class MyLabel extends JLabel {
    private int barSize=0;
    private int maxBarSize;

    public MyLabel(int maxBarSize){
        this.maxBarSize=maxBarSize;
    }

    @Override
    public void paintComponent(Graphics g) {
        super.paintComponent(g);
        g.setColor(Color.MAGENTA);
        int width=(int)(((double)(this.getWidth()))/maxBarSize*barSize);
        if(width==0)    return;
        g.fillRect(0,0, width, this.getHeight());
    }

    synchronized public void fill() {
        if(barSize == maxBarSize){
            try {
                wait();
            } catch(InterruptedException e) {
                return;
            }
        }

        barSize++;
        repaint();
        notify();
    }

    synchronized public void consume() {
        if(barSize == 0){
            try {
                wait();
            } catch (InterruptedException e) {
                return;
            }
        }
        barSize--;
        repaint();
        notify();
    }
}

class ConsumerThread extends Thread {
    private MyLabel bar;

    public ConsumerThread(MyLabel bar) {
        this.bar=bar;
    }

    @Override
    public void run() {
        while (true){
            try{
                sleep(200);
                bar.consume();
            } catch (InterruptedException e){
                return;
            }
        }
    }
}

public class TabAndThreadEx extends JFrame {
    private MyLabel bar = new MyLabel(100);

    public TabAndThreadEx(String title) {
        super(title);
        this.setDefaultCloseOperation(JFrame.EXIT_ON_CLOSE);
        Container c = getContentPane();
        c.setLayout(null);
        bar.setBackground(Color.ORANGE);
        bar.setOpaque(true);
        bar.setLocation(20, 50);
        bar.setSize(300,200);
        c.add(bar);

        //컨텐트팬에 키 이벤트 핸들러 등록
        c.addKeyListener(new KeyAdapter() {
            @Override
            public void keyPressed(KeyEvent e) {
                bar.fill();
            }
        });

        setSize(350,200);
        setVisible(true);

        c.setFocusable(true);
        c.requestFocus();
        ConsumerThread th = new ConsumerThread(bar);
        th.start();
    }

    public static void main(String[] args) {
        new TabAndThreadEx("아무거나 빨리 눌러 바 채우기");
    }
}
출력