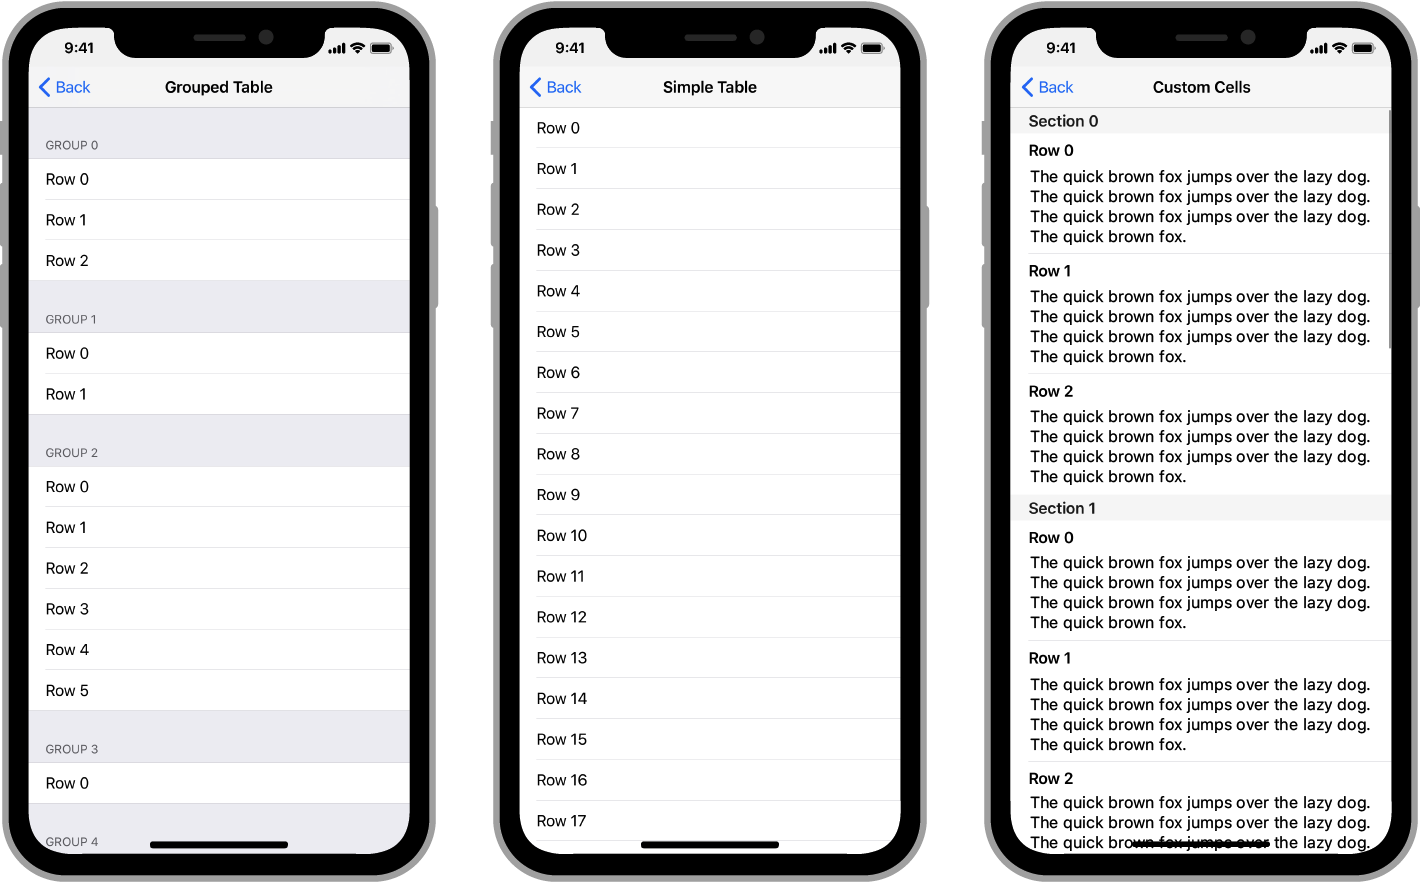
테이블뷰
테이블 뷰는 많이 쓰이는 뷰 중의 하나로 여러 모로 활용도가 높아서 잘 익혀둬야 한다고 생각한다.
그 중의 기본적으로 주어지는 테이블 뷰를 알아보았다
1.테이블 뷰 추가

라이브러리에서 테이블 뷰를 추가해 준다.

새로운 코코아터치 클래스를 선택해서
'UITableViewController' 클래스를 채택한 파일을 만들어 준다.
2.테이블 뷰의 함수들
- numberOfSections(in tableView: UITableView)
override func numberOfSections(in tableView: UITableView) -> Int {
        // #warning Incomplete implementation, return the number of sections
        return 0
    }
테이블 뷰의 섹션의 갯수를 설정해준다. 1로 설정하면 섹션이 하나만 나오지만
2로 설정 하면
숫자
1
2
3
4
알파벳
a
b
c
d
이런식의 뷰를 구현할 수 있다.
- tableView(_ tableView: UITableView, numberOfRowsInSection section: Int)
override func tableView(_ tableView: UITableView, numberOfRowsInSection section: Int) -> Int {
        // #warning Incomplete implementation, return the number of rows
        return 0
    }
셀의 총 갯수를 결정해 줄 수 있다.
- tableView(_ tableView: UITableView, cellForRowAt indexPath: IndexPath)
override func tableView(_ tableView: UITableView, cellForRowAt indexPath: IndexPath) -> UITableViewCell {
        let cell = tableView.dequeueReusableCell(withIdentifier: "reuseIdentifier", for: indexPath)
        // Configure the cell...
        return cell
    }
셀의 뷰를 그리고 리턴한다.
let content = cell.defaultContentConfiguration()
셀의 컨텐츠를 cell.defaultContentConfiguration()를 통해 기본 틀을 받아오고
이후에 cell에 컨텐츠를 등록해준다.
컨텐츠는 아래의 요소들을 가지고 있다.
var image: UIImage? = 이미지
var text: String? = 셀의 메인 텍스트
var secondaryText: String? = 셀의 부 텍스트
- tableView(_ tableView: UITableView, commit editingStyle: UITableViewCell.EditingStyle, forRowAt indexPath: IndexPath)
override func tableView(_ tableView: UITableView, commit editingStyle: UITableViewCell.EditingStyle, forRowAt indexPath: IndexPath) {
        if editingStyle == .delete {
            // Delete the row from the data source
            tableView.deleteRows(at: [indexPath], with: .fade)
        } else if editingStyle == .insert {
            // Create a new instance of the appropriate class, insert it into the array, and add a new row to the table view
        }
    }
뷰의 삽입, 삭제를 설정할 수 있는 함수다
아직 많이 부족한 것 같다...

