
필자는
create-react-app과Tailwind를 사용하는 방식에 맞게 작성하였다.
1. Tailwind 시작하기
1.1. create-react-app
npx create-react-app app_name
cd app_name
create-react-app을 사용하여 기본적인 개발환경을 직접 구축할 필요없이 편리하게 사용하겠다.
1.2. tailwind package 설치
yarn add -D tailwindcss postcss autoprefixer
yarn tailwind init -p
css framework인 tailwind를 사용하기위해 필요한 패키지들을 yarn 을 통해 install 해준다.
yarn add -D package: 필요한 패키지를 install 한다.yarn tailwind init -p:tailwind.config.js파일을 생성해준다.
1.3. tailwind.config.js 설정
yarn tailwind init -p 를 통해 자동으로 생성된 tailwind.config.js 파일에 내용을 아래와 같이 수정해 보겠다.
module.exports = {
  content: [
  	"./src/**/*.{js,jsx,ts,tsx}",
  ],
  theme: {
    extend: {},
  },
  plugins: [],
}- src 하위 파일 중 확장자가
.js, .jsx, .ts, .tsx인 파일을 대상으로 한다.
1.4. css에 적용하기
// src/index.css

@tailwind base;
@tailwind components;
@tailwind utilities;
css파일을 import 해오는지 화인하기
// index.js

import './index.css'

...
@tailwind 지시문을 추가함으로써 index.css 파일을 import 하는 component는 tailwind를 사용할 수 있게 된다.
2. Component 작성
// src/App.js
function App() {
return (
<div className="space-y-4">
<div className
="w-96 bg-white shadow rounded">
w-96
</div>
<div className
="w-80 bg-white shadow rounded">
w-80
</div>
<div className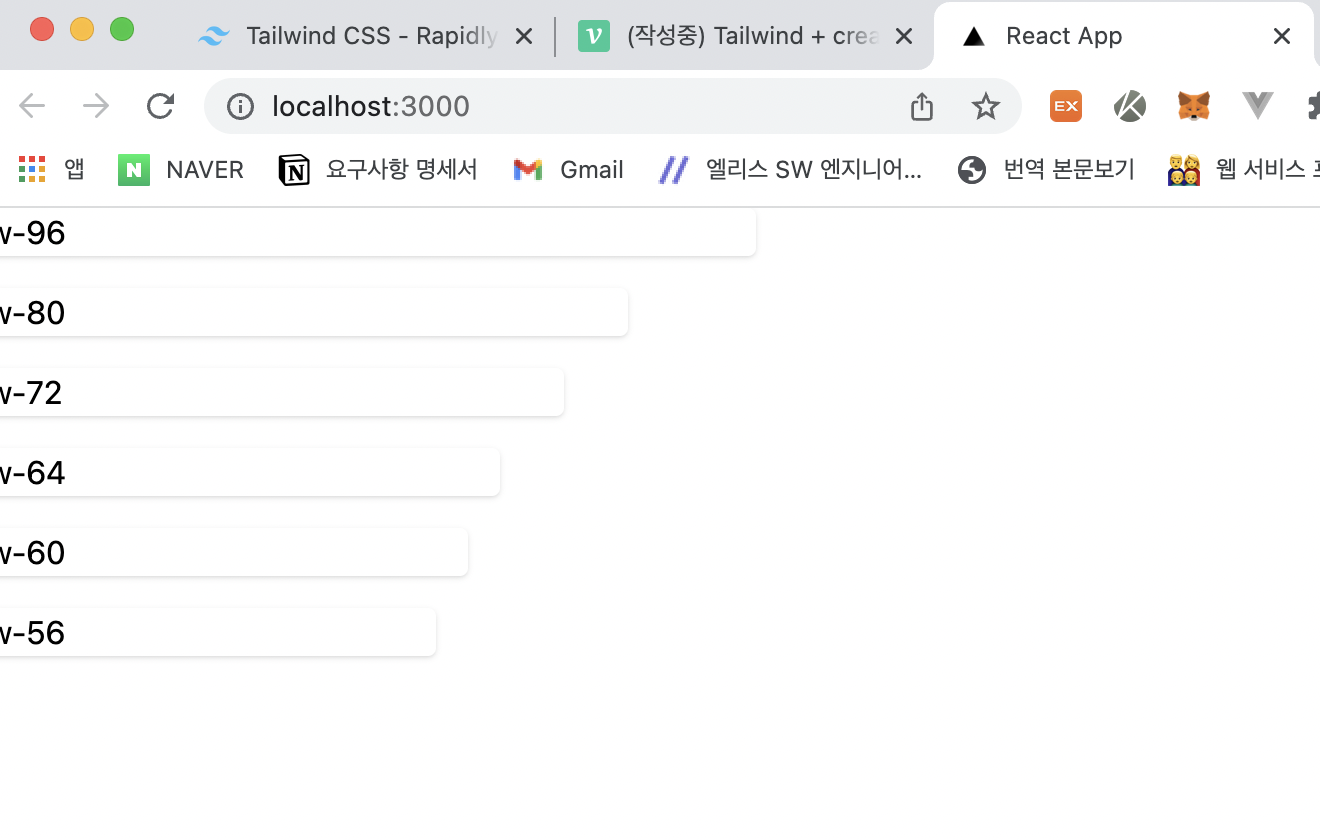
="w-72 bg-white shadow rounded">
w-72
</div>
<div className
="w-64 bg-white shadow rounded">
w-64
</div>
<div className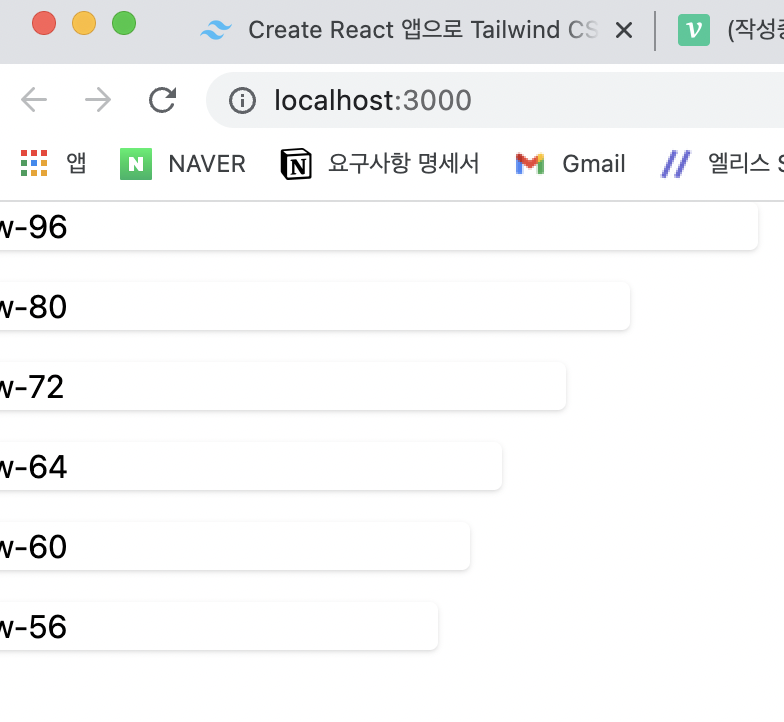
="w-60 bg-white shadow rounded">
w-60
</div>
<div className
="w-56 bg-white shadow rounded">
w-56
</div>
<div className
="w-52 bg-white shadow rounded">
w-52
</div>
<div className
="w-48 bg-white shadow rounded">
w-48
</div>
</div>
)
}이제 yarn start 를 입력하여 리액트 서버를 실행!
yarn start결과 화면
Reference

Front-End 안영민


yarn add -D tailwindcss postcss autoperfixer 오타가 있습니다.
auto"pre"fixer로 바꾸셔야해요!!