🐣 코드 설명
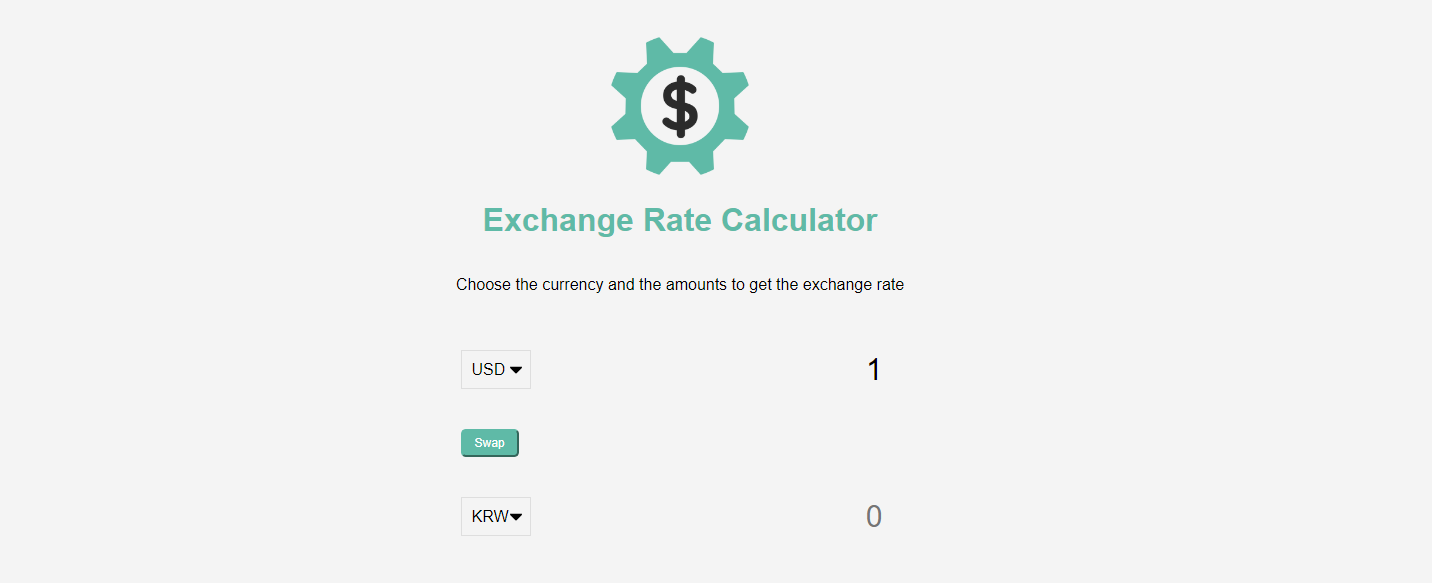
- 이번 프로젝트에서는 외부 api를 가져와서 환율을 계산하는 방법을 사용했다.
- 기존 강의에서는
fetch를 사용하는 방법을 알려주었다.axios라이브러리는 사용해봤는데fetch는 처음 사용해보아서fetch와axios도 정리해보고자 한다.
👩🏻💻 코드
const currencyEl_one = document.getElementById("currency-one");
const amountEl_one = document.getElementById("amount-one");
const currencyEl_two = document.getElementById("currency-two");
const amountEl_two = document.getElementById("amount-two");
const rateEl = document.getElementById("rate");
const swap = document.getElementById("swap");

// Fetch exchange rates and update the DOM
function calculate() {
  const currency_one = currencyEl_one.value;
  const currency_two = currencyEl_two.value;

  fetch(`https://api.exchangerate-api.com/v4/latest/${currency_one}`)
    .then((res) => res.json()) // json파일로 변경
    .then((data) => {
      // console.log(data);
      const rate = data.rates[currency_two];

      rateEl.innerText = `1 ${currency_one} = ${rate} ${currency_two}`;

      amountEl_two.value = (amountEl_one.value * rate).toFixed(2);
    });

  // axios
  // .get(`https://api.exchangerate-api.com/v4/latest/${currency_one}`)
  // .then((response) => {
  //   const rate = response.data.rates[currency_two];

  //   rateEl.innerText = `1 ${currency_one} = ${rate} ${currency_two}`;

  //   amountEl_two.value = (amountEl_one.value * rate).toFixed(2);
  // });
}

// Event listeners
currencyEl_one.addEventListener("change", calculate);
amountEl_one.addEventListener("input", calculate);
currencyEl_two.addEventListener("change", calculate);
amountEl_two.addEventListener("input", calculate);

swap.addEventListener("click", () => {
  const temp = currencyEl_one.value;
  currencyEl_one.value = currencyEl_two.value;
  currencyEl_two.value = temp;
  calculate();
});

calculate();
📃 TIL
✔️ fetch
fetch는 웹 브라우저와Node.js환경 모두에서 내장된 기능으로 제공되는 API- 최신 브라우저에서 널리 지원되며 네이티브 Promist를 반환하여 비동기 처리
- 주로
JSON데이터를 주고받는데 사용 - 코드
fetch(URL) .then(response => response.json()) .then(data => console.log(data)) .catch(error => console.error('Error:', error)); - 장점
- 내장 기능으로 별도의 설치가 필요없음
- 단점
- 응답 처리를 위한 코드가 비교적 복잡
- 중복된
then코드로 복잡
✔️ axios
axios는 브라우저와Node.js에서 사용 가능한 외부 라이브러리- 외부 라이브러리이기 때문에 설치가 필수적!
- 바닐라 자바스크립트의 경우 HTML 파일에서
<head>부분에 코드 추가 필요!
- HTTP 요청을 보내고 응답을 처리하는데 더 많은 기능과 유틸리티를 제공
Promise기반으로 비동기 처리- 코드
axios.method(URL) .then(response => console.log(response.data)) .catch(error => console.error('Error:` : error)); - 장점
- 복잡한 요청을 다룰 때 훨씬 편함
- 단점
- 외부 라이브러리를 설치해야함

PM을 지향하는 FE 개발자 이아현입니다 :)