
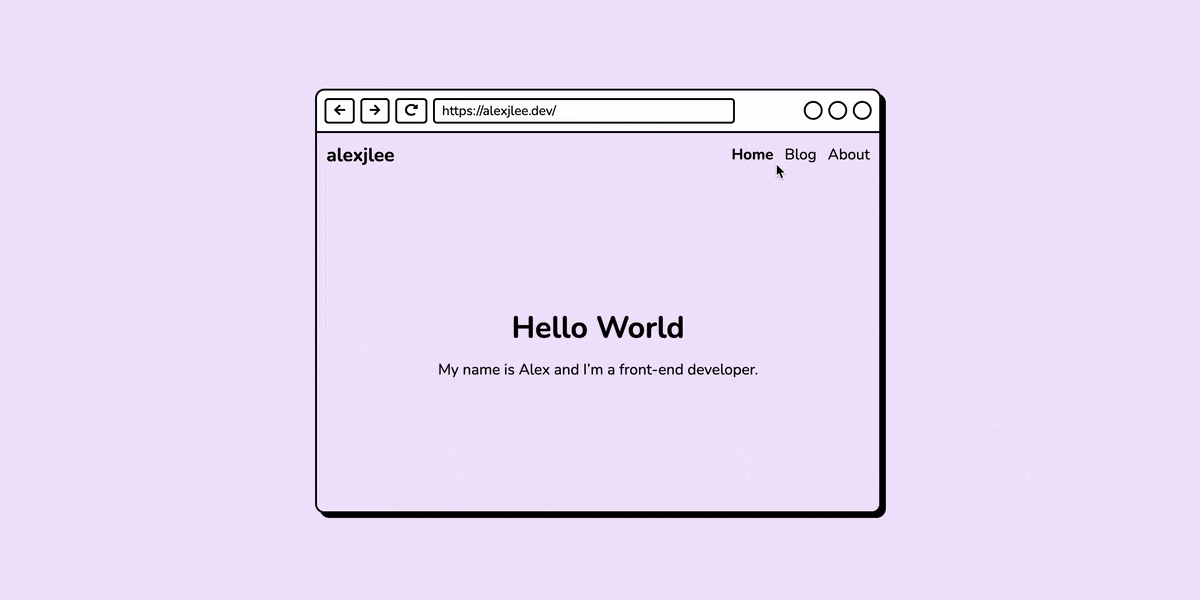
연휴 동안 React Router를 복습하면서 react-router-dom에서 제공하는 Hooks(useHistory, useLocation, useParams)를 사용하여 레트로 스타일 블로그를 만들어 보았다.
UI 스타일 참고 : Gustavo Zambelli
Today I Learned
useHistory를 사용하여 뒤로가기/앞으로가기/홈페이지로 가기 버튼 만들기


import { useHistory } from "react-router-dom";

const Toolbar = () => {
  let history = useHistory();

  const handleGoBack = () => {
  	history.goBack();
  }

  const handleGoForward = () => {
  	history.goForward();
  }

  const handleGoToHome = () => {
  	history.push("/");
  }

  return (
    <button type="button" onClick={handleGoBack}>
      Go Back
    </button>
    <button type="button" onClick={handleGoForward}>
      Go Forward
    </button>
    <button type="button" onClick={handleGoToHome}>
      Go To Homepage
    </button>
  );
}
history 객체 메소드
history.goBack()(=history.go(-1)) : history 스택에서 포인터를 -1 엔트리 이동history.goForward()(=history.go(1)) : history 스택에서 포인터를 1 엔트리 이동history.go(n): history 스택에서 포인터를 n 엔트리 이동history.push(path): history 스택의 가장 위에 새로운 엔트리 추가history.replace(path): history 스택의 현재 엔트리를 주어진 값으로 변경
useLocation를 사용하여 현재 페이지 주소 표시하기
import { useLocation } from "react-router-dom";

const Toolbar = () => {
  let location = useLocation();

  return (
    <div className="display-url">
      https://alexjlee.dev{location.pathname}
    </div>
  );
}
useParams를 사용하여 url parameters에 따라 BlogPost 컴포넌트 렌더하기
import { BrowserRouter, Route, Switch, Link, useParams } from "react-router-dom";

const data = [
  {
    id: "3",
    title: "3rd Blog Post",
    createdAt: "2021/10/10",
    content: "This is my third blog post."
  },
  {
    id: "2",
    title: "2nd Blog Post",
    createdAt: "2021/08/23",
    content: "This is my second blog post."
  },
  {
    id: "1",
    title: "1st Blog Post",
    createdAt: "2021/08/10",
    content: "This is my first blog post."
  },
];

const Blog = () => {
  return (
    <h1>Blog</h1>
    <ul className="blog-list">
      {data.map((el) => (
      	<li className="blog-item" key={el.id}>
      	  <Link to={"/blog/post/"+el.id}>
            <h3>{el.title}</h3>
            <p className="blog-item__date">{el.createdAt}</p>
          </Link>
        </li>
      ))}
    </ul>
  );
}

const BlogPost = () => {
  // make url parameters available to use
  const { id } = useParams();
  const target = data.filter((el) => el.id === id)[0];
  return (
    <main className="post">
      <h1>{target.title}</h1>
      <p className="post__date">{target.createdAt}</p>
      <p className="post__content">{target.content}</p>
    </main>
  );
};

export default function App() {
  return (
    <BrowserRouter>
      <div className="App">
        <Switch>
          <Route exact path="/blog">
            <Blog />
          </Route>
          {/*passing url parameters to BlogPost*/}
          <Route path="/blog/post/:id">
            <BlogPost />
          </Route>
        </Switch>
      </div>
    </BrowserRouter>
  )
}useParams()는 key-value 쌍으로 된 URL 파라미터들을 담은 객체를 반환한다.- 위의 예에서 key는
id이고, value는 주소창에/blog/post/다음에 실제로 입력되는 값(string)이다. 예를 들어 주소창에/blog/post/1을 입력한다면BlogPost에 전달되는 URL 파라미터id의 값은"1"이 된다.
SCSS 변수 한 곳에서 관리하기
src/
|- assets/
|	|- styles/
|    	|- _colors.scss
|- components/
|	...
|- pages|
|	...
|- App.js
|- App.scss
|- index.js
// _colors.scss
$c-black: #000000;
$c-white: #FFFFFF;
$c-primary: #EFE5FC;
$c-primary-strong: #6101EA;
// App.scss
@import "./assets/styles/colors";
body {
background-color: $c-primary;
color: $c-black;
}- 여러 곳에서 사용할 SCSS 변수들을 따로 한 곳에 저장해둔 뒤 필요할 때마다
@import를 이용해 불러온다.
🦄✨글 잘 쓰는 개발자가 되기 위해 꾸준히 기록합니다 ✨🦄