🌞 설명서
https://github.com/litecoin-project/litecoin
위 주소에 들어간 후 doc 폴더 들어감
> doc
> build-windows.md
// 위의 build-windows.md를 보면 window 환경에서 litecoin 빌드해보는 방법 설명되어 있음
// 개인적으로 정리한 곳
https://github.com/ohmihee/block_chain/blob/litecoin/srcCopy_0907/litecoin.md
litecoin 빌드해보기
1. windows terminal로 들어감
2. wsl
3. mkdir litecoin_bulid
// litecoin을 생성하기 위한 공간을 위해 폴더 생성
4. cd litecoin_build
5. git clone -b 0.15 --single-branch https://github.com/litecoin-project/litecoin.git ingcoin_0.0.15
6. cd ingcoin_0.0.15
7. sudo apt update
8. sudo apt upgrade
9. sudo apt install build-essential libtool autotools-dev automake pkg-config bsdmainutils curl git
10. sudo apt install nsis
11. sudo apt install g++-mingw-w64-x86-64
12. sudo update-alternatives --config x86_64-w64-mingw32-g++
// 1선택

13. 이름바꾸기
find ./ -type f -readable -writable -exec sed -i "s/Litecoin/INGcoin/g" {} \;
find ./ -type f -readable -writable -exec sed -i "s/LiteCoin/IngCoin/g" {} \;
find ./ -type f -readable -writable -exec sed -i "s/litecoin/ingcoin/g" {} \;
find ./ -type f -readable -writable -exec sed -i "s/Litecoind/INGcoind/g" {} \;
find ./ -type f -readable -writable -exec sed -i "s/LITECOIN/INGCOIN/g" {} \;
find ./ -type f -readable -writable -exec sed -i "s/lites/ings/g" {} \;
14. 단위바꾸기
find ./ -type f -readable -writable -exec sed -i "s/LTC/ING/g" {} \;
find ./ -type f -readable -writable -exec sed -i "s/photons/iphotons/g" {} \;
15. 포트변경하기
find ./ -type f -print0 | xargs -0 sed -i "s/9333/9233/g"
find ./ -type f -print0 | xargs -0 sed -i "s/9332/9232/g"
find ./ -type f -print0 | xargs -0 sed -i "s/19335/19235/g"
find ./ -type f -print0 | xargs -0 sed -i "s/19332/19232/g"
// 제대로 적용되지 않음
//sed: cannot rename ./.git/objects/pack/sed0p31Cy: Permission denied 이러한 error남
16. code .
// 비쥬얼 스튜디오 켜짐
17. 값 변경하기
src/chainparams.cpp
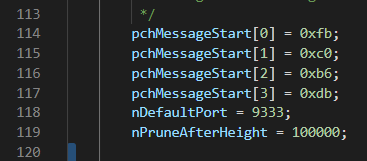
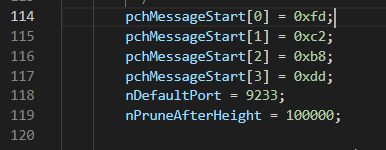
17-1. 114째줄
변경전
변경후
// 포트 부분이 제대로 변경되지 않았으므로 포트번호도 이곳에서 변경
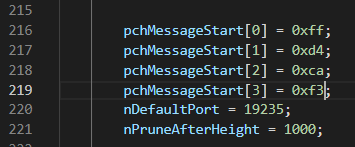
17-2. 216째 줄
변경전
변경후

17-3. 133번째줄
변경전
변경후


18. cd ..
// ingcoin_0.0.15를 나가서 litecoin_build위치로 이동
// pwd --> /mnt/c/Users/오미희/Desktop/litecoin_build
19. git clone https://github.com/lhartikk/GenesisH0
// ls --> GensisH0파일이 존재하는지 확인
20. cd GenesisH0
// ls --> genesis.py파일이 존재하는지 확인
21. sudo apt install python2
// or sudo apt install python
// or sudo apt install python3
// 파이썬 실행을 위해 파이썬 설치
// 파이썬 설치하기 전에 pip를 먼저 깔아주어야함
// pip --> 파이썬의 패키지 매니저 즉 파이썬 프로그램 실행을 위해서는 pip설치 필수적.
sudo apt install python2-pip
or
sudo apt install python3-pip
이후에
sudo pip install scrypt construct==2.5.2
22. sudo python2 genesis.py -a scrypt -z "hello" -t 1638996800
-z : body에 넣을 내용
-t : timestamp 값
// https://www.unixtimestamp.com/  -> 유닉스 타임스탬프 시간 확인
// 제네시스 블럭 생성을 위해 필요한 값 생성해줌
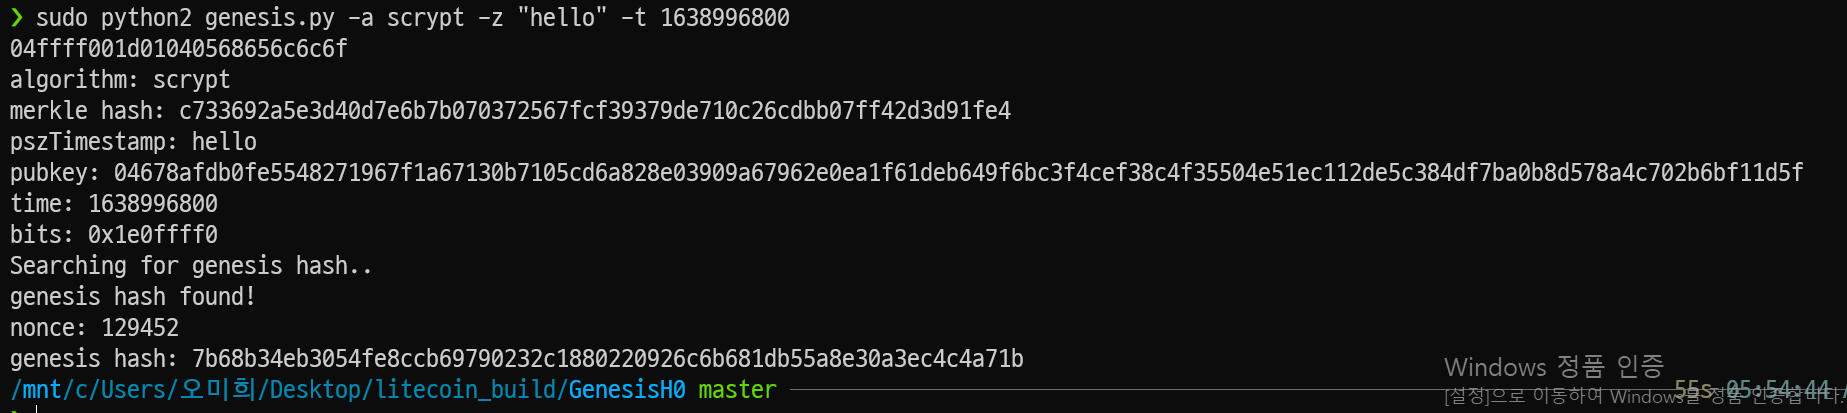
위에서 우리가 사용을 위해 필요한 값
merkle hash: c733692a5e3d40d7e6b7b070372567fcf39379de710c26cdbb07ff42d3d91fe4
pszTimestamp: hello
pubkey: 04678afdb0fe5548271967f1a67130b7105cd6a828e03909a67962e0ea1f61deb649f6bc3f4cef38c4f35504e51ec112de5c384df7ba0b8d578a4c702b6bf11d5f
time: 1638996800
nonce: 129452
genesis hash: 7b68b34eb3054fe8ccb69790232c1880220926c6b681db55a8e30a3ec4c4a71b
23. 값 추가 변경
src/chainparams.cpp
23-1. 51째줄
변경전
변경후


23-2. 52째줄
변경전
//52째줄 ParseHex 값을 ==> Pubkey값으로 변경
변경후


23-3. 121째줄
변경전
// 첫번째 인자값 ==> time
// 두번째 인자값 ==> nonce
// 123째줄 ==> genesis hash값 넣어줌
// 124째줄 ==> 머클루트값을 넣어줌
// 124째줄에 수정시 0x머클루트값
// 0x : 16진수로 표현함.
변경후


23-4. 127째줄
// 주석처리 후 코드 추가
변경전
변경후


23-4. 150째줄 언저리...
// 주석처리 후 151째줄 인자로 0x제네시스해시값
// 그 밑에 chainTxData에서 첫번째 : time값
변경전
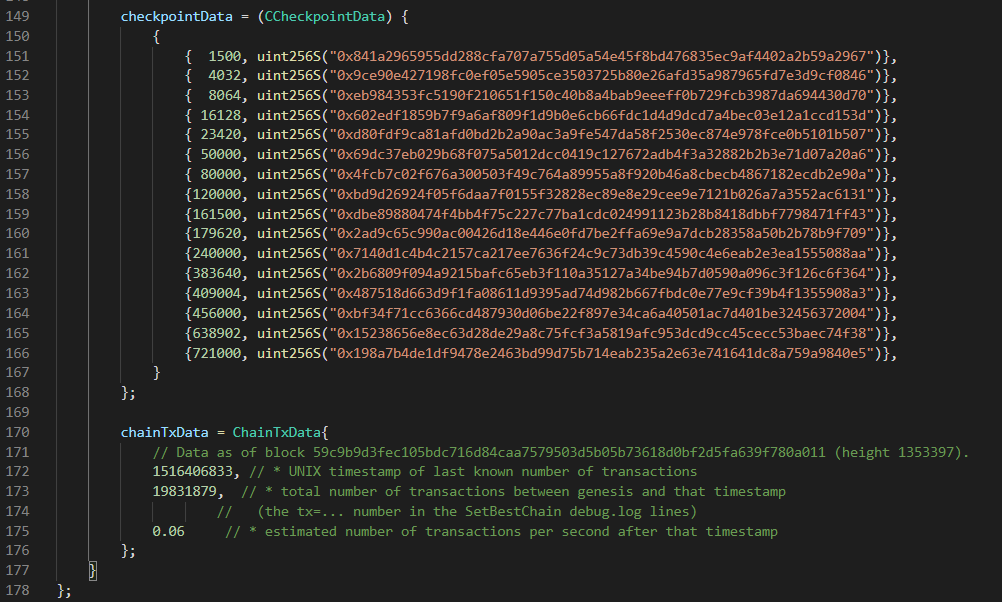
변경후
테스트넷 설정
24.
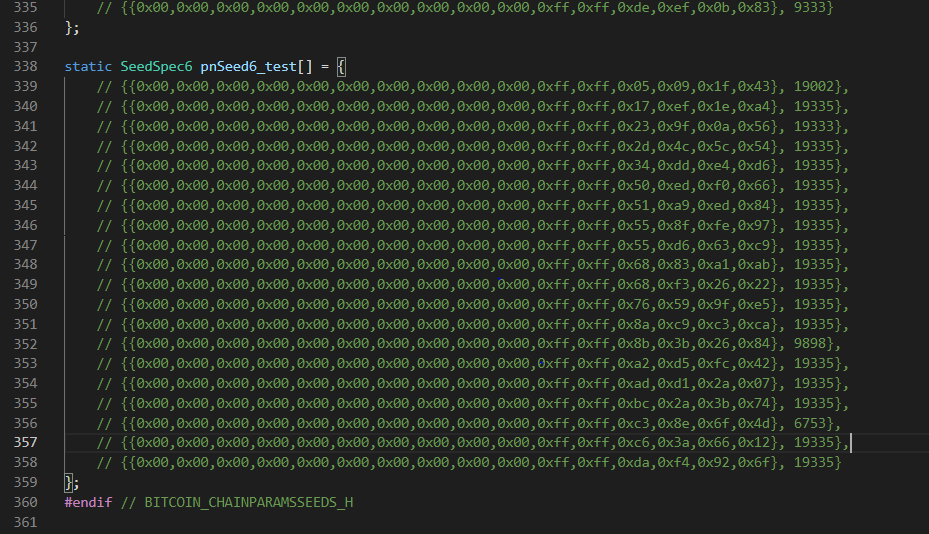
24-1. src/chainparamsseeds.h
// main과 test 안의 내용 모두 주석처리
24-2. src/chainparams.cpp
// 104째줄 내용을 0x0*repeat(64)로 채워줌

24-3. src/chainparams.cpp
// 214째줄도 위와 같이
25. windows terminal
// 기존 입력값에서 현재 타임스탬프로 변경하고 nonce 값 추가
기존 터밀널 입력 : sudo python2 genesis.py -a scrypt -z "hello" -t 1638996800
지금 터미널 입력 : sudo python2 genesis.py -a scrypt -z "hello" -t 1638996765 -n 129452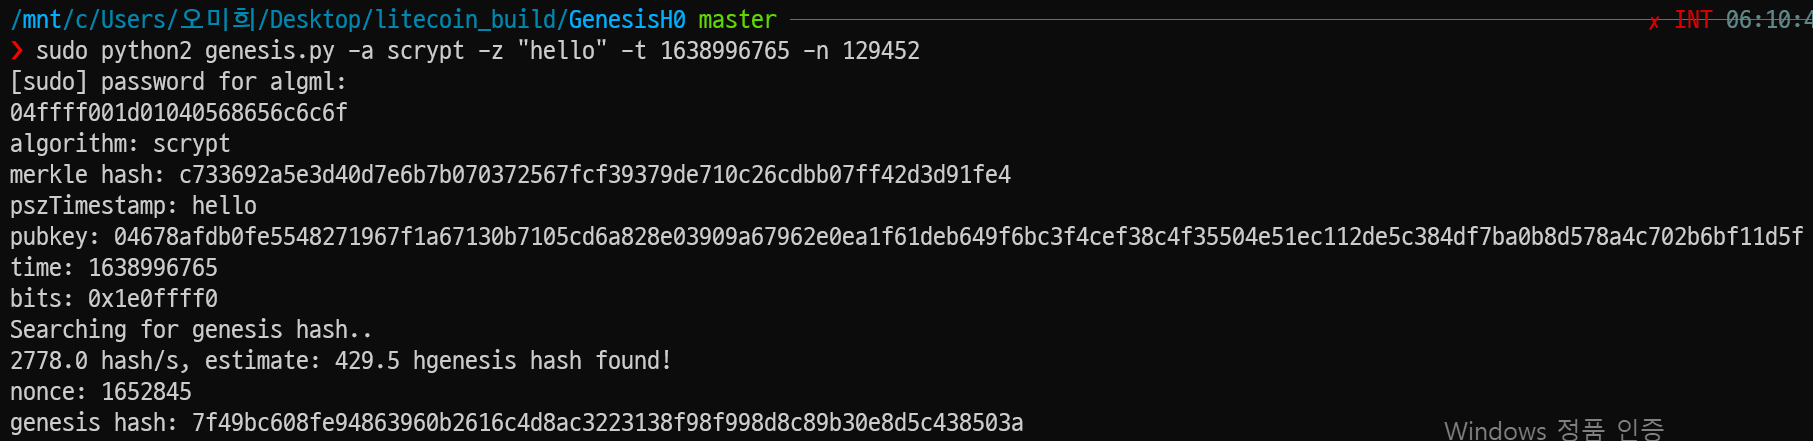
// 값 나온 거로 다시 변경
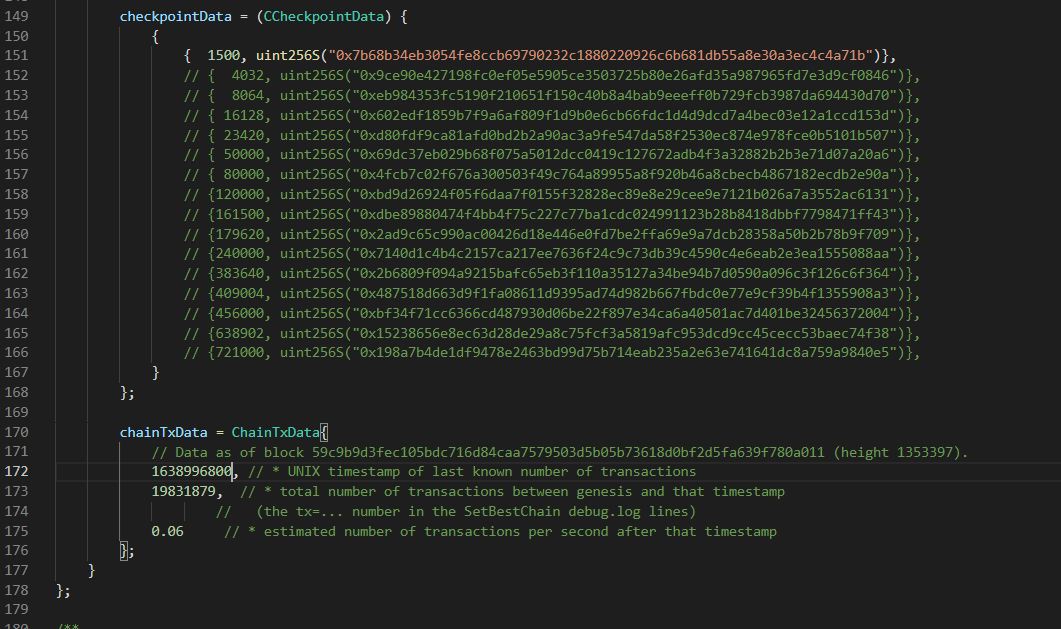
26. src/chainparamsseeds.h
26-1. 226째줄부터
226째줄
- 첫번째 : time값
- 두번째 : nonce값
228째줄
- 0xgenesis hash값
229째줄
- 0xmerkle root값
변경전
변경후


26-2. 253째줄
앞에는 0
뒤에는 0x제네시스해시값
변경전
변경후


26-3. 257째 줄
첫번째 : time
두번째 : 0
세번째 : 0.00
변경전
변경후


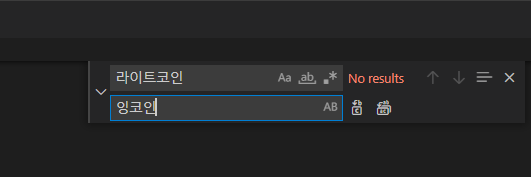
27. 이름바꾸기
Ctrl+f
28. 이미지 변경
src/qt/res/icons
// litecoin_splash.png --> ingcoin_splash.png
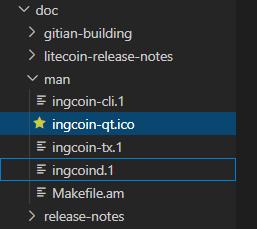
29. doc/man 이름변경
// litecoin -> ingcoin
// 아래와 같이 변경
빌드
30. windows termainal
30-1.
> cd ..
// genesis H0에서 빠져나옴
> cd ingcoin_0.0.15로 들어감
> PATH=$(echo "$PATH" | sed -e 's/:\/mnt.*//g')
> sudo bash -c "echo 0 > /proc/sys/fs/binfmt_misc/status"
> ls--> depends 파일 존재 확인
> cd depends
> ls--> Makefile 파일 존재 확인
> make -j 8 HOST=x86_64-w64-mingw32-> 빌드 시작
// 빌드 완류 휴
> cd ..
// /ingcoin_0.0.15로 이동
> ./autogen.sh
> CONFIG_SITE=$PWD/depends/x86_64-w64-mingw32/share/config.site ./configure --prefix=/
// makefile 생성
> make -j 8
> sudo make install DESTDIR=내용을 옮길 폴더
// 나의 경우 sudo make install DESTDIR=/mnt/c/Users/오미희/Desktop/litecoin_build
> make deploy--> 설치용 .exe파일 생성
실행
31. 바탕화면에 ingcoin 생성 폴더
- 바탕화면에 ingcoin생성 폴더에 들어가서 data폴더 생성
- bin 폴더 들어감
- ingcoin-qt에서 windows terminal 실행
> ./ingcoin-qt.exe -datadir=/mnt/c/Users/오미희/Desktop/litecoin_build/data
// data 폴더에 데이터 디렉토리 생성