1. Ubuntu 설치
https://webnautes.tistory.com/1580
위 링크에서 설치 방법 따라하면 됩니다.
2. ip 확인
~$ ip a위 보이는 enp0s10을 잘 기억해둡니다.
3. Node 1, Node 2 서버에 추가 인터페이스 할당
node 1 / MASTER : 192.168.64.6
node 2 / BACKUP : 192.168.64.5
다음으로 node 1, node 2 서버에 접속하여 추가 인터페이스를 활성화하는 작업 진행합니다.
작업을 용이하게 하기 위해 각 노드들 루트 권한으로 설정합니다.
sudo suNode 1(MASTER) 인터페이스 활성화
vi /etc/network/interfacesauto enp0s10
iface enp0s10 inet static
address 192.168.64.6
netmask 255.255.255.0
ifup enp0s10Node 2(BACKUP) 인터페이스 활성화
vi /etc/network/interfacesauto enp0s10
iface enp0s10 inet static
address 192.168.64.5
netmask 255.255.255.0
ifup enp0s104. Node 1, Node 2에 VIP 할당
VIP는 192.168.64.100으로 각 Node 1, Node 2에 enp0s10:0으로 추가해주었습니다.
<Node 1>
ifconfig enp0s10:0 192.168.64.100 netmask 255.255.255.0<Node 2>
ifconfig enp0s10:0 192.168.64.100 netmask 255.255.255.05. Keepalived 설치
각 Node에 Keepalived를 설치하고, 설정 파일 수정을 통해 Node1 과 Node 2에 대한 HA 구성을 합니다.
1) Node 1(MASTER)
vi /etc/keepalived/keepalived.confvrrp_instance VI_1 {
state MASTER
interface enp0s10
virtual_router_id 51
priority 200
advert_int 1
authentication {
auth_type PASS
auth_pass 1111
}
virtual_ipaddress {
192.168.64.100
}
}위의 것과 달리 다음에서는 state가 BACKUP인 점과 priority가 100으로 변하였다.
2) Node 2(BACKUP)
vi /etc/keepalived/keepalived.confvrrp_instance VI_1 {
state MASTER
interface enp0s10
virtual_router_id 51
priority 200
advert_int 1
authentication {
auth_type PASS
auth_pass 1111
}
virtual_ipaddress {
192.168.64.100
}
}6. Ping Test 진행
자신이 가지고 있는 iterm으로 VIP에 대해 Ping test를 진행한다.
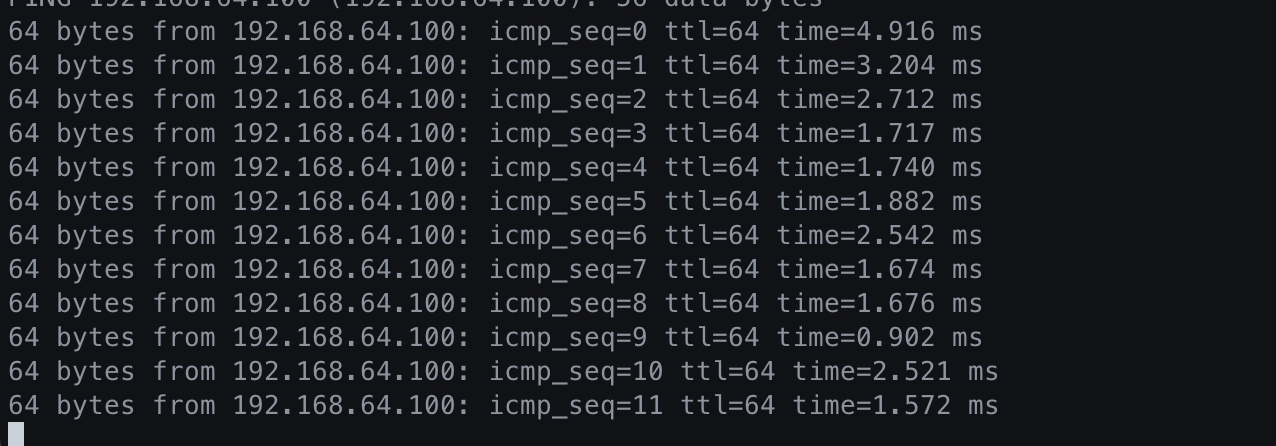
Ping이 정상적으로 작동한다


핑을 차단하고 봐도
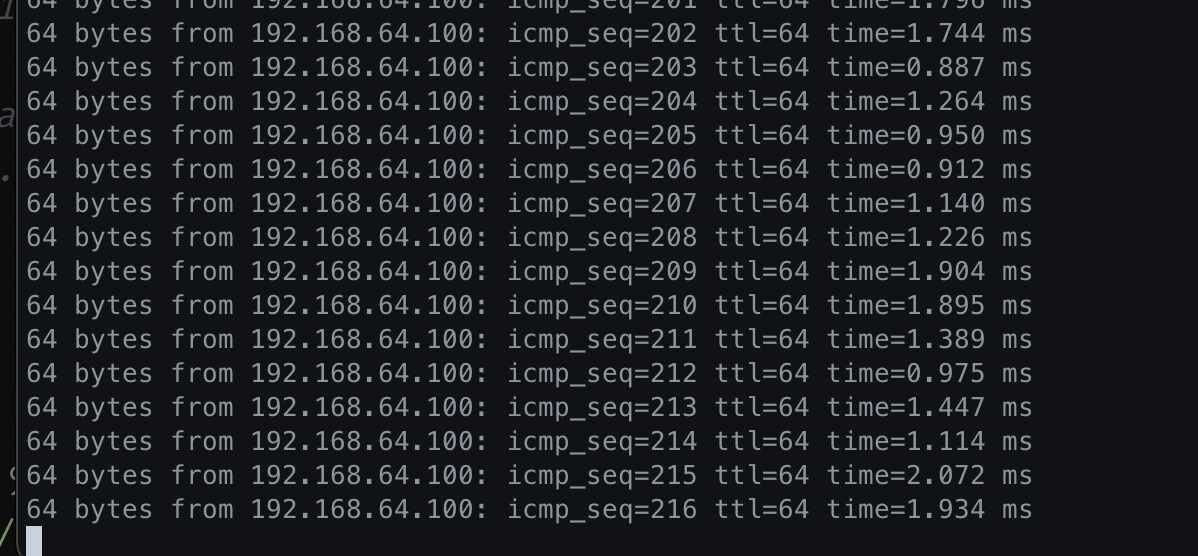
정상 작동한다.

나는 개발자입니다.