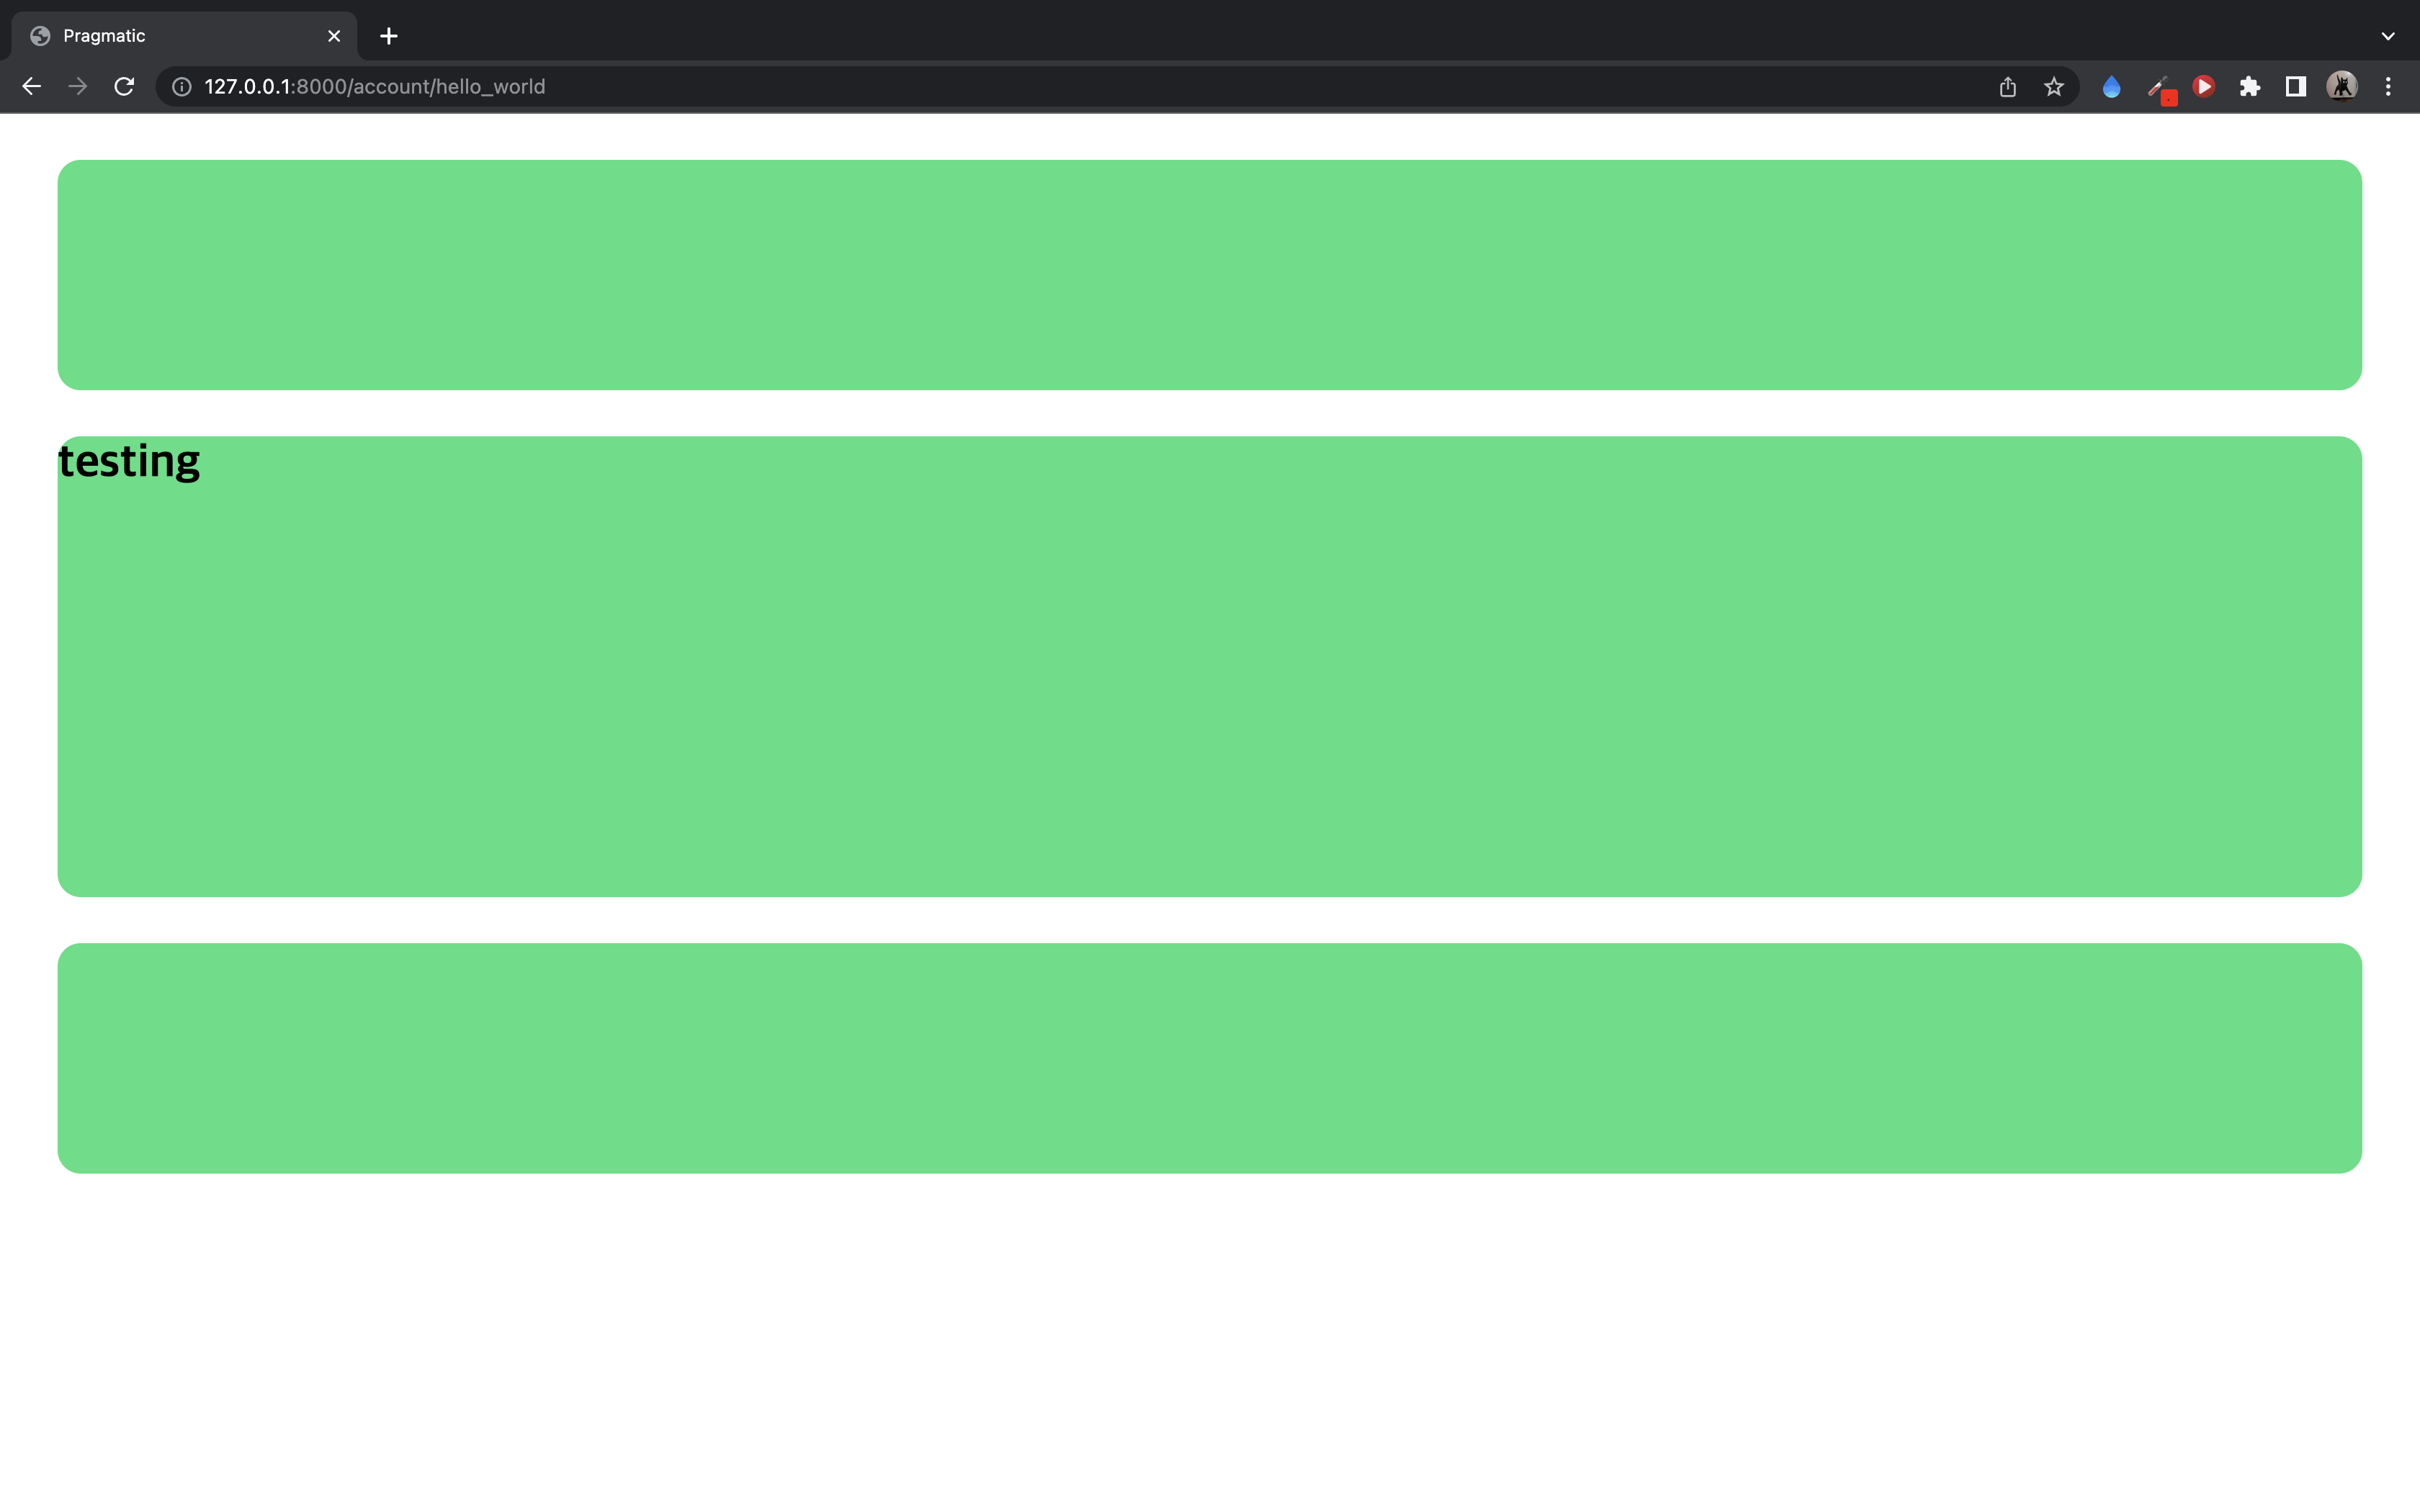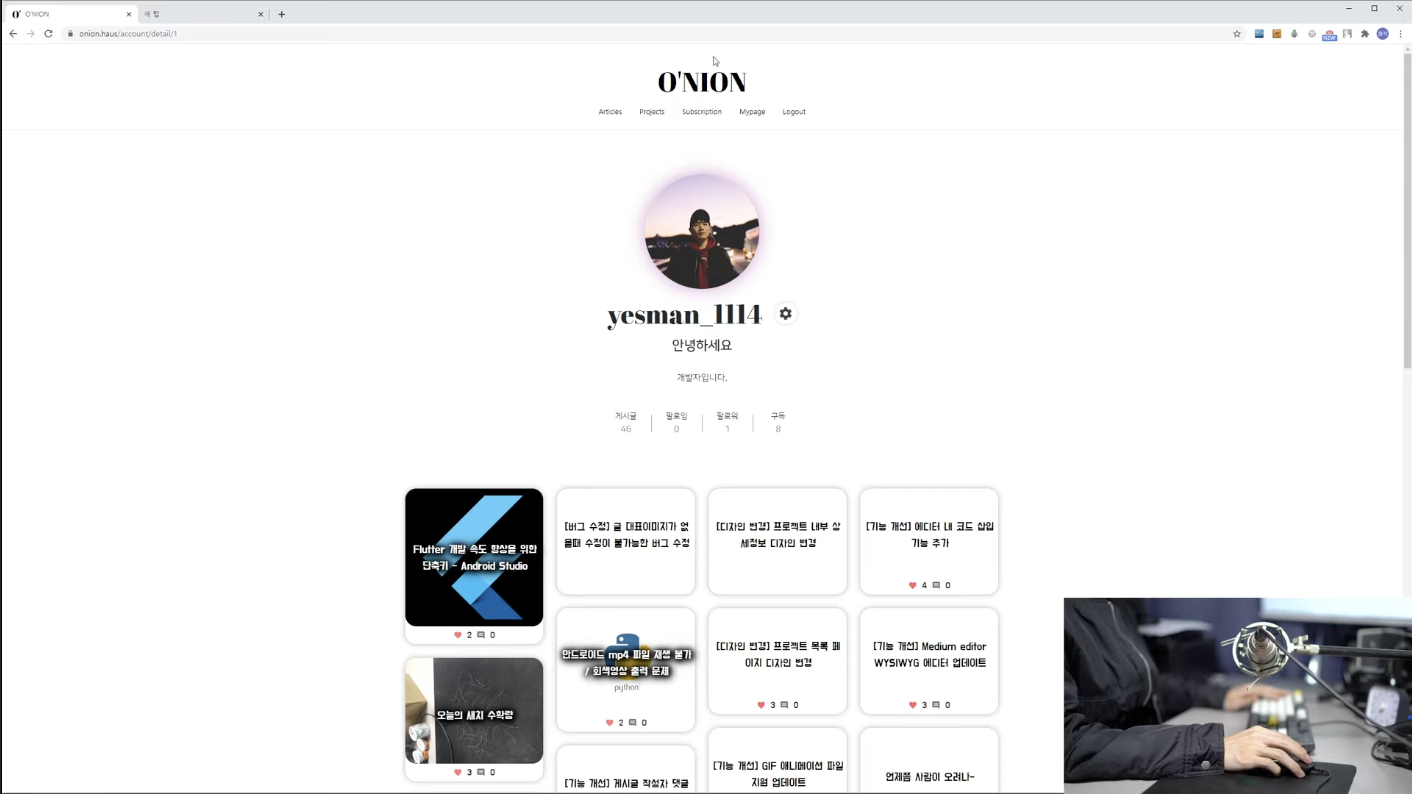
만들고자 하는 레이아웃 형태
머리, 몸통, 바닥 3가지 부분으로 나눌 수 있다.
3개의 뼈대를 만드는 과정
include 를 이용해서 head 부분이 나중에는 여러가지가 들어갈것인데 (링크 삽입, 소스 가져오기 등) 뼈대에서 다 보기는 난잡하기 때문에 include 구문을 이용해서 다른 파일로 만들어줄것이다.
template 폴더 -> 새로운 head.html 파일 생성
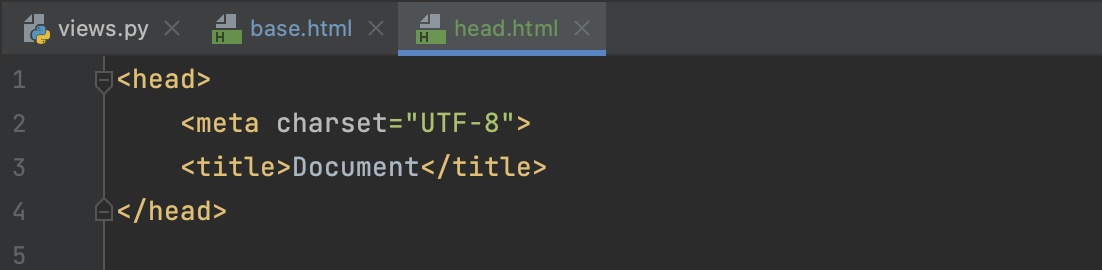
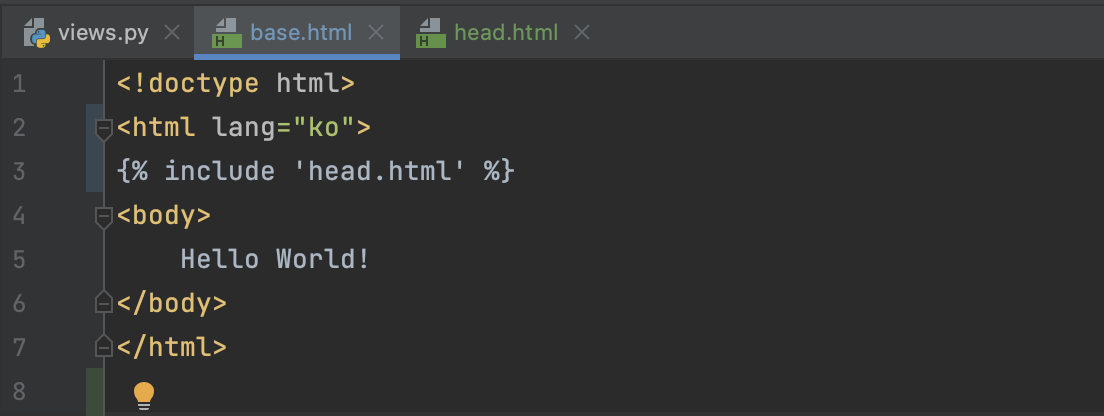
이렇게 헤드 부분을 따로 include 시켜준다
이후는 앞서 말한것처럼 전체 레이아웃의 상, 중, 하 를 나눈다고 했는데 그래서 body 태그 안에 div 태그를 사용한다.
div : 가능한 폭을 모두 가져가는 형태의 태그라 생각
<!doctype html>
<html lang="ko">
{% include 'head.html' %}
<body>
    <div style="height: 10rem; background-color: #38df81; border-radius: 1rem; margin: 2rem;">

    </div>

    <div style="height: 20rem; background-color: #38df81; border-radius: 1rem; margin: 2rem;">

    </div>

    <div style="height: 10rem; background-color: #38df81; border-radius: 1rem; margin: 2rem;">

    </div>

</body>
</html>
우선 div 태그가 차지하는 높이를 각각 10rem, 20rem, 10rem 을 갖도록 하고, background-color, border-radius, margin 을 설정한다.
이후 서버 구동
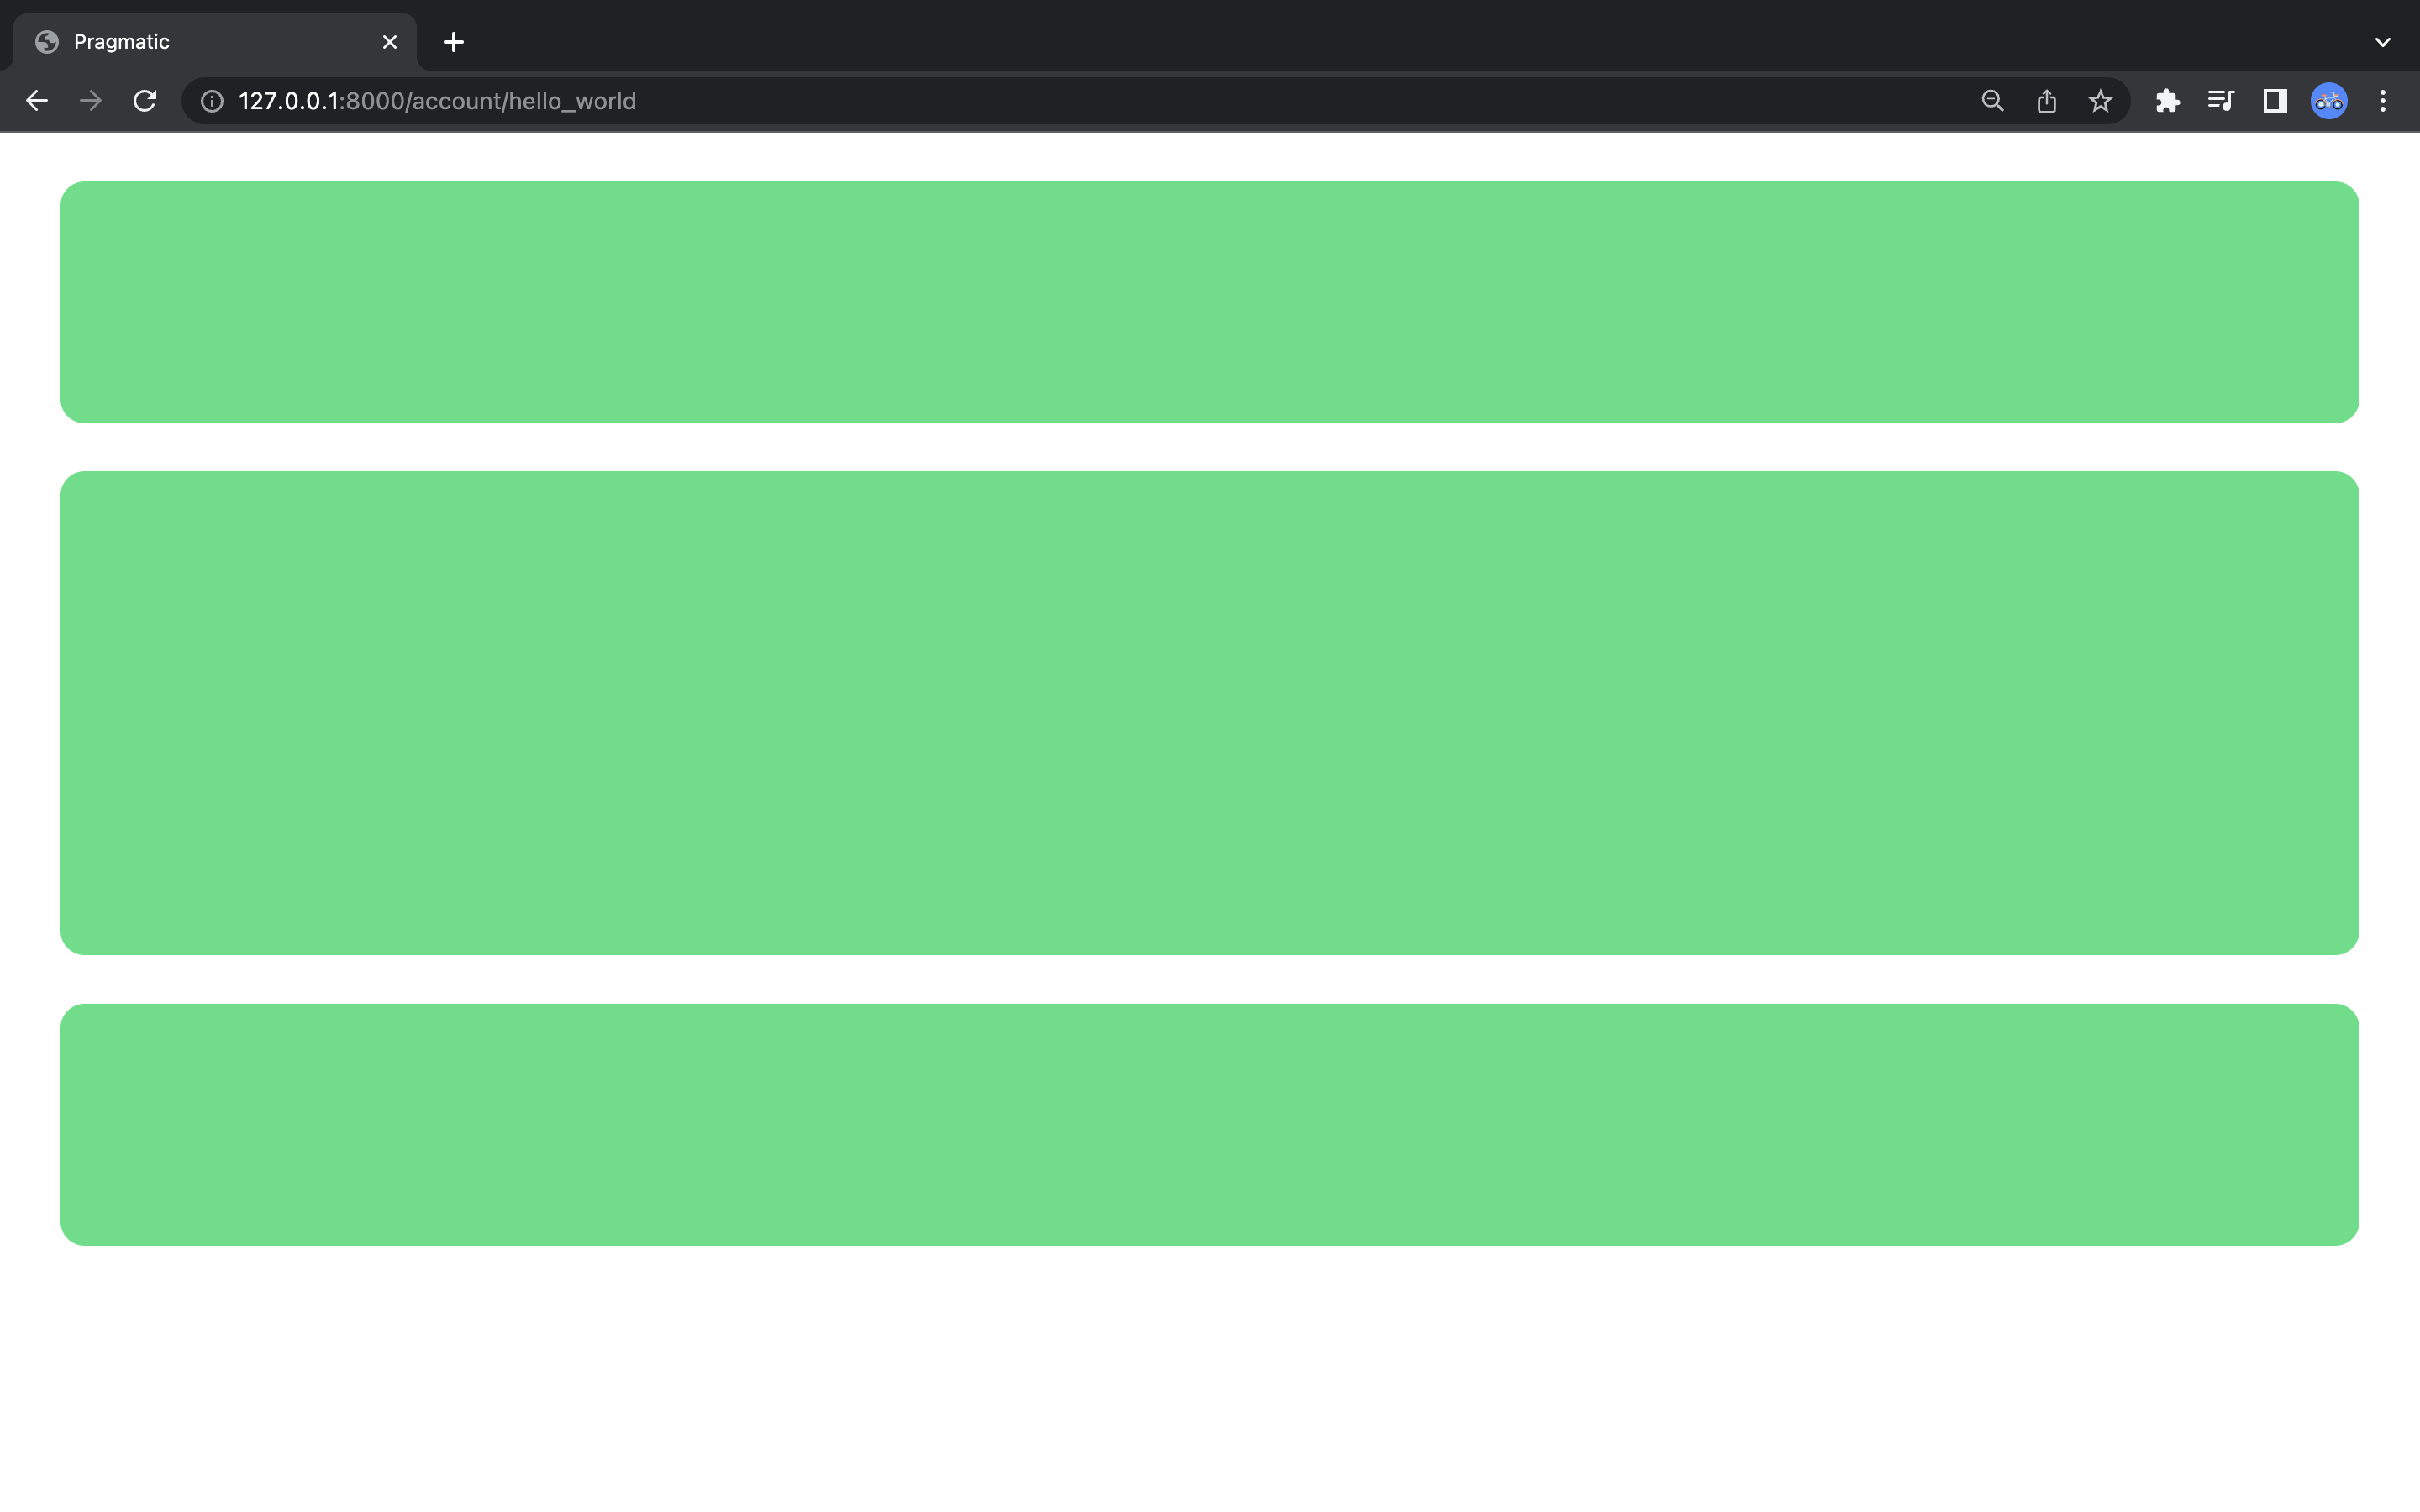
제일 윗 부분과 제일 아랫 부분은 항상 똑같이 그대로 유지할 것이다. 그런데 이 중간에 있는 내용만 바꾸는것이 핵심이다.
해야될것은 맨 윗 div, 맨 아래 div 는 include 구문을 사용하여 항상 가져오도록 만들것이다 -> 따로 html 파일 만들기
맨 위 div 를 -> header.html
맨 아래 div 를
<!--base.html-->
<!doctype html>
<html lang="ko">
{% include 'head.html' %}
<body>
    {% include 'header.html' %}

    <div style="height: 20rem; background-color: #38df81; border-radius: 1rem; margin: 2rem;">

    </div>

    {% include 'footer.html' %}
</body>
</html>
<!-- header.html -->
<div style="height: 10rem; background-color: #38df81; border-radius: 1rem; margin: 2rem;">
</div><!-- footer.html -->
<div style="height: 10rem; background-color: #38df81; border-radius: 1rem; margin: 2rem;">
</div>중간에 내용을 바꿔야 하는 중간 몸통 부분에 데해서 extends 구문을 사용하기 위해서 먼저 블럭 구문을 삽입해줘야 한다 -> {% block content %}} : content 라는 블록을 새로 만들어주는것이다. 그리고 {% endblock %} 라고 해서 어디까지가 end block 인지를 명시해줘야 한다.
지금까지의 설정으로 content 블록을 만든 다음에, content 블록을 제외한 나머지 블록은 재사용을 하면서 중간 content 부분만 우리가 만들고있는 accountapp 내부에서 마음대로 설정을 할 수 있게 발판을 만들어 놓은것이다.
이제 accountapp 내부에 따로 accountapp 자체의 templates 들을 보관할 경로를 만들어줄것이다.
-> accountapp 내부에 templates 라고 하는 폴더를 생성해주고 그 안에 accountapp 이라는 폴더를 만들어 이 안에다가 새로 html 파일들을 넣어줄 것이다.
번거롭게 하는 이유? 앱 내부에 있는 template 에서 html 파일을 바로 만들어버리면 accountapp 내부의 views.py 에서의
'base.html'을 가져올 때'accountapp/base.html'와 같이 어떤 앱에서 이 html 파일을 가져왔는지 가독성을 높이기 위한 사전 작업을 하는것이다.
accountapp 폴더 안에 extends 할 html 파일을 만들것이다 -> 이름은 hello_world.html 파일을 만들고 그 안의 내용으로는 일일히 html 파일을 다 만들어줄 필요 없이 extends 구문을 사용하면 된다.
{% extends ''%}
우리가 만들어 놨던 3가지로 구분지어놓은 뼈대인 'base.html' 파일을 가져오게 된다 -> 이 구문을 사용하게 되면 'base.html' 의 내용을 가져오는데 그중에 block content 내용만 우리가 바꿀 수 있게 만들어지는것이 바로 extends.
그 이후에 {% block content %} ~ {% endblock %} 사이에 마음대로 내용을 바꿀 수 있게 되고 그 사이에 아까 몸통 부분에 해당했던 div 태그의 내용을 가지고 렌더링을 하게 된다.
{% extends 'base.html' %}

{% block %}

    <div style="height: 10rem; background-color: #38df81; border-radius: 1rem; margin: 2rem;">
        <h1>
            testing
        </h1>
    </div>

{% endblock  %}
확인을 위해서 testing 을 h1 태그로 작성하고, 다시 views.py 파일의 return render 부분의 수정을 하지 않고 'base.html' 라고 두면, tempates 에 있는 base.html 을 가져오게 된다. --> 'accountapp/hello_world.html' 을 가져오도록 생성.
//views.py
from django.http import HttpResponse
from django.shortcuts import render

# Create your views here.

def hello_world(request):
    return render(request, 'accountapp/hello_world.html')
git status -> git add . -> git commit -m "django courser 9 commit" -> python manage.py runserver