
Spring Boot 프로젝트 환경설정
스프링 부트에 대해 찾고 싶은 내용이 있을 때는 공식 문서 찾아보기
Spring Boot Reference Documentation
프로젝트 생성
1. https://start.spring.io/ 사이트 접속
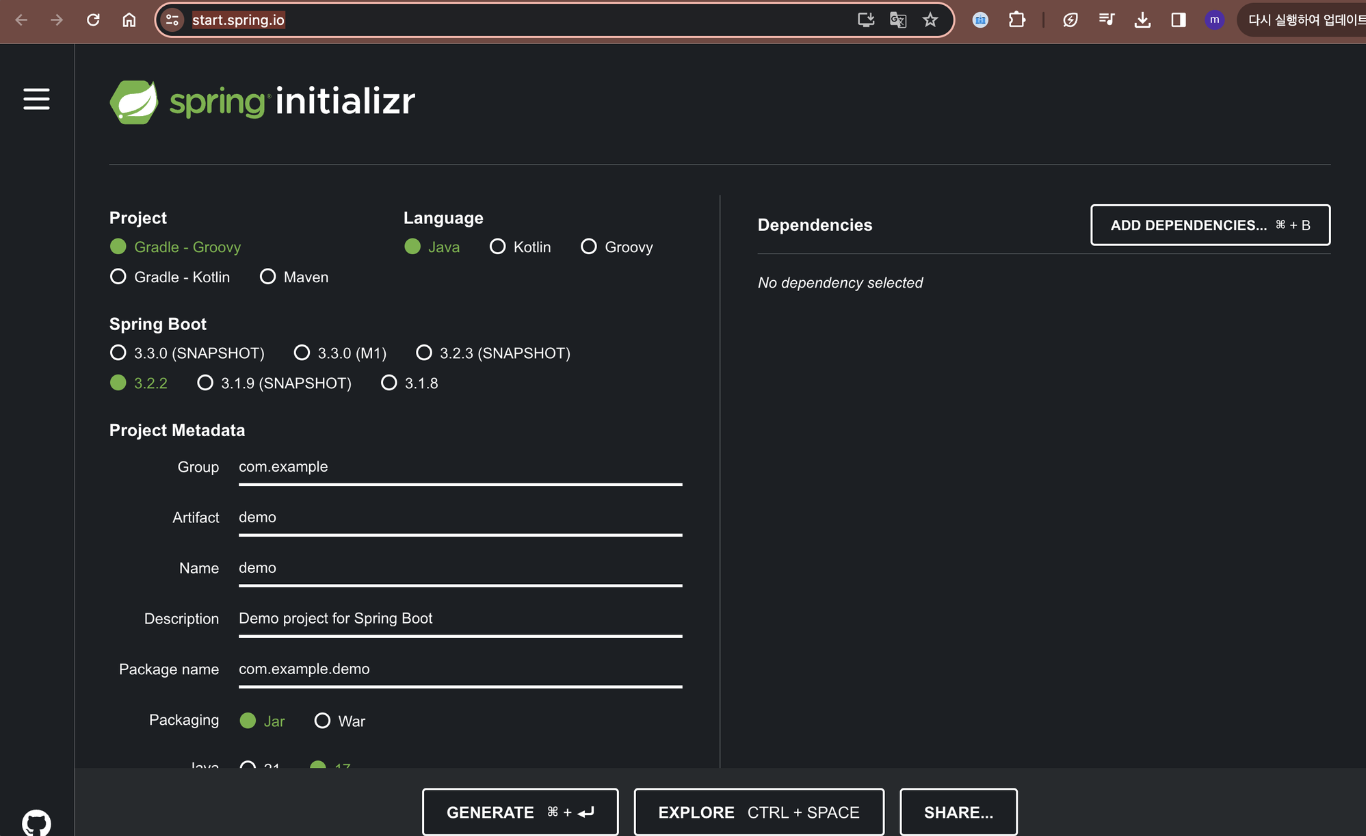
2. Project, Spring Boot 버전, Language, Packaging, java 버전 설정
- Project: Gradle - Groovy Project
- Spring Boot: 3.x.x
- Language: Java
- Packaging: Jar
- Java: 17 또는 21
요즘은 maven보다는 gradle을 사용하는 추세이니 gradle로 project를 설정하자!
SNAPSHOT, M1는 베타 버전 등 공식적으로 나오지 않은 버전들을 의미한다.
3. 프로젝트 Name과 Artifact 설정
- Artifact : 프로젝트가 빌드되어 나올 때 결과물의 이름
4. Dependency 추가
- Spring Web : web 프로젝트를 생성할 때 사용
- thymeleaf : html을 만들어주는 템플릿 엔진
5. GENERATE

오라클과 자바 라이센스 문제로 모든
javax패키지를jakarta로 변경해줘야 한다.
6. intellij - open project - 해당 폴더의 build.gradle Open
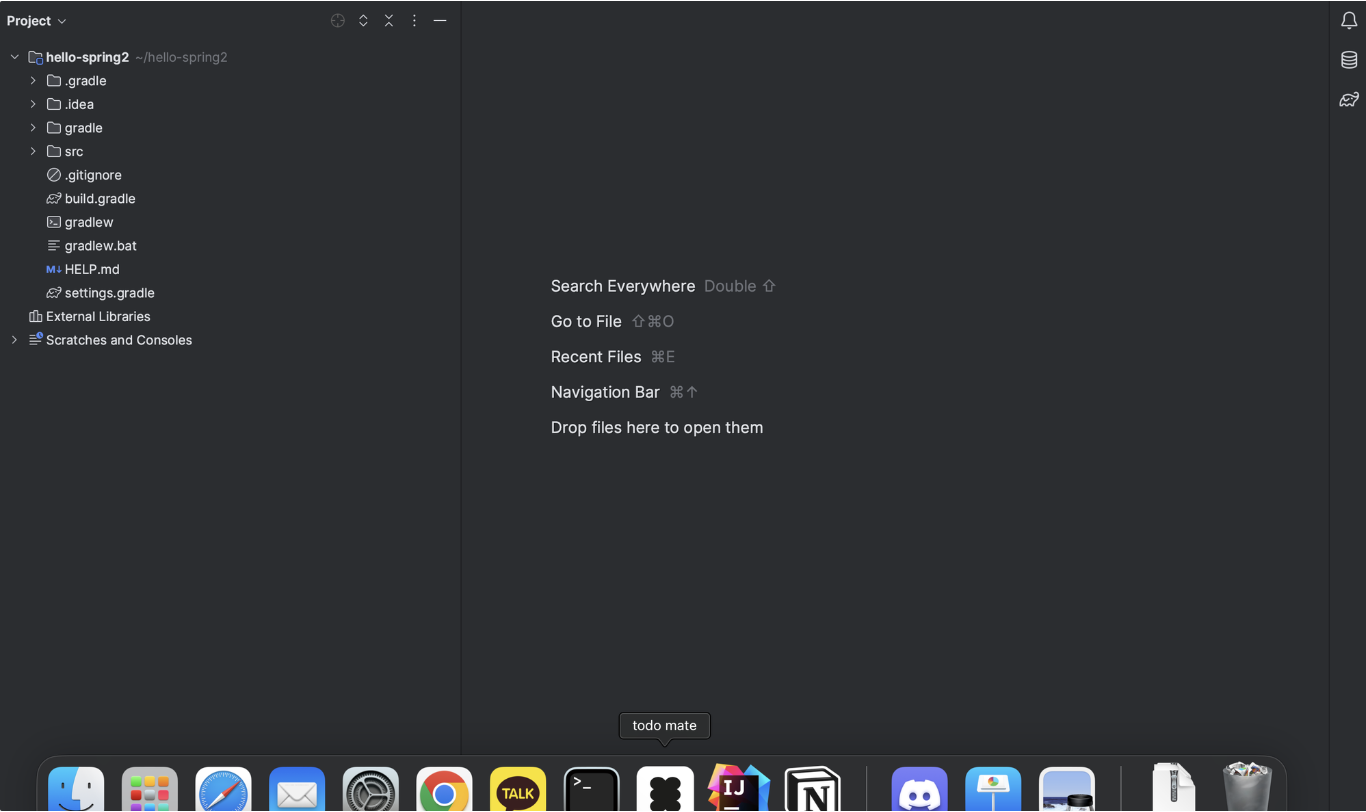
- .idea : intellij가 사용하는 설정 파일
- gradle : gradle을 사용하는 폴더
- build.gradle : 프로젝트를 설정하는 코드가 담긴 파일
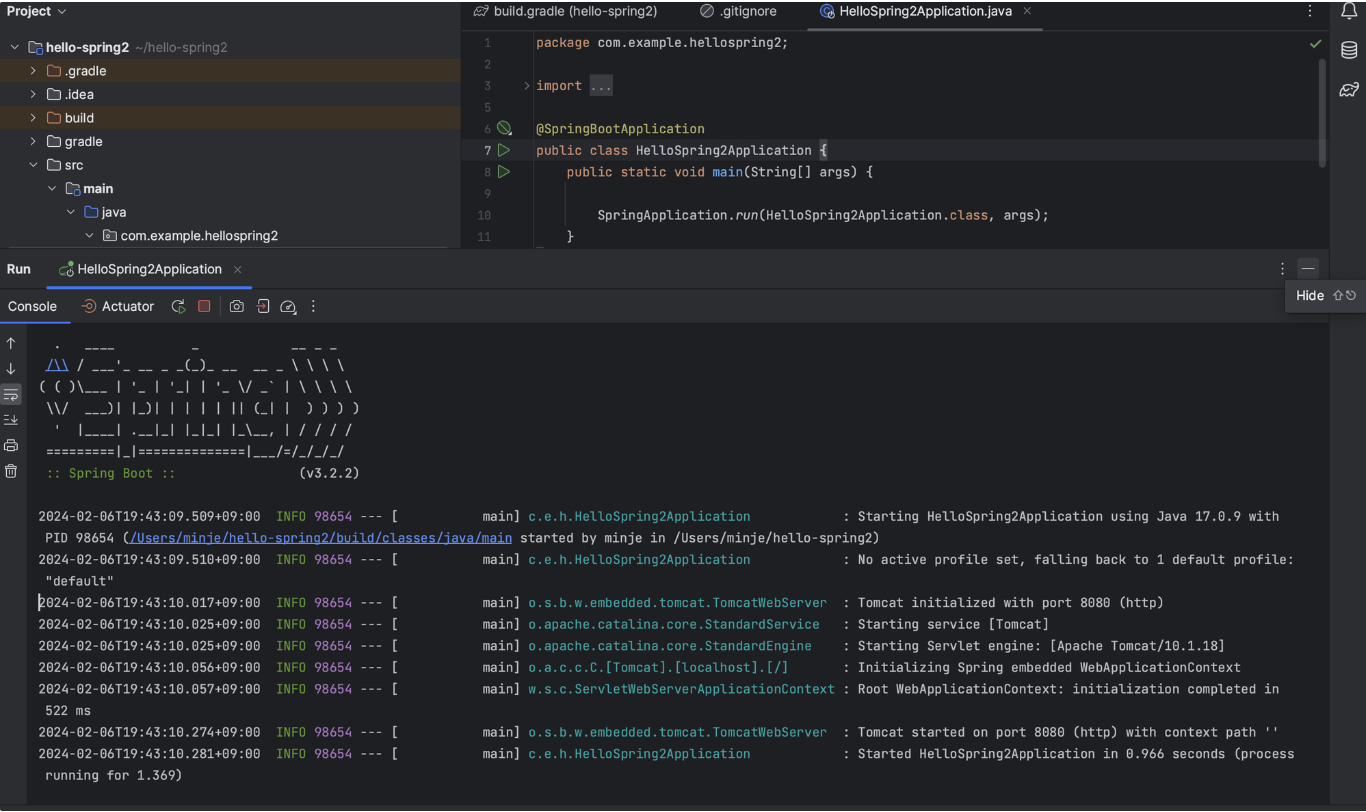
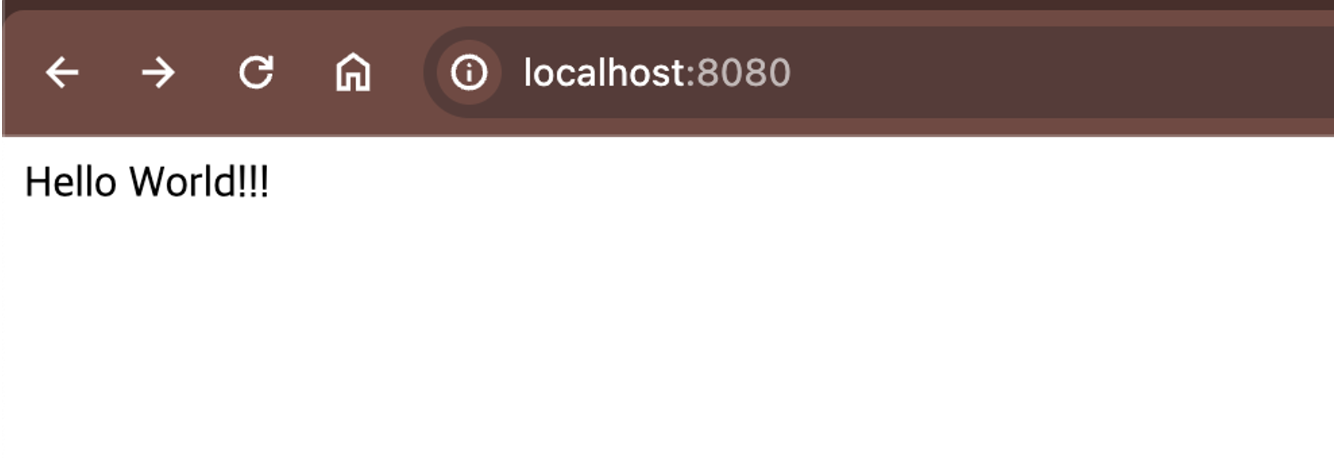
7. main 파일을 실행시켜 서버가 정상 작동 하는지 확인해보기
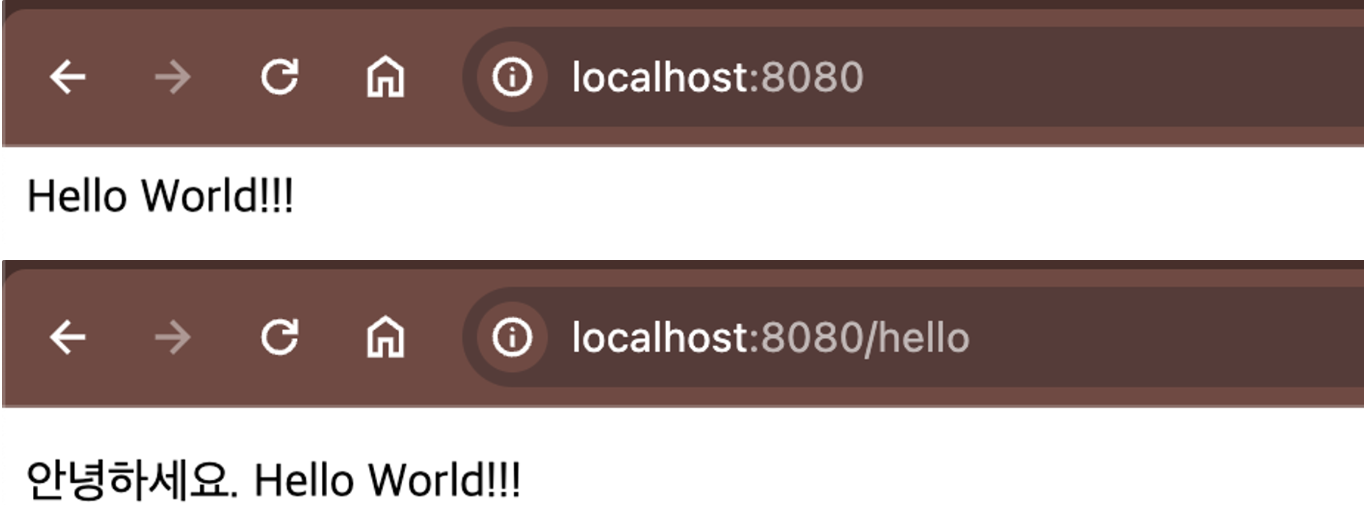
- localhost:8080으로 접속
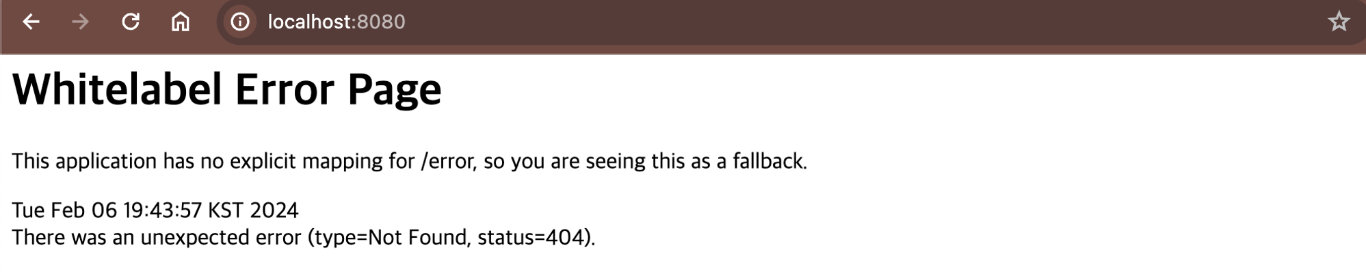
- 위와 같이 페이지가 뜨면 성공!
- @SpringBootApplication
- Spring Boot 애플리케이션 실행
- Tomcat이라는 웹서버를 내장하고 있어 Tomcat을 자체적으로 실행시킨다.
8. Gradle 실행을 Intellij IDEA 실행으로 변경
- Intellij IDEA - Setting -Build, Execution, Deployment - Gradle - Build and run using과 Run tests using을 IntelliJ IDEA로 변경
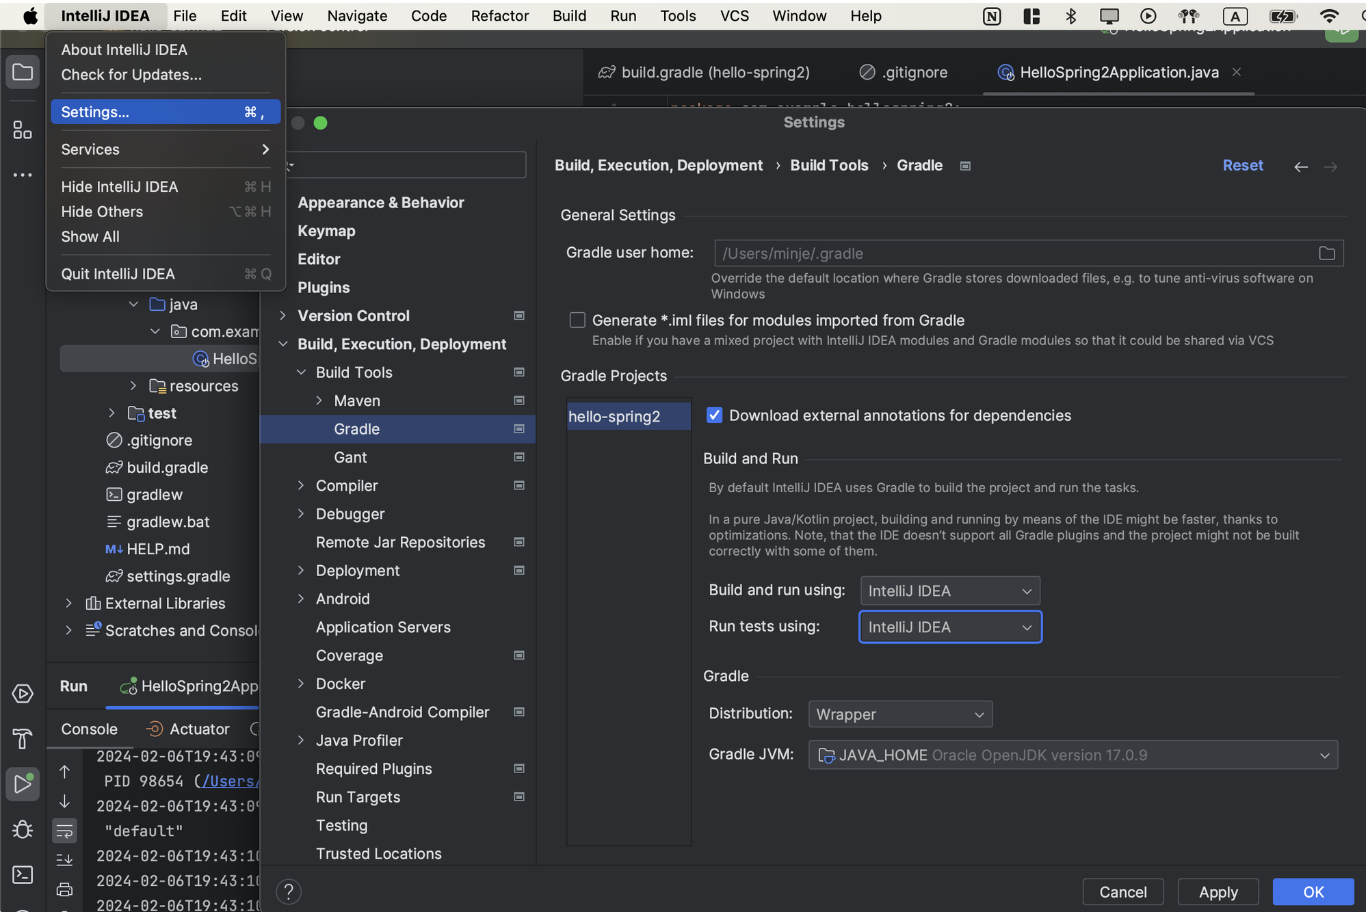
- gradle 실행은 gradle을 통해 실행시켜서 느리다. 그러므로 Intellij IDEA 실행으로 변경해주어 Intellij에서 바로 실행시키도록 변경해준다.
프로젝트 파일
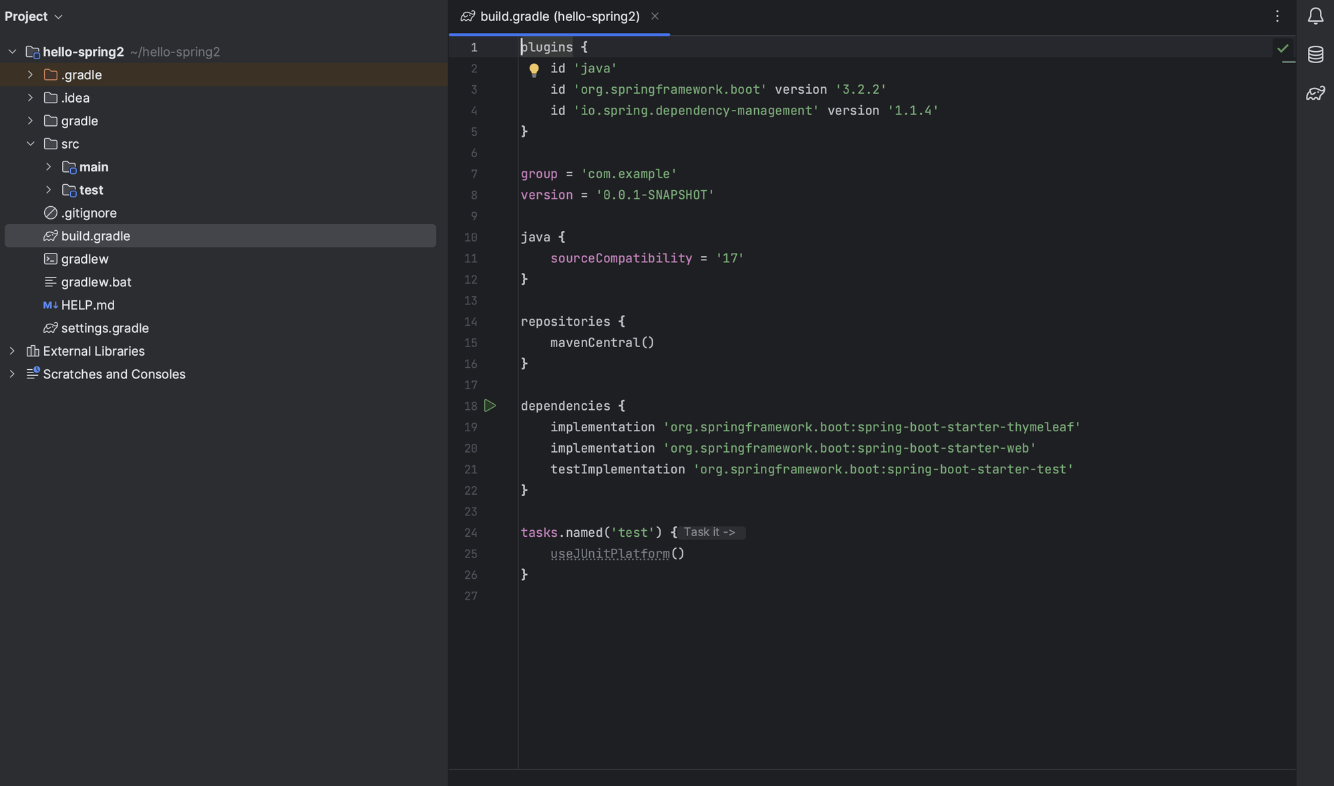
dependency
- 프로젝트의 build.gradle을 보면 의존 관계는
spring-boot-starter-thymeleaf,spring-boot-starter-web밖에 없는데 External Library에는 수많은 관련 Library들이 설치되어 있는 것을 확인해볼 수 있다.
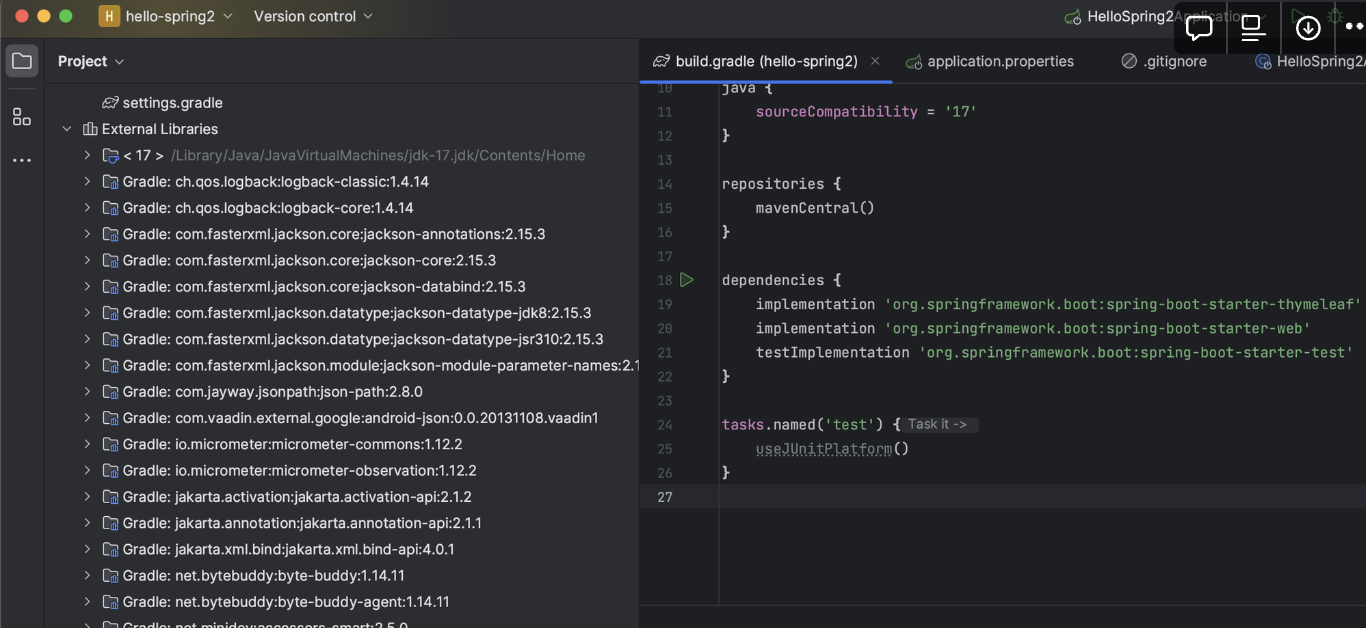
- 이는
spring-boot-starter-thymeleaf,spring-boot-starter-web과 의존 관계가 있는 Library들이며 core, tomcat 등이 있는 것을 확인해볼 수 있다.

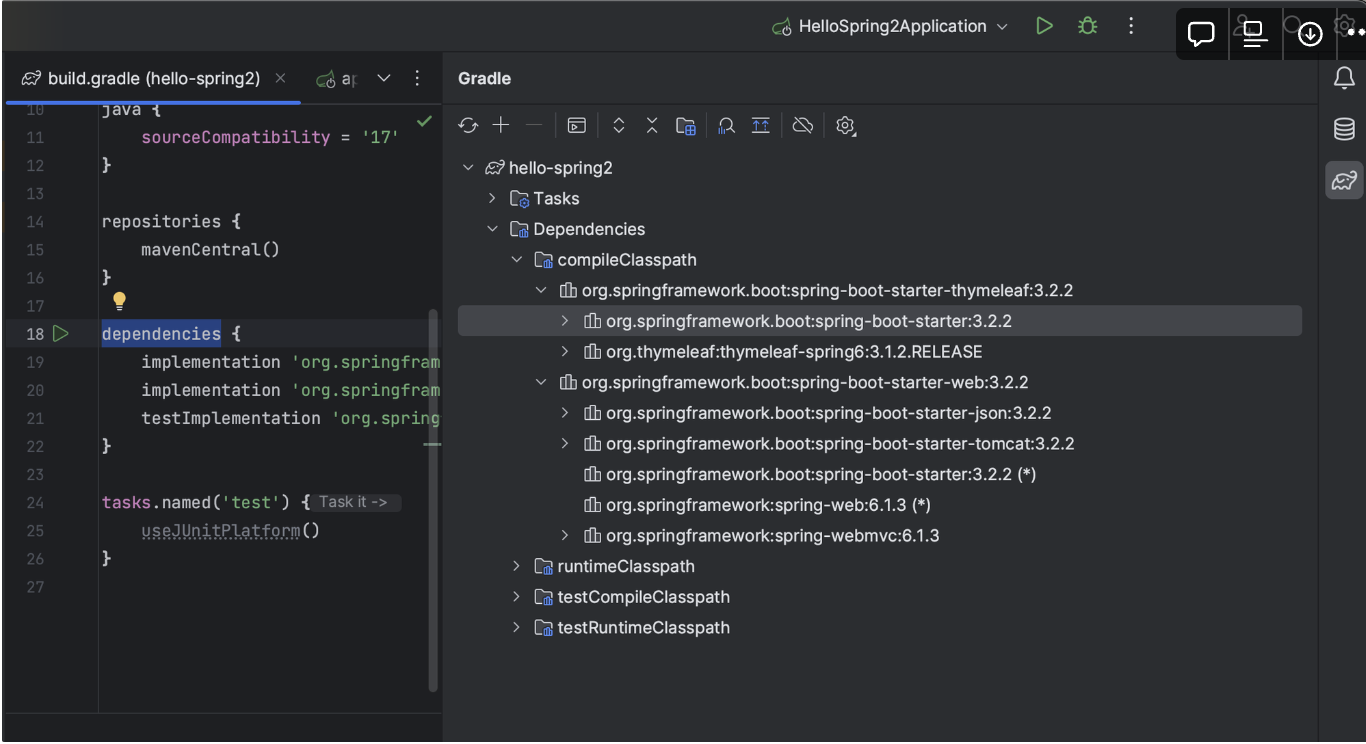
- 또한 우측의 Gradle을 열어보면
dependencies들이 설치되어있는 것을 확인할 수 있다
tomcat
- 예전에는 Web Server를 이용하기 위해 Tomcat을 설치하고 거기에 java 코드를 밀어넣는 식으로 사용하였다.
- 하지만 현재는 프로젝트의 소스 라이브러리들이 웹서버를 내장하고 있기 때문에 Tomcat을 따로 설치하거나 따로 설정할 필요없이 웹서버를 사용할 수 있다.
View 설정
- src - main - resources - static : 정적 페이지
-
static 폴더에 index.html 파일을 만들고 html 코드 작성
<!DOCTYPE HTML>
<html xmlns:th="http://www.thymeleaf.org">
<head>
  <title>Hello</title>
  <meta http-equiv="Content-Type" content="text/html; charset=UTF-8" />
</head>
<body>
Hello World!!
</body>
</html>
-
- controller와 templetes - html 파일을 이용하여 실습해보기
-
java 패키지의 하위 패키지에 controller 패키지를 생성하고 HelloController.java 파일 생성
import org.springframework.stereotype.Controller; import org.springframework.ui.Model; import org.springframework.web.bind.annotation.GetMapping; @Controller public class HelloController { //hello라는 이름의 Get으로 Mapping @GetMapping("hello") public String Hello(Model model){ //data라는 이름으로 Hello World!!! 저장 Map의 key, value같은 느낌 model.addAttribute("data", "Hello World!!!"); //hello.html 파일을 찾아 랜더링 return "hello"; } } -
resources - templetes 패키지에 hello.html 파일 생성
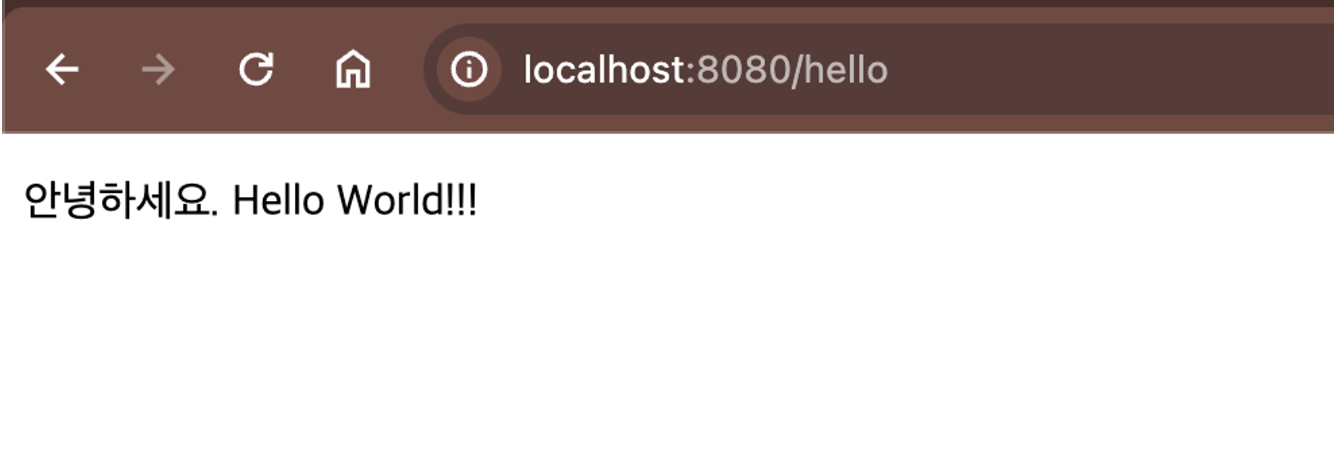
<!DOCTYPE HTML> <html xmlns:th="http://www.thymeleaf.org"> <head> <title>Hello</title> <meta http-equiv="Content-Type" content="text/html; charset=UTF-8" /> </head> <body> <!--model에서 key 값이 data인 value를 찾아 대입--> <p th:text="'안녕하세요. ' + ${data}" >안녕하세요. 손님</p> </body> </html> -
실행 후 localhost:8080/hello로 접속
-
실행 파일 만들기
-
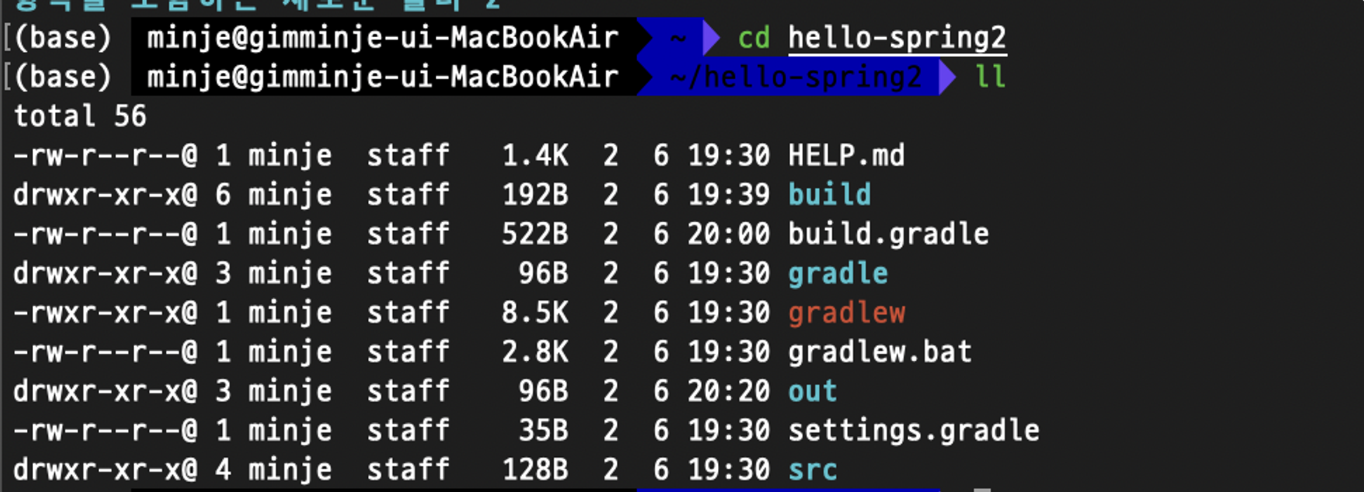
터미널 실행하여 프로젝트 디렉토리로 이동
-
./gradlew build 입력 후 build - libs 디렉토리로 이동
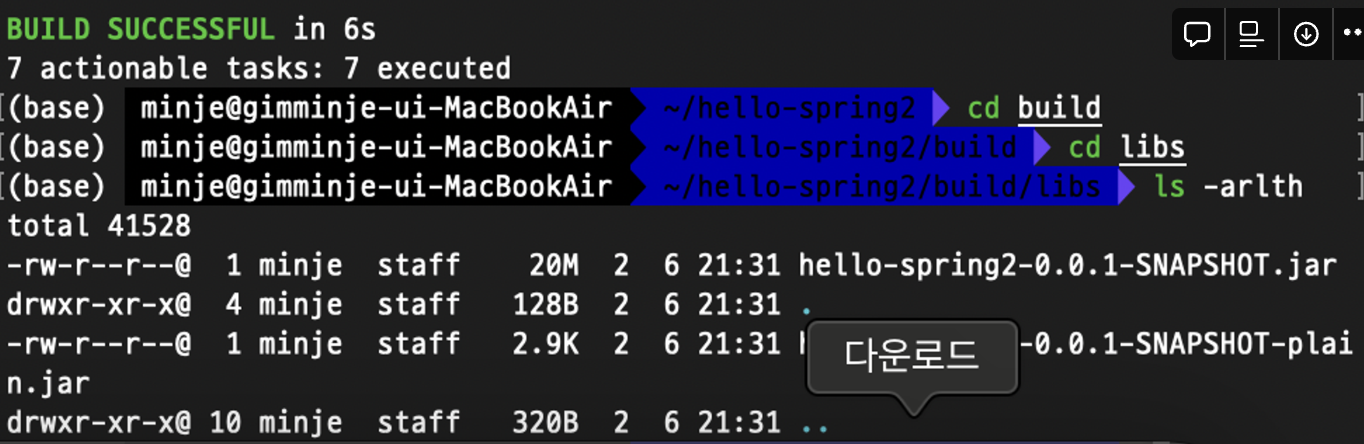
- jar파일이 생성된 것을 확인할 수 있다.
-
java -jar jar파일의 이름을 입력하여 실행하여 준다.
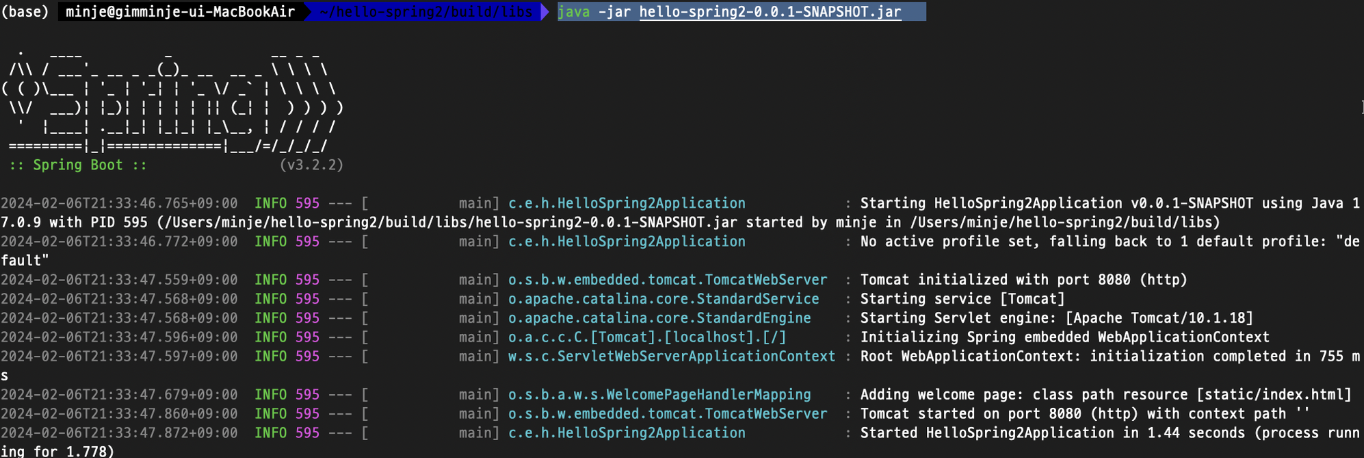
-
실행 확인
스프링 부트에 대해 찾고 싶은 내용이 있을 때는 공식 문서 찾아보기
Spring Boot Reference Documentation

블로그 이전했습니다!! 👉 https://alswp006.github.io/