프로젝트에서 인가 관련 정보는 redis에 담기로 해 로컬에서 테스트 후 Amazon Linux 2023 서버에 설치하는 과정 기록.
설치
레디스 빌드를 위해 gcc make 설치
sudo yum gcc make
레디스 설치용 디렉토리 생성 후 레디스 소스 파일 다운로드
mkdir redis
cd redis/
sudo wget http://download.redis.io/redis-stable.tar.gz
레디스 압축 파일 컴파일
sudo tar zxvf redis-stable.tar.gz
cd redis-stable/
sudo make
그러면 다음과 같은 알림과 함께 컴파일이 시작된다
make[1]: Entering directory '/home/my-ec2/redis/redis-stable/src'
    CC Makefile.dep
그리고 마지막에
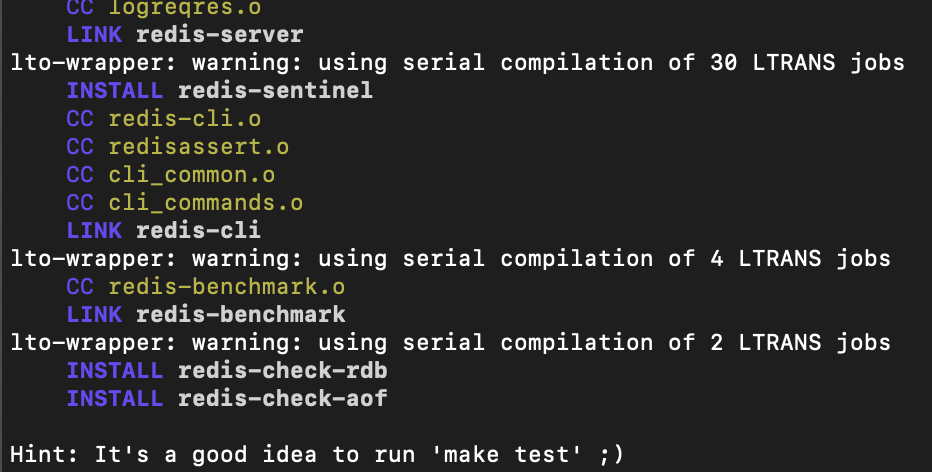
문구가 떠 make test를 진행했다.
make test로 컴파일 확인하기
이때, 에러 발생
You need tcl 8.5 or newer in order to run the Redis test
make[1]: *** [Makefile:462: test] Error 1
tcl 설치 진행
sudo yum install tcl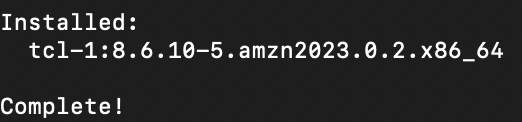
다시 make test!
실행
이제 redis를 설치했던 폴더에서 ./redis/src/redis-server 이런 식으로 레디스 서버를 킬 수 있다. 하지만 전역에서 명령어 실행 후 레디스 실행 시키도록 해보자.
설치한 레디스 파일 전역 디렉토리로 복사
앞서 레디스를 실행시켰던 redis-server 파일과 redis-cli파일을 /usr/local/bin/ 디렉토리로 복사
sudo cp src/redis-server src/redis-cli /usr/local/bin/config 파일을 /etc/redis로 복사
앞서 레디스를 실행시켰던 redis-server 파일과 redis-cli파일을 /usr/local/bin/ 디렉토리로 복사
sudo mkdir /etc/redis

sudo cp src/redis.conf /etc/redis
config 설정 변경
sudo vi /etc/redis/redis.conf이후 redis-server 명령어로 레디스 실행이 가능한 것을 확인할 수 있다.!
참고

개발이란?