Route States
암호화폐 아이콘을 가져오는 API를 추가로 사용하자.
API URL 뒤에다가 그냥 원하는 코인의 symbol을 써주면 된다.
그동안 Link를 통해 페이지를 전환했는데, 이때 코인의 이름을 얻을 수 있었다. URL을 통해..!
useParams를 활용하여 얻을 수 있었던 것이다.
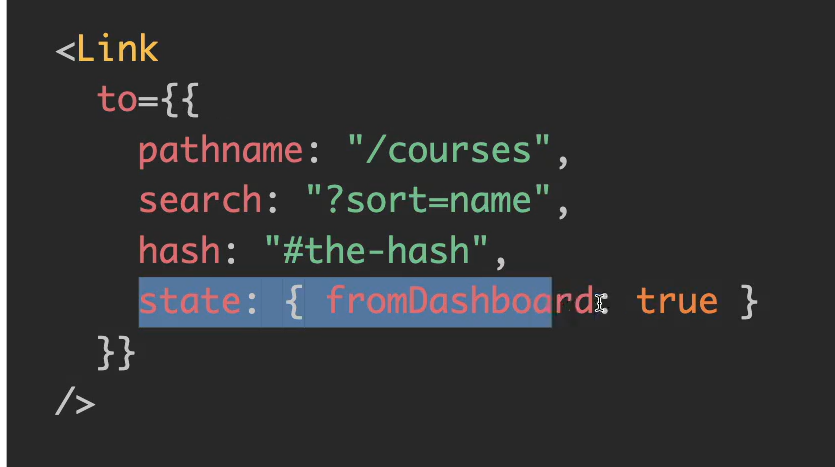
하지만 Link to를 이용해 데이터 자체를 보낼수도 있다.
그래서 페이지 전환 후에 더 많은 정보를 얻을 수 있다.
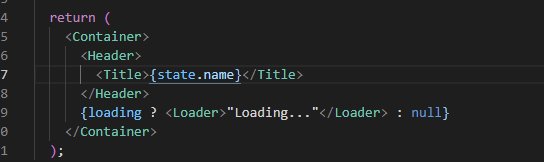
이 정보를 받아오기 위해
useLocation이라는 것을 사용한다 !!react-router-dom 이 제공
coin을 누를 때 마다
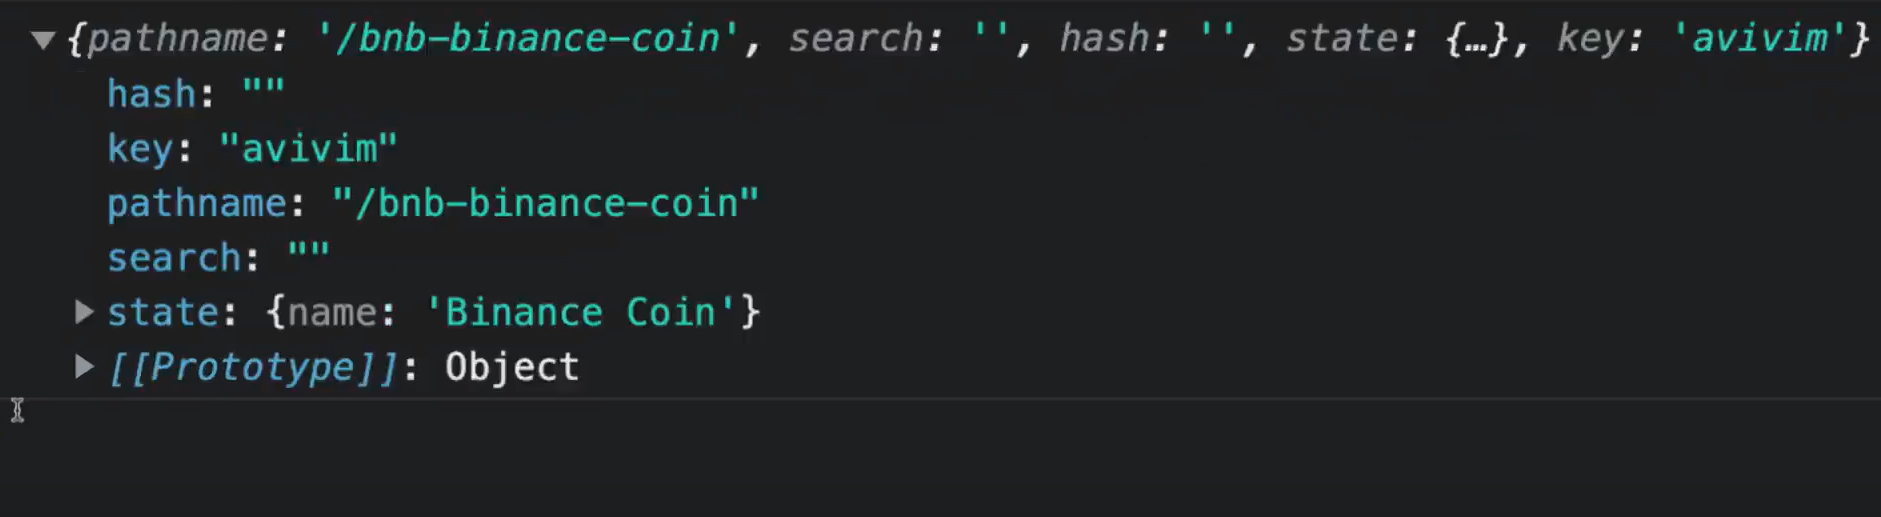
location을 알 수 있다.
이제

state를 가져와보자

typescript에
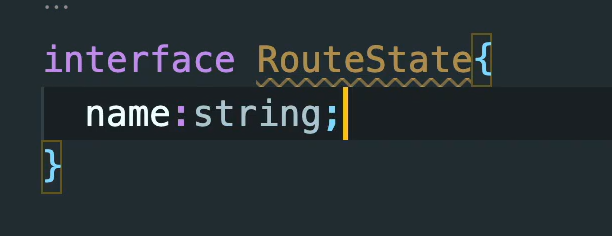
알려주면 된다.

이후 <> 안에 선언해주면 끝!
또한 기존에 URL로부터 가져오던 codeId를 state.name으로 바꾸므로서
APP 빠르게 구동되는 것 처럼 보인다. 왜냐하면 이미 코인의 name을 가지고 있어서 API가 줄 때까지 기다릴 필요가 없는 것이다.
여기서 state 는 우리가 Coins 화면을 열 때와, Coin 화면으로 넘어갈 때 생성된다.
문제는, 만약 시크릿 창으로 화면을 열어보면 에러가 날 것이다. 왜냐하면 name이 undefined 되어 있기 때문이다. state가 생성되려면 Home(즉 Coins)을 먼저 열어야 하기 때문이다. 우리가 클릭할 때 state가 만들어지기 때문에 Coin화면에서 state를 가져올 수 있는 것이다. 이를 해결하기 위해

이렇게 적어놓아주자...
state가 존재하면 name을 써주고, 없다면 Loading만 출력되도록,,
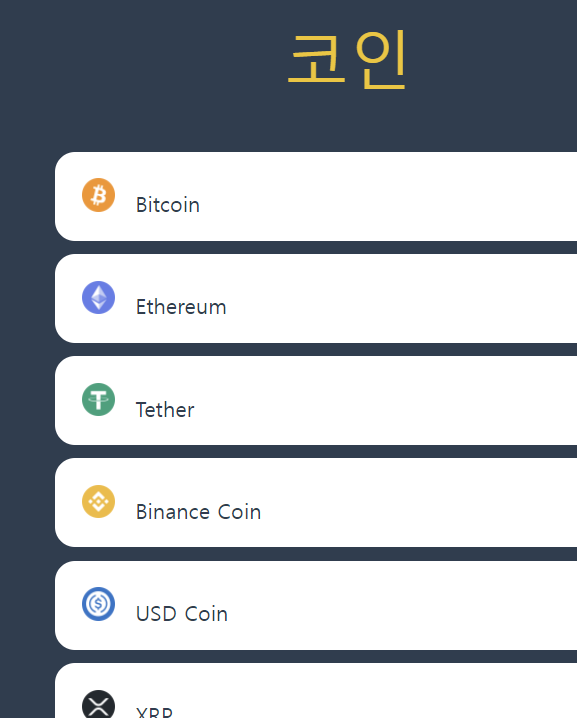
Coins
import styled from 'styled-components';
import { Link } from 'react-router-dom';
import { useEffect, useState } from 'react';

const Container = styled.div`
  padding: 0px 20px;
  max-width: 480px;
  margin: 0 auto;
`;

const Header = styled.header`
  height: 20vh;
  display: flex;
  justify-content: center;
  align-items: center;
`;

const CoinsList = styled.ul``;

const Coin = styled.li`
  background-color: white;
  color: ${(props) => props.theme.bgColor};
  margin-bottom: 10px;
  padding: 20px;
  border-radius: 15px;

  a {
    padding: 5px; // 좀 더 넓은 범위에서 transition 효과 적용 가능
    transition: color 0.2s ease-in;
  }

  &:hover {
    a {
      color: ${(props) => props.theme.accentColor};
    }
    // 아래에서는 a가 아닌 Link라는 이름으로 사용했지만
    // css에서는 anchor 를 선택해야 했다. 이건 모든 react router link들이
    // 결국에는 anchor로 바뀔거기도 하고,
    // react router dom이 우리 대신 설정을 도와줄 특별한 event listener들이 있기도 하다
  }
`;

const Title = styled.h1`
  font-size: 48px;
  color: ${(props) => props.theme.accentColor};
`;

const Loader = styled.span`
  text-align: center;
  display: block;
`;

const Img = styled.img`
  width: 25px;
  height: 25px;
  margin-right: 10px;
`;

interface CoinInterface {
  id: string;
  name: string;
  symbol: string;
  rank: number;
  is_new: boolean;
  is_active: boolean;
  type: string;
}

function Coins() {
  //state를 이용해 coins를 만들어 준다
  const [coins, setCoins] = useState<CoinInterface[]>([]);
  const [loading, setLoading] = useState(true);
  //state가 coins으로 이루어진 array라는 것을 알려주기 위해<interface>작성
  useEffect(() => {
    (async () => {
      const response = await fetch('https://api.coinpaprika.com/v1/coins');
      const json = await response.json();
      setCoins(json.slice(0, 100));
      setLoading(false);
    })();
  }, []);
  return (
    <Container>
      <Header>
        <Title>코인</Title>
      </Header>
      {loading ? (
        <Loader>"Loading..."</Loader>
      ) : (
        //loading 이 참이면 Loading... 출력, 거짓이면 CoinsList 보여줌
        <CoinsList>
          {coins.map((coin) => (
            <Coin key={coin.id}>
              <Img
                src={`https://cryptoicon-api.vercel.app/api/icon/${coin.symbol.toLowerCase()}`}
              />

              <Link
                to={{
                  pathname: `/${coin.id}`,
                  state: { name: coin.name },
                  //Link를 이용해 string 이외에 더 많은 데이터를 보낼 수 있다
                }}
              >
                {coin.name}
              </Link>
            </Coin>
          ))}
        </CoinsList>
      )}
    </Container>
  );
}

export default Coins;
Coin
import styled from 'styled-components';
import { useState } from 'react';
import { useParams, useLocation } from 'react-router';

//useParams 는 URL에서 관심있어 하는 정보를 잡아낼 수 있게 해준다.

function Coin() {
  const { coinId } = useParams<RouteParams>();
  // coinId가 string 이라는 것을 말해줄 수 있고
  // const{ coinId } = useParams<{coinId:string}>(); 이렇게
  //또는
  //타입스크립트에게 Params 라는 이름의 interface를 갖는다는 것을 말해 줄 수 있다.
  // interface Params{coinId:string;}
  // const{ coinId } = useParams<Params>();

  const [loading, setLoading] = useState(true);
  //state가 coins으로 이루어진 array라는 것을 알려주기 위해<interface>작성

  //Coins 에서 보내는 state 를 사용하기 위해 useLocation 이라는 hook을 사용해서 받아와보자! react-router-dom이 보내주는
  // location object에 접근하기만 하면 된다.
  const { state } = useLocation<RouteState>();
  //  console.log(state.name);

  return (
    <Container>
      <Header>
        <Title>{state?.name || 'Loading..'}</Title>
      </Header>
      {loading ? <Loader>"Loading..."</Loader> : null}
    </Container>
  );
}

interface RouteParams {
  coinId: string;
}
interface RouteState {
  name: string;
}

const Container = styled.div`
  padding: 0px 20px;
  max-width: 480px;
  margin: 0 auto;
`;

const Header = styled.header`
  height: 20vh;
  display: flex;
  justify-content: center;
  align-items: center;
`;

const Title = styled.h1`
  font-size: 50px;
  color: ${(props) => props.theme.accentColor};
`;

const Loader = styled.span`
  display: block;
  text-align: center;
`;

export default Coin;