내 작고 소중한 따북앱에 푸시알림을 보내보자!
가끔 공지사항을 수동으로 보내거나, 추후 서버단에 연결해서 지정된 시간마다 책 제목과 내용을 보내줄 수 있도록 커스텀 할 예정이다.
참고: https://seopseop911.tistory.com/20
https://kkh0977.tistory.com/716
https://blog.naver.com/PostView.naver?blogId=ndb796&logNo=221553341369&redirect=Dlog&widgetTypeCall=true&directAccess=false
1. bundle.gradle
    dependencies {
        classpath 'com.google.gms:google-services:4.3.2'

    }

    implementation platform('com.google.firebase:firebase-bom:31.1.1')
    implementation 'com.google.firebase:firebase-analytics'
    implementation 'com.google.firebase:firebase-messaging:17.0.0'

    apply plugin: 'com.google.gms.google-services'
나는 위 5가지를 추가 해 줬는데 필요없는 implementation이 있을 수 있다,, 안드로이드는 익숙하지 않기에,,😂
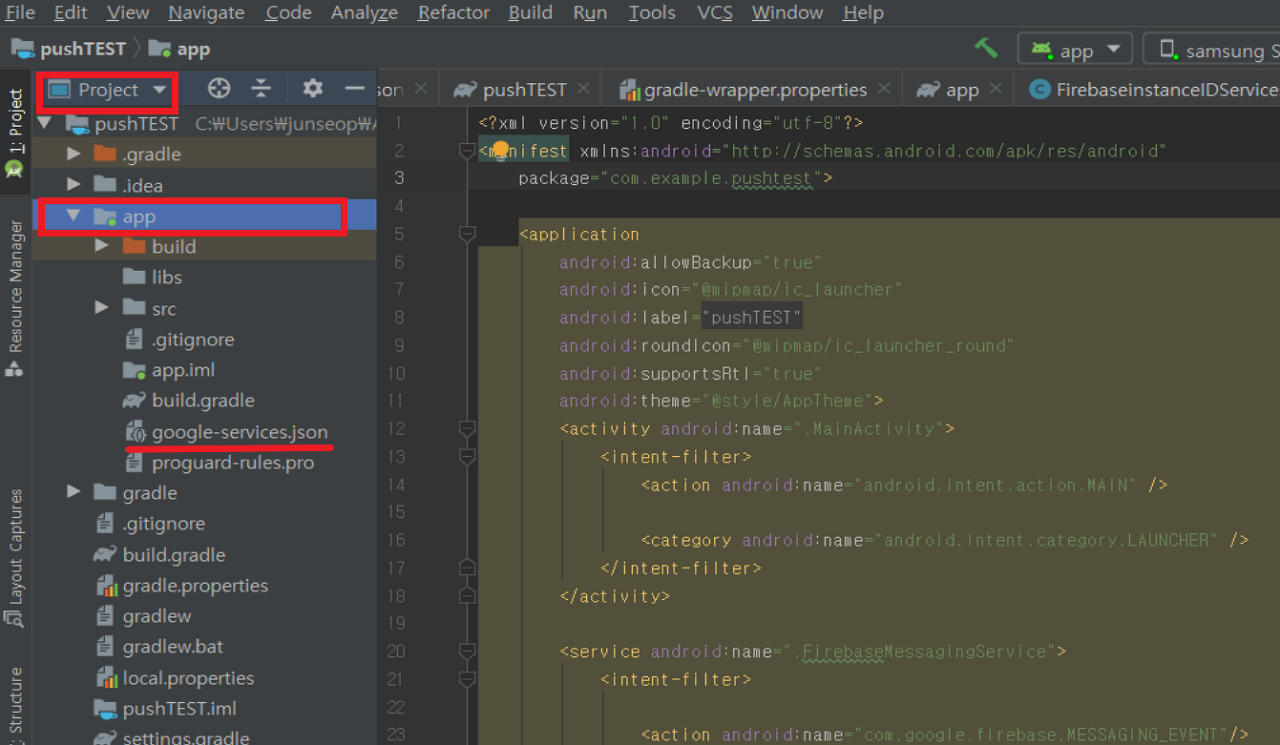
2. AndroidManifest.xml
<uses-permission android:name="android.permission.WAKE_LOCK" />먼저 백그라운드에서 작동할 수 있도록 퍼미션을 등록 해 준 후
        <service android:name=".FirebaseMessagingService"
            android:exported="true">
            <intent-filter>

                <action android:name="com.google.firebase.MESSAGING_EVENT"/>
            </intent-filter>

        </service>
파이어베이스 서비스를 연동 해 준다.
3. FirebaseMessagingService
public class FirebaseMessagingService extends com.google.firebase.messaging.FirebaseMessagingService {

    private static final String TAG = "FirebaseMsgService";

    private String msg, title;


    @Override
    public void onMessageReceived(RemoteMessage remoteMessage) {

        title = remoteMessage.getNotification().getTitle();
        msg = remoteMessage.getNotification().getBody();

        Intent intent = new Intent(this,MainActivity.class);
        intent.addFlags(Intent.FLAG_ACTIVITY_CLEAR_TOP);

        PendingIntent contentIntent = PendingIntent.getActivity(this,0,new Intent(this,MainActivity.class),0);

        NotificationCompat.Builder mBuilder = new NotificationCompat.Builder(this).setSmallIcon(R.mipmap.ic_launcher)
                .setContentTitle(title)
                .setContentText(msg)
                .setAutoCancel(true)
                .setSound(RingtoneManager.getDefaultUri(RingtoneManager.TYPE_NOTIFICATION))
                .setVibrate(new long[]{1,1000});

        NotificationManager notificationManager = (NotificationManager) getSystemService(Context.NOTIFICATION_SERVICE);

        notificationManager.notify(0,mBuilder.build());

        mBuilder.setContentIntent(contentIntent);

    }

}
다음은 파이어베이스에서 서비스를 받아 푸시 알림을 보내줄 수 있도록 작성 해 준다.
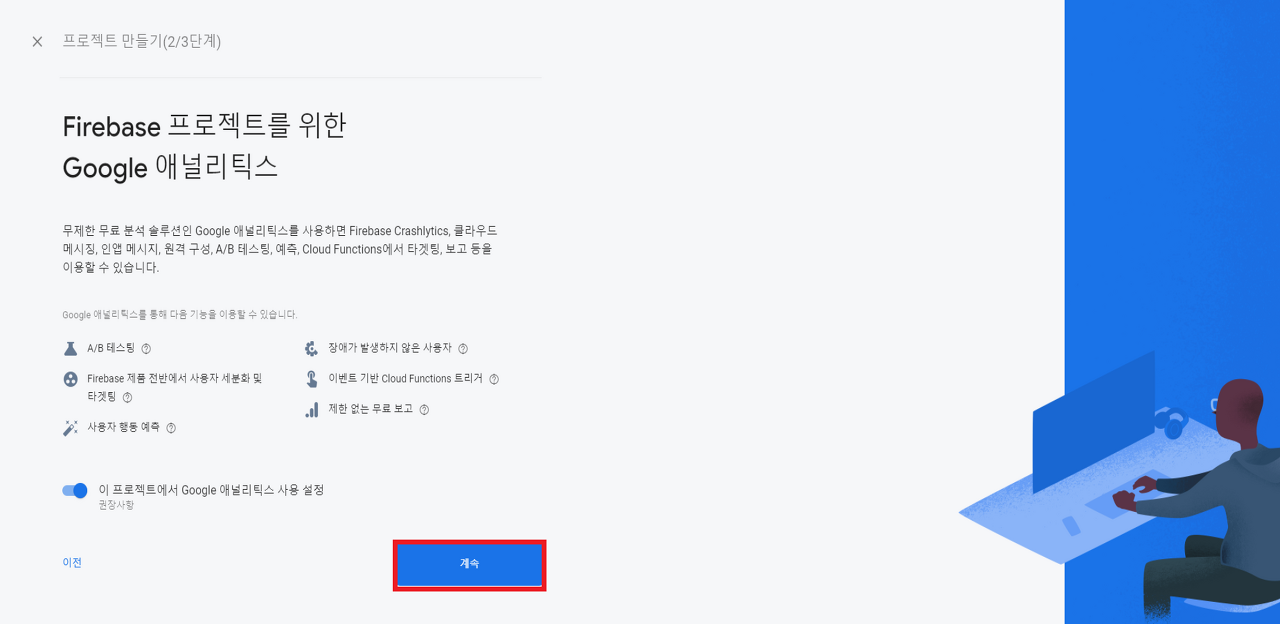
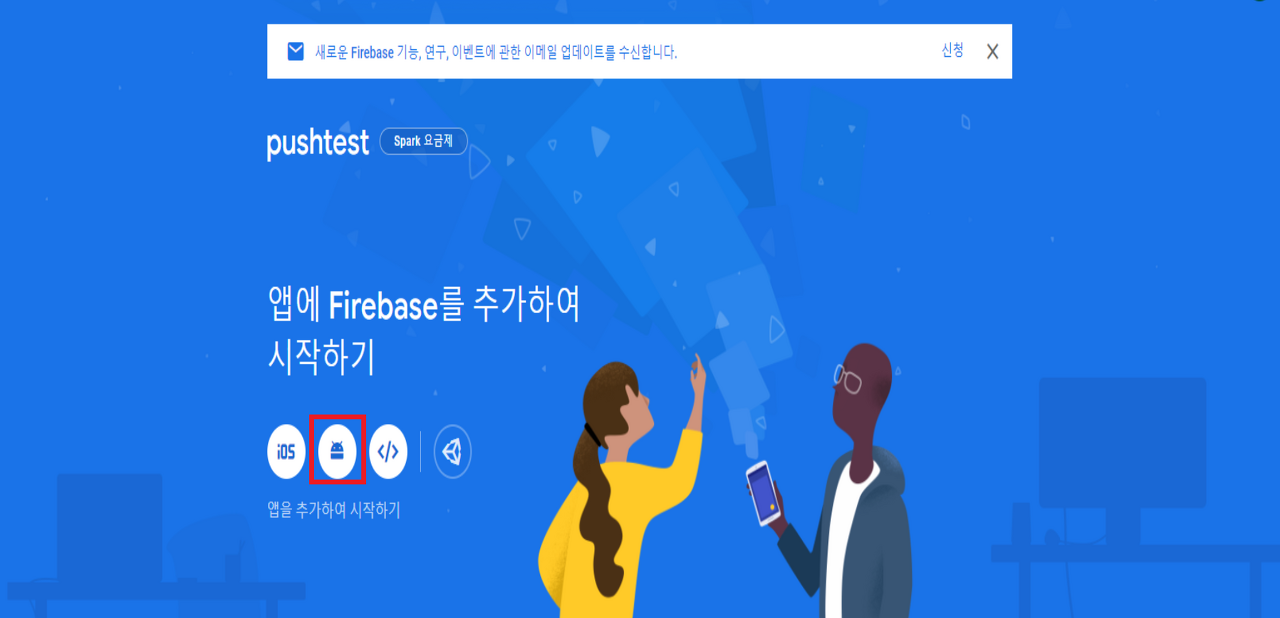
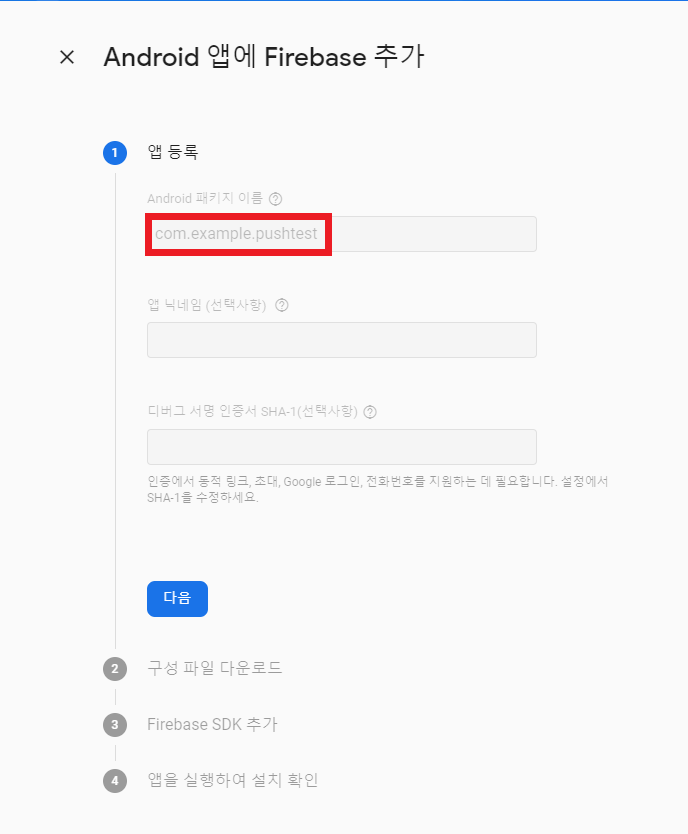
파이어베이스에서 내 어플을 등록하는 과정은
여기를 참조하면 자세히 알 수 있다.


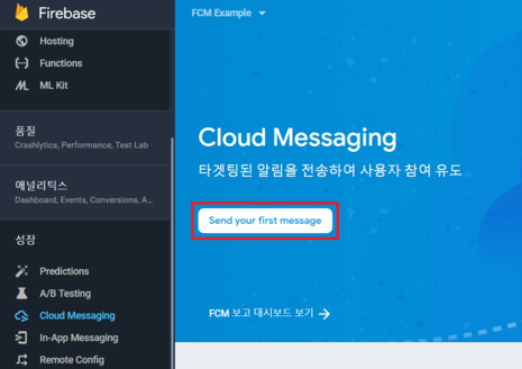
4. 메세지 보내기
이제 파이어베이스 홈페이지에서 테스트 메세지를 보내보자

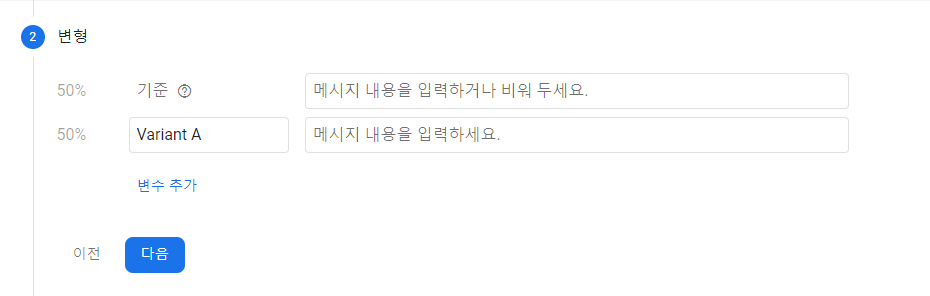
메세지 제목과 내용, 옵션을 순서대로 작성 해 주고 검토를 클릭하면
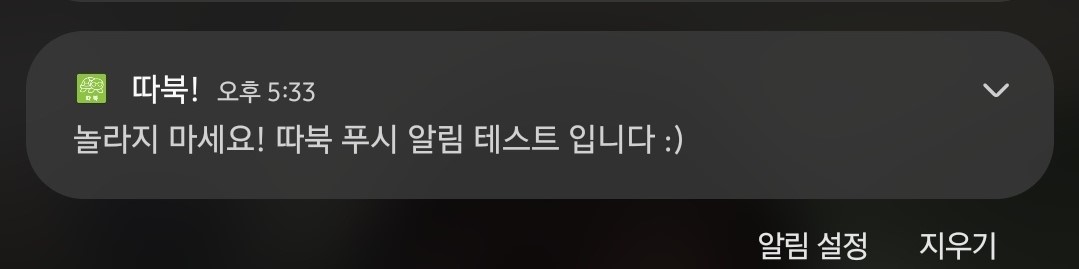
이렇게 알림이 오게 된다~~

웹 개발자(FE / BE) anna입니다.
좋은 포스팅 감사합니다~
잘 보고 가요 :)