
1. Welcome page 생성!
<!DOCTYPE HTML>
<html>
<head>
    <meta http-equiv="Content-Type" content="text/html; charset=UTF-8">
    <title>Hello</title>
</head>
<body>
    hello
    <a href="/hello">hello</a>
</body>
</html>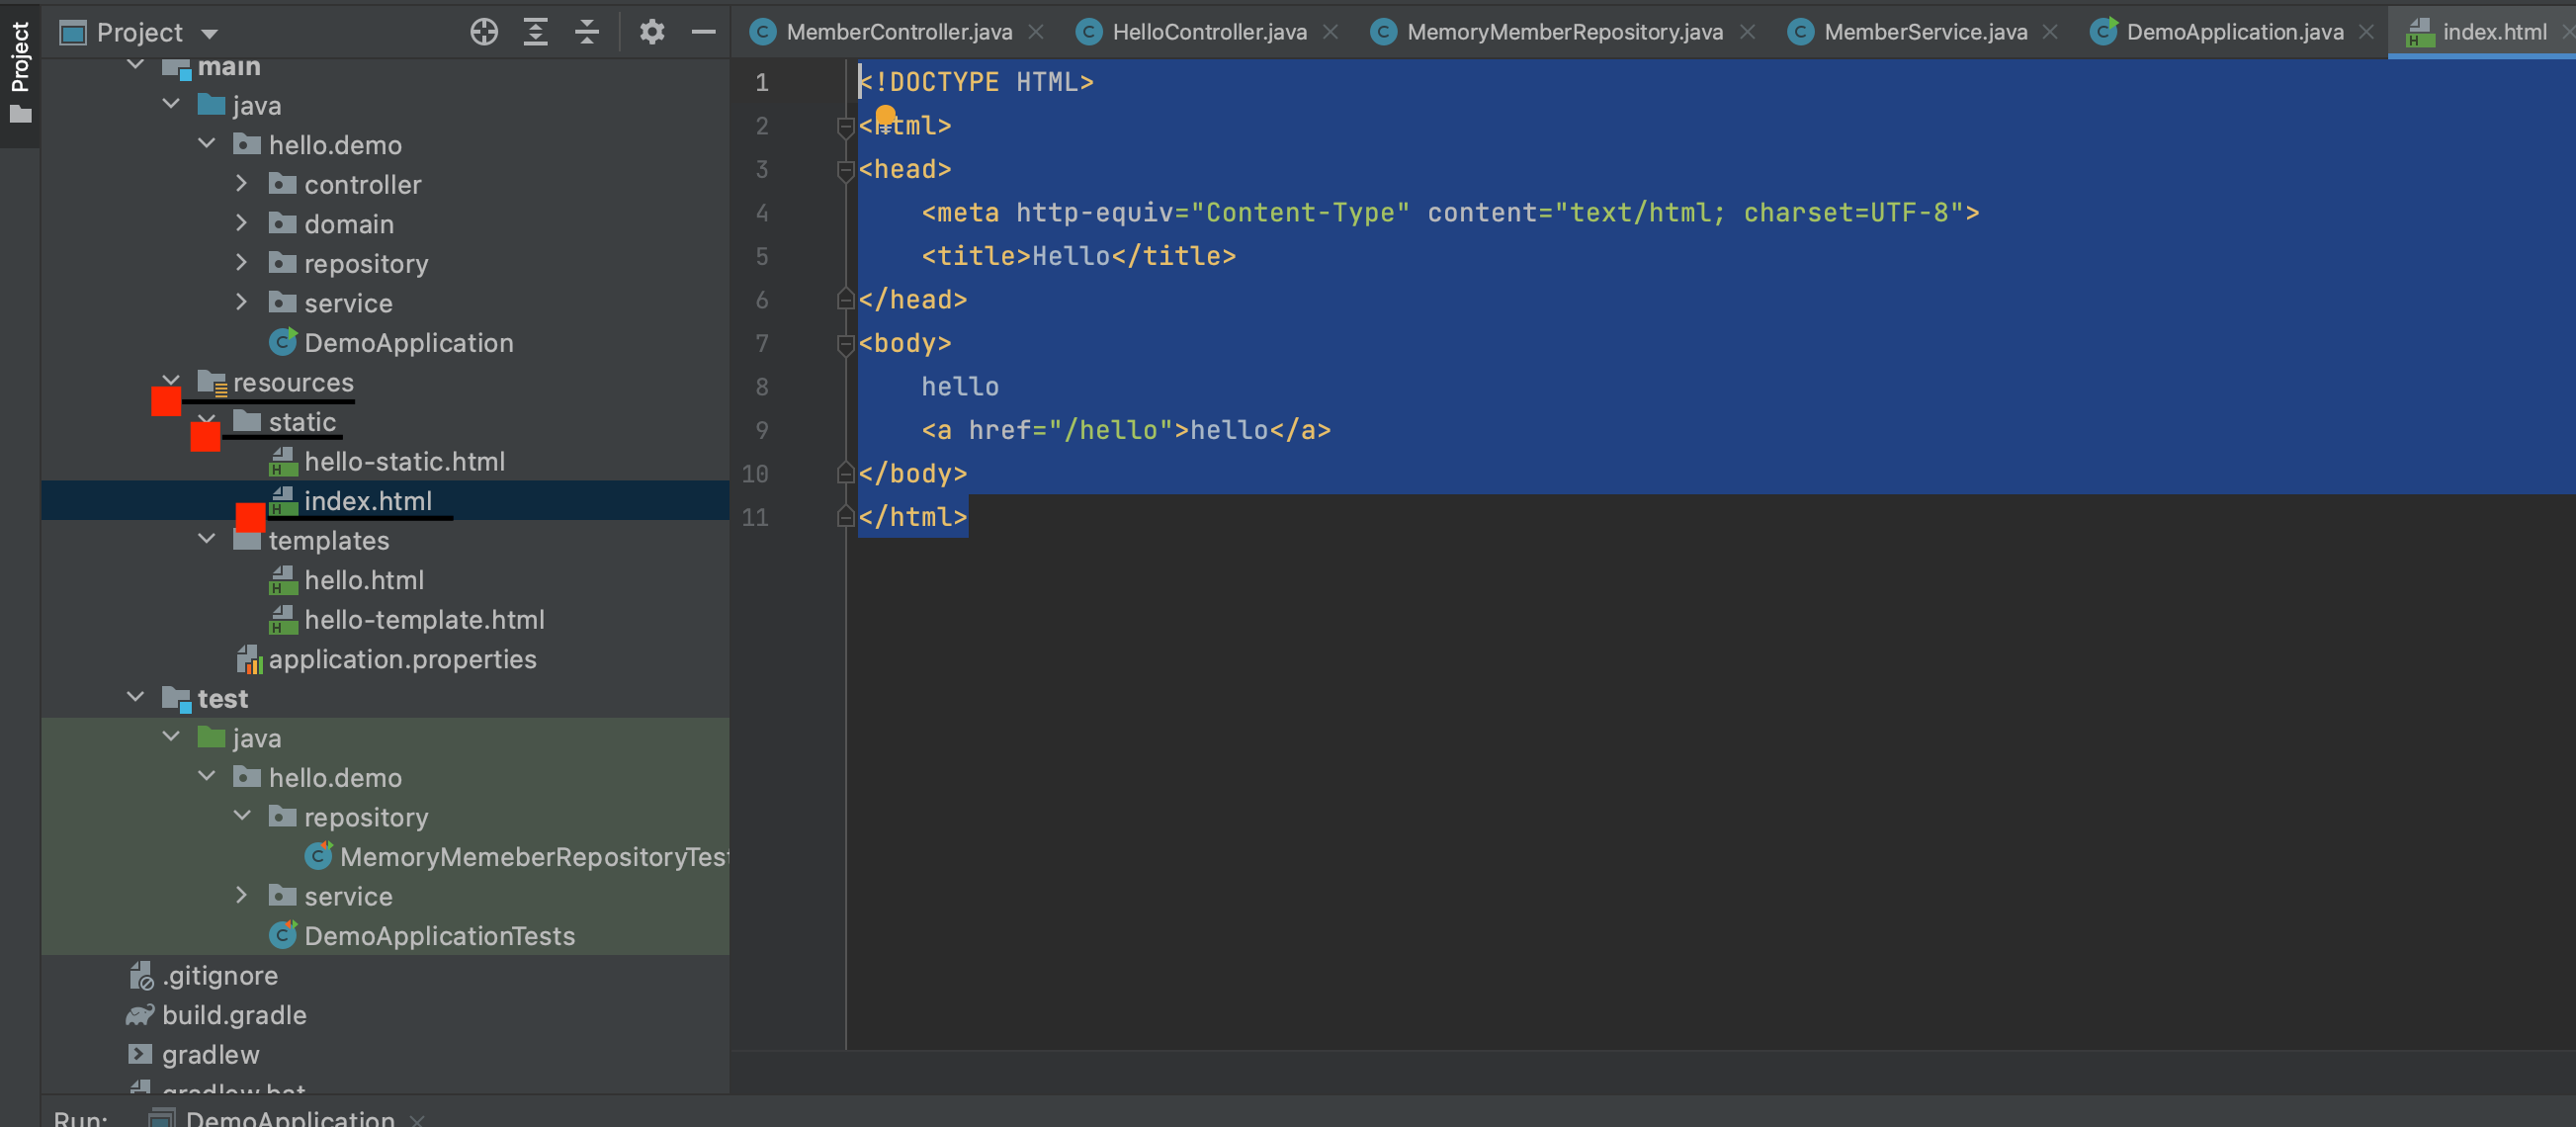
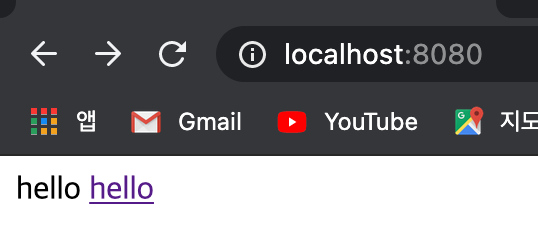
- static/index.html 을 올려두면 Welcome page 기능을 제공한다.
thymeleaf : https://www.thymeleaf.org/
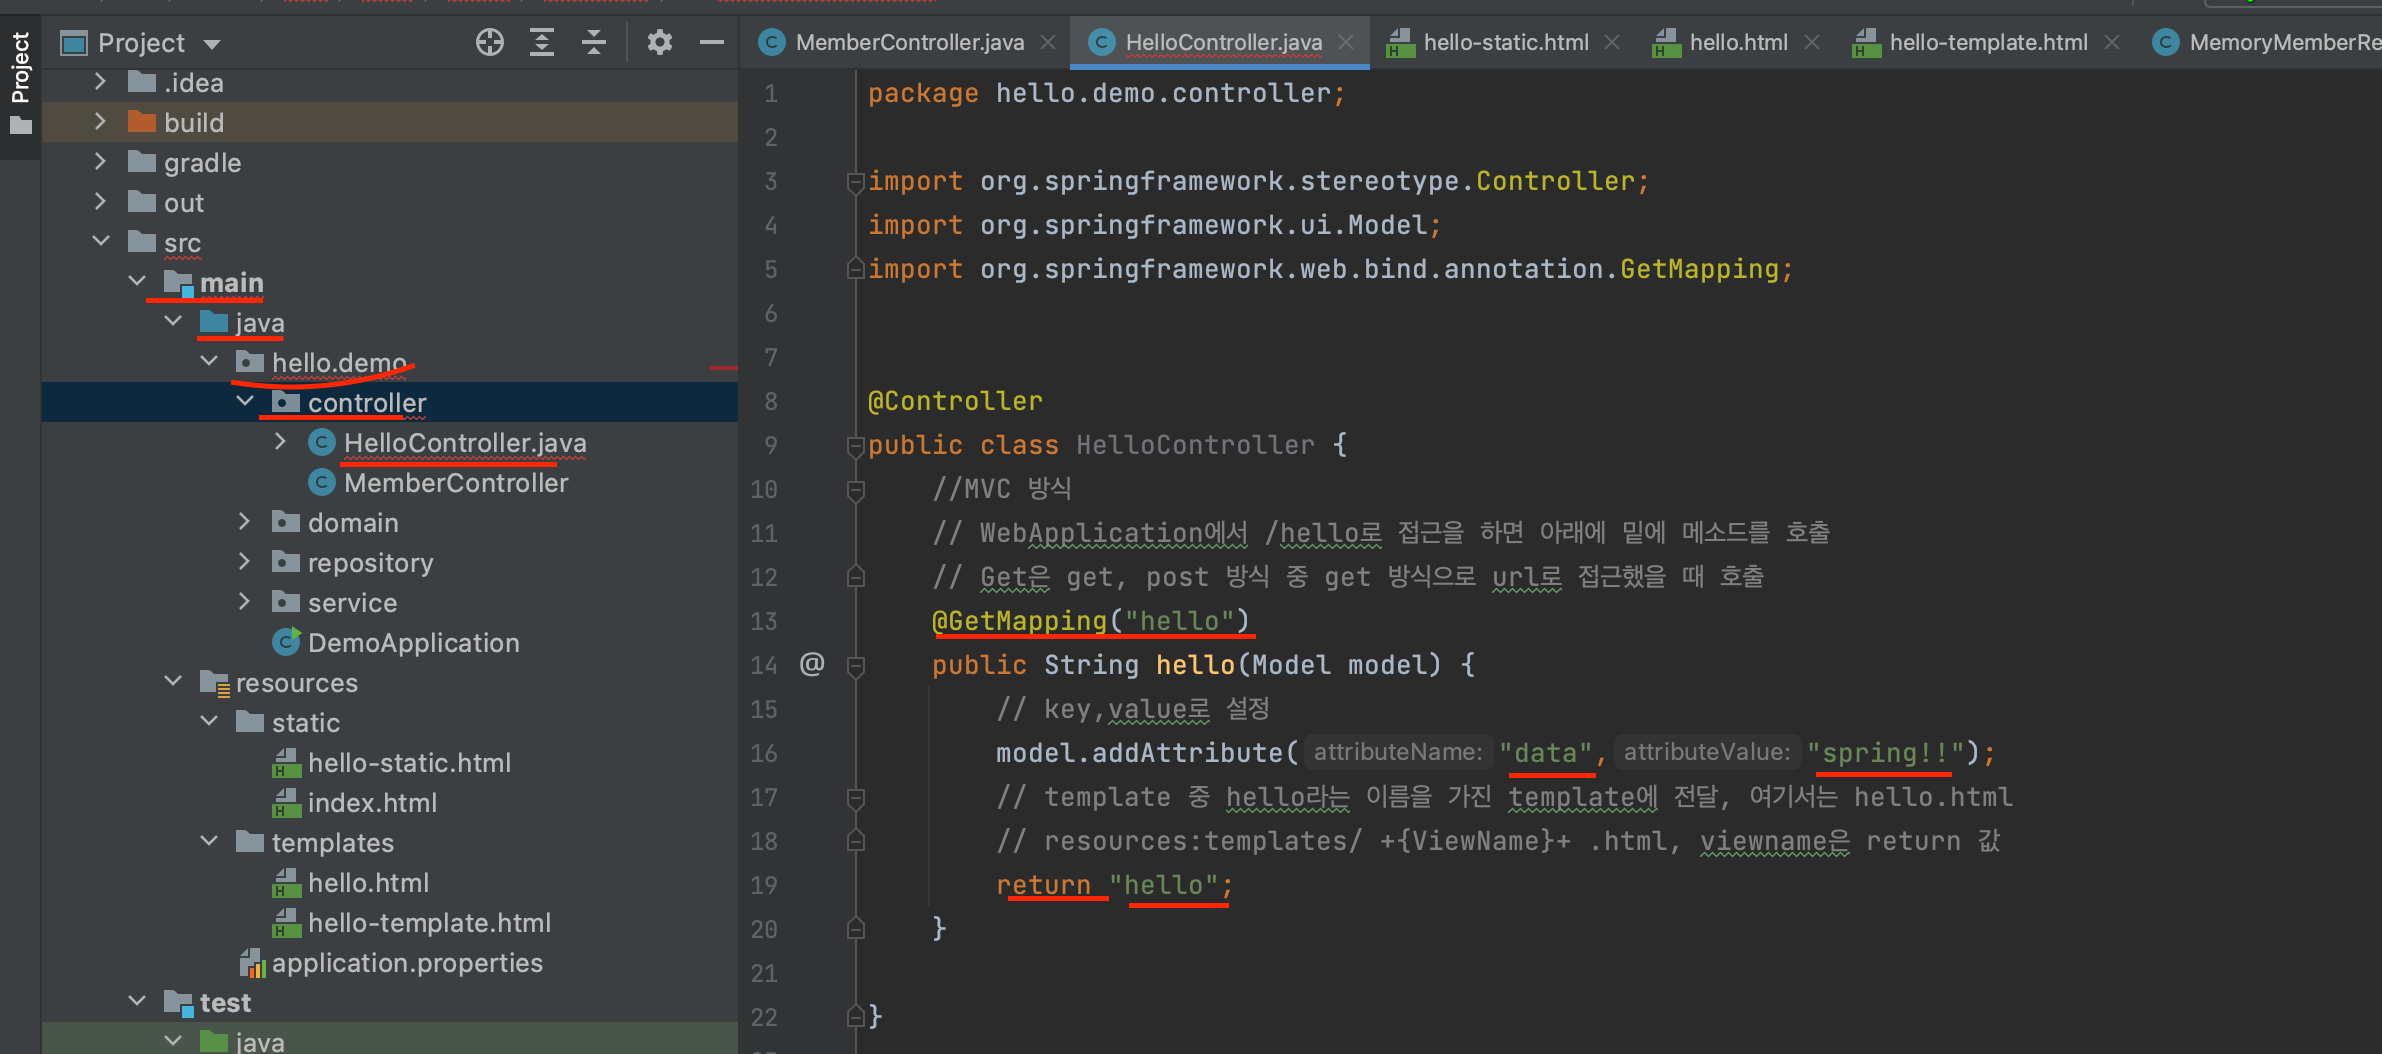
2. HelloController.java 생성(Controller)
- HelloController.java
package hello.demo.controller;

import org.springframework.stereotype.Controller;
import org.springframework.ui.Model;
import org.springframework.web.bind.annotation.GetMapping;


@Controller
public class HelloController {
    //MVC 방식
    // WebApplication에서 /hello로 접근을 하면 아래에 밑에 메소드를 호출
    // Get은 get, post 방식 중 get 방식으로 url로 접근했을 때 호출
    @GetMapping("hello")
    public String hello(Model model) {
        // key,value로 설정
        model.addAttribute("data","spring!!");
        // template 중 hello라는 이름을 가진 template에 전달, 여기서는 hello.html
        // resources:templates/ +{ViewName}+ .html, viewname은 return 값
        return "hello";
    }
}
- hello.html
<!DOCTYPE HTML>
<html xmlns:th="http://www.thymeleaf.org"> <!-- thymleaf template 엔진-->
<head>
<title>Hello</title>
<meta http-equiv="Content-Type" content="text/html; charset=UTF-8" />
</head>
<body>
<!-- th : thymleaf의 약자, ${} : el의 추가된 문법으로 <%=%>과 동일하다. data는 contoller의 HelloController에 입력한 데이터이다-->
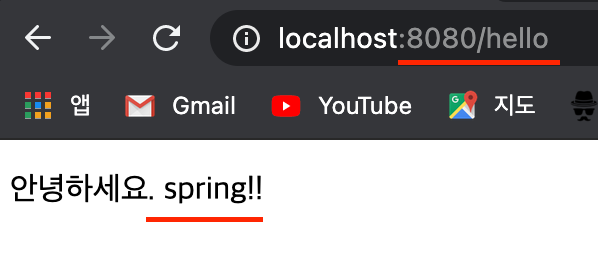
<p th:text="'안녕하세요. ' + ${data}" >안녕하세요. 손님</p>
</body>
</html>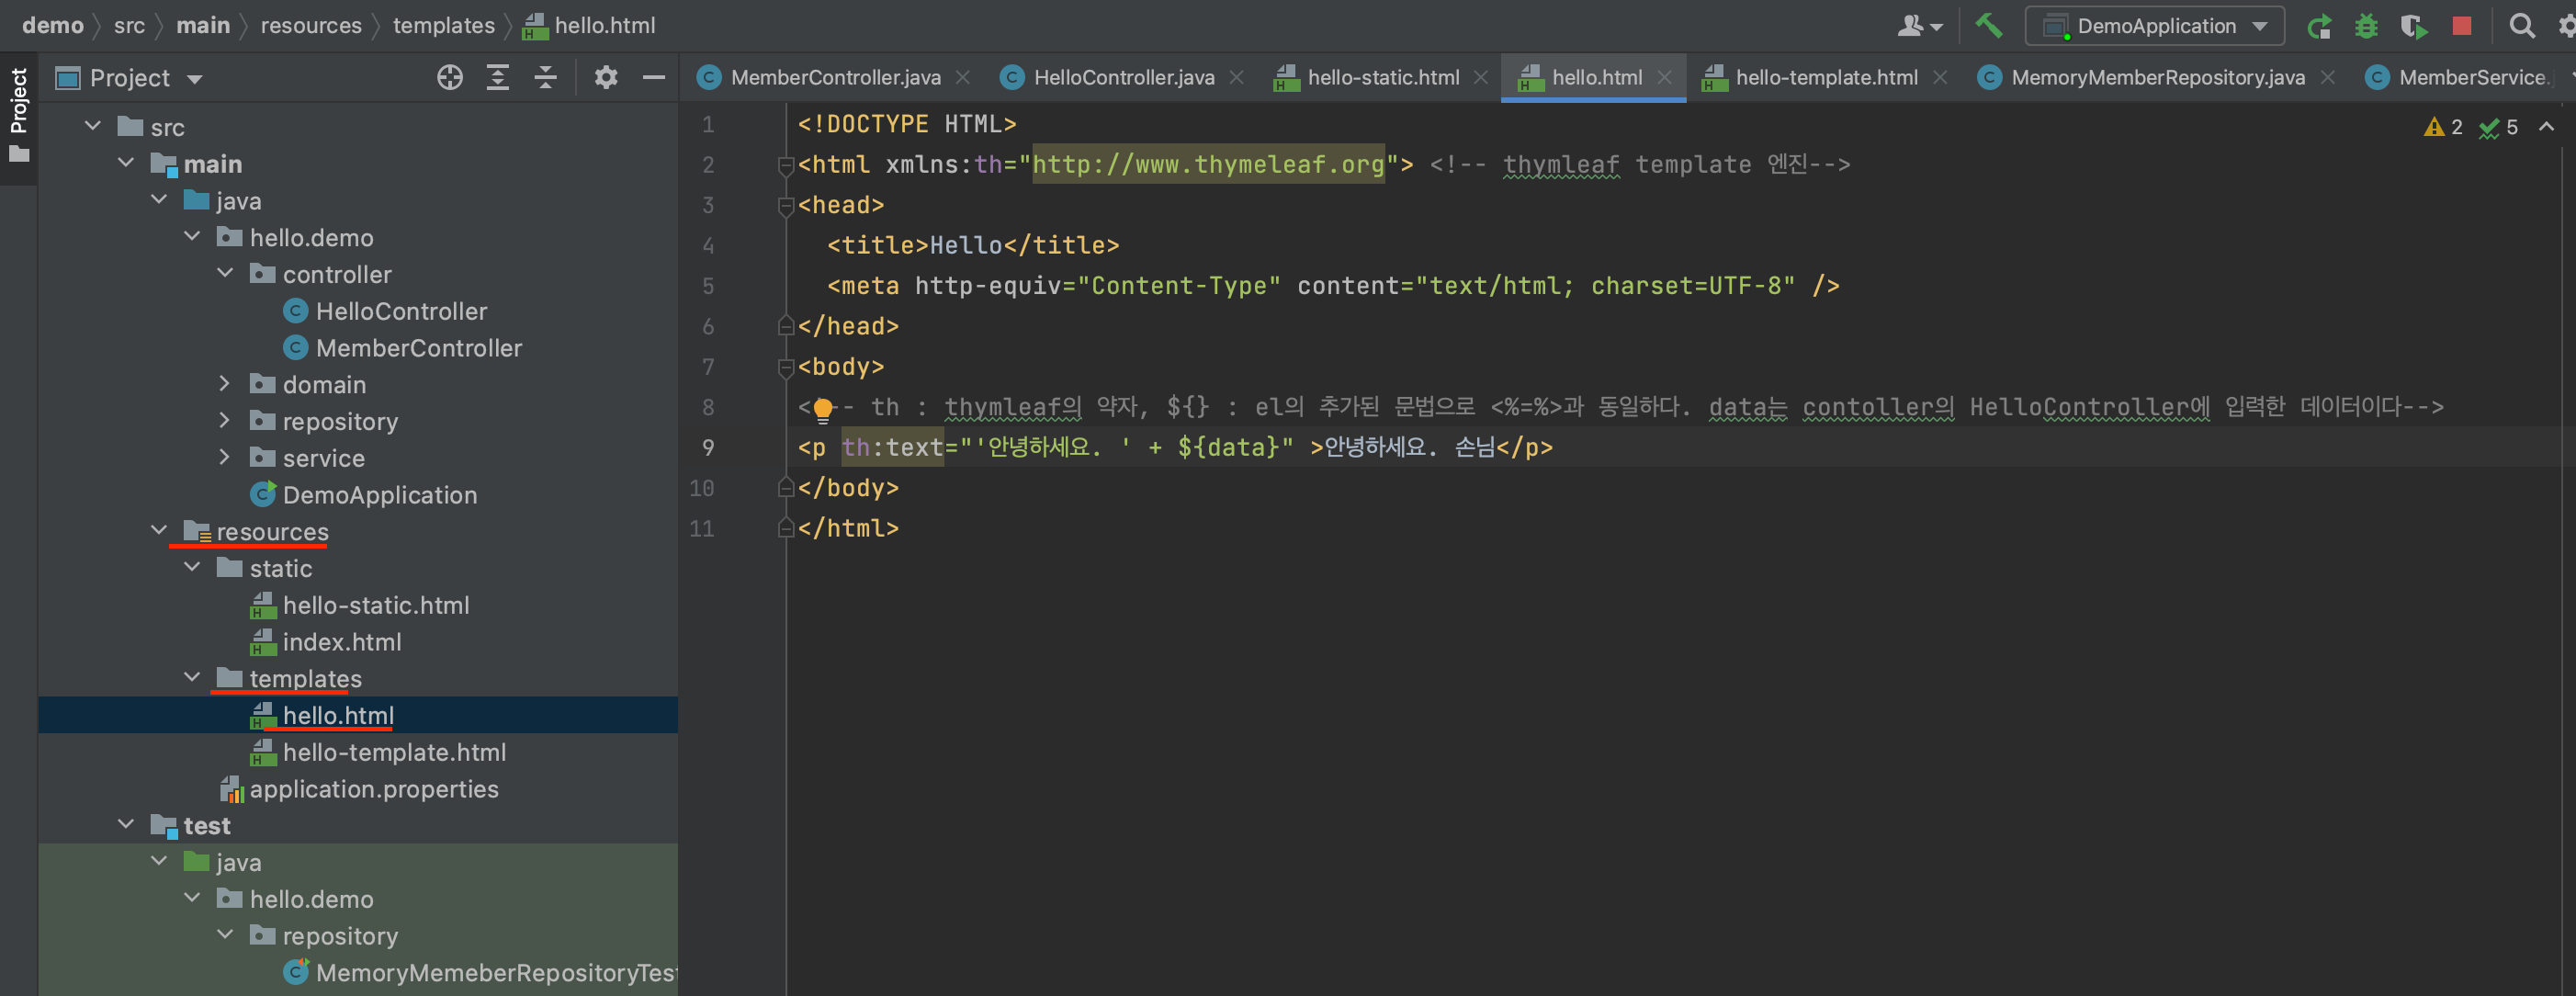
3. 동작 환경
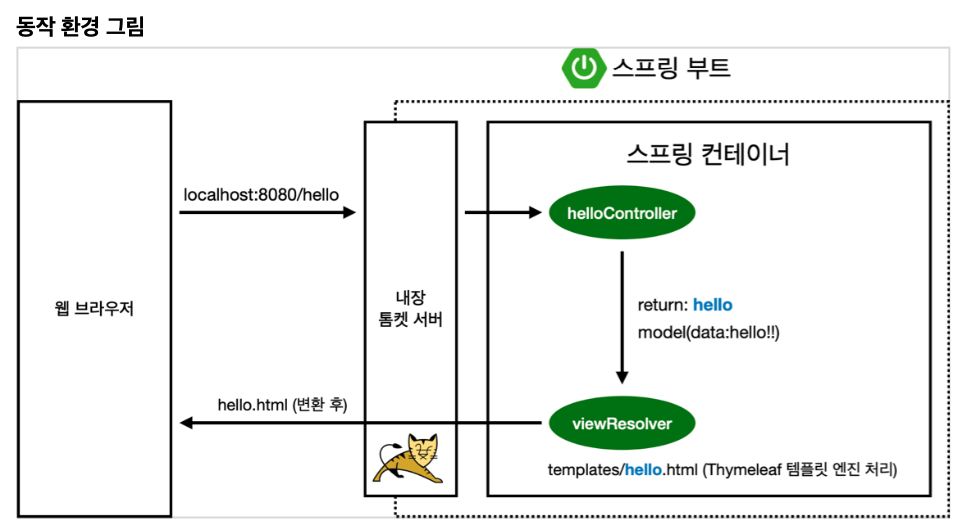
- 컨트롤러에서 리턴 값으로 문자를 반환하면 뷰 리졸버( viewResolver )가 화면을 찾아서 처리한다.
- 스프링 부트 템플릿엔진 기본 viewName 매핑
- resources:templates/ +{ViewName}+ .html
- 참고: spring-boot-devtools 라이브러리를 추가하면, html 파일을 컴파일만 해주면 서버 재시작 없이 View 파일 변경이 가능하다.
인텔리J 컴파일 방법: 메뉴 build Recompile

아직까지는 코린이!