📁 Set a directory & Open Git Bash
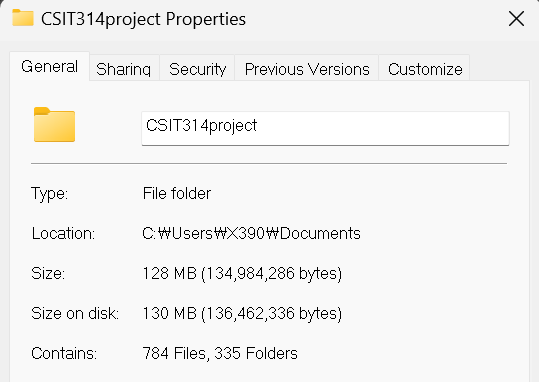
- Let's check your own project directory. Here's an example.
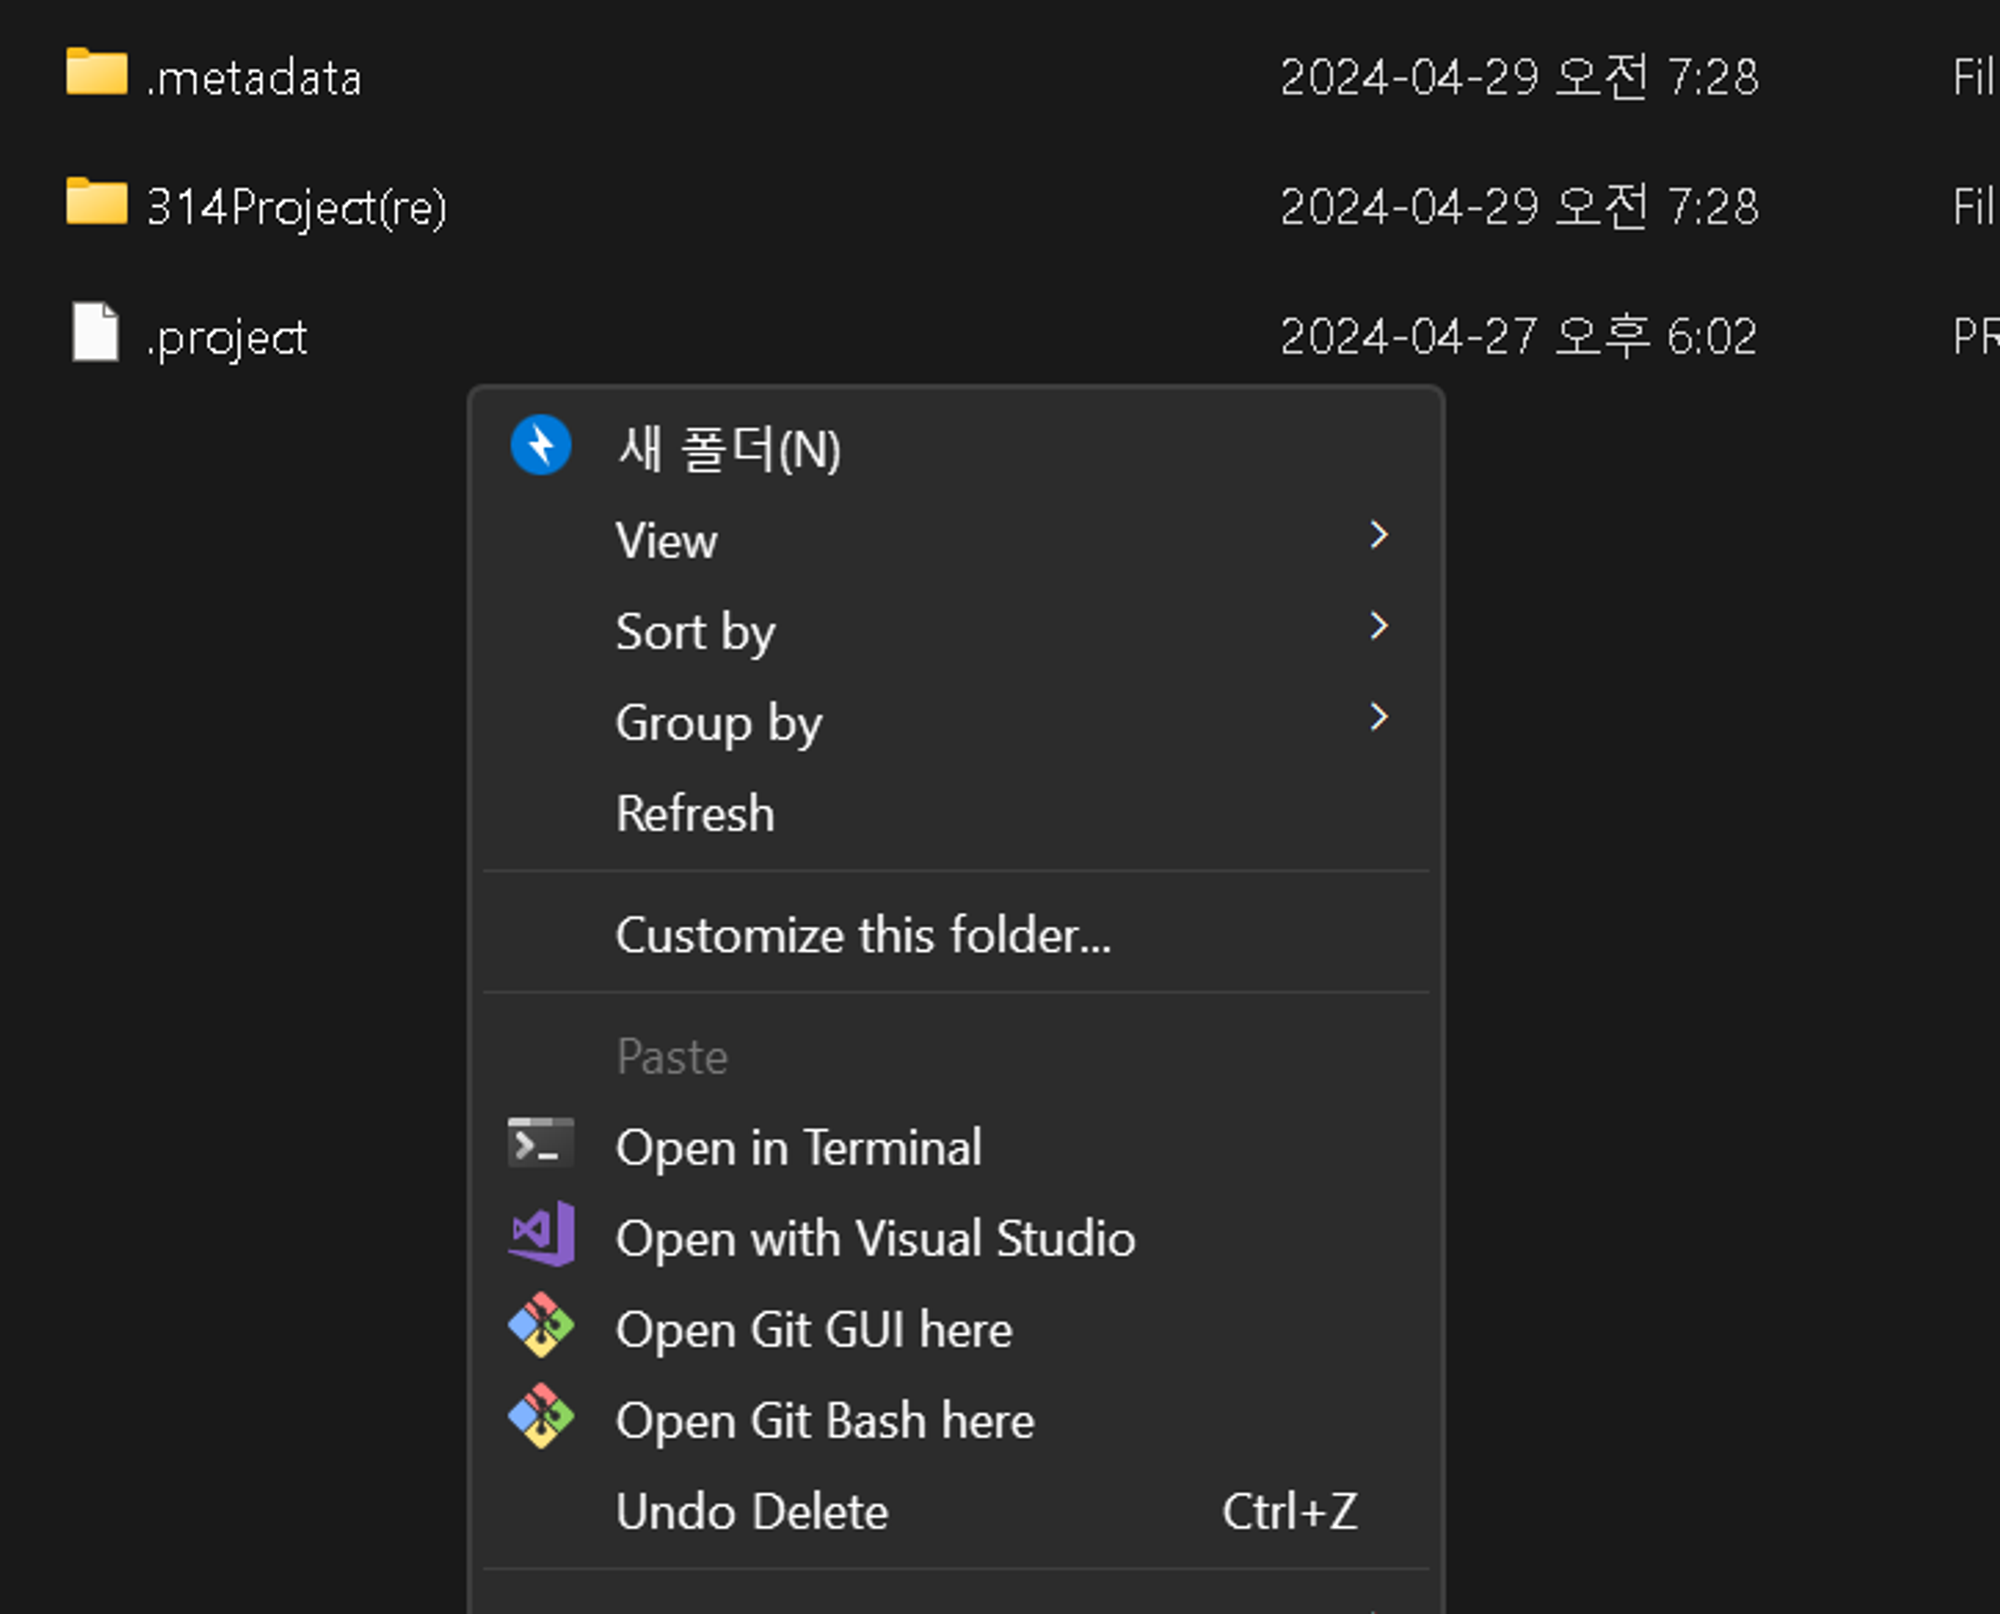
- Go through inside of the folder and click RMB. Then, click ‘Open Git Bash here’.
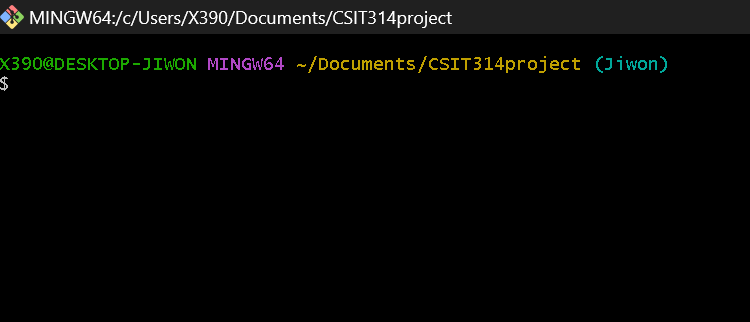
Then you can see the cmd window as below. You can see that Git Bash is opened in the appropriate directory by looking at the path.
🖥️ Commands
Let’s Go through the actual commands.
Red-colored commands are mandatory.
Blue-colored commands are optional.
-
git init
Below is my example.
X390@DESKTOP-JIWON MINGW64 ~/Documents/CSIT314project (master)
$ git init
Initialized empty Git repository in C:/Users/X390/Documents/CSIT314project/.git/
After completing this step, you will notice that the ‘.git’ folder has been created.
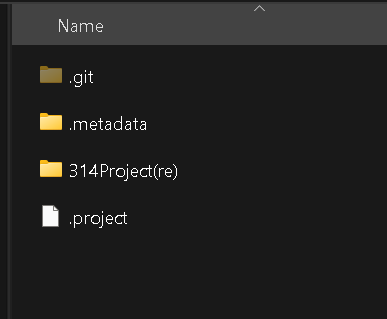
This folder may be hidden. You can adjust your file explorer settings to display hidden files or folders.
- git branch -M [branch name]
The local branch name has been ‘Jiwon’ since I input ‘git branch -M’ which is the command for altering the name of the local branch. The initial branch name is ‘master’.
- git remote add origin [repository path]
In my case,
You can copy the address from your remote repository and paste it into the bash window.$ git remote add origin https://github.com/jiwonyah/314.git
3-1. git remote -v
When you execute this command, you can check the connected repository as follows.

3-2. git status
Let’s check the current status.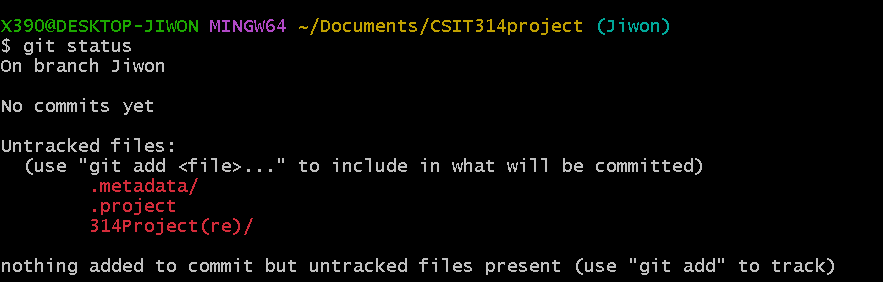
For now, untracked files are shown as I haven’t added and committed any files.
-
git add
This is the command used to add files for upload.
It can be written as follows.
- To add a specific file only) git add [fileName]
- To add a specific folder) git add [folderName]
- To add all the files) git add . (same as git add -A )
In my case, since it's the first push, I used 'git add .'
-
git commit -m “[commit message]”
Attempt to commit with a commit message. It may take a moment to load.
- git push origin [remote branch name] Finally, push the committed files to the remote branch. To distinguish each team member's contributions, we decided to create branches named after each person's name.
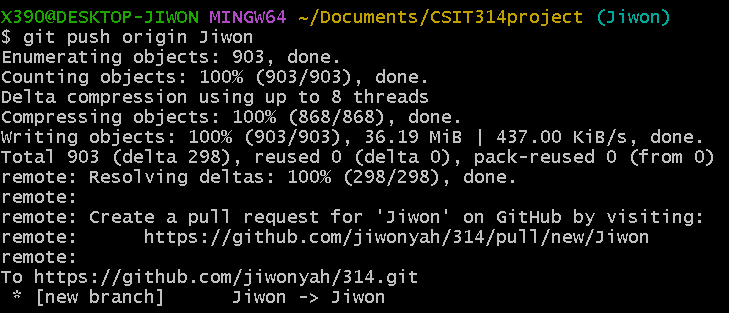
Even for branches that didn't previously exist, they are automatically added, so there's no need to manually create branches on the GitHub page. It took a bit of time to push because there are quite a few files.