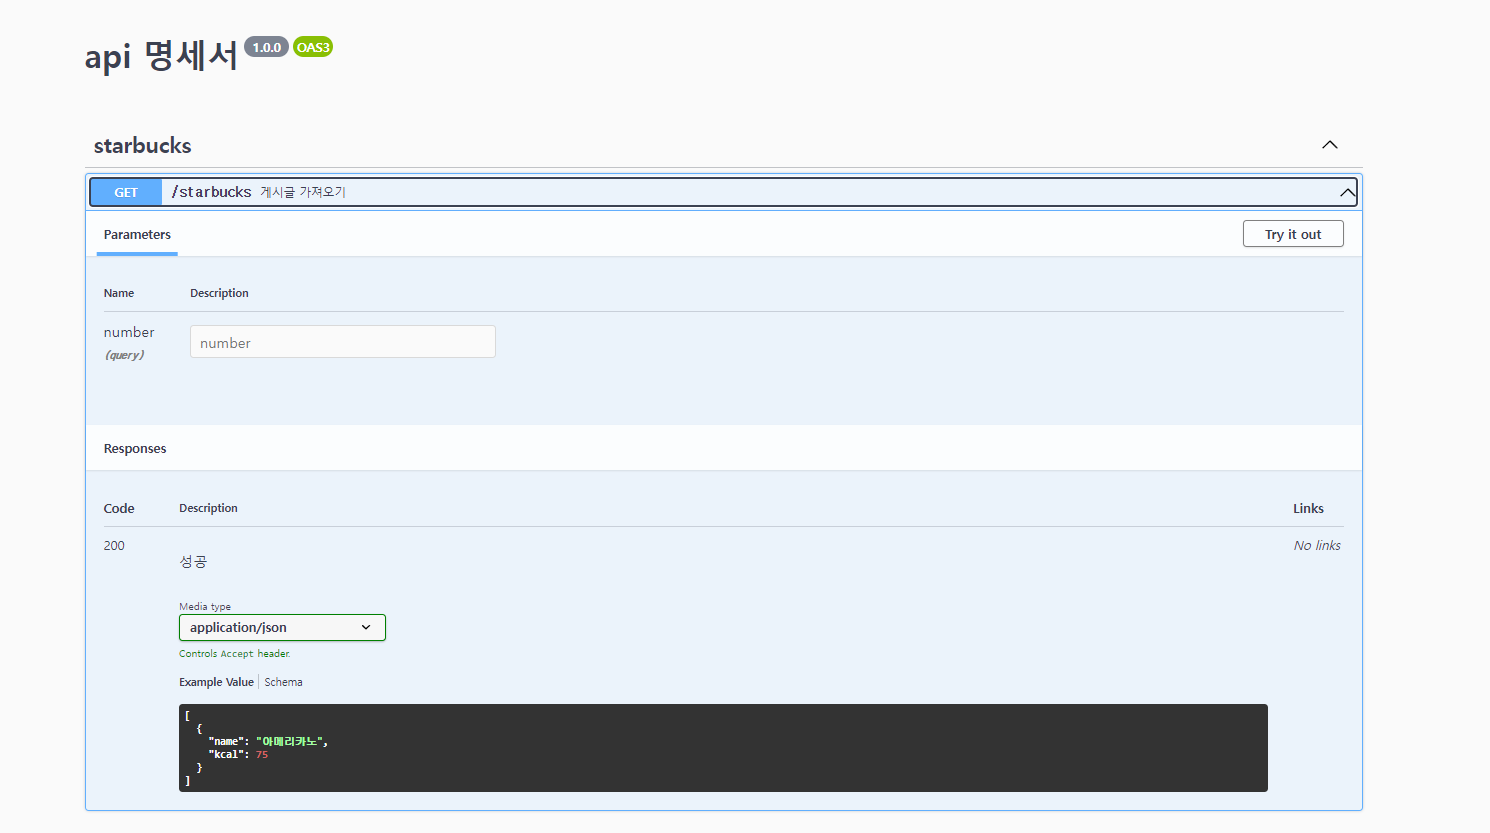
(주기적인 업데이트 예정)
express를 통해 api를 만들고 swagger를 활용한 API-DOCS를 만들어볼 것이다.
간단하게 작성한 코드이며 데이터를 받아오질 않고 하드코딩했다.
import express from "express";
import swaggerUi from 'swagger-ui-express'
import swaggerJsdoc from 'swagger-jsdoc'
import { options } from './swagger/config.js'

const port = 3000;
const app = express();
const openapiSpecification = swaggerJsdoc(options);

app.use(express.json());
app.use('/api-docs', swaggerUi.serve, swaggerUi.setup(openapiSpecification));
app.get('/users', (req,res)=>{
    const arr = [
        {
            email : "aaa@gmail.com",
            name : "철수",
            phone : "01032325678",
            personal : "220110-2222222",
            prefer : "https://naver.com"
        },
        {
            email : "fff@gmail.com",
            name : "유리",
            phone : "01012345678",
            personal : "220110-555555",
            prefer : "https://facebook.com"
        },
        {
            email : "fdsf@gmail.com",
            name : "훈이",
            phone : "01012221678",
            personal : "220110-4444444",
            prefer : "https://instagram.com"
        },
        {
            email : "afasdf@gmail.com",
            name : "맹구",
            phone : "01018751224",
            personal : "220110-3333333",
            prefer : "https://naverwebtoon.com"
        },
        {
            email : "mm@gmail.com",
            name : "짱구",
            phone : "01043443278",
            personal : "220110-1111111",
            prefer : "https://daum.net"
        },
    ];
    res.send(arr);
})
app.listen(port, () => {
    console.log(`Example app listening on port ${port}`)})
swagger를 사용하기 위해선
import swaggerUi from 'swagger-ui-express'
import swaggerJsdoc from 'swagger-jsdoc'
import { options } from './swagger/config.js'
const openapiSpecification = swaggerJsdoc(options);
app.use('/api-docs', swaggerUi.serve, swaggerUi.setup(openapiSpecification));
이러한 모듈들 필요!
/**
 * @openapi
 * /users:
 *   get: //어떠한 메소드로 보내는 지 적기
 *      summary: 게시글 가져오기 //요약
 *      tags : [users] //tags
 *      parameters: //요청 시 인자로 보낼 값
 *          - in: query
 *            name: number
 *            type: int
 *      responses: //응답형식
 *          200:
 *              description: 성공
 *              content:
 *                  application/json:
 *                      schema:
 *                          type: array
 *                          items:
 *                              properties:
 *                                  email:
 *                                      type: string
 *                                      example: a@gmail.com
 *                                  name:
 *                                      type: string
 *                                      example: 철수
 *                                  phone:
 *                                      type: string
 *                                      example: 01012345896
 *                                  personal:
 *                                      type: string
 *                                      example: 010222-3331245
 *                                  prefer:
 *                                      type: string
 *                                      example: https://naver.com
 */
들여쓰기가 매우 중요하다!
어떠한 주석을 달면 되는지 적혀있다. 참고하자
https://swagger.io/docs/specification/basic-structure/
config.js만들어 option을 설절해야한다.
export const options = {
    definition: {
    openapi: '3.0.0',
    info: {
      title: 'api 명세서',
      version: '1.0.0',
    },
  },
  apis: ['./swagger/*.swagger.js'], // files containing annotations as above
};
이렇게 되면 API-DOCS 완성이다.
마치며
너무너무 외울게 많다... 차근차근하자.

