
스토리보드로 계산기를 만들면서 이 수많은 버튼들을 IBAction으로 일일이 연결하다보니까 현타가 왔다.. 이렇게 하는게 아닌 것같은 불길한 예감이...
그래서 찾아보니까 Tag라는 좋은 친구가 있다!
오늘은 Tag의 사용법을 알아보자
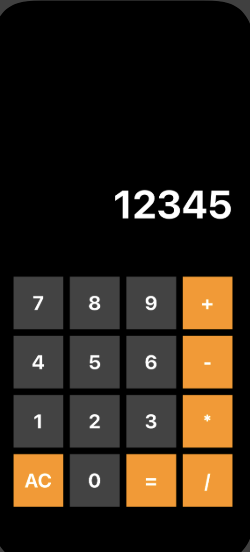
이렇게 많은 버튼들 일일이 하면 머리아프다
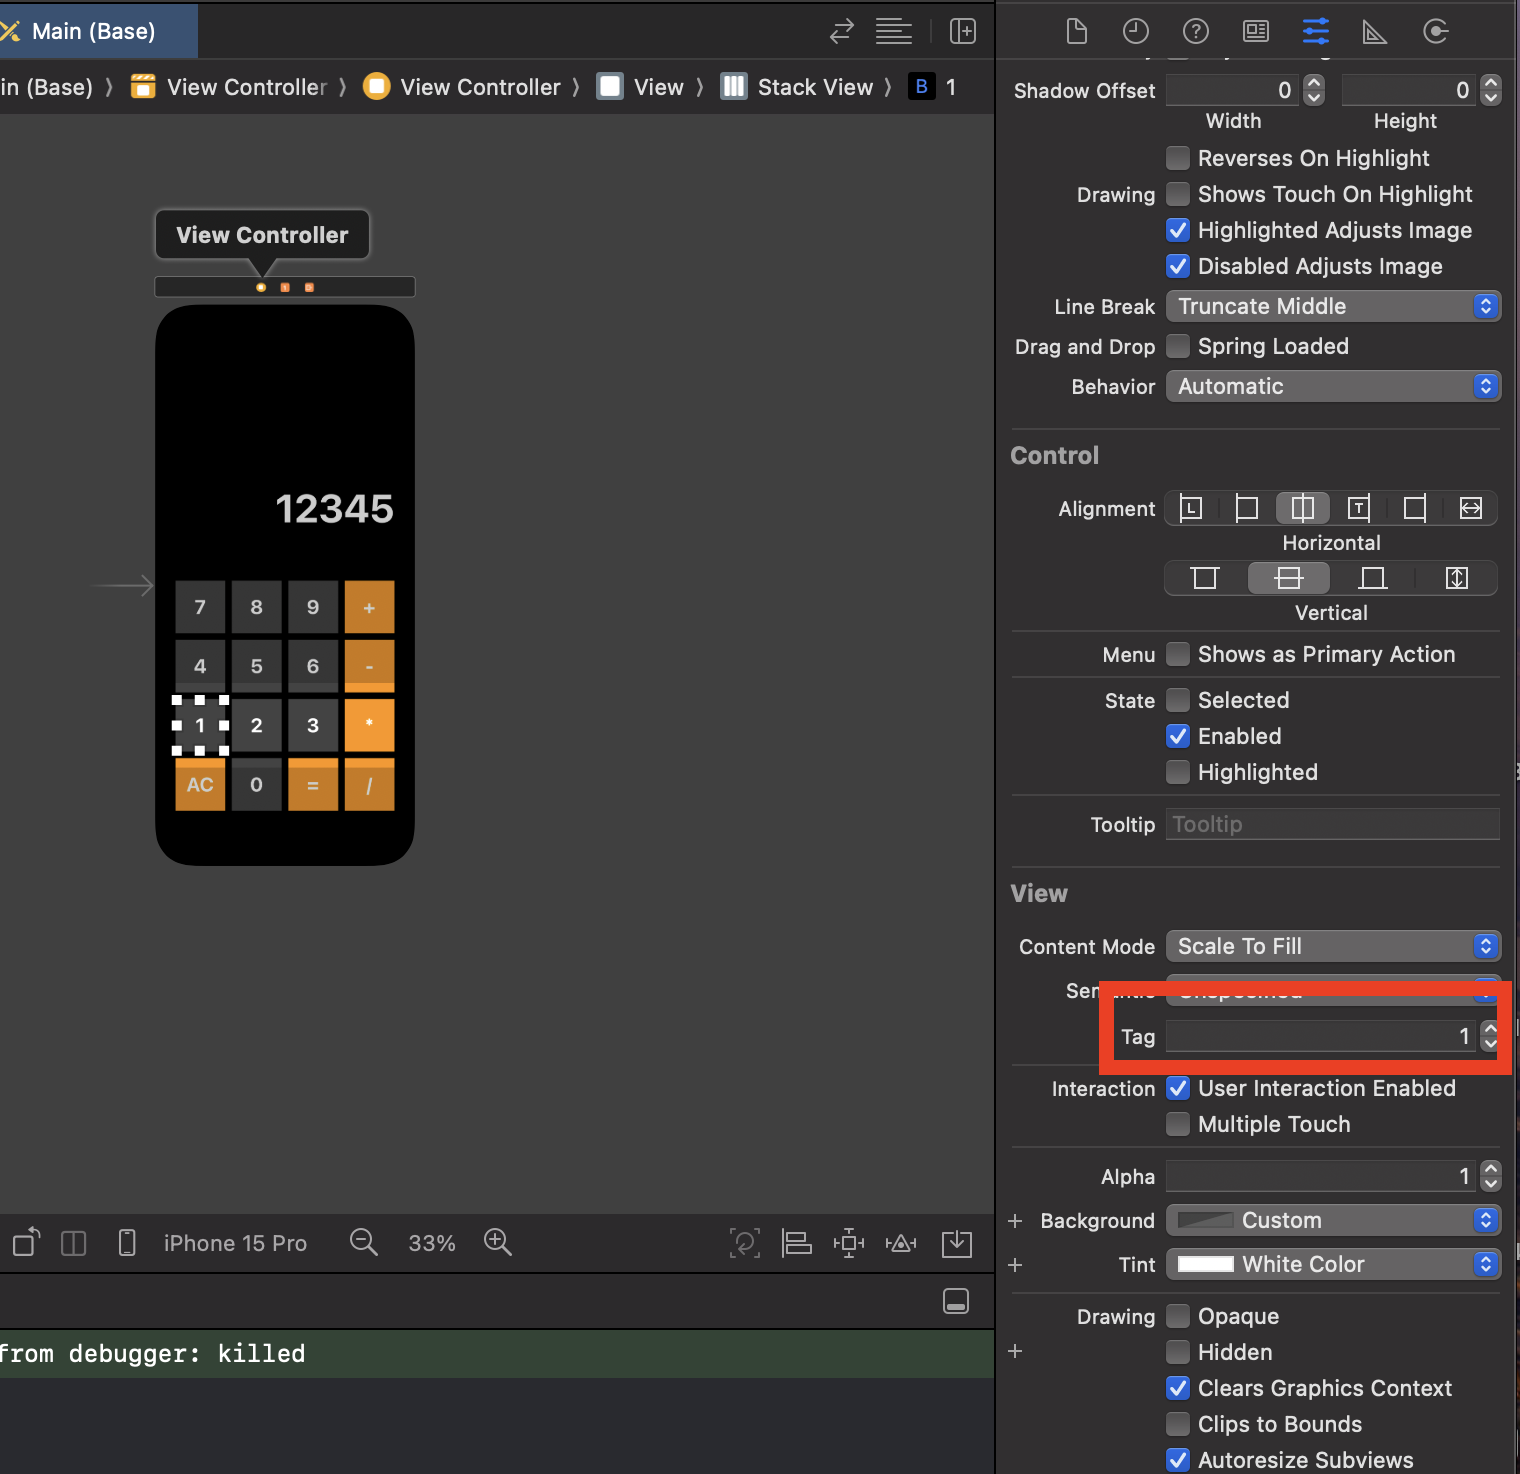
그래서 여기 보이는 것처럼 버튼마다 Tag를 달아주면 된다
Tag는 이친구들에게 번호를 매기는 거라고 생각하면 된다
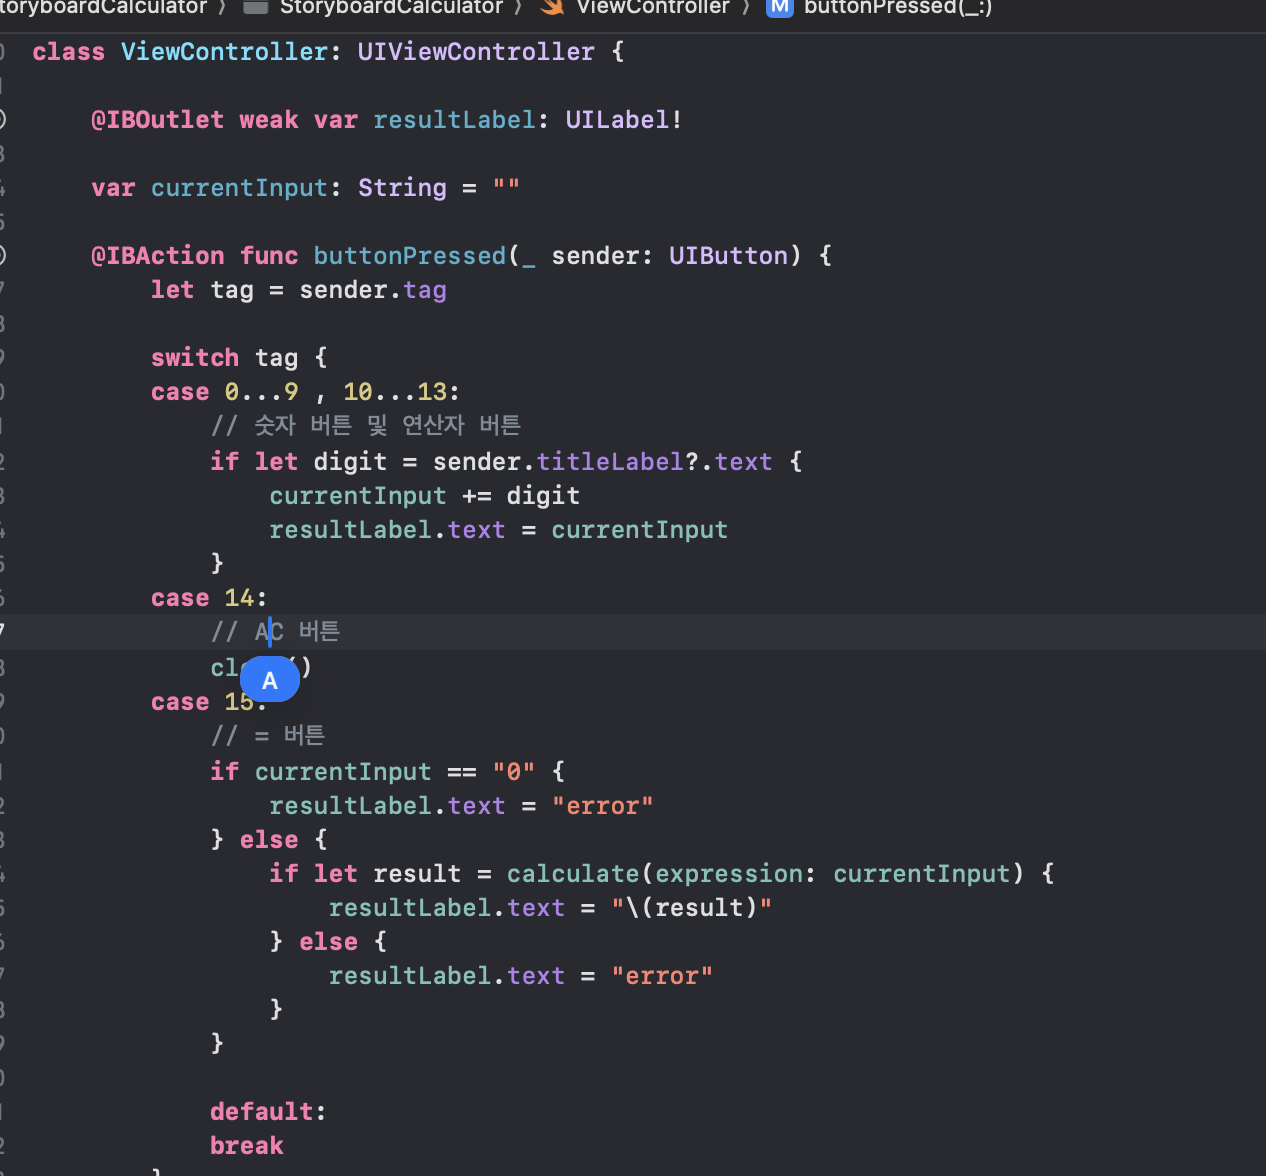
그다음 코드로 넘어와 이 buttonPressed에 버튼들을 컨트롤키로 끌고온뒤
보이는것과 같이 코드를 작성하면 간소화할 수 있다.
전체코드
import UIKit

class ViewController: UIViewController {

    @IBOutlet weak var resultLabel: UILabel!

    var currentInput: String = ""

    @IBAction func buttonPressed(_ sender: UIButton) {
        let tag = sender.tag

        switch tag {
        case 0...9 , 10...13:
            // 숫자 버튼 및 연산자 버튼
            if let digit = sender.titleLabel?.text {
                currentInput += digit
                resultLabel.text = currentInput
            }
        case 14:
            // AC 버튼
            clear()
        case 15:
            // = 버튼
            if currentInput == "0" {
                resultLabel.text = "error"
            } else {
                if let result = calculate(expression: currentInput) {
                    resultLabel.text = "\(result)"
                } else {
                    resultLabel.text = "error"
                }
            }

            default:
            break
        }

    }
    override func viewDidLoad() {
        super.viewDidLoad()
        resultLabel.text = "0"
        // Do any additional setup after loading the view.
    }


        func calculate(expression: String) -> Int? {
            let expression = NSExpression(format: expression)
            if let result = expression.expressionValue(with: nil, context: nil) as? Int {
                return result
            } else {
                return nil
            }
        }

        func clear() {
            currentInput = ""
            resultLabel.text = "0"
        }
    }

iOS 개발노트