
2-1. 클린코드와 리팩토링
벌써 두번째 챕터...
이번 챕터의 주제는 클린코드이다.
What: 클린 코드는 다음과 같은 특징을 가진 코드입니다.
- 가독성: 좋은 코드는 읽기 쉽고 이해하기 쉽습니다.
- 유지보수성: 좋은 코드는 수정사항에 대응하기 쉬우며, 수정에 독립적이고 찾기 쉽습니다.
- 확장성: 좋은 코드는 새로운 기능을 추가할 때, 기존 코드를 크게 수정하지 않을 수 있습니다.
- 견고성: 좋은 코드는 에러가 발생했을 경우에도 동작하거나 대응하고, 에러를 발견하기 쉽습니다.
- 테스트 가능성: 좋은 코드는 테스트를 작성하기 쉬우며, 단위별 테스트를 할 수 있습니다.
- 자기문서화: 좋은 코드는 요구사항을 코드 자체로 이해할 수 있게 합니다.
- 일관성: 좋은 코드는 같은 규칙과 철학으로 작성되어 예측이 가능합니다.
Why: 클린 코드를 작성하는 것은 다음과 같은 장점을 가져다줍니다.
- 코드의 가독성이 높아져 유지보수가 용이해집니다.
- 버그 발생 가능성이 낮아져 코드의 안정성이 높아집니다.
- 개발 속도가 향상되고, 개발 비용이 절감됩니다.
- 팀원 간의 협업이 용이해집니다.
How: 클린 코드를 작성하기 위해서는 다음과 같은 원칙을 따르는 것이 좋습니다.
- DRY(Don't Repeat Yourself) 원칙
- 같은 코드를 반복적으로 작성하지 않도록 합니다.
- KISS(Keep It Simple, Stupid) 원칙
- 코드를 최대한 간단하게 작성합니다.
- YAGNI(You Ain't Gonna Need It) 원칙
- 필요하지 않은 코드는 작성하지 않습니다.
내가 지금까지 클린코드를 작성하자 라는 생각을 갖고 개발을 한 적이 있나 되돌아보게 되는 주제였다. 그래서 이번 주에 클린코드를 마스터하자는 다짐과 함께 과제를 봤는데
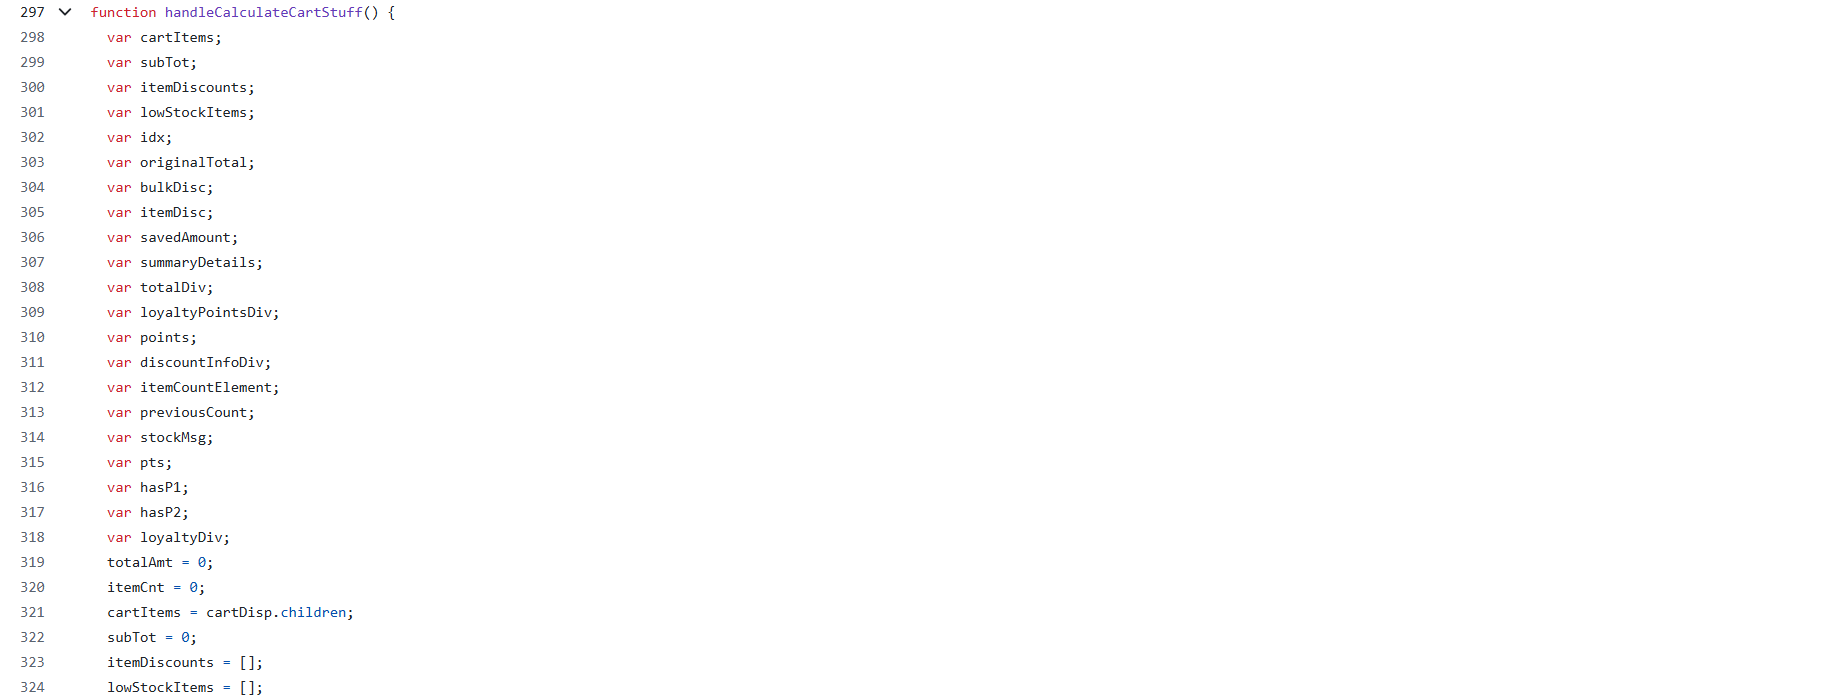
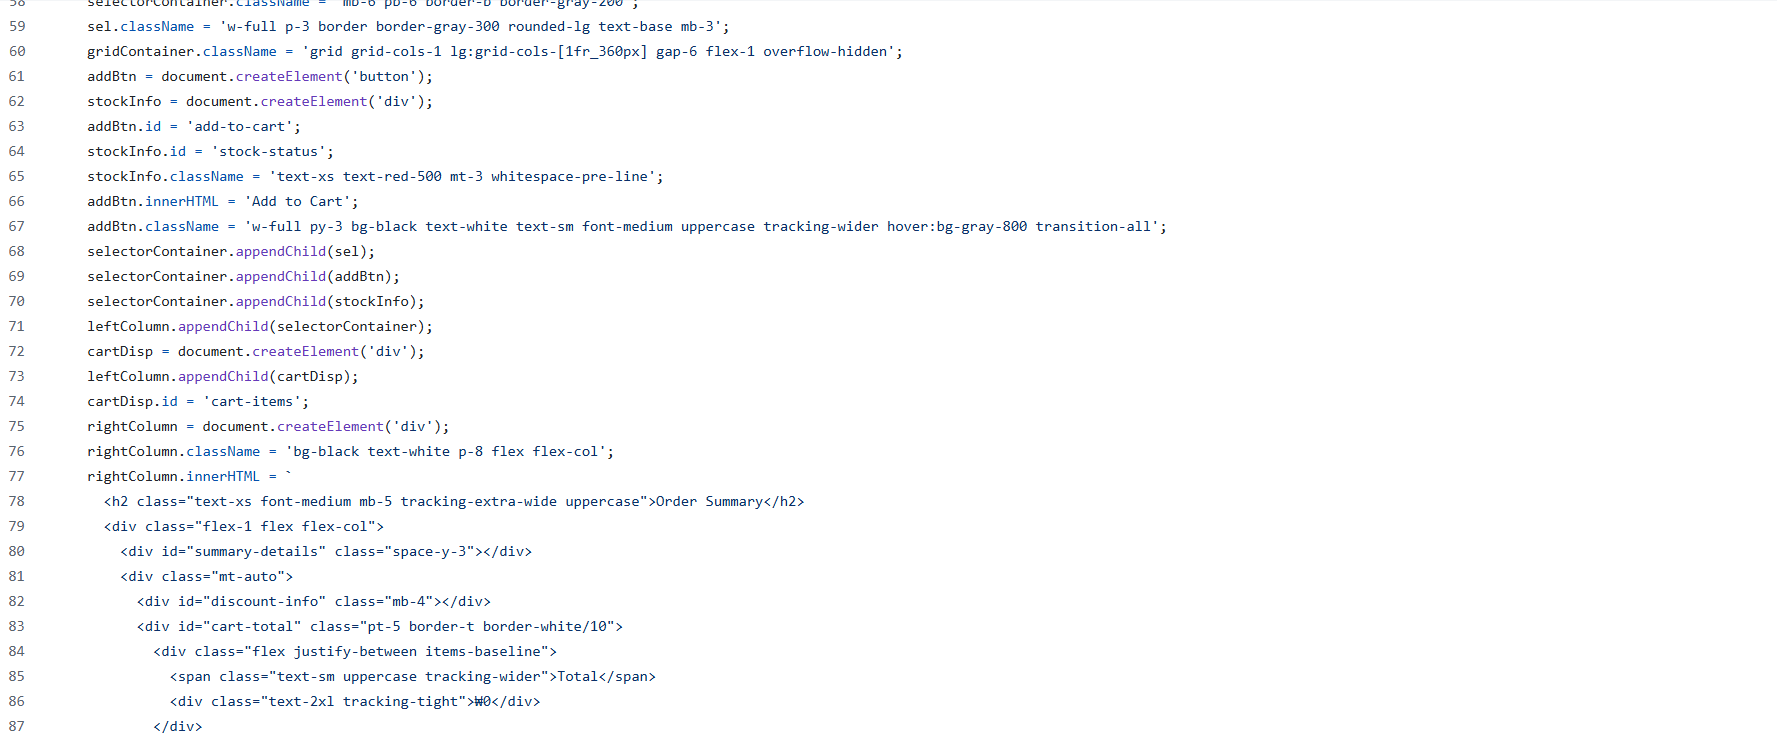
이건 아니잖아
기본 과제는 위 코드를 리액트와 타입스크립트로 리팩토링할 것을 염두해 두고 순수 js로만 리팩토링하는 거였고, 심화 과제는 기본 과제를 바탕으로 리액트와 타입스크립트로 리팩토링을 마친 뒤 배포까지 하는 거였다.
WIL
1주차부터 나의 자바스크립트 구멍을 뼈저리게 느끼고 있다...
처음엔 진짜 어떻게 시작해야할지 감도 잡히지 않아서 일단 전체 코드 해석을 시작했고 그렇게 하루가 그냥 지나갔다.
다음 날 일단 뭐라도 해야겠다는 생각에 제일 기본적인 var 변수 및 불필요한 코드 없애기, 간단한 util 함수 작성, 비즈니스 함수 작성을 진행했고.. 함수 내에서 innerHTML을 쓰든 말든 일단 연산 코드와 ui에 관여하는 코드를 분리하는 데에만 바빴다.
그런데 화요일 밤에 진행된 과제 QnA를 듣고 내가 완전히 잘못된 방향으로 가고 있다는 걸 깨달았다. 난 리액트로의 리팩토링에 하등 도움이 되지 않는 코드를 작성하고 있었다.

어떡하긴.. 과제 제출이 2일 정도 남았지만 이제라도 엎어야지
// 테오 코치의 멘토링 중 일부..

DOM의 역할은 그리는 애다!! (얘는 데이터의 원천이 되지 못한다.)

Model
- state
- calc

View
- computed value -> render
- event

Controller

event -> state를 변경하게
rerender를 요청한다.
우선 전역 상태를 기반으로 ui가 렌더링 되도록 하는 것이 제일 급한 부분이었다.
const appState = {
 totalPoints: 0, // 최종 적립 포인트
 pointsDetail: [], // 포인트 상세 문자열

 totalProductCount: 0, // 장바구니 내 총 상품 수 (헤더)
 totalBeforeDiscount: 0, // 할인 전 장바구니 내 총 상품 가격
 totalAfterDiscount: 0, // 장바구니 내 총 상품 가격

 totalDiscountedRate: 0, // 총 할인율
 discountedProductList: [], // 할인 적용된 상품 목록
 lastSelectedProductId: null, // 제일 최근에 장바구니에 담은 상품의 id
};

// 최종 상태 관리
const state = {
 productState: productList,
 cartState: cartList,
};
시간이 너무 촉박했기에 상품 목록과 장바구니 목록, 그리고 화면에 보여지는 값(상품과 장바구니 상태에 따라 달라지는 파생 계산 값)들을 모두 묶어 전역 상태로 만들었다. 좋지 않은 방식인건 알았지만 과거의 나는 너무 급했다...
export const renderCartProductList = (state) => {
  const { cartState, productState } = state;

  const container = document.getElementById('cart-items');
  container.innerHTML = ''; // 기존 초기화

  cartState.forEach((item) => {
    // { id: , count: }
    const product = findProductById(productState, item.id);
    const productItem = createCartProduct(product, item.count); // HTML 요소 반환
    container.appendChild(productItem);
  });
};

// ...

export const updateUI = ({ state, appState }) => {
  renderTuesdaySpecial(appState);
  renderCartSummaryDetail({ state, appState });
  renderCartTotalPrice(appState);
  renderDiscountRate(appState);
  renderTotalProductCount(appState);
  renderBonusPoints(appState);
  renderStockMessage(state);
  renderCartProductList(state);
};
위의 renderCartProductList처럼 전역 상태를 바탕으로 화면에 ui를 다시 렌더링하는 함수를 만들었고, updateUI에 ui 렌더링 함수를 모아 실행되도록 구현했다. 어찌저찌 작성했더니 코드가 돌아가긴 했다... 휴
사실 시간이 너무 부족해서 기본 과제가 완벽히 끝나지 않은 상태에서 심화 과제로 넘어갔다. react + tsx 조합에 useReducer을 사용하니 숨이 트인 느낌이었다.🤩 리액트야 고마워!!!!!!!!!!
const StateContext = createContext<State | undefined>(undefined);
const DispatchContext = createContext<React.Dispatch<Action> | undefined>(undefined);

export const GlobalProvider = ({ children }: { children: React.ReactNode }) => {
  const [state, dispatch] = useReducer(reducer, initialState);

  return (
    <StateContext.Provider value={state}>
      <DispatchContext.Provider value={dispatch}>{children}</DispatchContext.Provider>
    </StateContext.Provider>
  );
};
useReducer을 사용하기 위해 Provider을 만들어 App을 감싸준 후에
export type State = {
  productList: Product[];
  cartList: CartProduct[];
  appState: AppState;
};

export type Action =
  | { type: 'CHANGE_QUANTITY'; productId: string; delta: number }
  | { type: 'REMOVE_FROM_CART'; productId: string }
  | { type: 'APPLY_FLASH_SALE'; productId: string }
  | { type: 'APPLY_SUGGEST_SALE'; productId: string };


export const reducer = (state: State, action: Action): State => {
  switch (action.type) {
    case 'CHANGE_QUANTITY': {
      const { productId, delta } = action;

      const product = findProductById(state.productList, productId);
      if (!product) return state;

      // 재고 부족 시
      if (delta > 0 && product.quantity <= 0) {
        alert(MESSAGE.NO_STOCK);
        return state;
      }

      let newCartList = [...state.cartList];
      let newProductList = [...state.productList];

      const productIndex = newProductList.findIndex((item) => item.id === productId);
      const cartIndex = newCartList.findIndex((item) => item.id === productId);

      // 상품 추가
      if (cartIndex === -1 && delta > 0) {
        newCartList.push({ id: productId, count: 1 });
        newProductList[productIndex] = {
          ...newProductList[productIndex],
          quantity: product.quantity - 1,
        };
      }
      // 상품 제거
      else if (cartIndex !== -1 && newCartList[cartIndex].count === 1 && delta < 0) {
        newCartList.splice(cartIndex, 1);
        newProductList[productIndex] = {
          ...newProductList[productIndex],
          quantity: product.quantity + 1,
        };
      }
      // 정상 증감
      else if (cartIndex !== -1) {
        newCartList[cartIndex] = {
          ...newCartList[cartIndex],
          count: newCartList[cartIndex].count + delta,
        };
        newProductList[productIndex] = {
          ...newProductList[productIndex],
          quantity: product.quantity - delta,
        };
      }

      const tempState = {
        cartState: newCartList,
        productState: newProductList,
      };

      const summary = calculateCartSummary(tempState);
      const bonus = calculateBonusPoint({ state: tempState, appState: summary });

      return {
        cartList: newCartList,
        productList: newProductList,
        appState: {
          ...state.appState,
          ...summary,
          ...bonus,
          lastSelectedProductId: productId,
        },
      };
    }

    // ...

    default:
      return state;
  }
};
각 액션 키에 연산 결과를 전역 상태에 맞게 반환하도록 구현해주었다.
급하게 만든 전역 상태에 맞추느라 코드가 더럽긴 하지만 기본 과제에서 사용한 함수가 그대로 쓰이긴 했다. 🫥
 ?: 더티코드가 어쨌든 React 위에서 돌아가고 있고 ...
KPT
Keep
포기하지 않는 자세...
솔직히 4주차 과제를 심화까지 통과한게 기적이라고 생각한다.
Problem
역시나 무턱대고 아무거나 막 시작한 부분이...
Try
4주차가 아쉬웠던 만큼 남은 2번째 챕터 과제 열심히 임하기 👊