
이전 실습 (썸네일로 변환하기) 의 연장선입니다.
목표
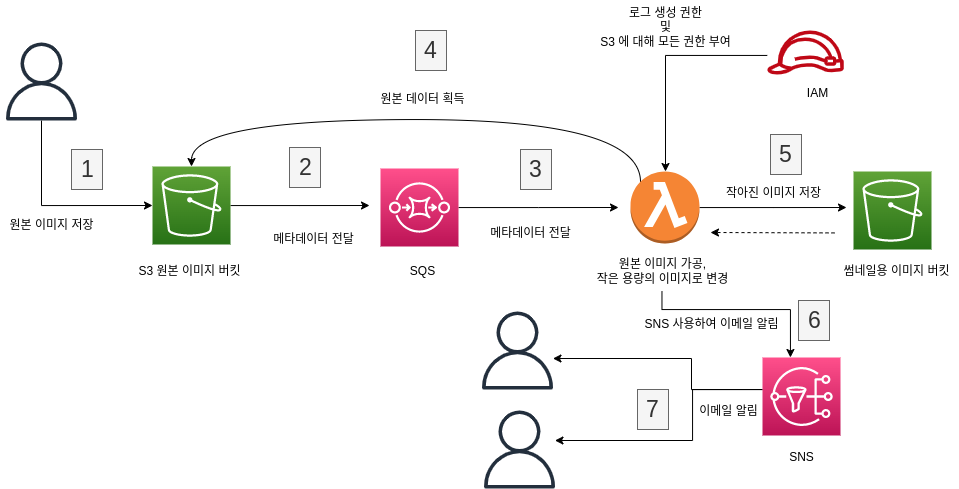
만들었던 이전 실습(썸네일로 변환하기) 에 다음의 기능을 추가합니다.
-
s3 의 변경사항을 람다가 바로 받지 말고 SQS 받도록 변경
-
썸네일용 이미지의 링크를 이메일에 전달
STEP 1: SQS 생성 및 정책 변경
- SQS 페이지 이동
대기열 생성버튼 클릭- SQS 생성
- SQS 이름 작성
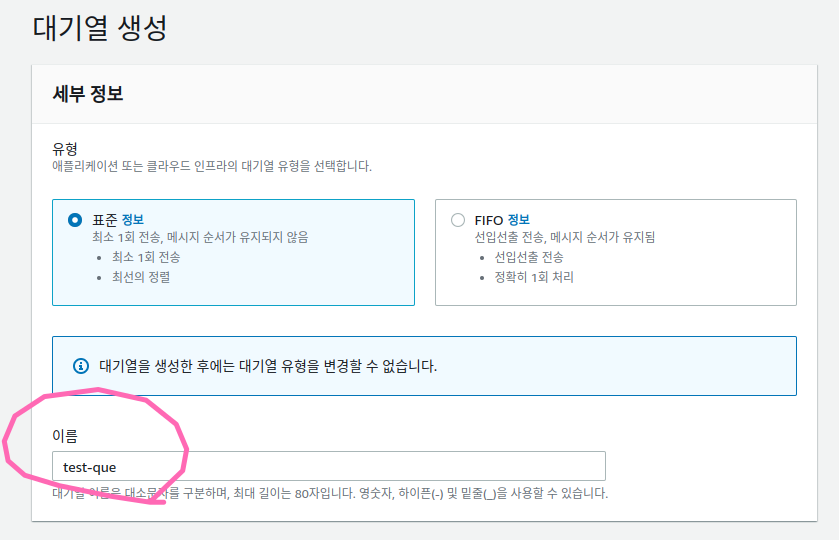
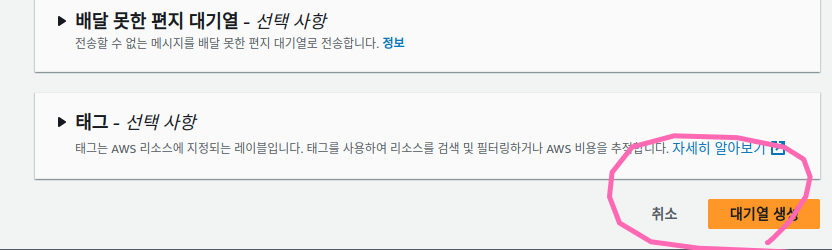
- 나머지값을 기본값으로 하고 생성
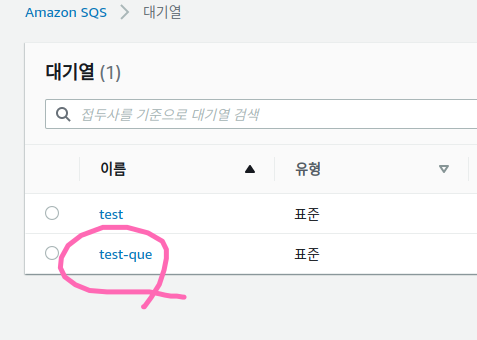
- SQS 이름 작성
- SQS 정책 변경
원본 버킷이SQS에게 메세지를 줄 수 있도록 정책 변경하기- 만들었던 SQS로 이동
- 액세스 정책 편집 이동
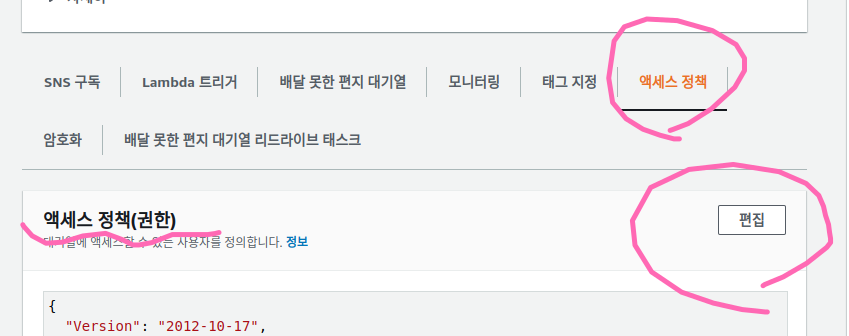
- 엑세스 정책 변경
- 아래의 정책으로 덮어씌운다.
{ "Version": "2012-10-17", "Id": "example-ID", "Statement": [ { "Sid": "example-statement-ID", "Effect": "Allow", "Principal": {"Service": "s3.amazonaws.com"}, "Action": "SQS:SendMessage", "Resource": "arn:aws:sqs:ap-northeast-2:640668917513:test-que", "Condition": { "ArnLike": { "aws:SourceArn": "arn:aws:s3:::bk-pictrue" } } } ] } Resource에는 방금 만든 SQS 의 arn 정보를 넣고,aws:SourceArn에는원본 버킷의 arn 을 넣는다.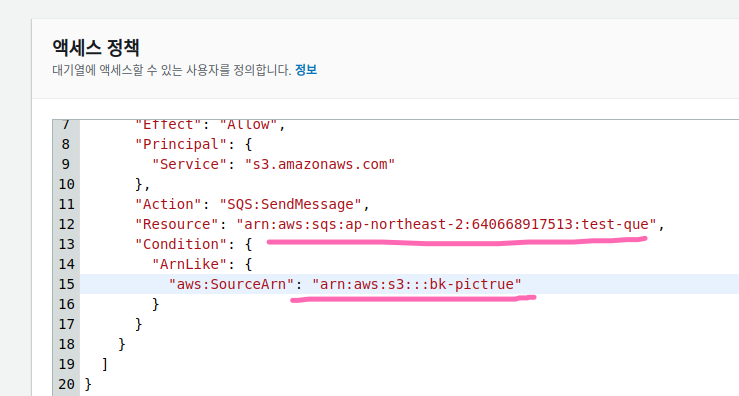
저장버튼 클릭
- 아래의 정책으로 덮어씌운다.
- 만들었던 SQS로 이동
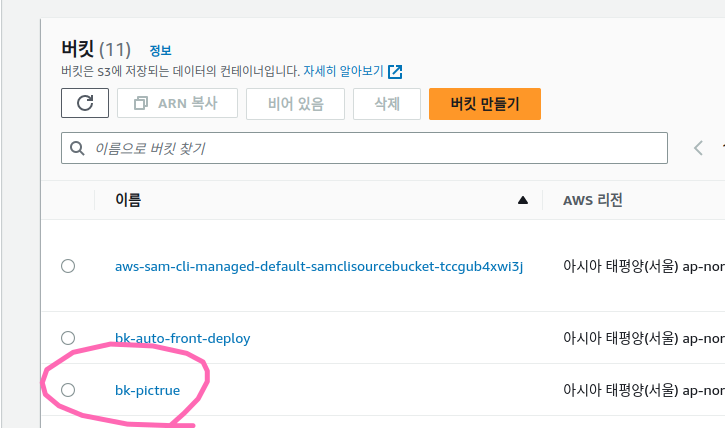
STEP 2: 원본 버킷에 SQS 이벤트 알림 연동
- 원본 버킷으로 이동
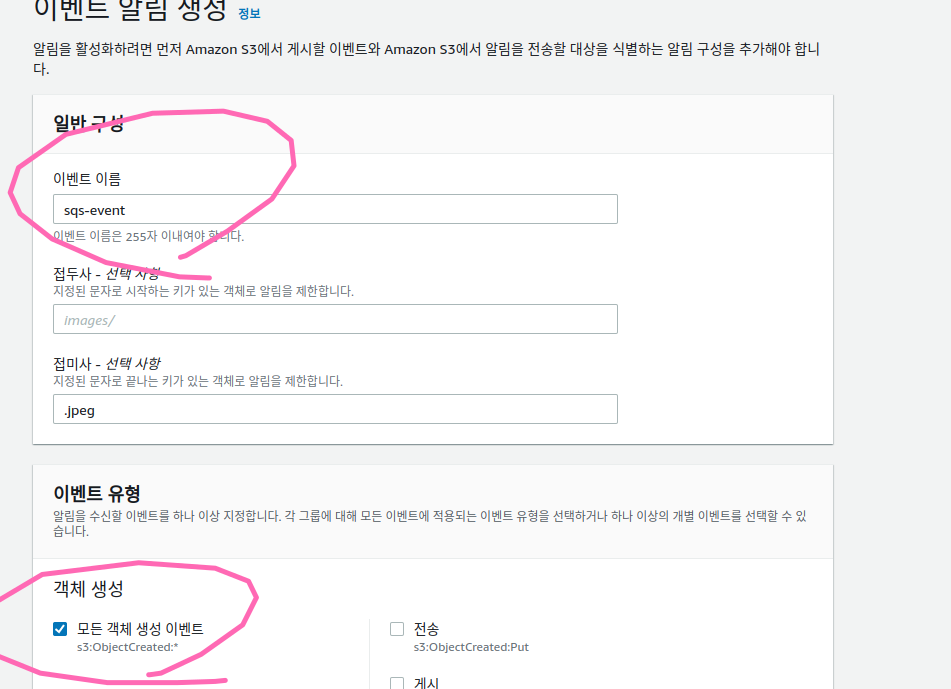
속성 탭이동이벤트 알림 생성버튼 클릭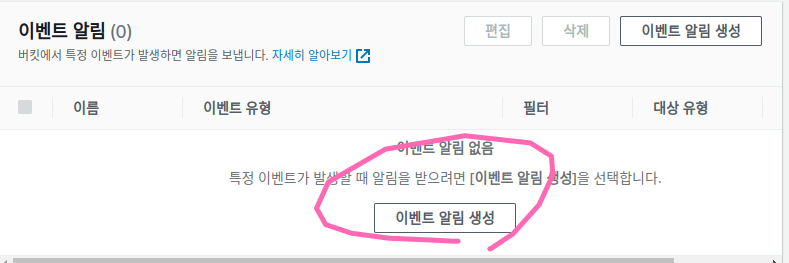
- 이벤트 알림 생성

STEP 3: 람다함수에 SQS 트리거 추가하여 SQS 로부터 S3 생성 메세지 수신받을 수 있도록 하기
- 람다 함수에 SQS 로부터 메세지를 수신받을 수 있는 정책을 추가한다. (아래의 정책은 SQS 정책을 포함한 나머지 정책도 포함되어있다.)
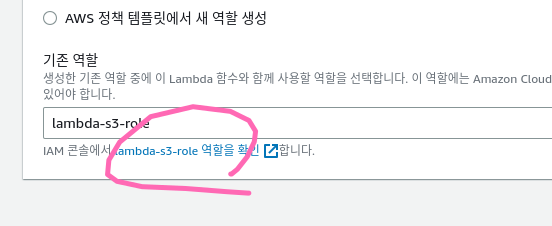
편집클릭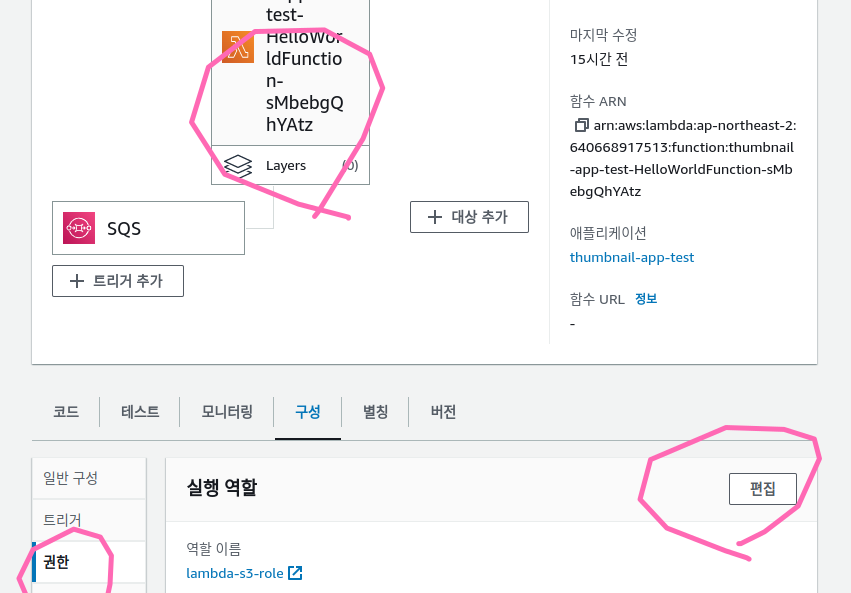
- 역할 확인
-
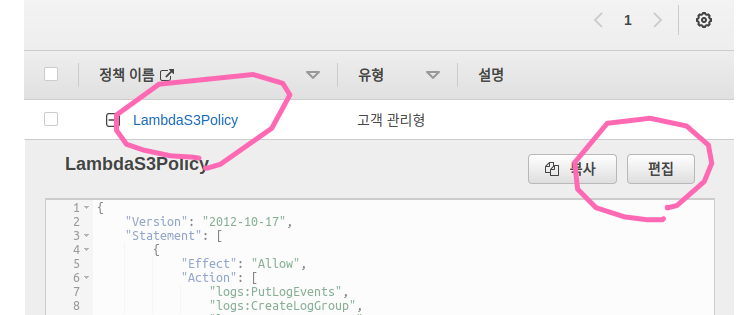
- 아래
정책을 복사하여 넣는다.{ "Version": "2012-10-17", "Statement": [ { "Effect": "Allow", "Action": [ "logs:PutLogEvents", "logs:CreateLogGroup", "logs:CreateLogStream" ], "Resource": "arn:aws:logs:*:*:*" }, { "Sid": "AllAccess", "Action": "s3:*", "Effect": "Allow", "Resource": [ "*" ] }, { "Sid": "SQSAllAccess", "Effect": "Allow", "Action": [ "sqs:*" ], "Resource": "*" } ] }
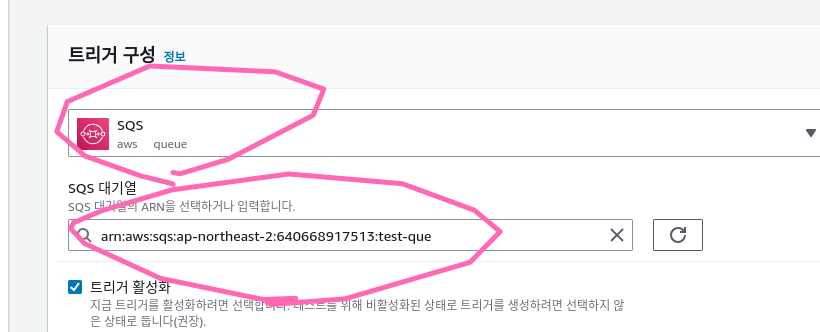
- 람다 함수에 트리거 추가
트리거 추가버튼 클릭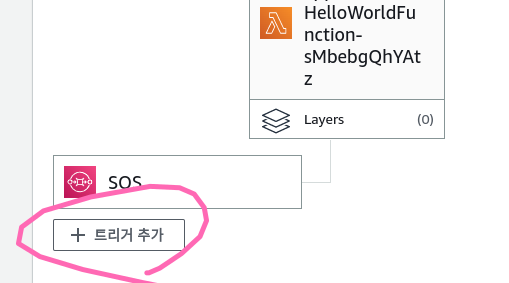
-
-

STEP 4: SNS 생성 및 이메일 구독
- SNS 주제 생성
- SNS 페이지 로 이동
주제 생성버튼 클릭-
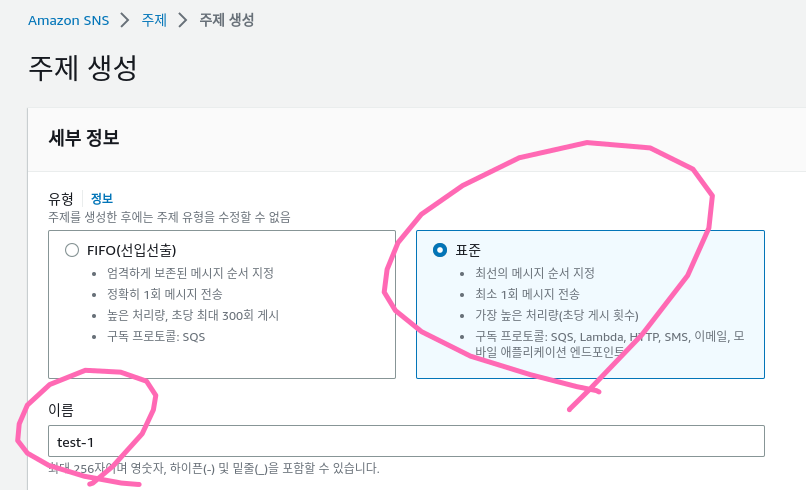
- 나머지는 기본값으로 두고 생성
주제 엑세스 정책변경편집으로 이동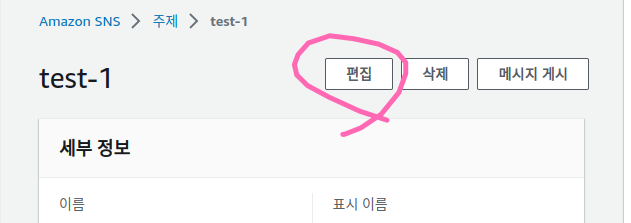
액세스 정책편집기 이동- 아래의 정책으로 변경한다.
arn:aws:sns:ap-northeast-2:640668917513:test-1는 자신의SNS arn으로 바꿔준다.{ "Version": "2008-10-17", "Id": "__default_policy_ID", "Statement": [ { "Sid": "__default_statement_ID", "Effect": "Allow", "Principal": { "AWS": "*" }, "Action": [ "SNS:GetTopicAttributes", "SNS:SetTopicAttributes", "SNS:AddPermission", "SNS:RemovePermission", "SNS:DeleteTopic", "SNS:Subscribe", "SNS:ListSubscriptionsByTopic", "SNS:Publish" ], "Resource": "arn:aws:sns:ap-northeast-2:640668917513:test-1", "Condition": { "StringEquals": { "AWS:SourceOwner": "640668917513" } } }, { "Sid": "Allow-AWS-Service-to-publish-to-the-topic", "Effect": "Allow", "Principal": { "AWS": "*" }, "Action": "SNS:Publish", "Resource": "arn:aws:sns:ap-northeast-2:640668917513:test-1" } ] }
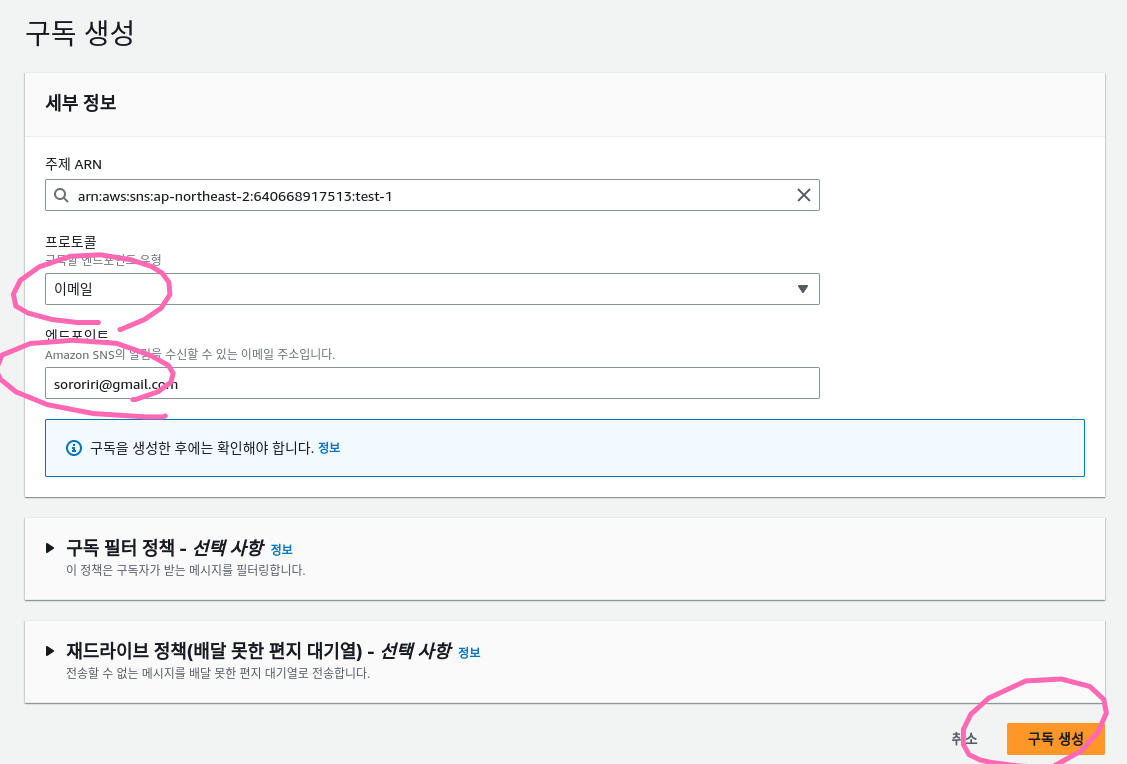
이메일 구독설정구독 생성버튼 클릭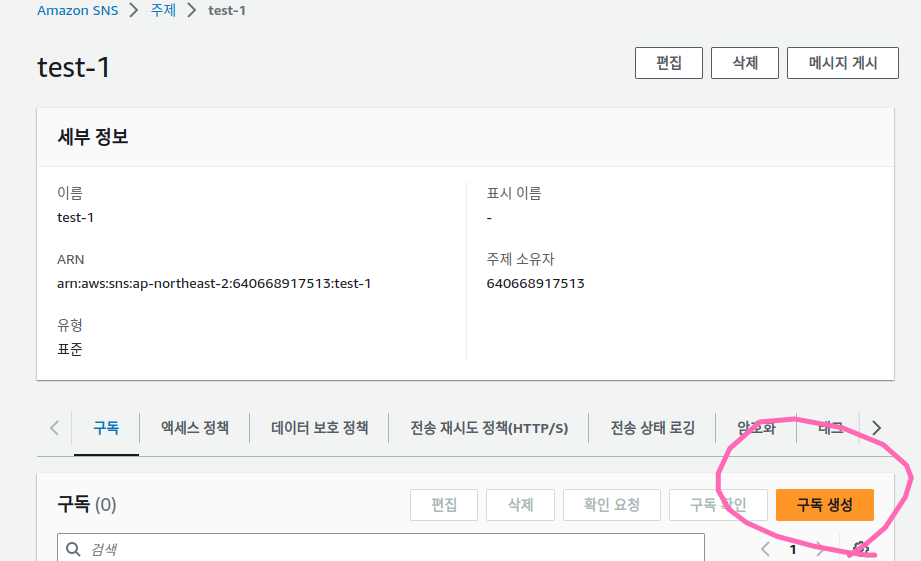
- 이메일을 받을 주소 작성하고 구독 생성
- 작성한 주소에 들어가서
Confirm subscription클릭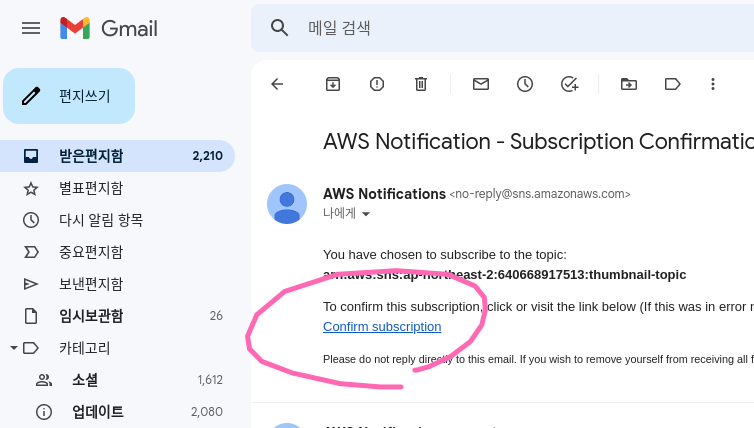
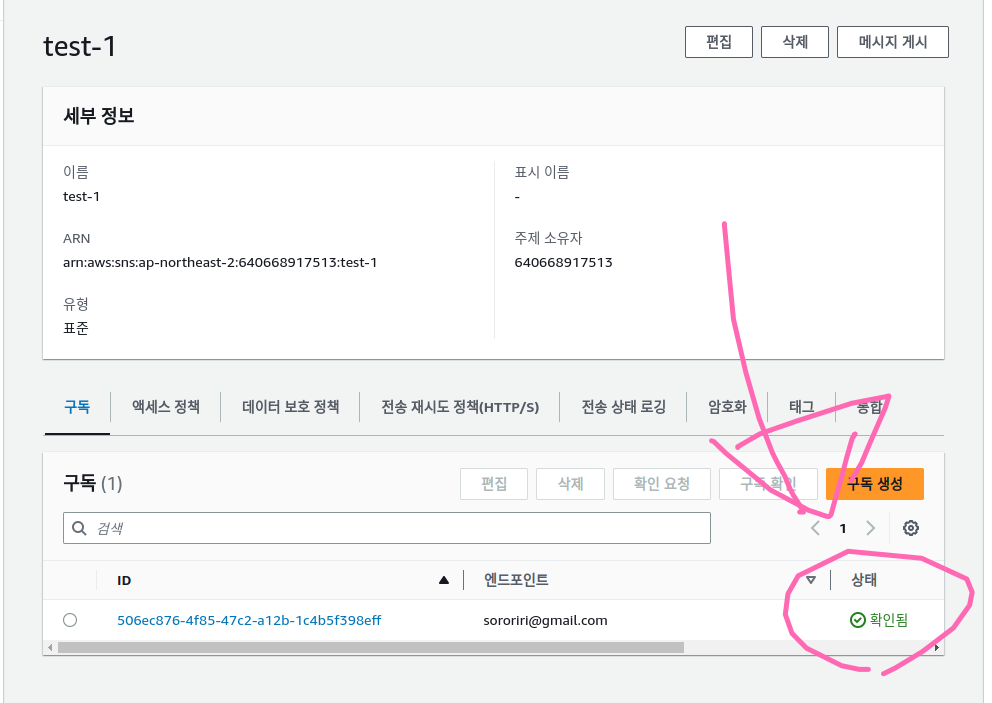
- 확인됨이 뜨는 것을 확인
STEP 5: 람다 수정
-
소스 코드 수정 후 재배포
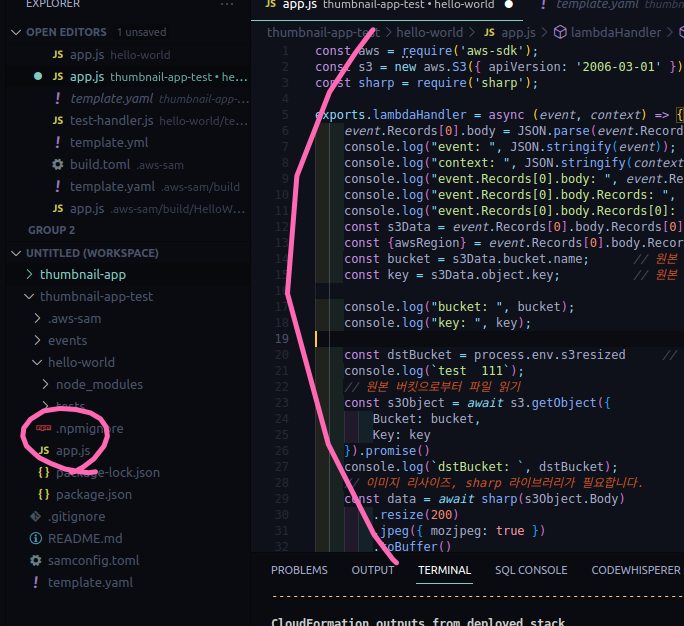
- 아래의 소스코드를 복사하여
app.js에 넣는다.
const aws = require('aws-sdk'); const s3 = new aws.S3({ apiVersion: '2006-03-01' }); const sharp = require('sharp'); exports.lambdaHandler = async (event, context) => { try { event.Records[0].body = JSON.parse(event.Records[0].body); console.log("event: ", JSON.stringify(event)); console.log("context: ", JSON.stringify(context)); console.log("event.Records[0].body: ", event.Records[0].body); const s3Data = event.Records[0].body.Records[0].s3; const {awsRegion} = event.Records[0].body.Records[0]; const bucket = s3Data.bucket.name; // 원본 버킷 이름 const key = s3Data.object.key; // 원본 버킷 키 console.log("bucket: ", bucket); console.log("key: ", key); const dstBucket = process.env.s3resized // 썸네일 버킷 이름 // 원본 버킷으로부터 파일 읽기 const s3Object = await s3.getObject({ Bucket: bucket, Key: key }).promise() console.log(`dstBucket: `, dstBucket); // 이미지 리사이즈, sharp 라이브러리가 필요합니다. const data = await sharp(s3Object.Body) .resize(200) .jpeg({ mozjpeg: true }) .toBuffer() // 대상 버킷으로 파일 쓰기 const result = await s3.putObject({ Bucket: dstBucket, Key: key, // 원본 버킷 키와 동일 ContentType: 'image/jpeg', // 컨텐츠 타입 Body: data, ACL: 'public-read' }).promise() snsArn = process.env.arnTopic const sns = new aws.SNS(awsRegion); const massage = await sns.publish({ Message : "URL : "+`https://${process.env.s3resized}.s3.${awsRegion}.amazonaws.com/${key}`, Subject: "썸네일 도착", TopicArn : process.env.arnTopic }).promise() console.log(`massage :`, massage); return result; } catch (e) { console.log("ERROR: ", e); return "ERROR" } }- 다음과 같이 붙여 넣는다.
- 빌드 후 배포
sam build; sam deploy;
- 아래의 소스코드를 복사하여
-
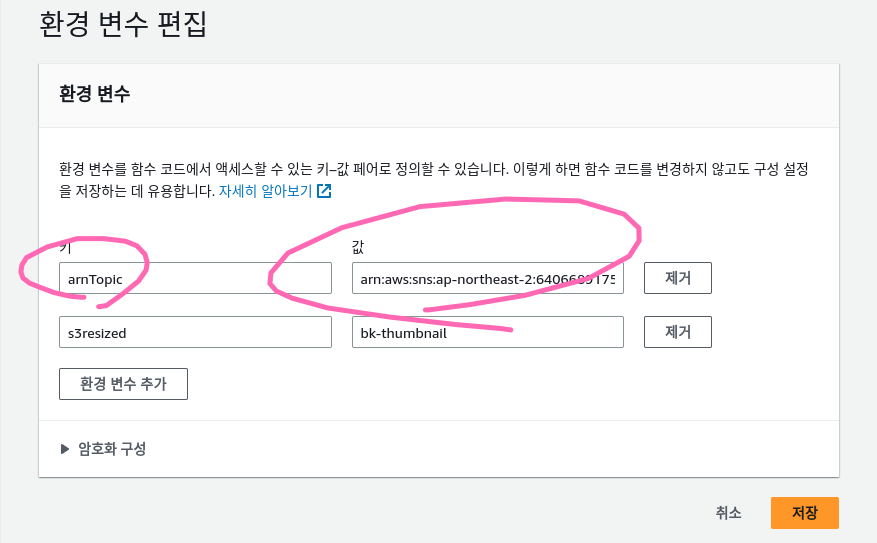
람다 함수의환경변수 편집에 들어가서SNS 환경 변수설정- eg.
arnTopic:arn:aws:sns:ap-northeast-2:640668917513:test-1
- eg.
STEP 6: 이메일 수신 테스트
- S3 에 이미지를 넣어본다.
- 이메일이 정상적으로 오는 것을 확인한다.
- 이메일이 왔다.
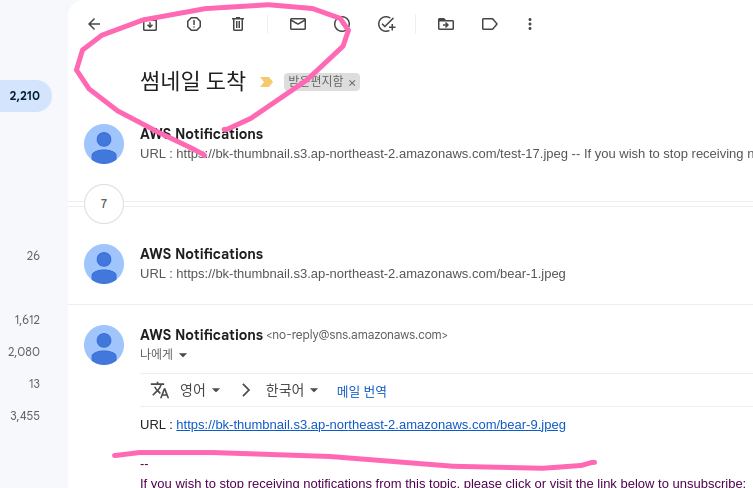
- 이메일이 왔다.
추후 해볼 내용
S3의 Pre-signed URL 기능을 이용하여, 업로드 전용 URL을 획득하고, 이를 통해 이미지를 S3 업로드할 수 있게 만들어봅시다
참고자료:
3. 연습: 알림용 버킷 구성(SNS 주제 또는 SQS 대기열)
5. json strip
6. json viewer
7. How to Send an Email Notification Using AWS Lambda
8. 서버리스랜드
10. 깃허브

기록하고 공유하려고 노력하는 DevOps 엔지니어