2년전부터 렌파이로 게임을 만들어보고 싶다는 생각은 했지만, 이런 쪽으로는 창의력이 바닥난 인간이기 때문에 스토리고 뭐고 아무생각이 나지 않아서 시작조차 하지 않았었다...🙄
근데 최근에 친구가 씹뜨억 미연시 게임 좀 만들어달라고 부탁했다.
이미지고 스크립트고 전부 제공해주겠다고 했으니, 거절할 이유가 전혀 없었다.
그렇게 아무것도 모른 채 렌파이로 미연시 게임 개발을 시작했다.
구글링, 공식문서, 렌파이 쿡북, 스택 오버플로우 등을 돌아다니며 열심히 검색했고, chat gpt의 도움도 상당히 많이 받았다 ㅎㅎ
비모(VMO) 카페도 많은 도움이 되었다.
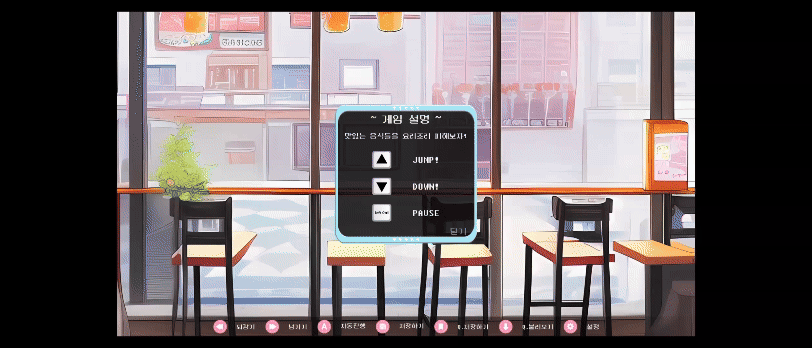
렌파이 개발이 처음이라면 강의와 팁 게시판을 참고하면 좋을 듯 하다.
한국어 문서는 언제나 귀하니까. ^^...
📜 렌파이 공식문서
🥄 렌파이 쿡북
☕ VMO
요구사항은 대략 다음과 같았다.
1. 호감도 및 미니게임 점수에 따른 배드엔딩/굿엔딩/트루엔딩 분기
2. 미니게임 2개 - 햄버거 만들기 게임, 장애물 피하기 게임
3. 엔딩 크레딧
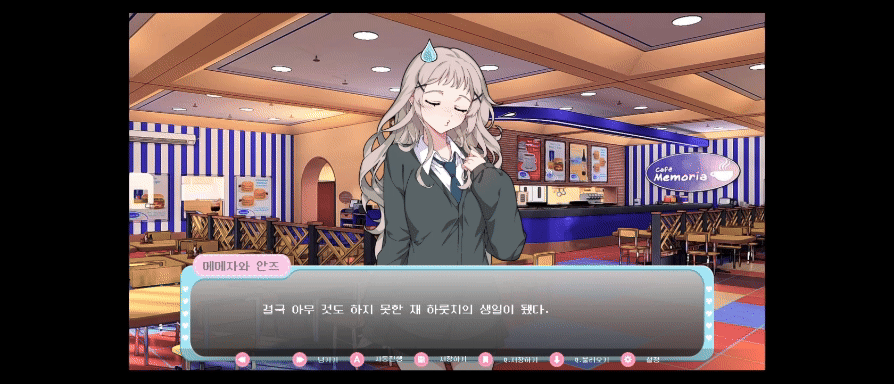
4. 트루엔딩 진입 시, 엔딩 크레딧 이후 오마케 추가1. 엔딩 분기
배드엔딩
- 장애물 피하기 미니게임 3000점 미만
    if run_score < 3000:
jump bad_ending_2- 햄버거 만들기 게임 점수 10000점 미만
- 호감도 10 미만
    if like_score < 10 and money < 10000:
        jump bad_ending
🎮 스크린샷
굿엔딩
- 햄버거 만들기 게임 점수 10000점 미만
- 호감도 10점 이상
🎮 스크린샷
트루엔딩
- 굿엔딩 이후 CG 및 대사 추가
- 햄버거 만들기 게임 점수 10000점 이상
- 호감도 10점 이상
    if like_score >= 10:
        if money >= 10000:
            jump true_ending
        else:
            jump good_ending
🎮 스크린샷
2. 미니 게임
햄버거 만들기 게임
주말에만 게임 개발이 가능해서 마감까지 남은 시간이 별로 없다고 판단했기에 햄버거 만들기 미니게임은 Kia Azad 라는 개발자의 소스 코드를 구매하여 수정사항을 적용하였다.
^^ 큰 도움이 됨...
👇 원본 게임 영상
주요 수정사항
| 항목 | 원본 (Before) | 수정 (After) |
|---|---|---|
| 목숨 시스템 | 목숨 없음 | 틀릴 경우 목숨 차감, 총 3개까지 부여 |
| 정답 처리 방식 | 일부만 맞혀도 금액 획득 가능 | 한 번이라도 틀리면 금액 미지급 + 목숨 차감 |
| 햄버거 시각 요소 | 배경과 구분이 잘 안되어 시인성 낮음 | 햄버거에 박스 영역 추가로 시각적 명확성 향상 |
| 조립 대상 UI 요소 | 햄버거를 직접 조립할 대상(접시) 부재 | 햄버거 조립용 접시 추가로 플레이어가 조립 위치를 직관적으로 인식할 수 있도록 개선 |
| 게임 흐름 제어 | 고객 변경 불가 | 패스(PASS) 버튼 추가로 현재 고객을 건너뛸 수 있도록 개선 |
🎮 스크린샷
장애물 피하기 게임
크롬 공룡 달리기 게임 레플리카.
지난번에 해당 미니 게임 게시글을 별도로 작성하였다.
추가된 점은 어렵다는 피드백을 받아서 목숨을 3개로 늘렸단 점 ㅋㅋㅋ
🎮 스크린샷
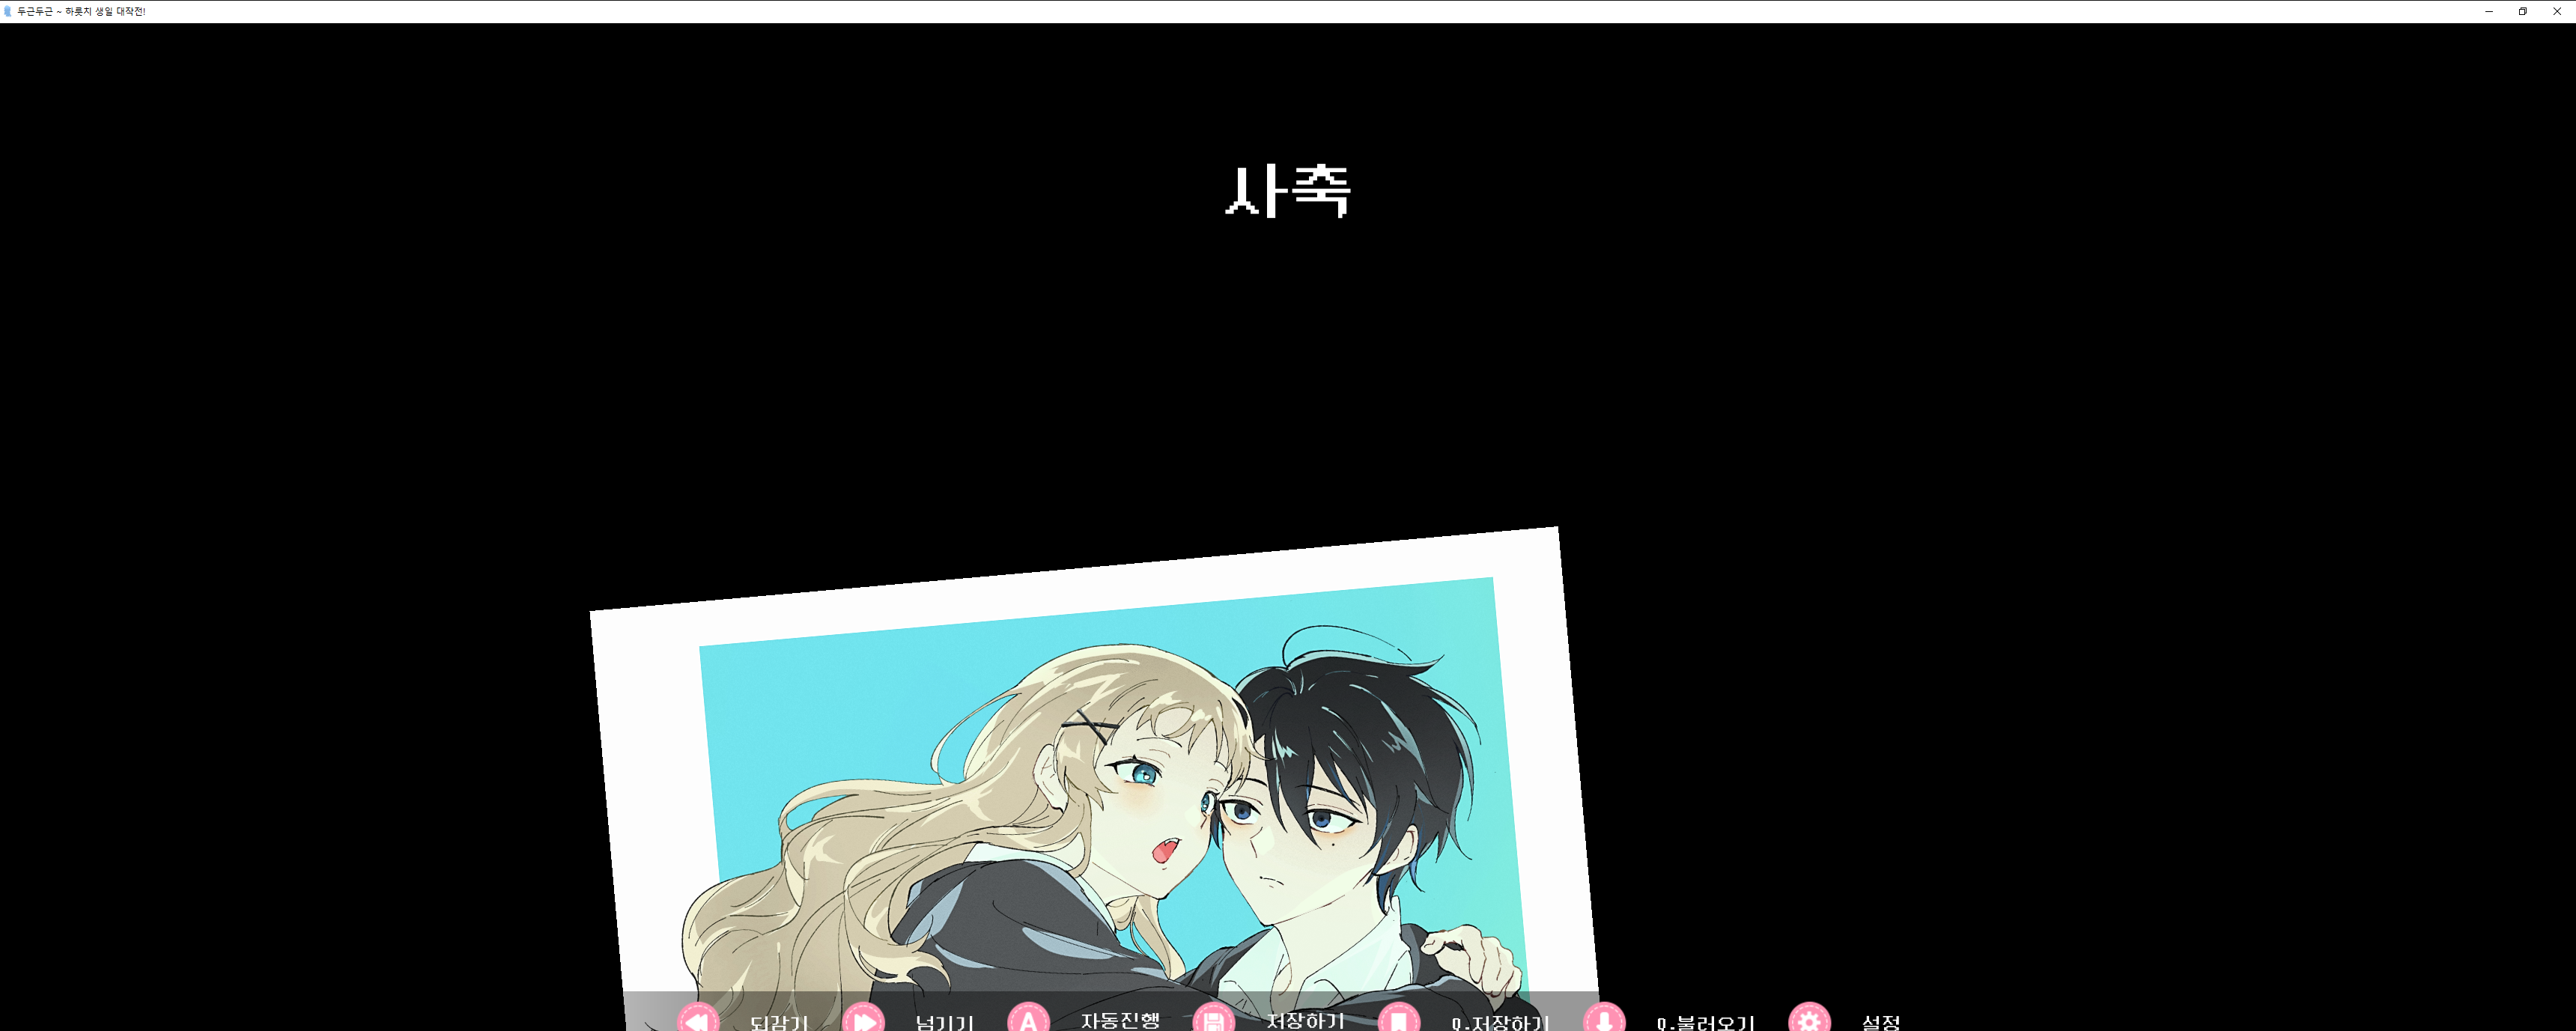
3. 엔딩 크레딧
다음 스택 오버플로우 글을 참고해서 구현.
크레딧을 더블 클릭 하는 경우, 스킵할 수 있게 하였다.
영화 크레딧처럼 천천히 내려간다.
https://www.reddit.com/r/RenPy/comments/1bk9awo/how_do_you_make_a_credit_scene/
transform rotate(r):
rotate_pad False
rotate r
transform zoom(z, n=False):
nearest n
zoom z
transform credits_scroll(speed): # 자동 스크롤
ypos 1000
linear speed ypos -25000
# 크레딧 스타일
style credits_hbox:
spacing 40
ysize 30
style credits_vbox:
xalign 0.5
spacing 30
text_align 0.5
style credits_label:
xalign 0.5
style credits_title_text:
xalign 0.5
justify True
size 125
text_align 0.5
color "#ffffff"
style credits_label_text:
xalign 0.5
justify True
size 100
text_align 0.5
color "#ffffff"
style credits_text:
xalign 0.5
size 70
justify True
text_align 0.5
color "#ffffff"
init python:
class Credit:
def __init__(self,credit_type,height = 0,text = None,path = None,x = 0,y = 0,zoom = 1,rotate = 0):
self.type = credit_type
self.height = height
self.text = text
self.path = path
self.x = x
self.y = y
self.zoom = zoom
self.rotate = rotate
credits = [
Credit(credit_type="spacer", height=150),
Credit(credit_type="label", text="DIRECTOR"),
... 생략 ...
]
screen show_credit():
frame at credits_scroll(110):
background None
xalign .5
button:
xysize(1920,1080)
background None
action Function(double_click,"end") # 배경 더블클릭 시 end label로 점프
style_prefix "credits"
vbox:
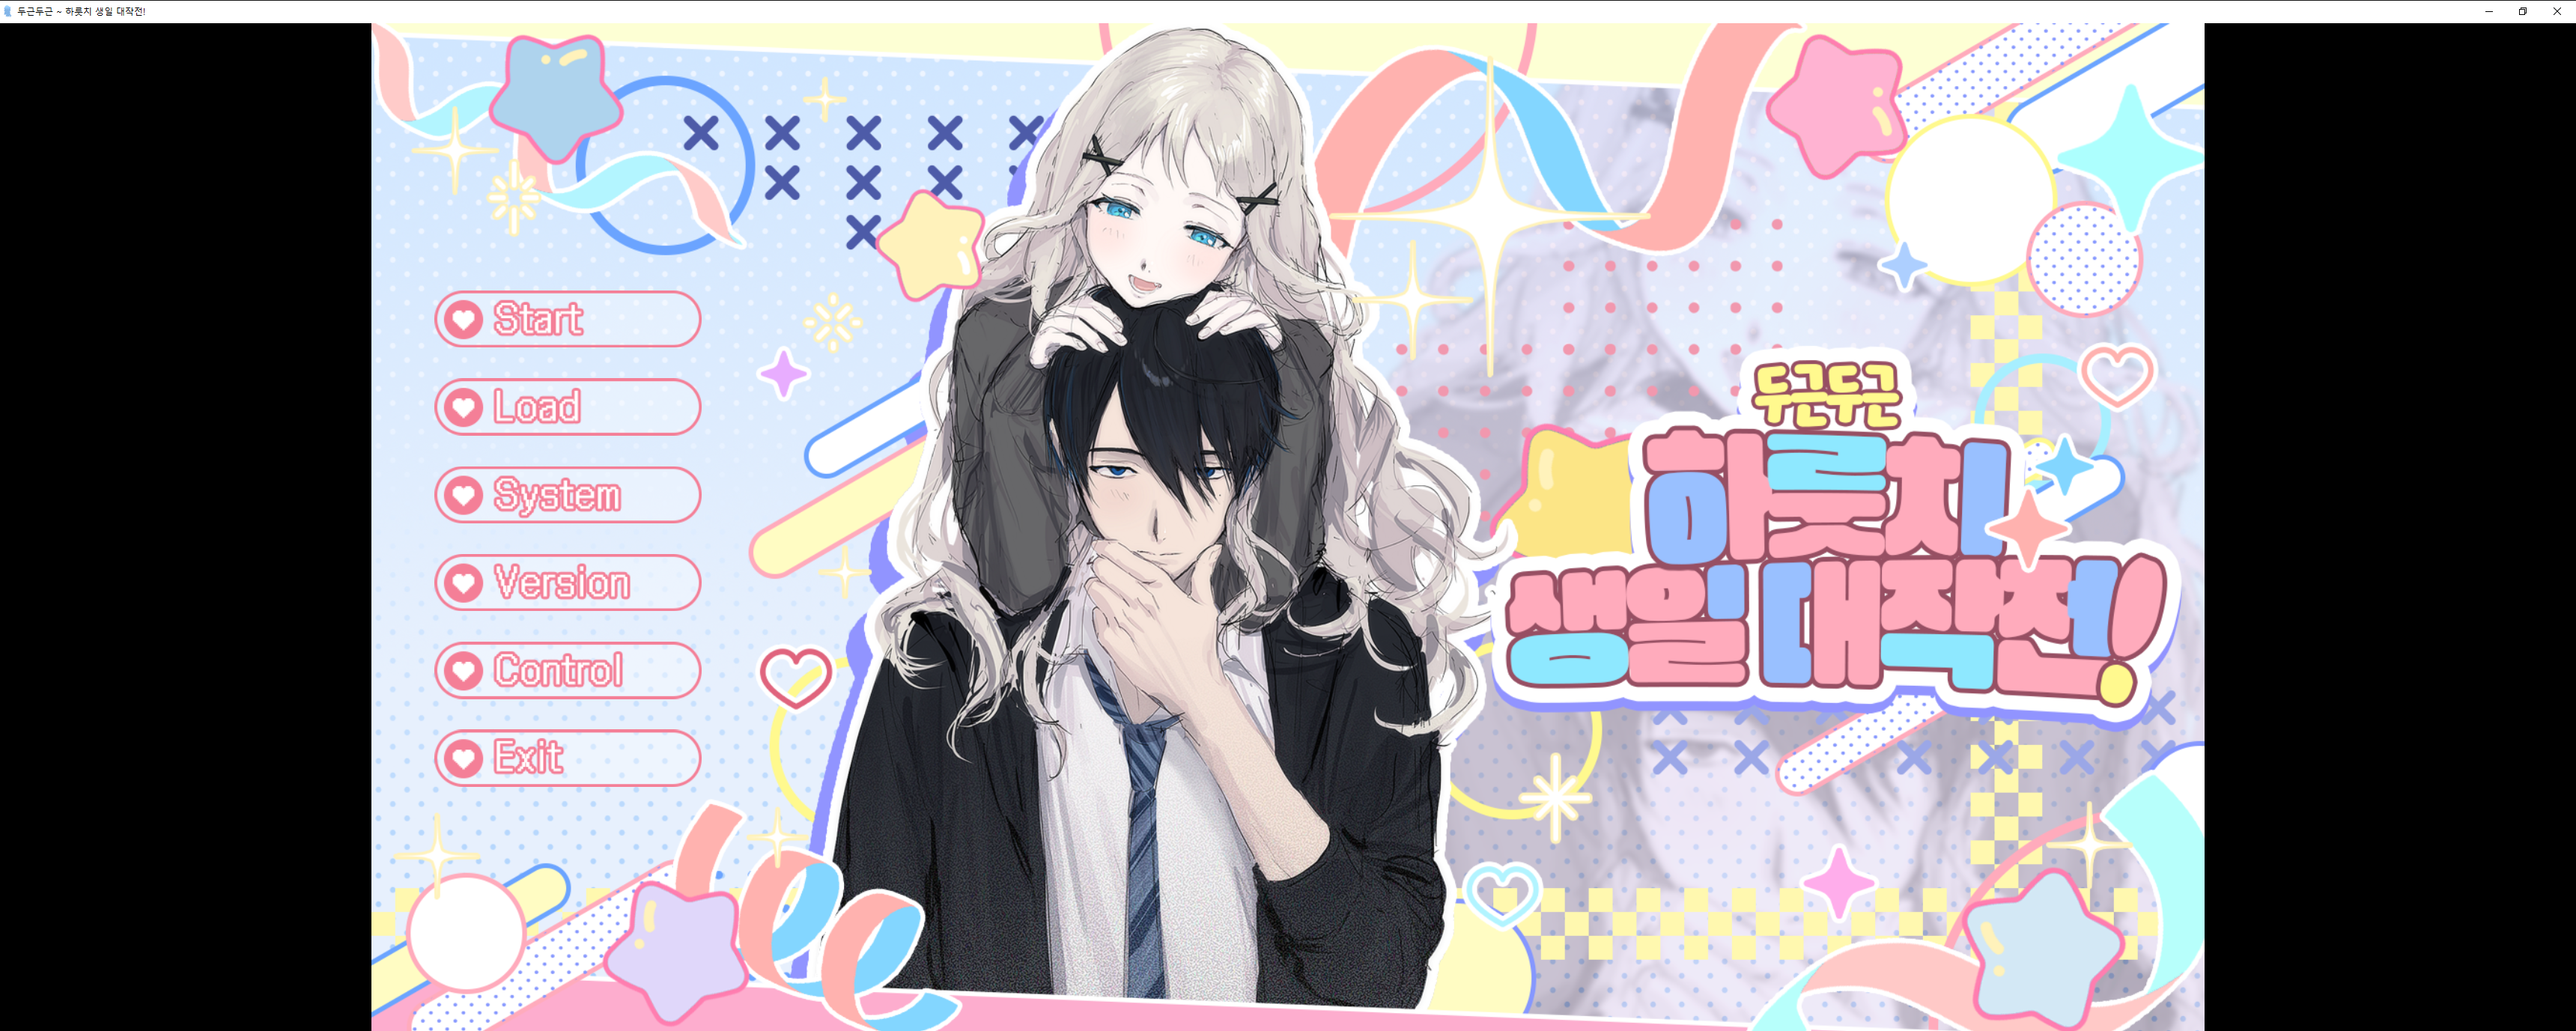
label "~ 두근두근! 하룻치 생일 대작전! ~"
for cred in credits:
if cred.type == "label": # 제목
label cred.text
if cred.type == "text": # 내용
text cred.text
if cred.type == "spacer": # 공백
null height cred.height
if cred.type == "image": # 사진
add cred.path at zoom(cred.zoom) rotate(cred.rotate) align cred.x, cred.y
timer 94 action Return()🎮 스크린샷
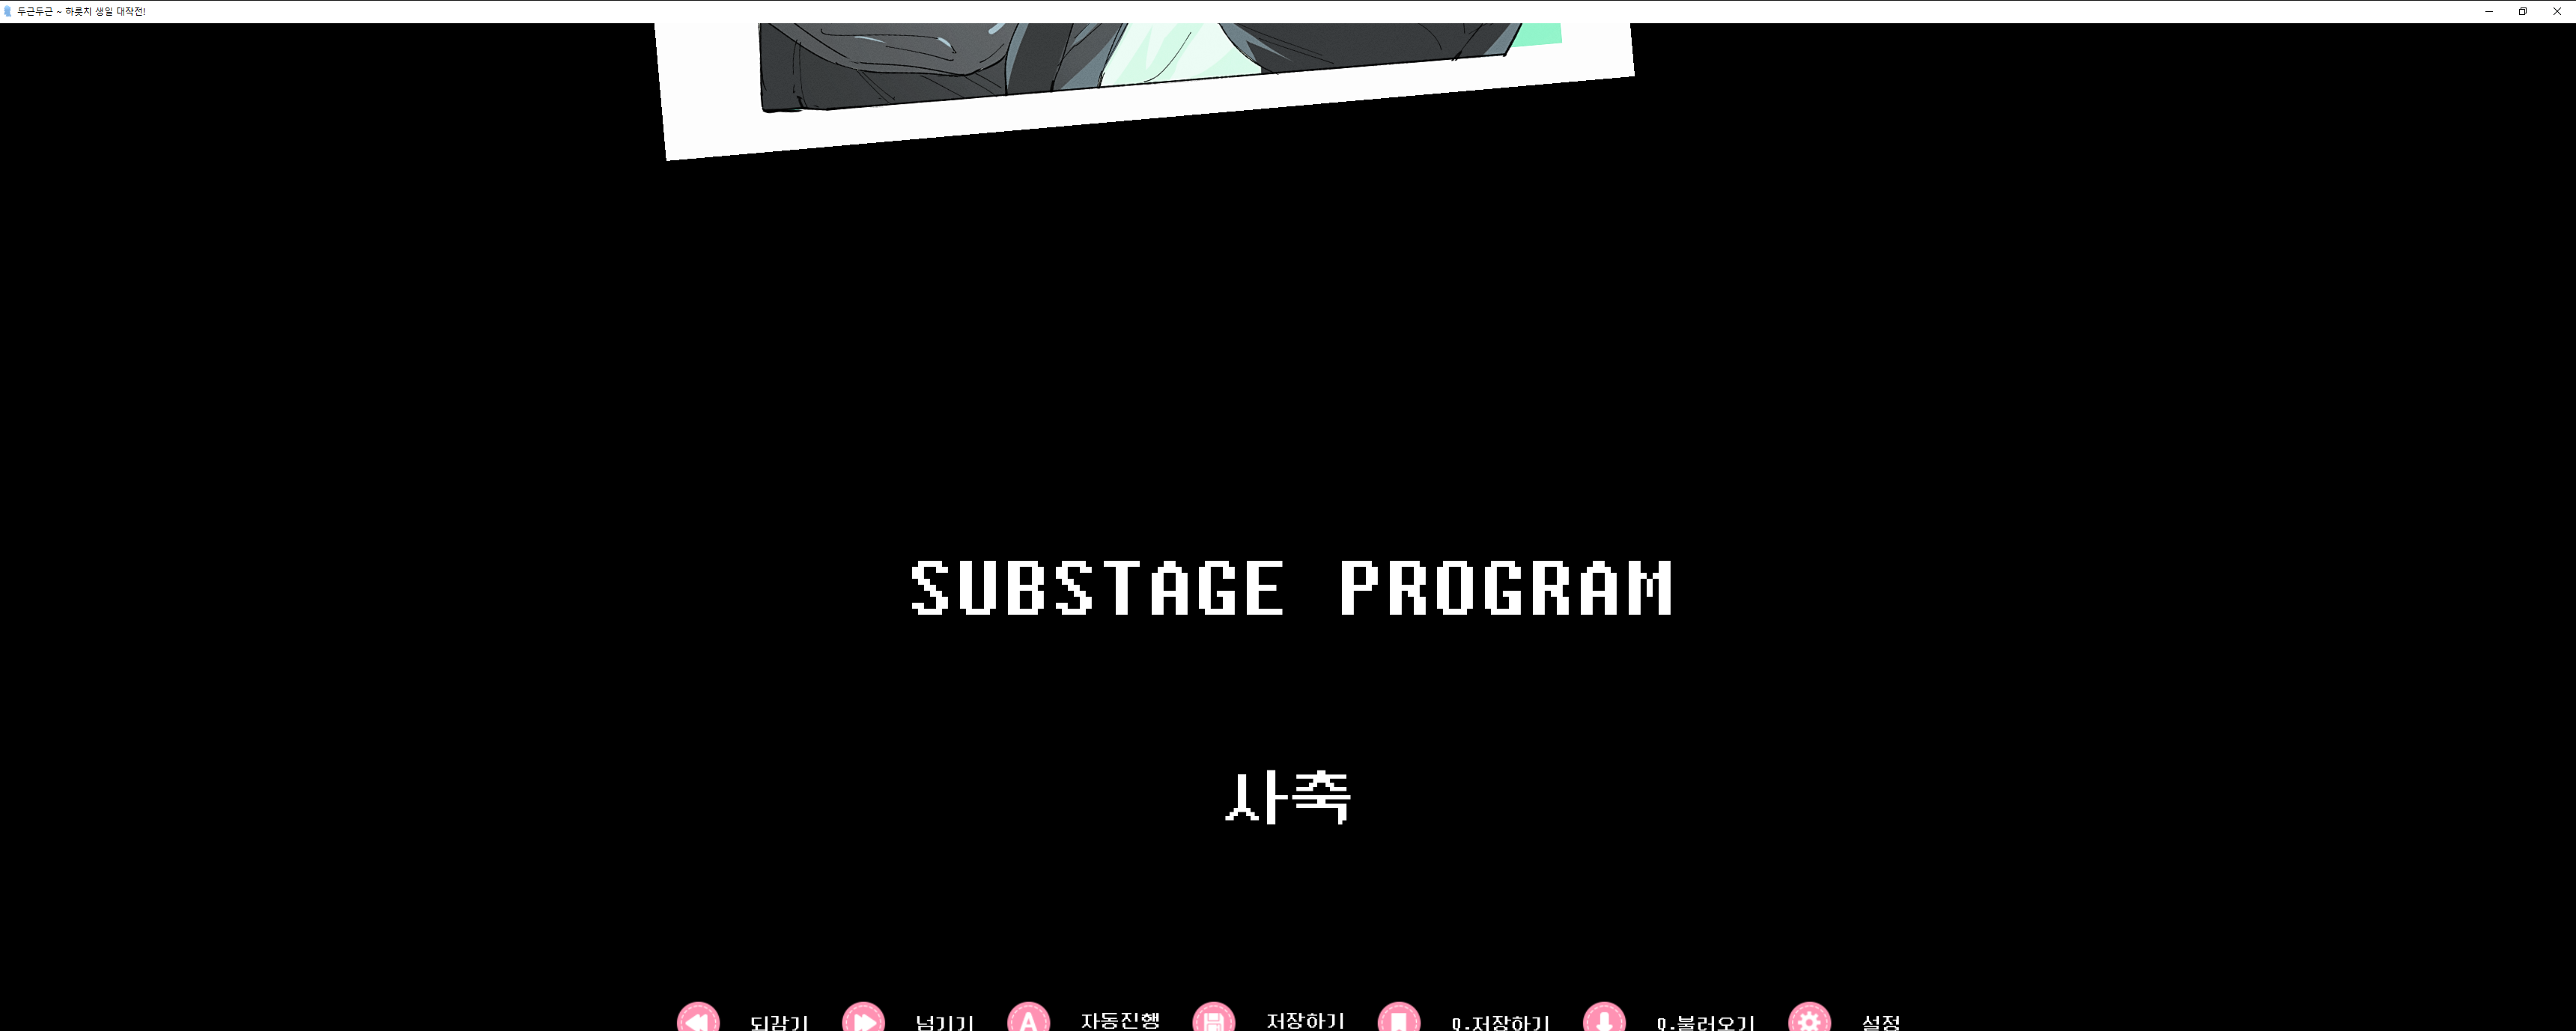
4. 트루엔딩 오마케
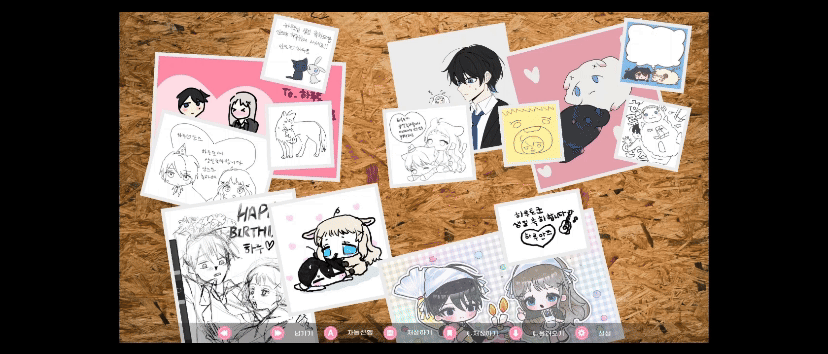
진엔딩을 보면, 크레딧 이후 이런식으로 코르크 메모판을 띄우는 오마케를 추가했다.
사진을 선택하면 정중앙에 선택한 사진을 띄워서 포커싱하고, 재클릭하는 경우 포커싱을 제거한다.
transform with_dissolve:
    on show:
        alpha .0
        linear .5 alpha 1.0

init python:
    import random, time
    is_true_end = False
    SCREEN_WIDTH = 1920
    SCREEN_HEIGHT = 1080
    last_click_time = 0
    click_threshold = 0.5

    def double_click(label):
        global last_click_time
        current_time = time.time()
        if current_time - last_click_time < click_threshold:
            renpy.jump(label)
        last_click_time = current_time

    class Picture:
        def __init__(self,img,x,y,z,rot):
            self.img = img
            self.x = x
            self.y =  y
            self.z = z
            self.rot = rot
            self.is_focused = False

        def selected(self,imgs):
            for pic in imgs:
                if pic != self:
                    pic.is_focused = False
            self.is_focused  = not self.is_focused

    class Pictures:
        def __init__(self):
            gap_x = SCREEN_WIDTH / 5
            gap_y = SCREEN_HEIGHT / 4
            self.imgs = [
                Picture(
                        f"post{i}",
                        ((i-1) % 5) * gap_x / SCREEN_WIDTH,
                        ((i-1) // 5) * gap_y / SCREEN_HEIGHT + random.uniform(-0.01,0.01),
                        random.uniform(0.35, 0.4),
                        random.uniform(-15, 15)
                        ) for i in range(1, 15)
                    ]

    pics = Pictures()

screen board():
    tag pics

    button:
        background "board"
        at with_dissolve
        align(.5, .5)
        action [Function(double_click,"go_to_title")] # 배경 더블클릭 시 메인화면으로 점프

    for pic in pics.imgs:
        if not pic.is_focused: # 선택하지 않은 나머지 사진들
                button:
                    xoffset 50
                    yoffset -20
                    background "#ececec"
                    at rotate_transform(pic.rot)
                    xpos pic.x
                    ypos pic.y
                    button:
                        add pic.img zoom pic.z
                    action Function(pic.selected,pics.imgs)

    for pic in pics.imgs: # 특정 사진을 선택한 경우, 반투명 배경 적용
        if pic.is_focused:
            frame:
                xfill True
                yfill True
                background "#000b"
                button:
                    action Function(pic.selected,pics.imgs)

    for pic in pics.imgs:  # 선택한 사진 정중앙 배치
        if pic.is_focused:
            frame:
                align .5, .5
                background "#f2f2f2ff"
                button:
                    fixed:
                        fit_first True
                        add pic.img at truecenter,with_dissolve zoom 0.7
                    action Function(pic.selected,pics.imgs)
자연스럽게 이미지를 배치하고 싶어서 이미지 배치 시 -15 ~ 15도 사이의 각도 조절을 적용하였다.
🎮 스크린샷
그렇게 완성된...
퀵메뉴나 메인메뉴 등에 커스텀 테마를 적용하려고 screens.rpy, gui.rpy, options.rpy 파일도 열심히 고침...
개발 기간 동안 주말이 참 즐거웠다. 16시간 앉아있어도 시간가는줄 모름 ㅋㅋㅋ
간단한 비주얼노벨 게임 만들기엔 이만한 엔진이 없을 듯 싶다...
게임 배포
아래 깃허브 저장소에 완성된 게임 파일을 업로드해두었다.
운영체제에 맞는 zip 파일의 압축을 해제하여 게임을 플레이해볼 수 있다.
👇 다운로드
https://github.com/DEV-asdf-516/game-happy-birth-day-haruchi
