
Ganache
테스트하고 개발할때 사용하는 이더리움 RPC 클라이언트 입니다.
- 설치
npm install -g ganache-cli
- 실행 명령어
ganache-cli or npx ganache-cli
- 기능
- 블록과 체인 정보 / Transaction 확인 가능
- Transction이 발동되면 바로 Block이 생성됩니다.
- 실행화면

MetaMask ( 메타 마스크 )
메타마스크와 Ganache 연결해보기
1-1 MetaMask 설치 및 지갑 생성
1-2 네트워크 추가

- 메타마스크에 로그인 -> 이더리움 메인넷 클릭 -> 네트워크 추가

- 새 RPC URL에는 Ganache 서버의 URL입력 해줍니다.

- 네트워크 추가 완료
1-3 계정 가져오기 ( 개인키 )
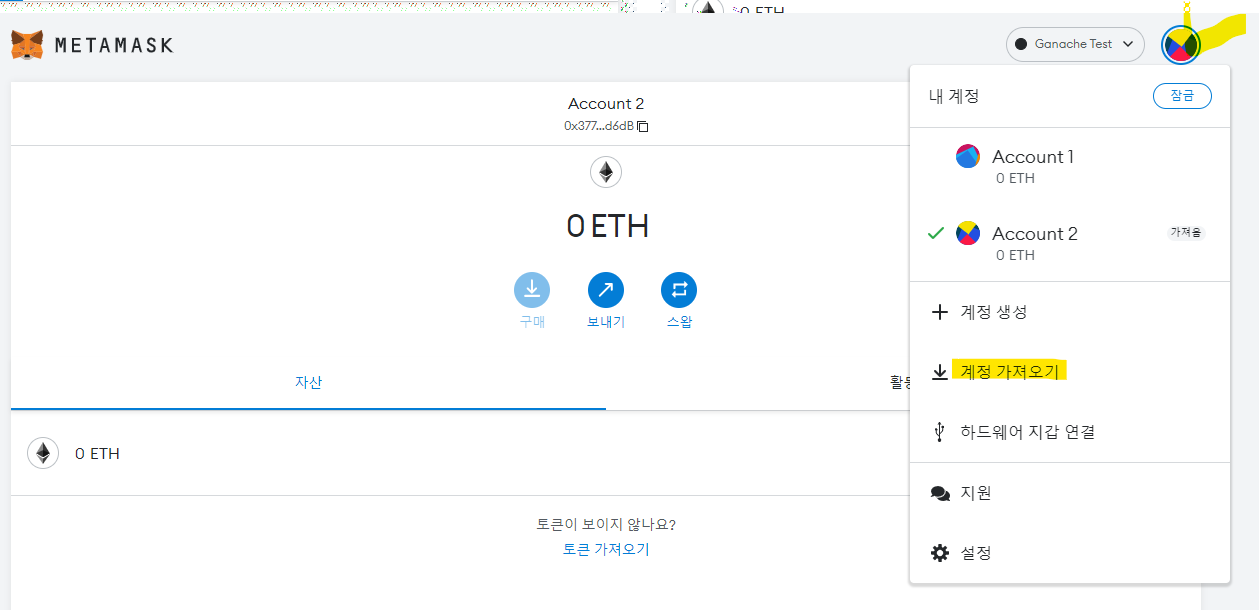
- 우측 상단 계정 아이콘 클릭 -> 계정 가져오기
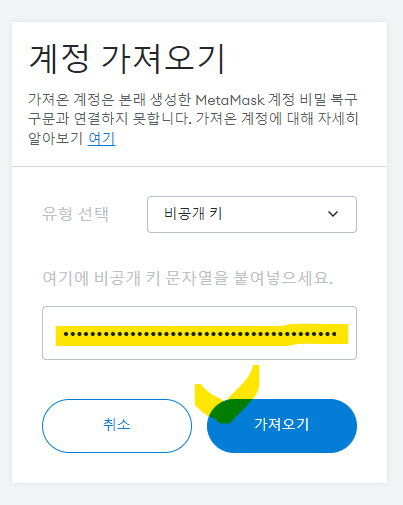
- Ganache 서버의 받은 개인키 10개중 한가지 입력 -> 가져오기
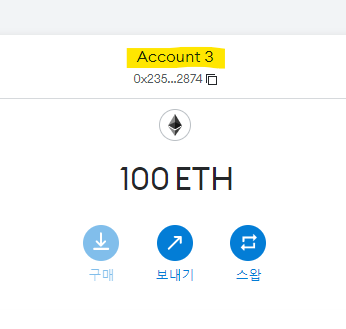
- 계정 가져오기 완료
1-4 트랜잭션 발생시키기 ( 송금 )
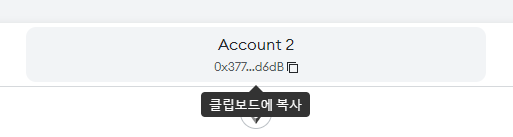
- 이더 받을 지갑으로 이동 -> 중앙 상단에 지갑주소 복사
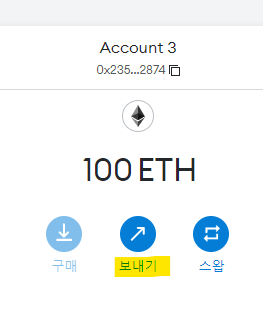
- 이더 보낼 지갑으로 이동 -> 중앙에 보내기 클릭
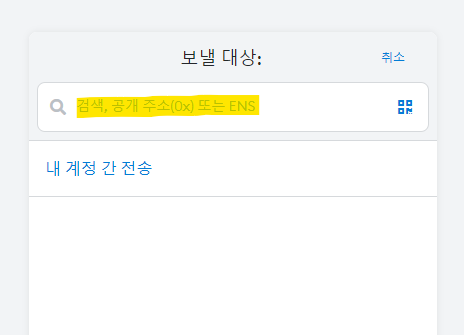
- 상단에 이더 보낼 지갑주소 붙여넣기
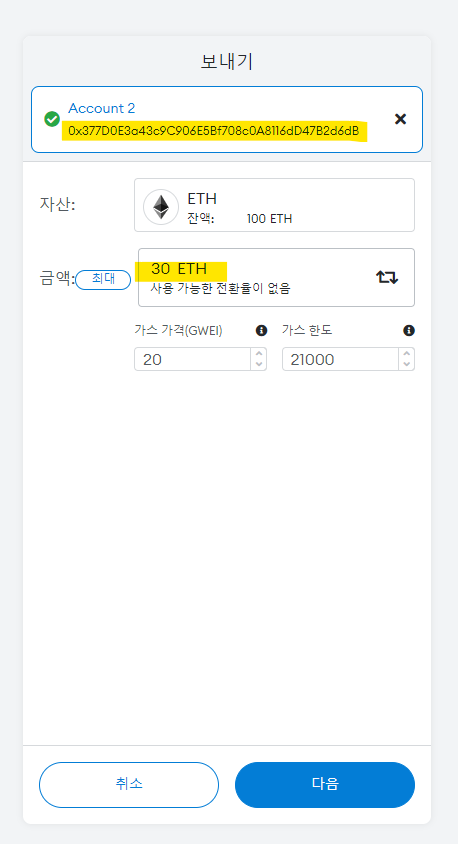
- 보낼 지갑 주소 확인 -> 보낼 금액 입력 -> 다음 클릭

- 예상 가스 요금 및 합계 금액 확인 -> 확인 클릭
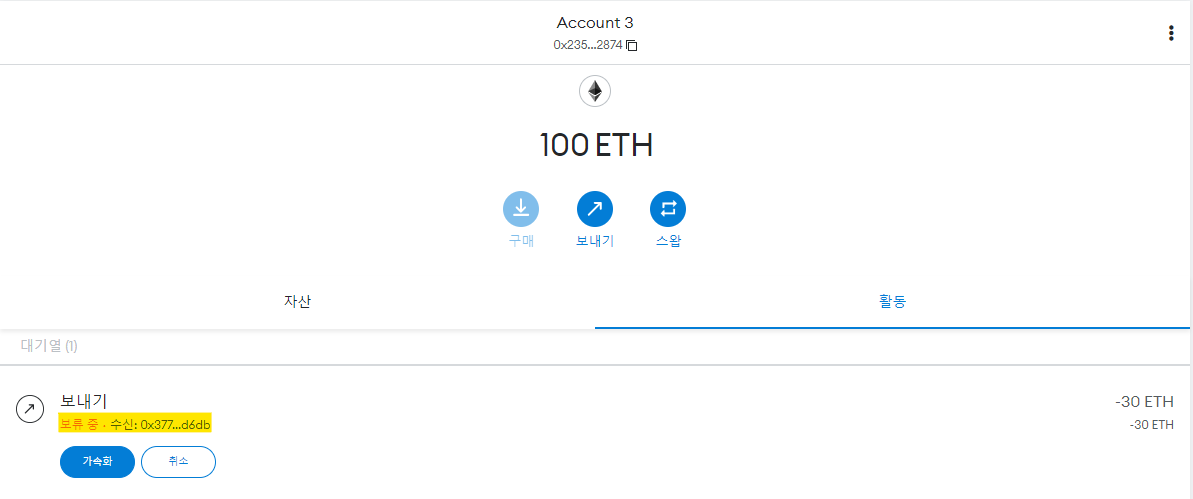
- 발신 대기열 확인
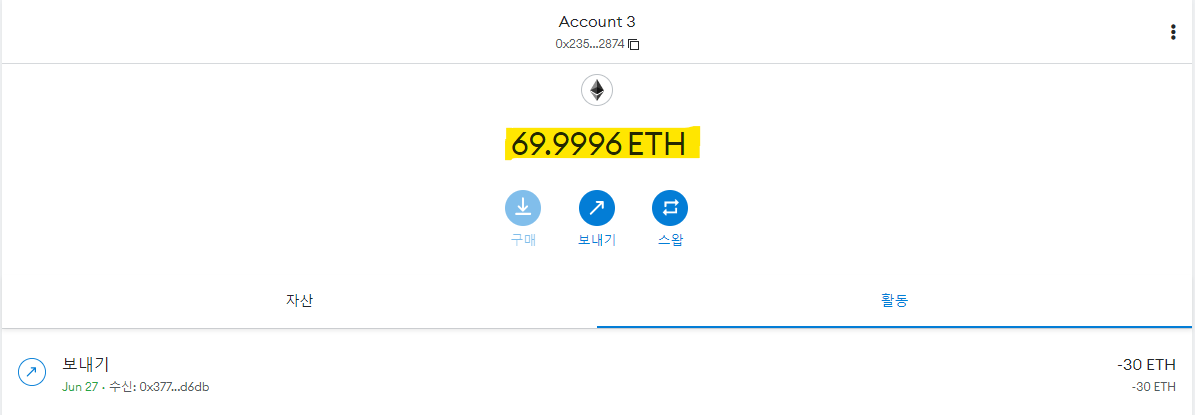
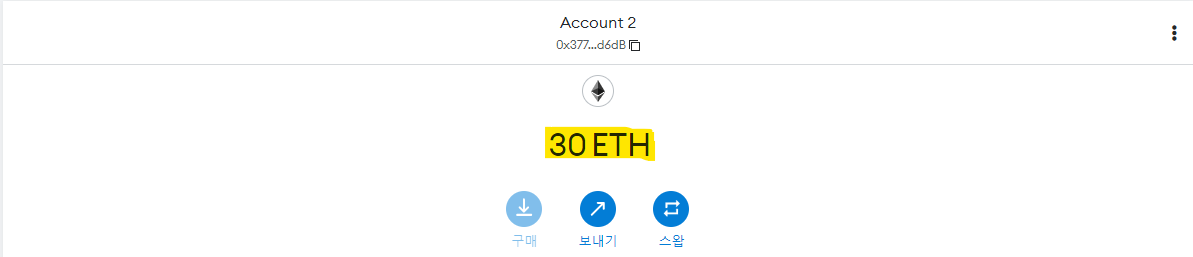
- 발신 및 수신 확인
1-5 테스트 네트워크 풀고 지갑에 이더리움 구매해보기
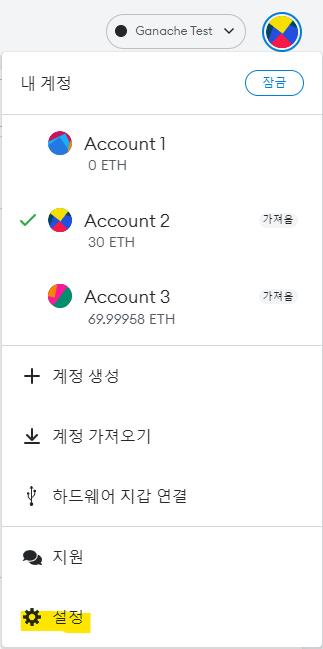
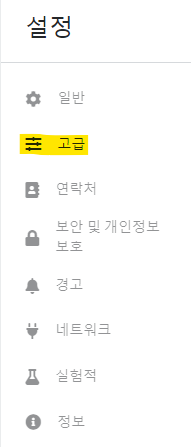
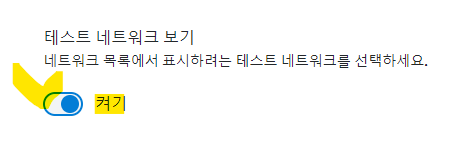
- 우측 상단 지갑 아이콘 클릭 -> 설정 -> 고급 -> 테스트 네트워크 보기
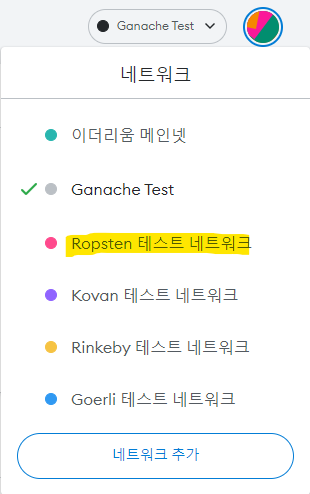
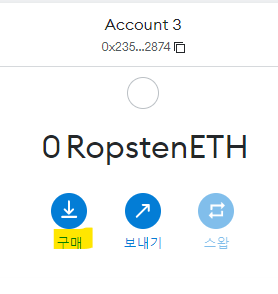
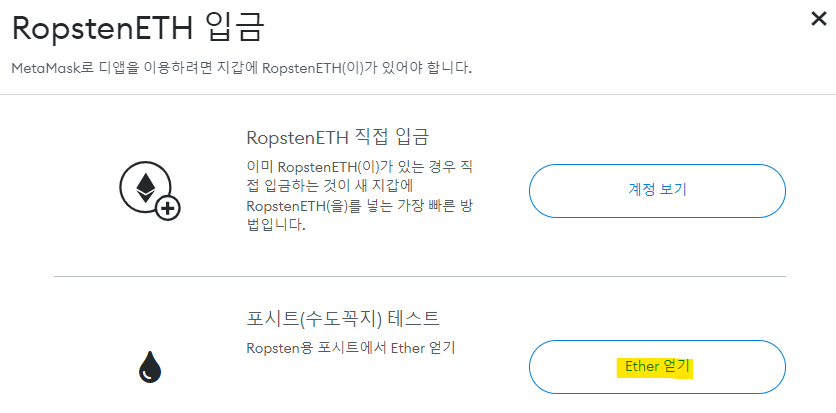
- 우측 상단 네트워크 클릭 -> RopstenETH 테스트 네트워크로 변경 -> 구매 클릭 -> Ether 얻기 클릭


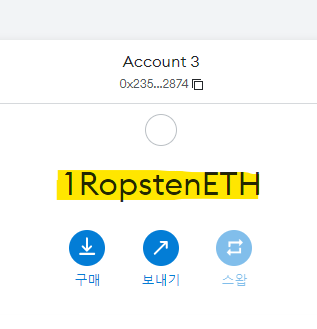
- request 1 ether from faucet 클릭 -> transactions 확인 -> 지갑 홈에서 RopstenETH 확인