Private Network 생성
Datadir로 사용할node라는 디렉토리를 하나 생성하고 새로운 지갑을 생성합니다.
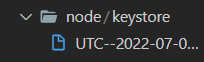
geth --datadir node account new- 계정 생성 및node디렉토리 생성 (keyStore에 생성된 지갑 확인 )


go-ethereum디렉토리에서make all로 puppeth, bootnode 등 파일들을 설치하고 확인합니다.

puppeth- 설정 파일 도와주는 파일ex) genesis.json
bootnode-peer연결을 할때 도와주는 노드역할
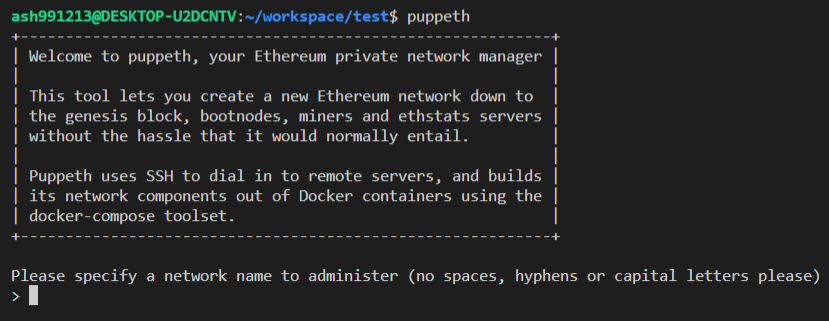
puppeth명령어로 터미널에서puppeth실행
- 3-1. 사용할 네트워크 이름 입력
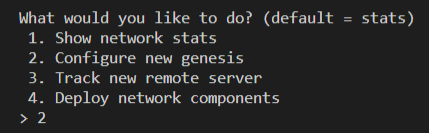
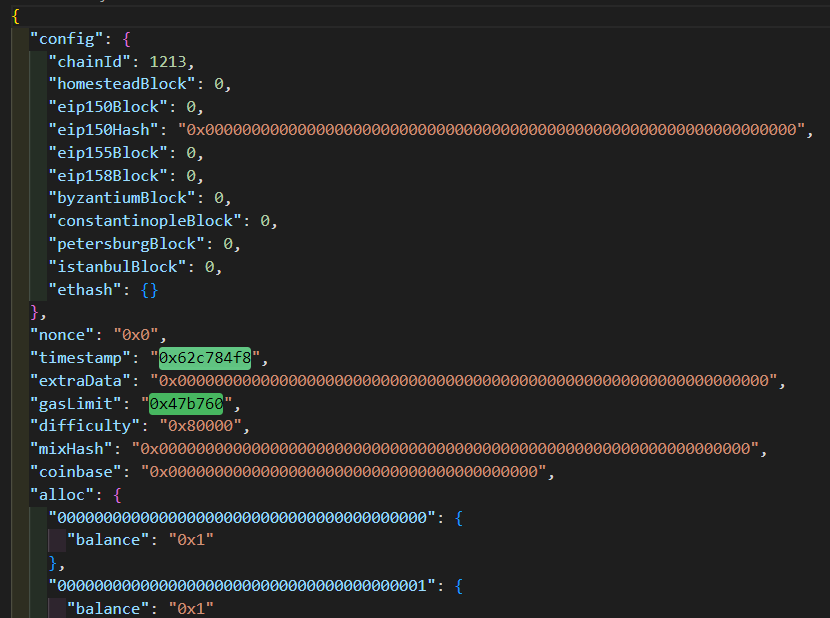
- 3-2. Configure new genesis ( 새로운
Genesis.json파일 생성 )
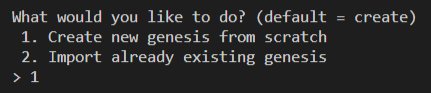
- 3-3. Create new genesis from scratch (
Genesis.json처음부터 만들기 )
- 3-4. Ethash - proof-of-work ( 작업증명 or 지분증명 선택 )

- 3-5. 미리 자금을 전달받을 지갑 주소 입력 ( 미리 생성한
keyStore폴더의 있는 파일의 지갑 주소를 입력 )

- 3-6. 입력한 지갑 주소로 미리 자금을 받겠습니까? Yes

- 3-7. 사용할 네트워크 ID 입력 (
Genesis Block생성 완료 )

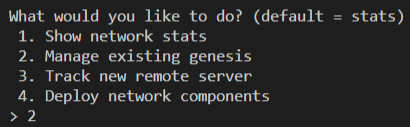
- 3-8. Manage existing genesis ( 기존
Genesis관리 )
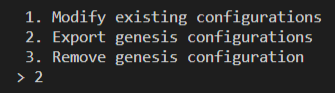
- 3-9. Export genesis configurations ( 미리 구성된
Genesis내보내기 )
- 3-10. 생성할 디렉토리명 입력 ( 입력한 값으로 디렉토리 생성 확인 )

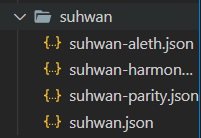
- 3-11. 생성된 디렉토리의 사용할 네트워크이름 +
json파일 확인
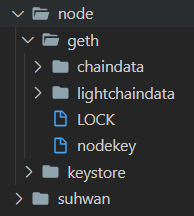
- 3-12.
geth --datadir node init "./suhwan/suhwan.json"명령어로 생성한Genesis파일로node디렉토리의geth디렉토리 생성
- 3-13.
geth실행
geth --datadir node --http --http.addr "0.0.0.0" --http.port 9000 --http.corsdomain "\*" --http.api "admin,miner,txpool,web3,personal,eth" --syncmode full --networkid 1213
--http.addr "0.0.0.0": 모든 접속 허용
--http.port 9000: 포트 설정
--http.corsdomain "\*": cors 설정
--http.api "admin,miner,txpool,web3,personal,eth": 사용할 api들 설정
--syncmode full: syncmode 설정
--networkid 1213: network ID 입력
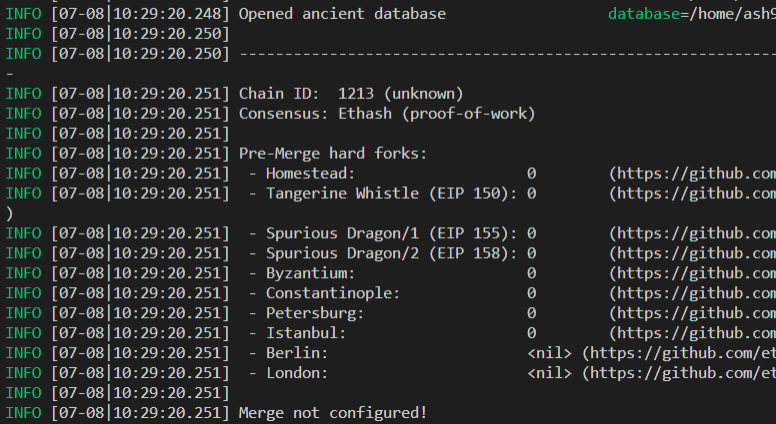
ChainID확인 및 증명 방식pow확인
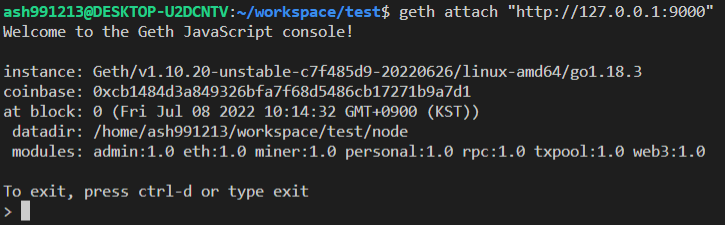
- 3-14 .
private network연결
geth attach "http://127.0.0.1:9000"
- 3-15.
miner.start()로 블록 생성
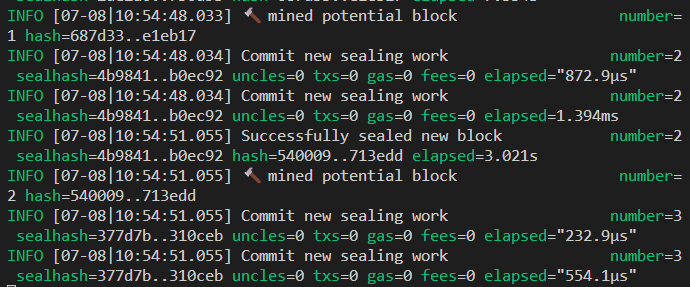
블록 생성 확인 후
miner.stop()으로 채굴 종료
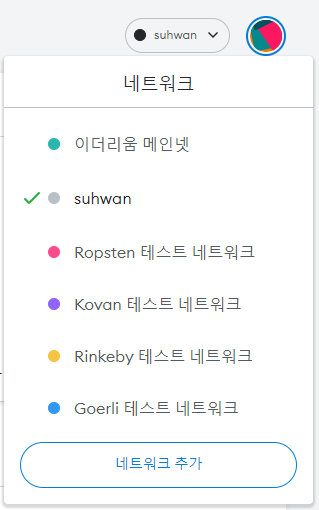
MetaMask에 Private Network 추가
NetWork이름 설정 및geth가 실행되는IP주소 입력 및 해당 네트워크의ChainId를 입력하고 새로운 네트워크를 추가합니다.

web3 라이브러리로 PrivateNetwork와 통신하기
npm install web3 jest
jest설정 및package.jsonscripts수정
- jest.config.js
const config = {
	verbose: true,
	testMatch: ['<rootDir>/**/*.test.js'],
};

module.exports = config;
- package.json
	"scripts": {
		"test": "jest"
	},
가장 마지막 블록 Number 가져오기 및 생성한 블록 확인
- block.test.js
const Web3 = require('web3');

describe('web3 테스트', () => {
	let web3;

	it('테스트', async () => {
		web3 = new Web3(new Web3.providers.HttpProvider('http://127.0.0.1:9000'));

		// 블록 넘버 출력
		const blockNumber = await web3.eth.getBlockNumber();
		console.log(blockNumber);

		// 100번째 블록에 대한 내용 출력
		const block = await web3.eth.getBlock(30, true);
		console.log(block);

		for (let i = 1; i < blockNumber; i++) {
			// 블록에 대한 내용 출력
			const block = await web3.eth.getBlock(i, true);
			console.log(block);
		}
	});
});
가장 마지막 블록의 넘버와 30번째 블록 내용, 모든 블록 내용을 출력하는 테스트 코드 작성후 확인
Transaction 보내기
personal.newAccount('1234') 새로운 지갑 추가 생성

- 지갑1 = cb1484d3a849326bfa7f68d5486cb17271b9a7d1
- 지갑2 = 0xc2af95b990f86f09181f99bcb04864847afd86f3
eth.getBalance(eth.coinbase)로 기존 지갑이 가지고 있는 ether 확인
eth.getBalance('0xc2af95b990f86f09181f99bcb04864847afd86f3')로 방금 생성한 지갑의 ether 확인

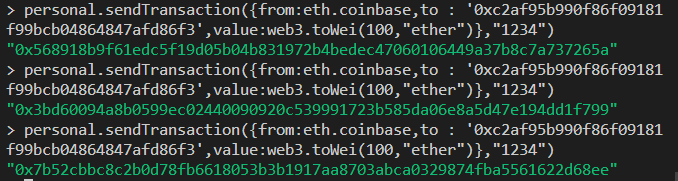
SendTransaction 명령어
personal.sendTransaction(
	{
		from: eth.coinbase, // 발신자
		to: '9bf0de7c4f41cf706d666cb4045649c3f719f8c7', // 수신자
		value: web3.toWei(100, 'ether'), // 보낼 양 및 단위
	},
	'1234', // Account 만들때 사용했던 패스워드
);
getbalance로 수신자 지갑 잔액 확인

트랜잭션을 보냈지만 아직 그 내용이
Transaction Pool에 들어있기 때문에getbalance를 해도0으로 표시됩니다.
miner.start()로 블록 마이닝하기 이때 블록 넘버 확인하기!- 블록 생성되었으면
miner.stop()으로 마이닝 종료- 다시
eth.getBalance('9bf0de7c4f41cf706d666cb4045649c3f719f8c7')로ether가 옮겨져 있는것을 확인

Test코드 수정후 마지막 블록의Transaction내용이 담겨 있는지 확인합니다.
	it('테스트', async () => {
		web3 = new Web3(new Web3.providers.HttpProvider('http://127.0.0.1:9000'));

		// 블록 넘버 출력
		const blockNumber = await web3.eth.getBlockNumber();
		console.log(blockNumber);

		// 마지막 블록 내용 출력
		console.log(await web3.eth.getBlock(blockNumber, true));
    }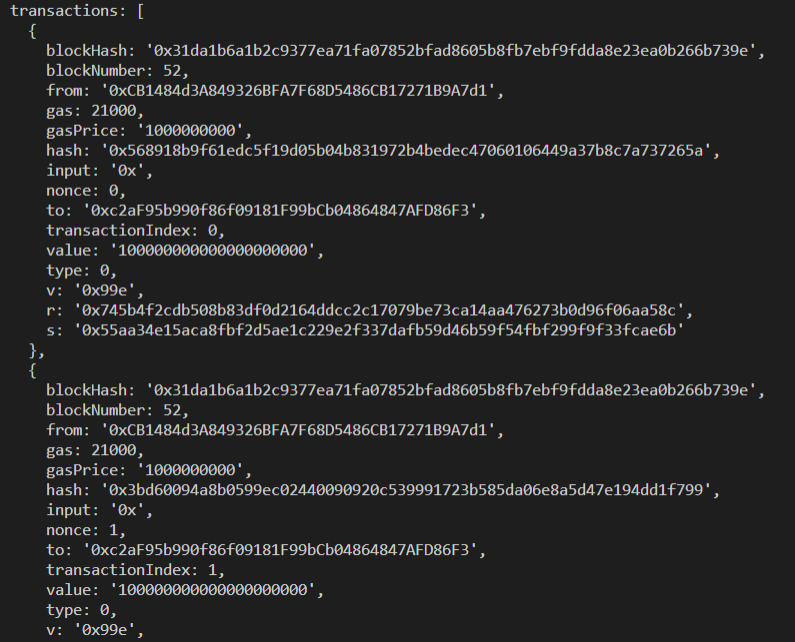
Test코드로Transaction내용을 확인합니다.
// Transaction 내부를 확인하는 메서드
it('getTransaction', async () => {
	// getTransaction()
	// 인자값 = Transaction Hash값
	// TxPool에 있는 내용
	// 사용자가 서명까지 완료되서 우리의 노드서버에게 보내준 데이터 형태
	const tx = await web3.eth.getTransaction('0x568918b9f61edc5f19d05b04b831972b4bedec47060106449a37b8c7a737265a');
	console.log('tx :', tx);
});

it('getTransactionRecipt', async () => {
	// getTransactionReceipt()
	// 인자값 = Transaction Hash값
	// 블록에 있는 내용
	// geth가 블록안에 넣었던 EVM을 거쳤다가 들어간 트랜잭션의 결과물
	const tx = await web3.eth.getTransactionReceipt('0x568918b9f61edc5f19d05b04b831972b4bedec47060106449a37b8c7a737265a');
	console.log('tx Recipt :', tx);
});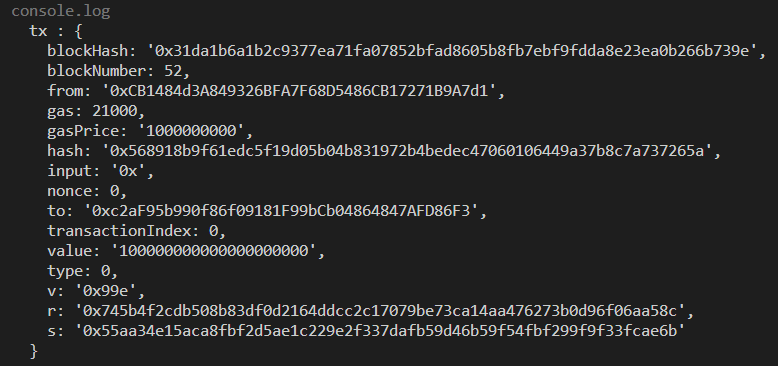
getTransaction()의 내용은 서명 완료 시점까지의Transaction내용입니다. 즉EVM을 거치지 전에Transaction내용입니다.
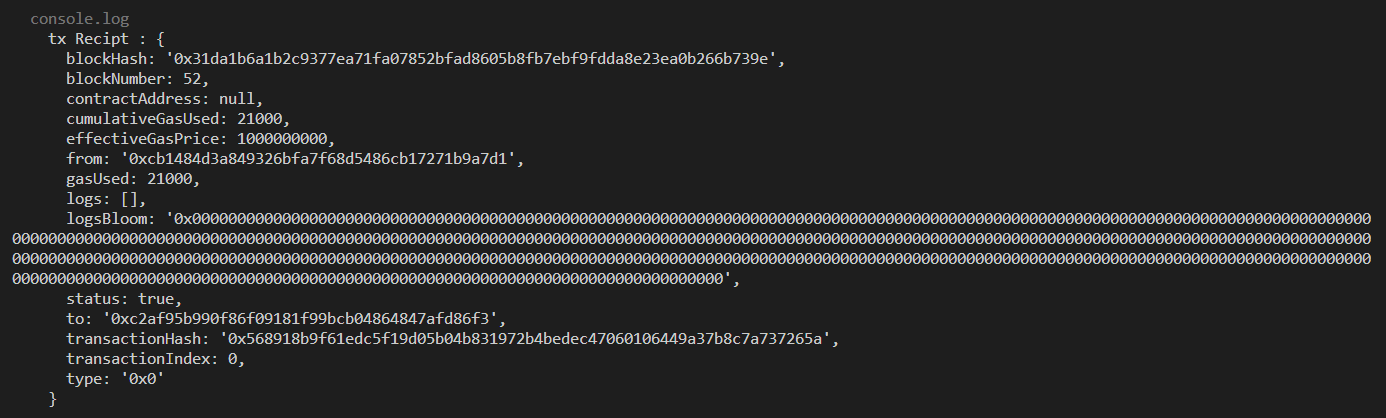
getTransactionReceipt()의 내용은EVM을geth에서 트랜잭션이 실행된 다음의Transaction내용입니다. 즉EVM을 거치고 난 후의Transaction내용입니다.