Starting
ethers/
	SimpleStorage.sol
	deploy.js
// deploy.js
async function main() {}
main()
.then(() => process.exit(0))
.catch((error) => {
console.error(error);
process.exit(1);
});Remix에서 작업했던 SimpleStorage.sol의 코드를 복사해서 만들어준다.
-
corepack 활성화
corepack enable -
yarn 설치
yarn --version -
solc-js 설치
yarn add solc@0.8.7-fixed -
package.json 설정
 {
   "dependencies": {
     "solc": "0.8.7-fixed"
   },
   "scripts": {
     "compile": "yarn solcjs --bin --abi --include-path node_modules/ --base-path . -o . SimpleStorage.sol"
   }
 }
yarn solcjs --bin --abi --include-path node_modules/ --base-path . -o . SimpleStorage.sol=>yarn compile -
ethers 설치
yarn add ethers -
fs 모듈 설치
yarn add fs-extra
Ganache & Networks
Ganache
리믹스에서는 Remix VM 혹은 Injected Web3로 계약을 배포 할 수 있었다. 이제 javascript VM을 이용하려한다.
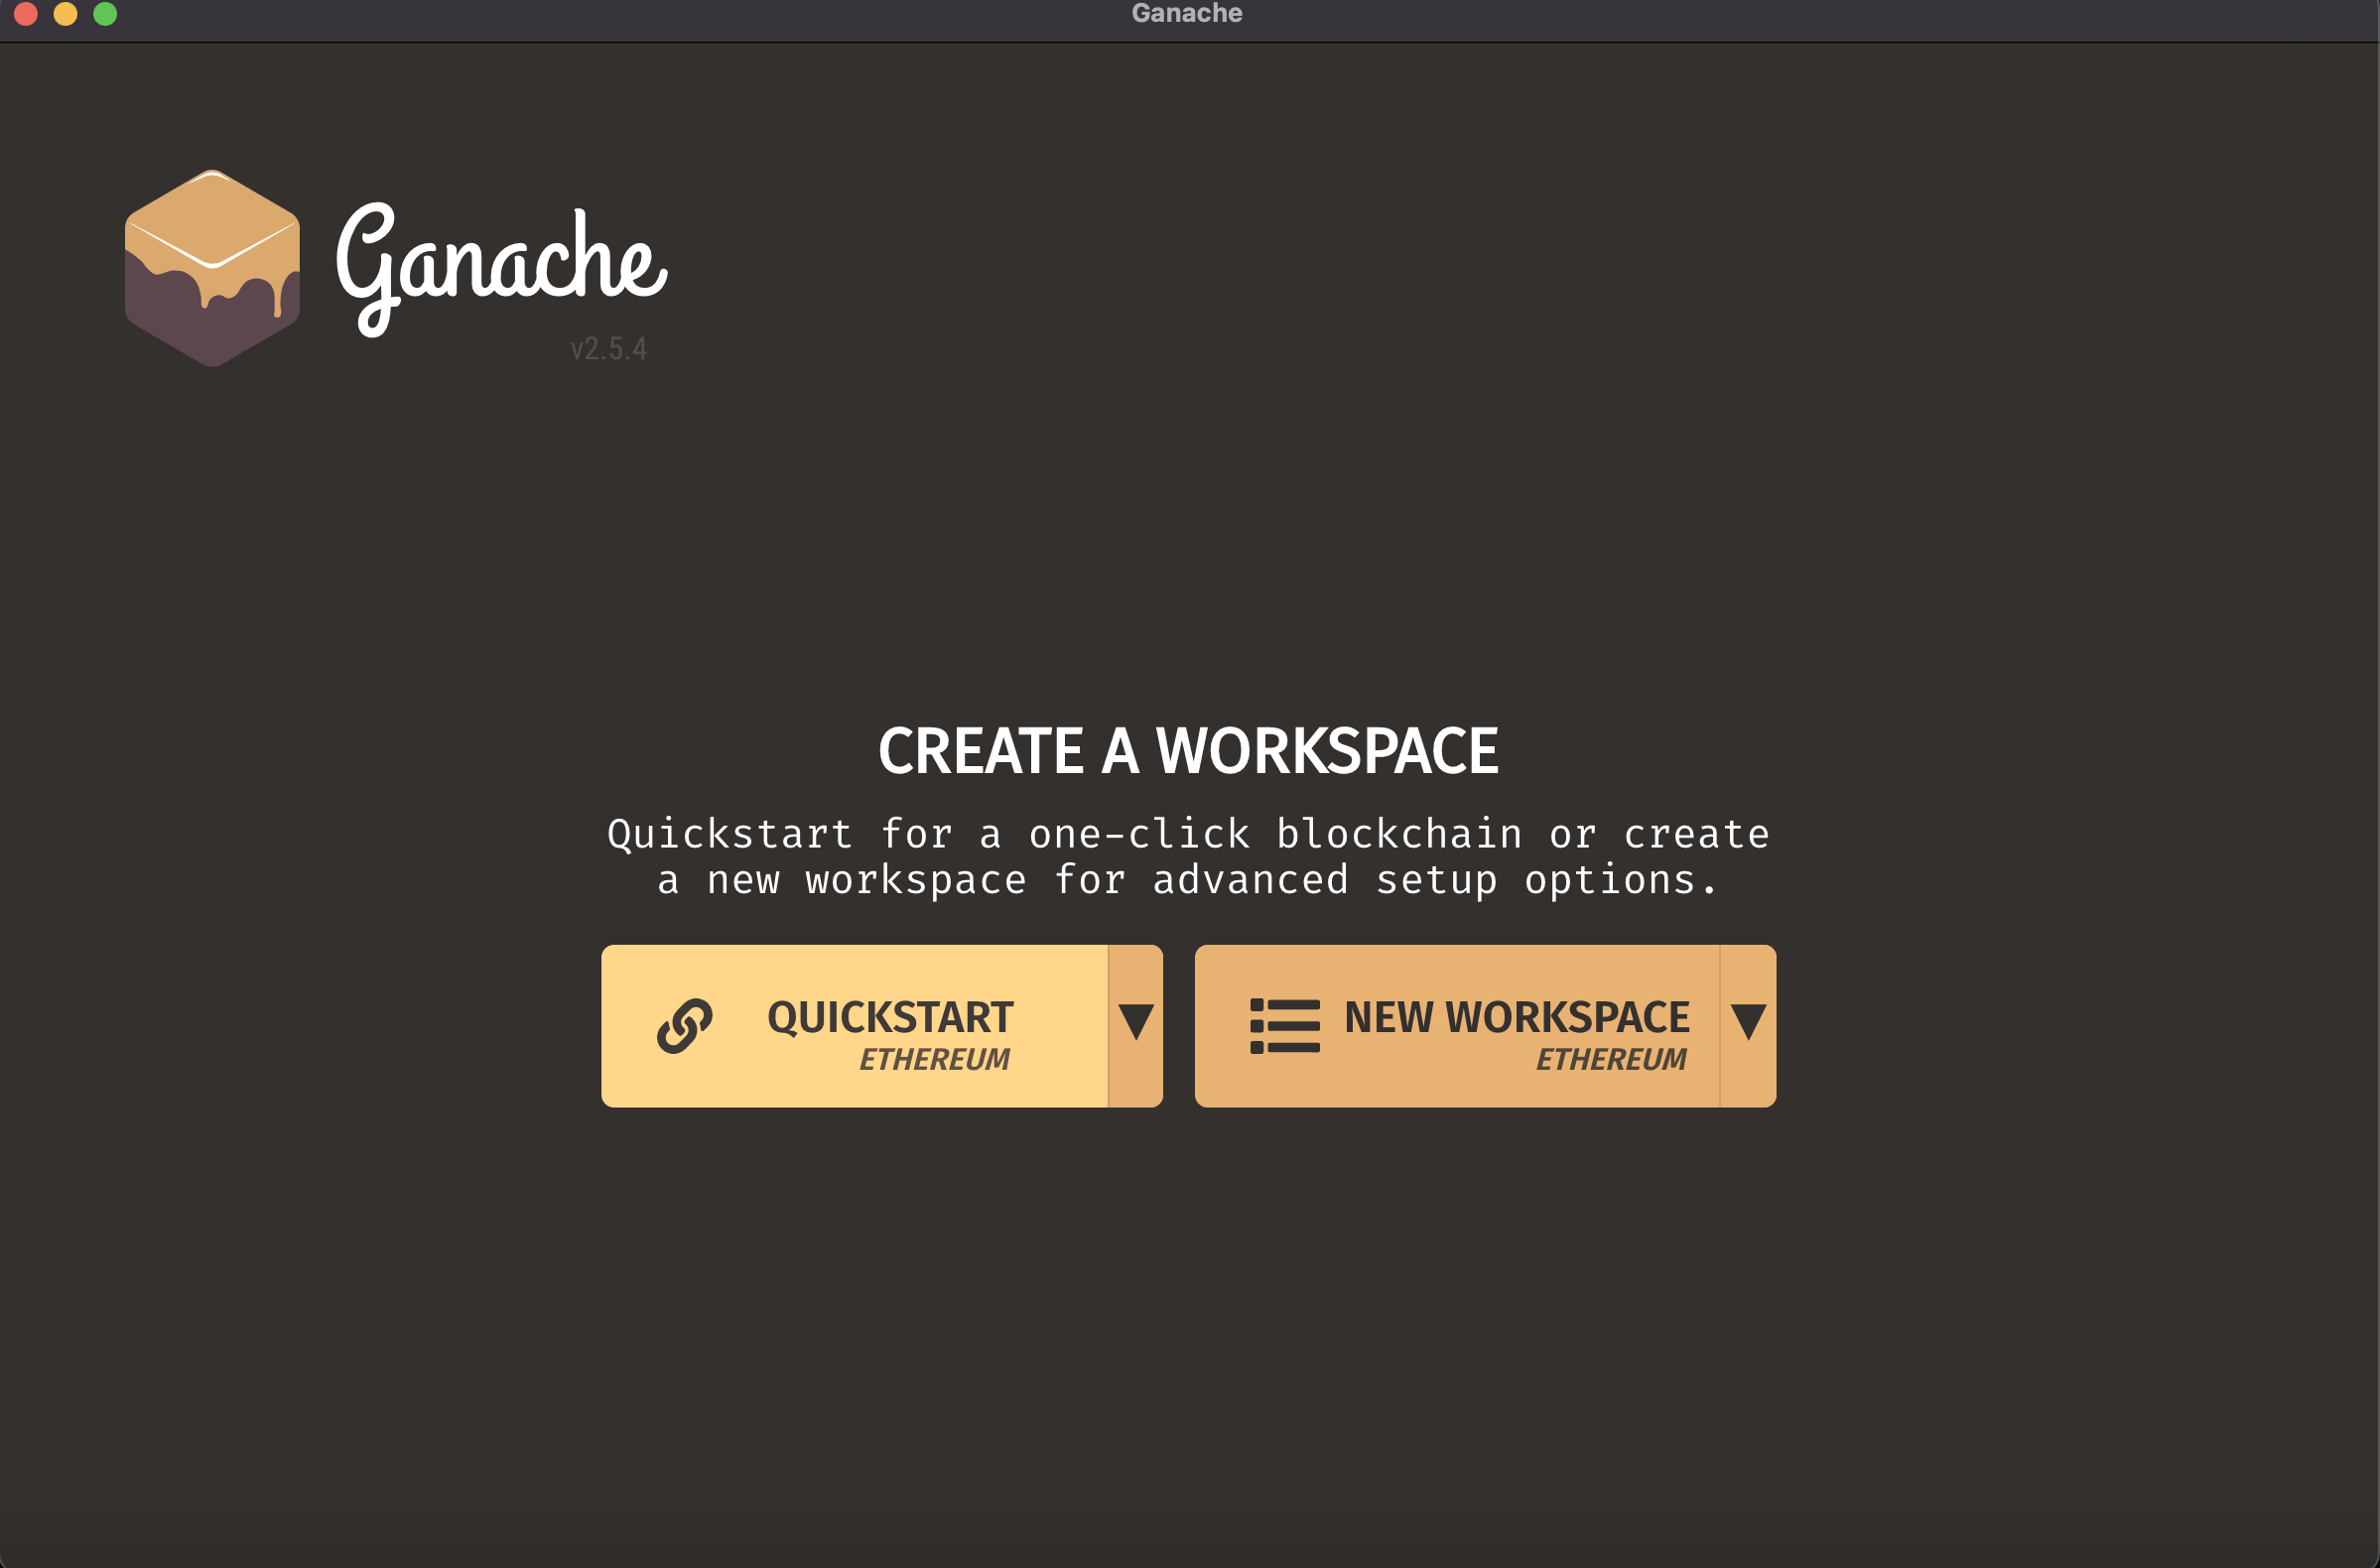
QUICKSTART로 시작한다.
open-rpc
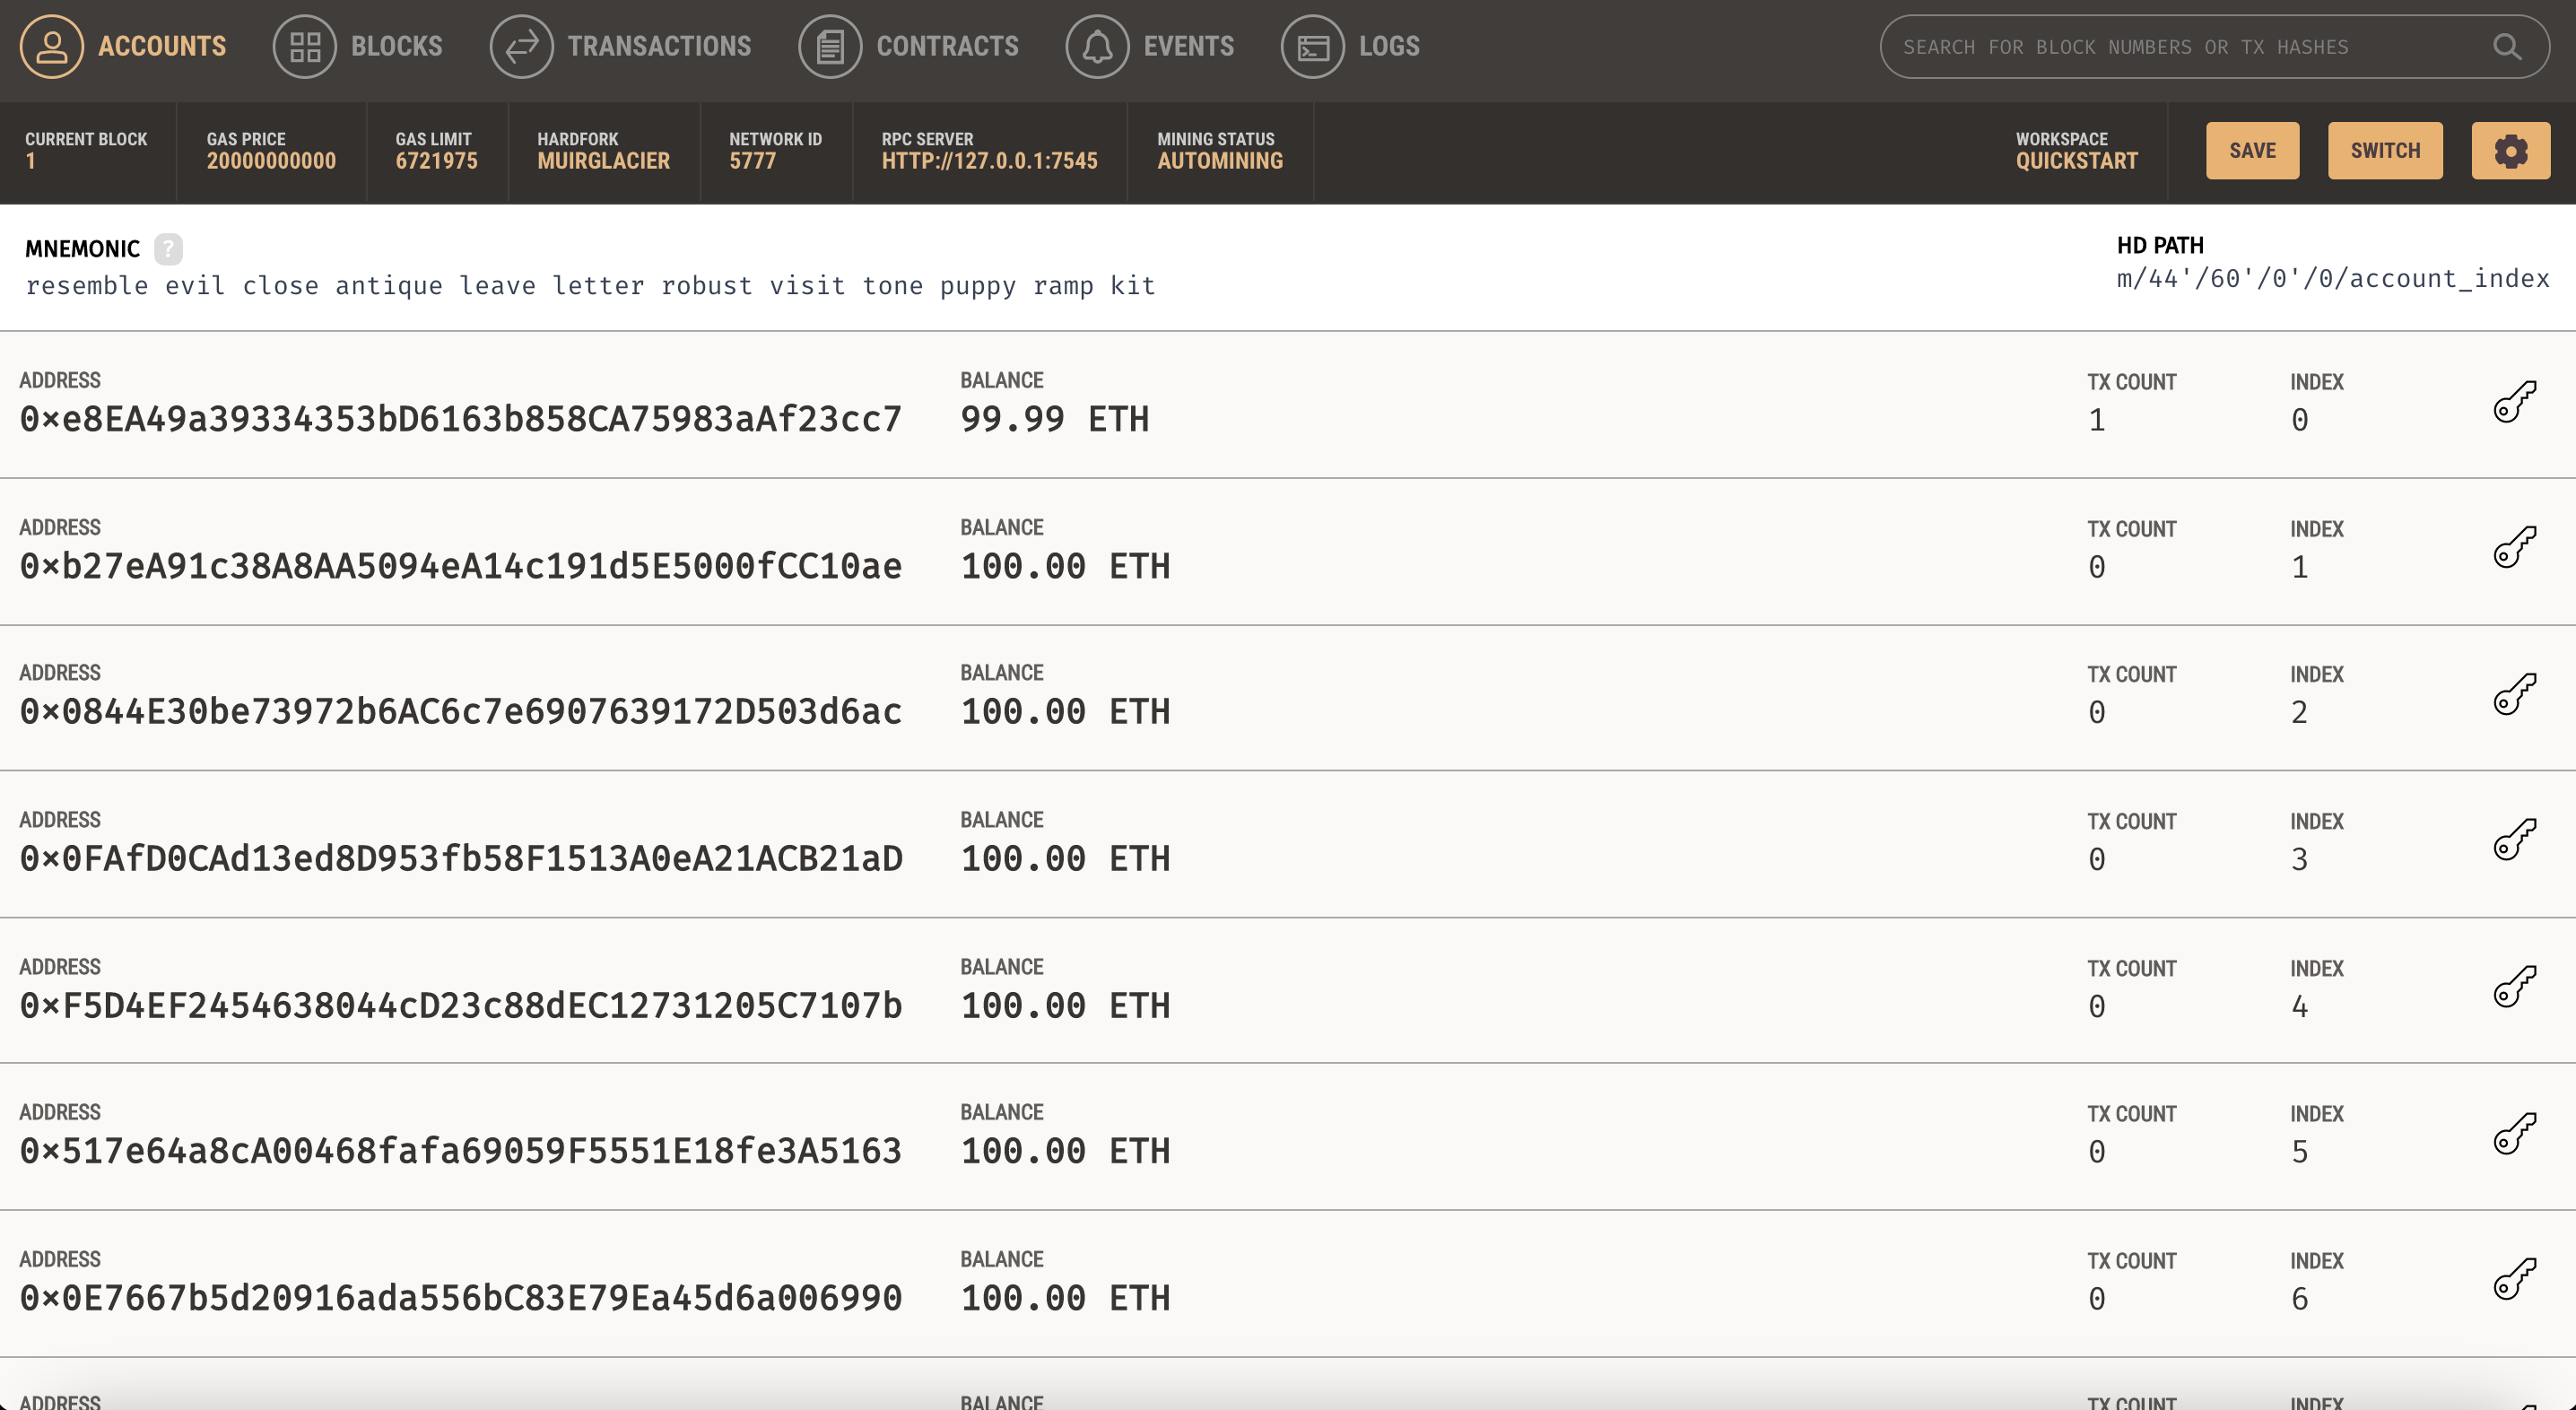
가상의 계좌에 가상의 계좌가 있다.
우리의 코드에서 가장 먼저 해야할 일은 ganache에서 제공하는 로컬 블록체인에 연결하는 것이다.
RPC URL은 누군가가 실행중인 블록 체인 노드와 상호 작용하기 위한 API 호출을 수행하기 위한 엔드포인트가 된다.
상단에 RPC SERVER를 찾을 수 있다. 열쇠모양을 눌러 key를 확인할 수 있다.
const ethers = require("ethers");

async function main() {
  const provider = new ethers.providers.JsonRpcProvider(
    "http://127.0.0.1:7545"
);provider를 설정해준다. 복사해둔 RPC SERVER를 입력. 로컬 블럭체인에 연결하기 위함이다.
 const wallet = new ethers.Wallet(
    "46285b7eda88a8cef21e17c842...",
    provider
);ganache에서 확인했던 private key를 입력해준다.
계약을 배포하기위해 ABI와 binary compiled code가 필요하다.
const abi = fs.readFileSync("SimpleStorage_sol_SimpleStorage.abi", "utf-8");
const binary = fs.readFileSync("SimpleStorage_sol_SimpleStorage.bin", "utf-8");
const contractFactory = new ethers.ContractFactory(abi, binary, wallet);
console.log("Deploying, please wait...");
const contract = await contractFactory.deploy();
console.log(contract);contractFactory는 etherJS 계약을 배포하는데 사용하는 객체이다.
이제 터미널에서 node deploy.js를 통해 배포가 가능하다. ganache에 돌아가면 balance가 줄어들고 Tx Count가 늘어난 것을 확인 가능하다.
Transaction Receipts
const contract = await contractFactory.deploy();
const transactionReceipt = await contract.deployTransaction.wait(1);
console.log("Here is the deployment transaction:");
console.log(contract.deployTransaction);
console.log("Here is the transaction recipt:");
console.log(transactionReceipt);wait함으로 하나의 블럭이 체인에 연결이 되었는지 확인하기 위함.
const ethers = require("ethers");
const fs = require("fs-extra");

async function main() {
  const provider = new ethers.providers.JsonRpcProvider(
    "http://127.0.0.1:7545"
  );
  const wallet = new ethers.Wallet(
    "46285b7eda88a8cef21e17c842...",
    provider
  );
  const abi = fs.readFileSync("./SimpleStorage_sol_SimpleStorage.abi", "utf-8");
  const binary = fs.readFileSync(
    "./SimpleStorage_sol_SimpleStorage.bin",
    "utf-8"
  );
  const contractFactory = new ethers.ContractFactory(abi, binary, wallet);
  console.log("Deploying, please wait...");
  const contract = await contractFactory.deploy();
  const transactionReceipt = await contract.deployTransaction.wait(1);

}

main()
  .then(() => ProcessingInstruction.exit(0))
  .catch((error) => {
    console.error(error);
    process.exit(1);
  });
이 시리즈는 freeCodeCamp.org의 강의를 들으면서 공부한 내용을 정리하기 위해 작성했습니다.